I have never done something like this. I assume 0 people are going to read it but I think it’ll be fun to look back on and see what I wrote. At the start of the year I wanted to write more and I just haven’t. I’ve moved the goal posts a bunch of times with the current one being that my laptop is too slow (which it IS but like c’mon me. 2018 Microsoft Surface Book 2 btw, can barely start now. It took about 17 mins for the code tunnel to launch. Had to change folders as well to just the one containing the blog content. Currently writing this in notepad.).
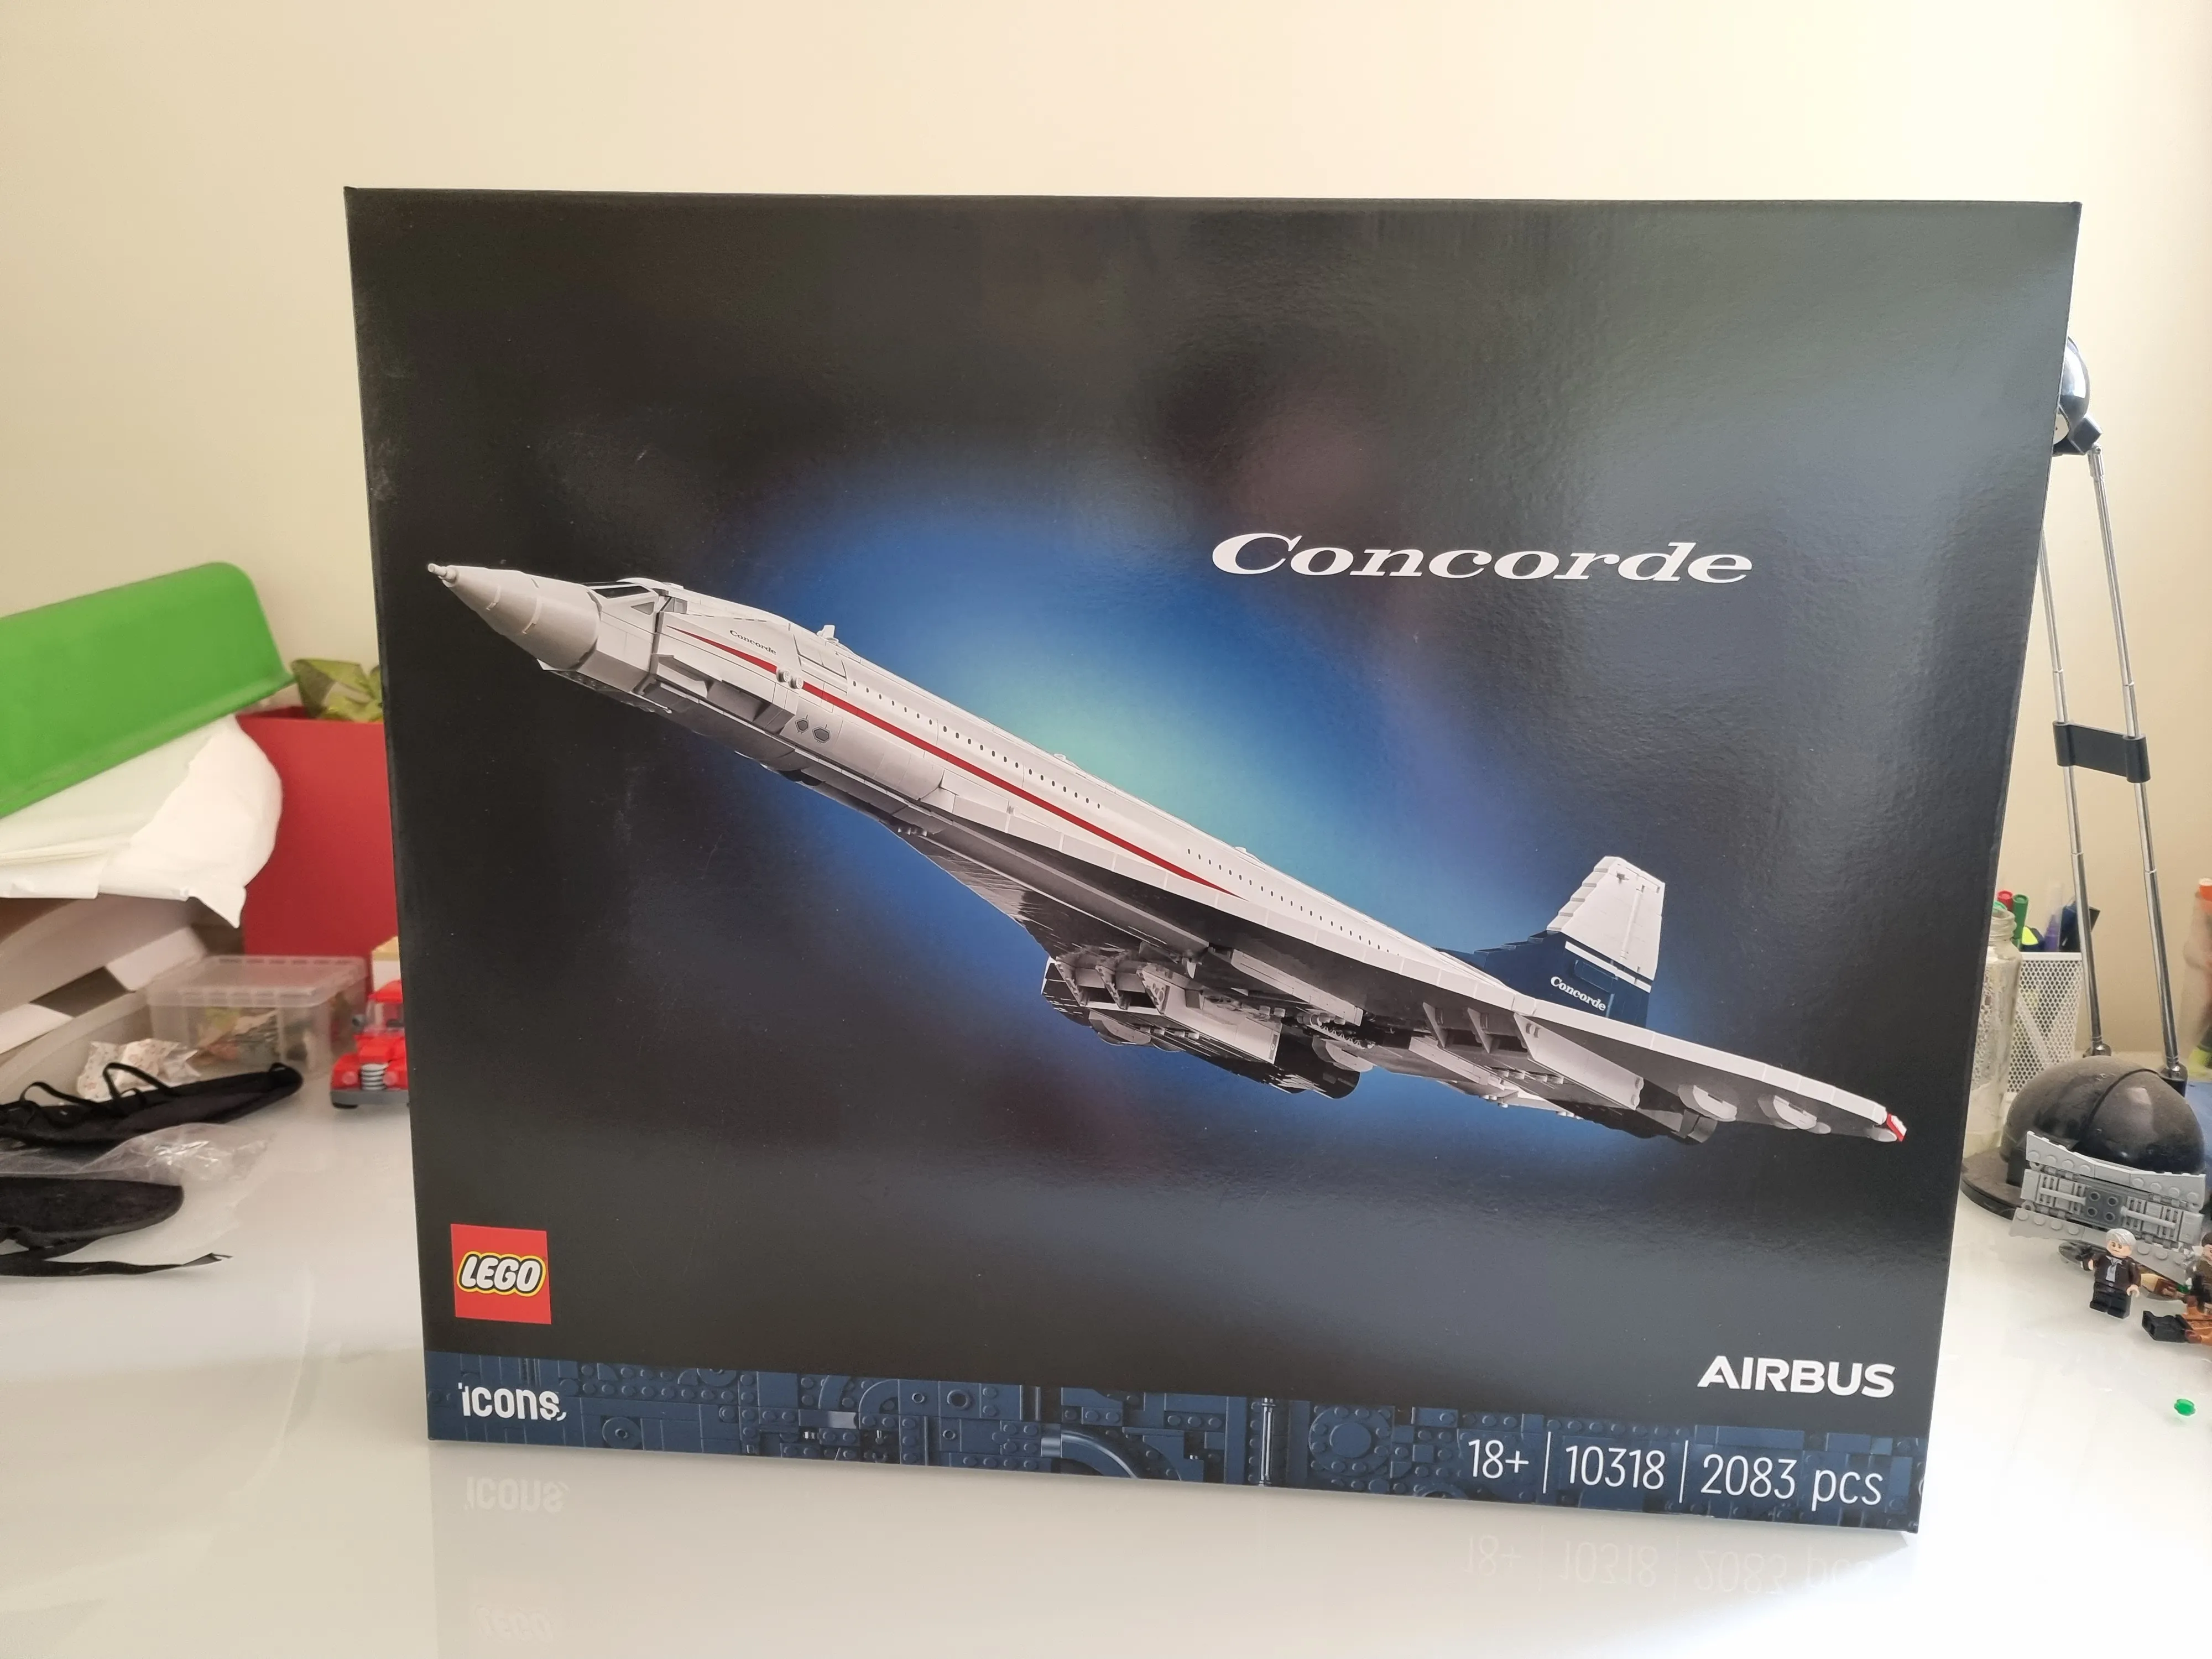
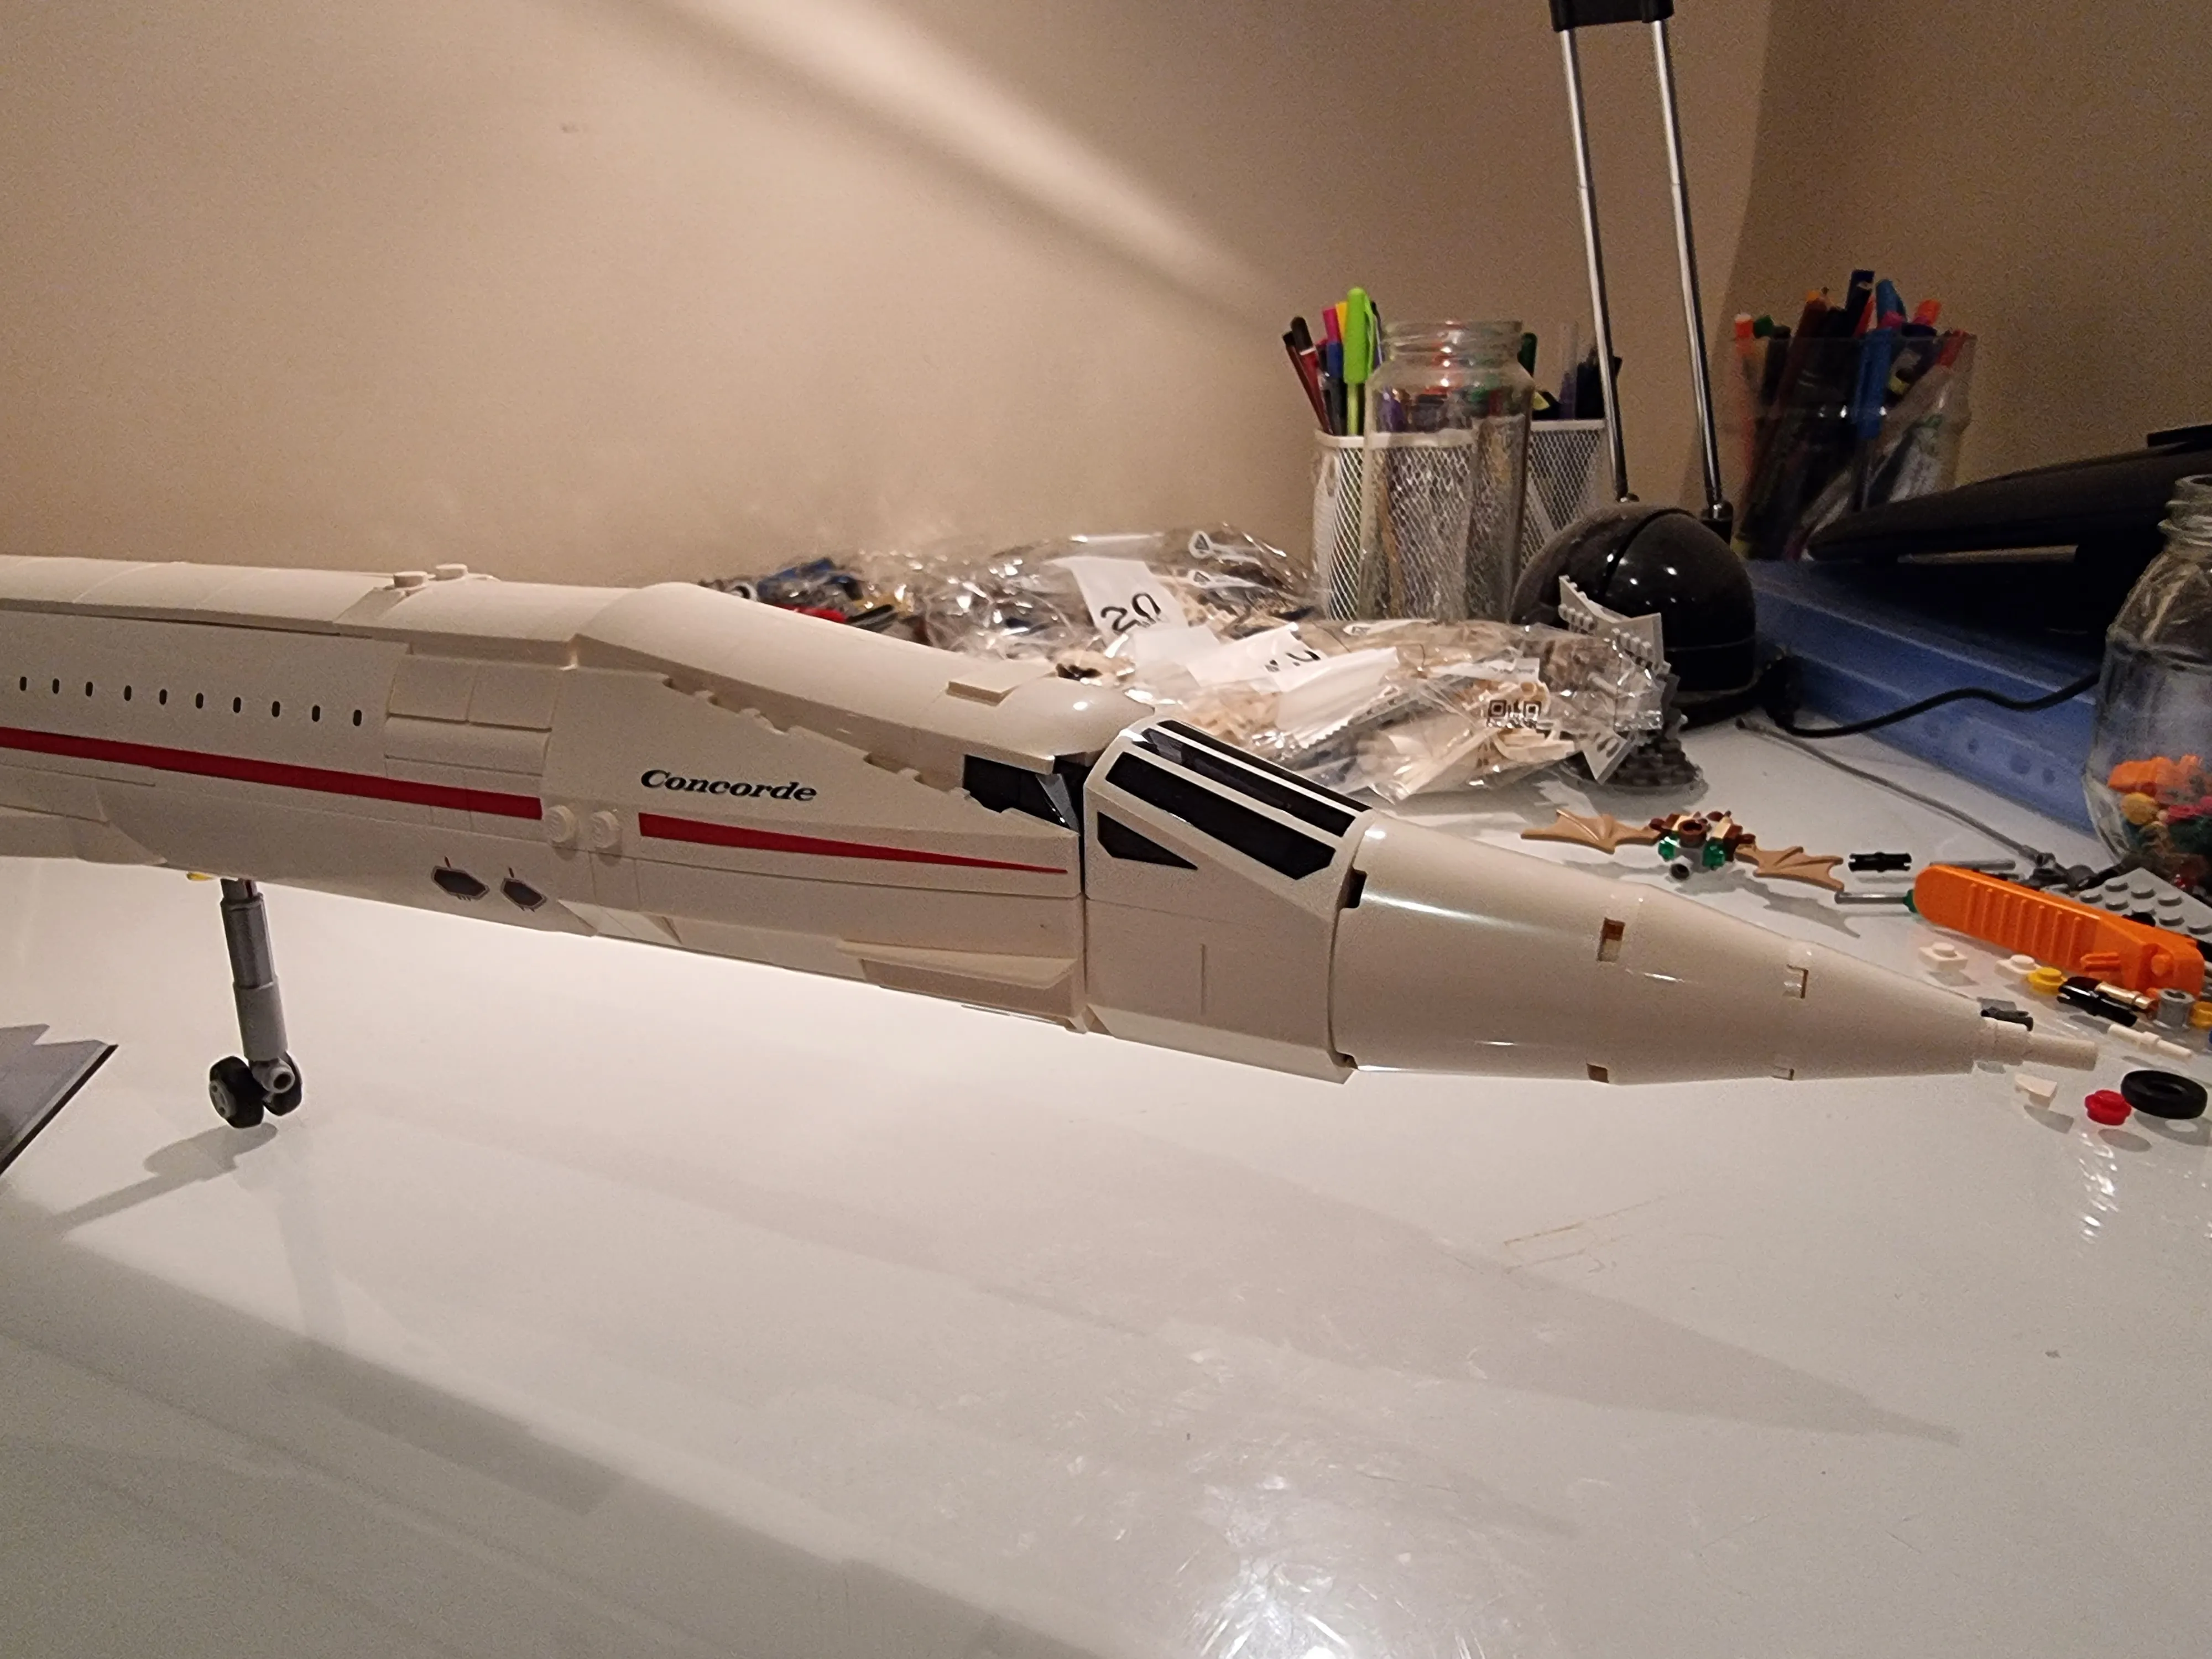
If you know me, you know I love Lego and I love Planes. When I first heard of the Concorde coming out as a Lego set I knew it I was gonna buy it instantly even though I am pretty much at capacity for Lego sets. I have just come off the back of building the Millennium Falcon which took about 5 months of on and off building. I have heard great things about the Concorde build and am eager to get started.
First Day: 26-11-23
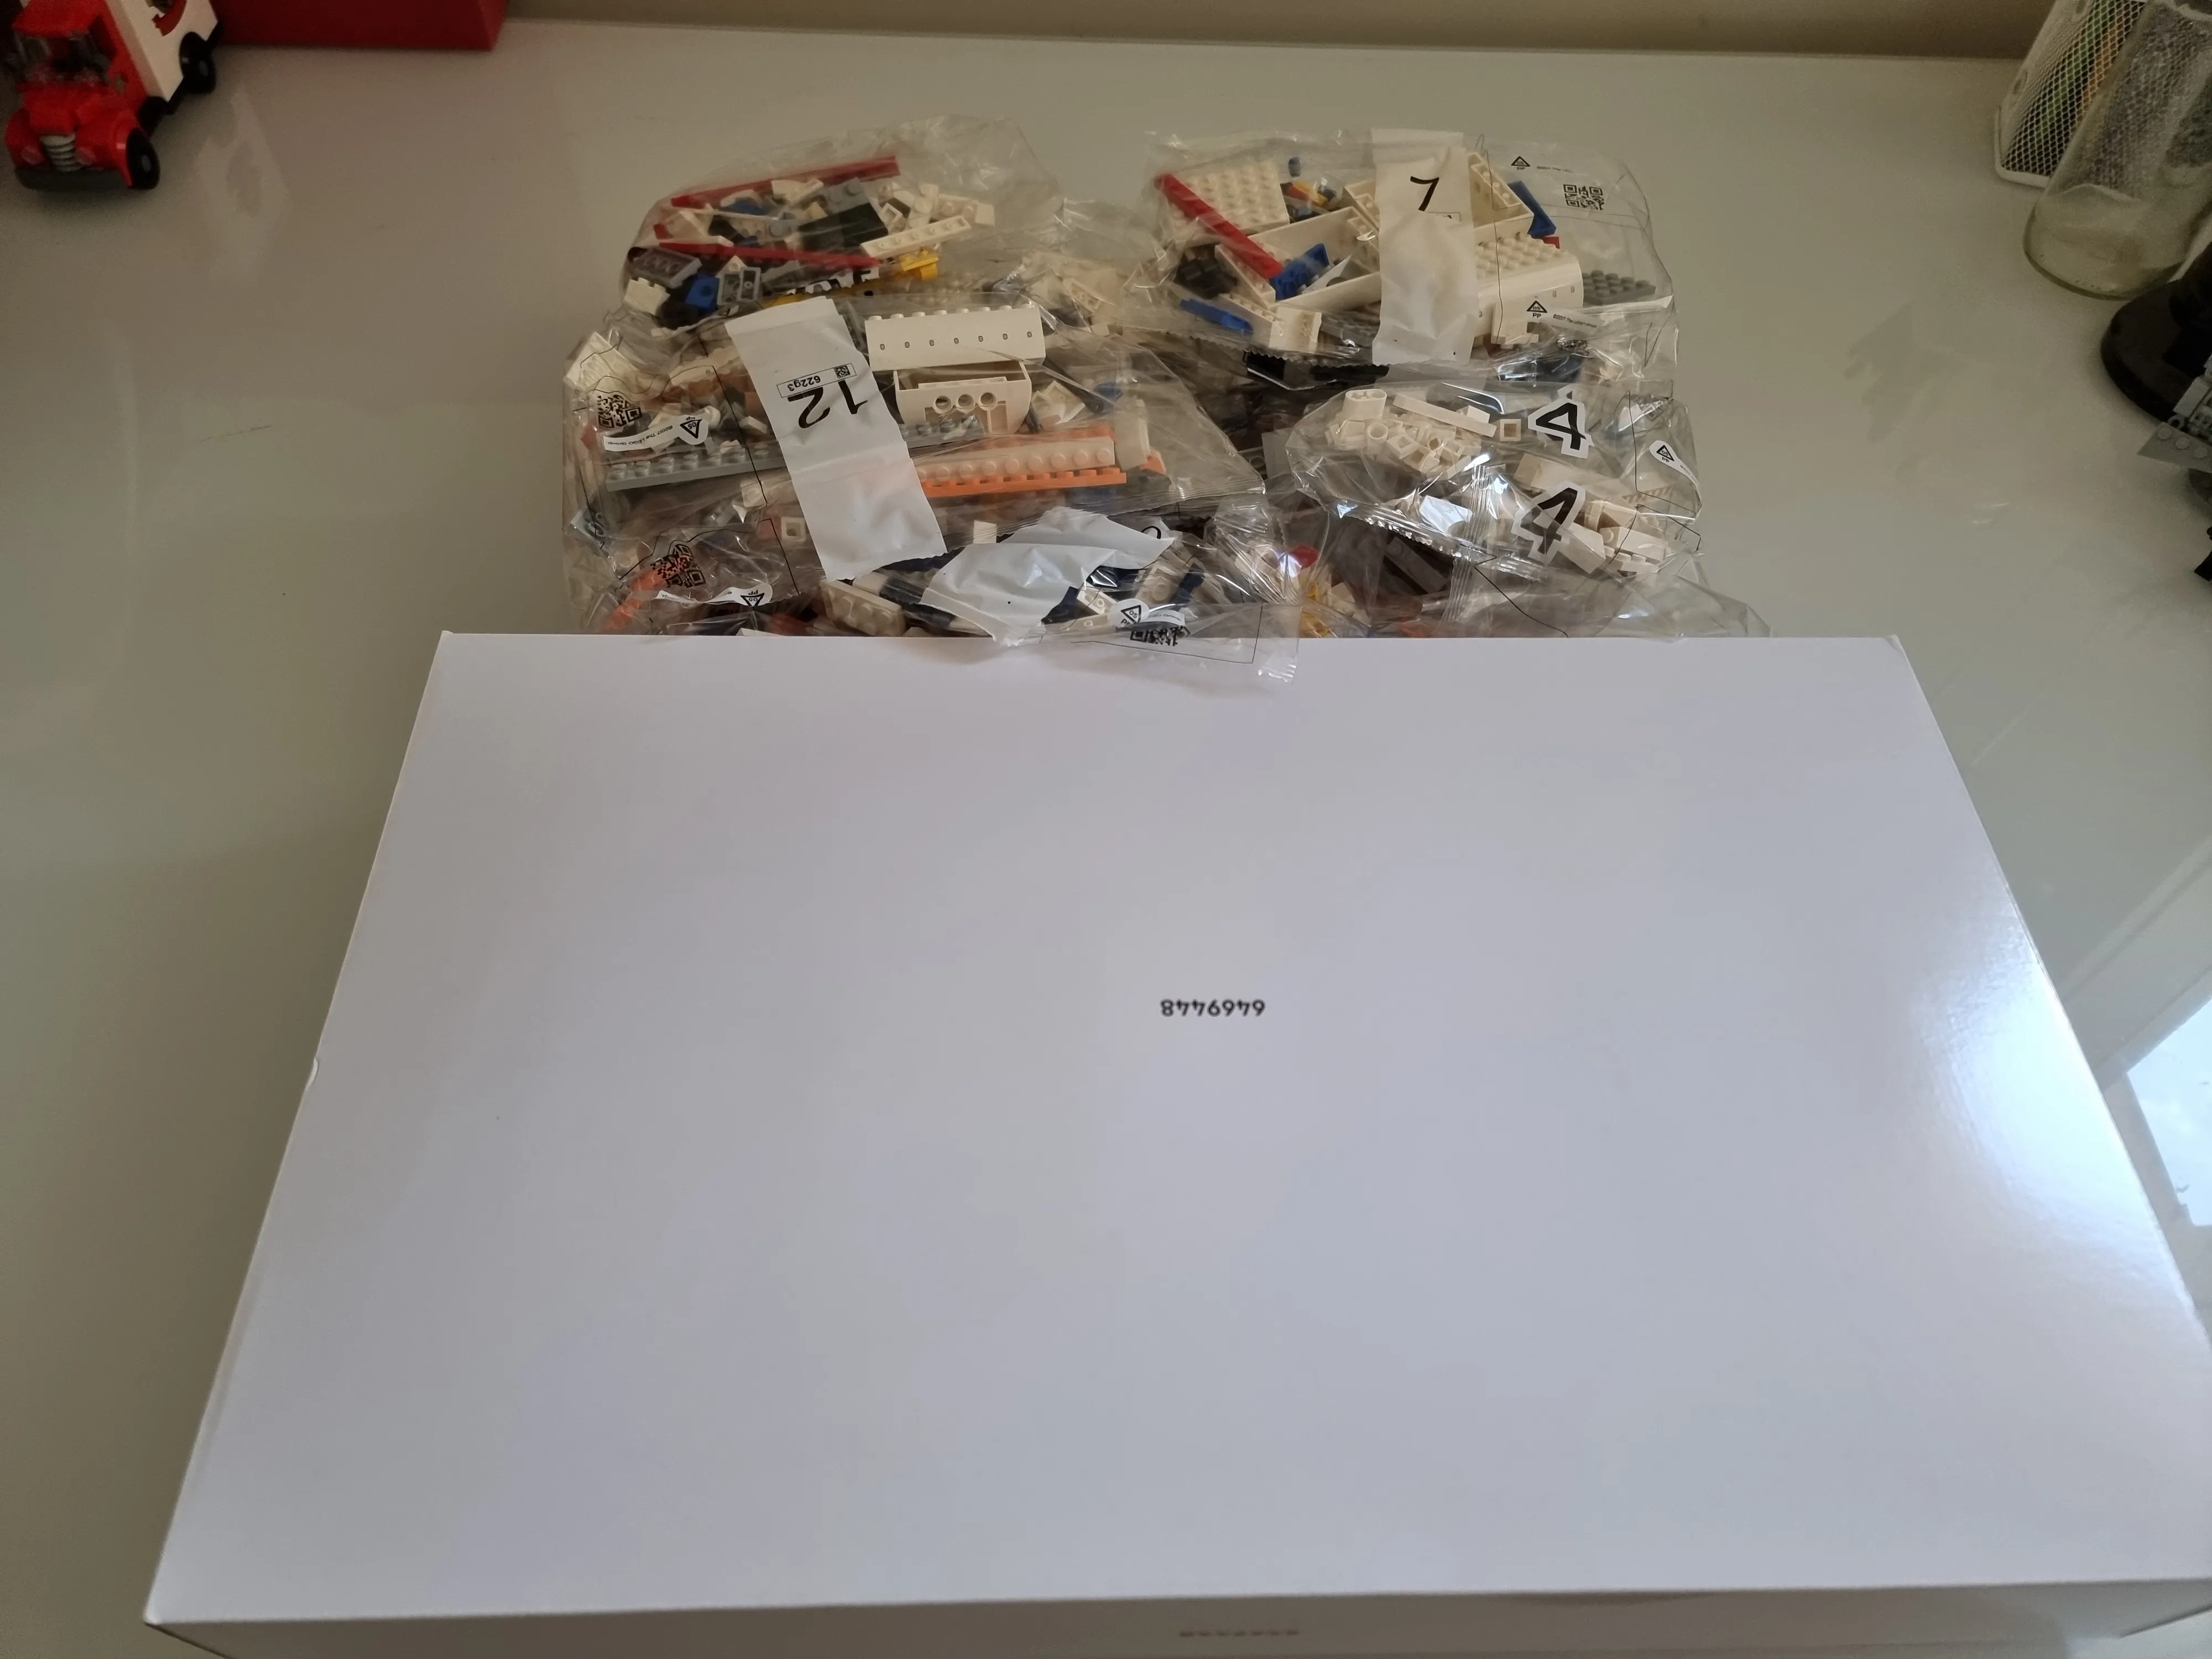
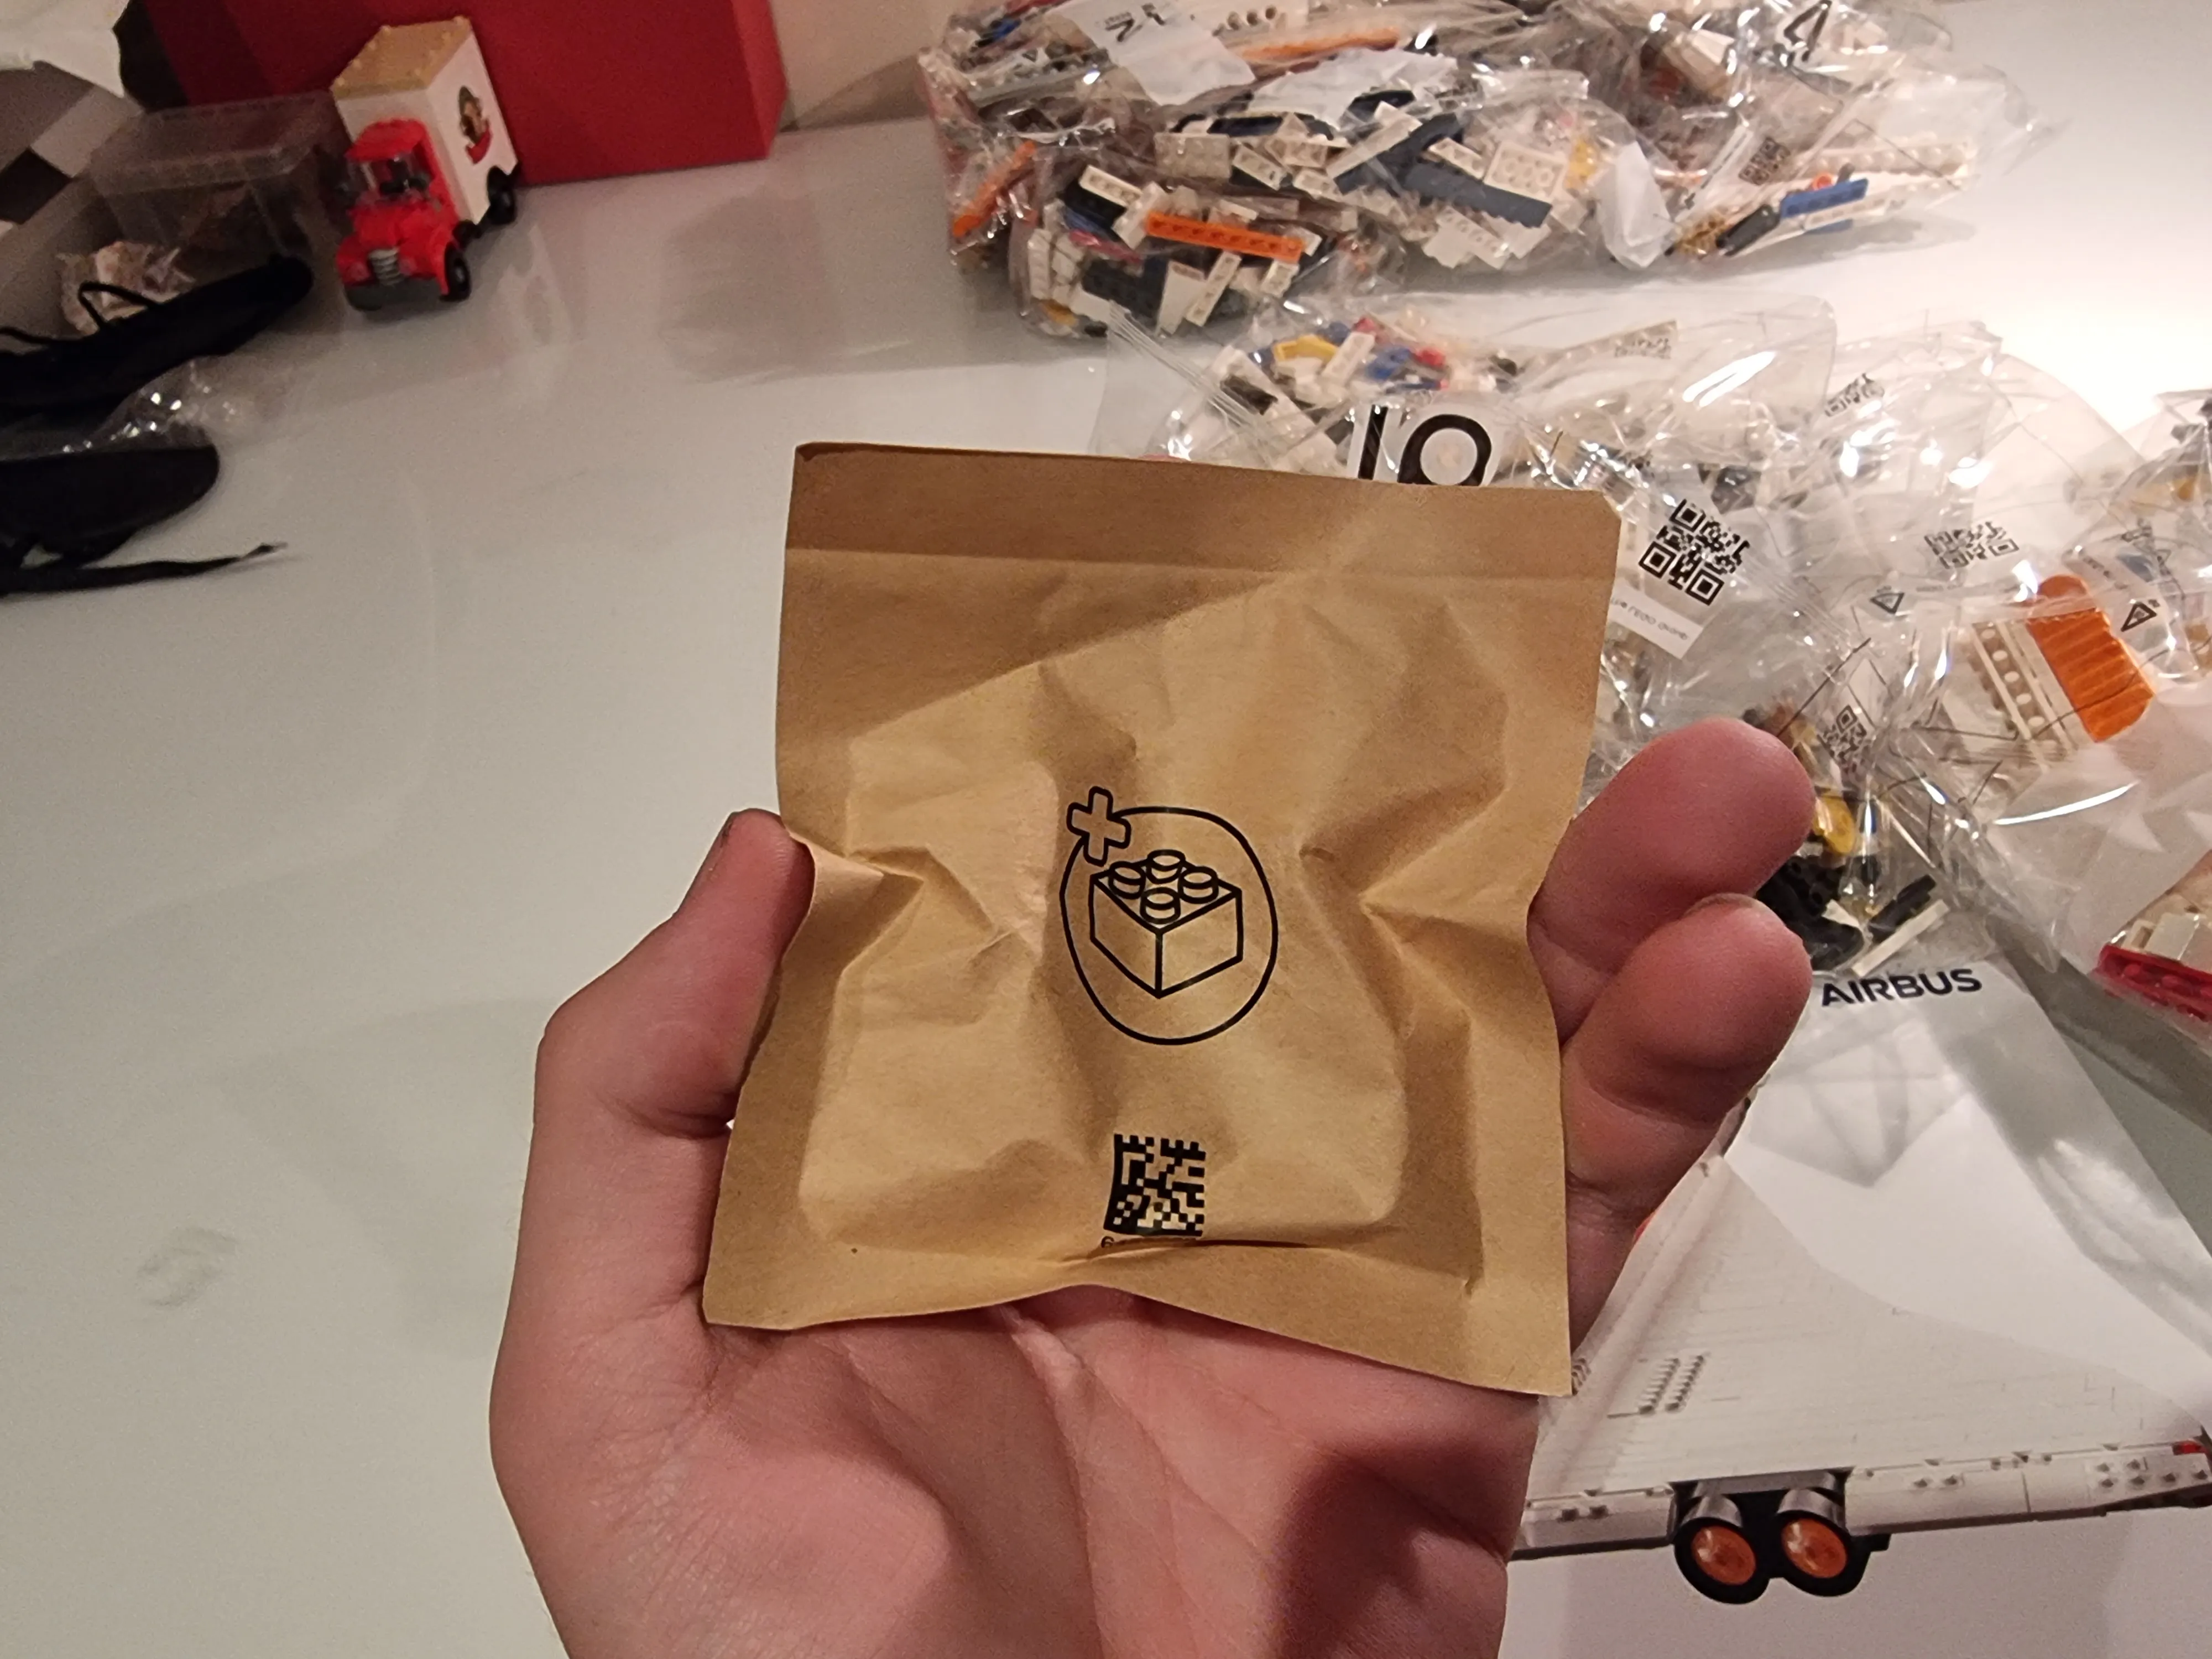
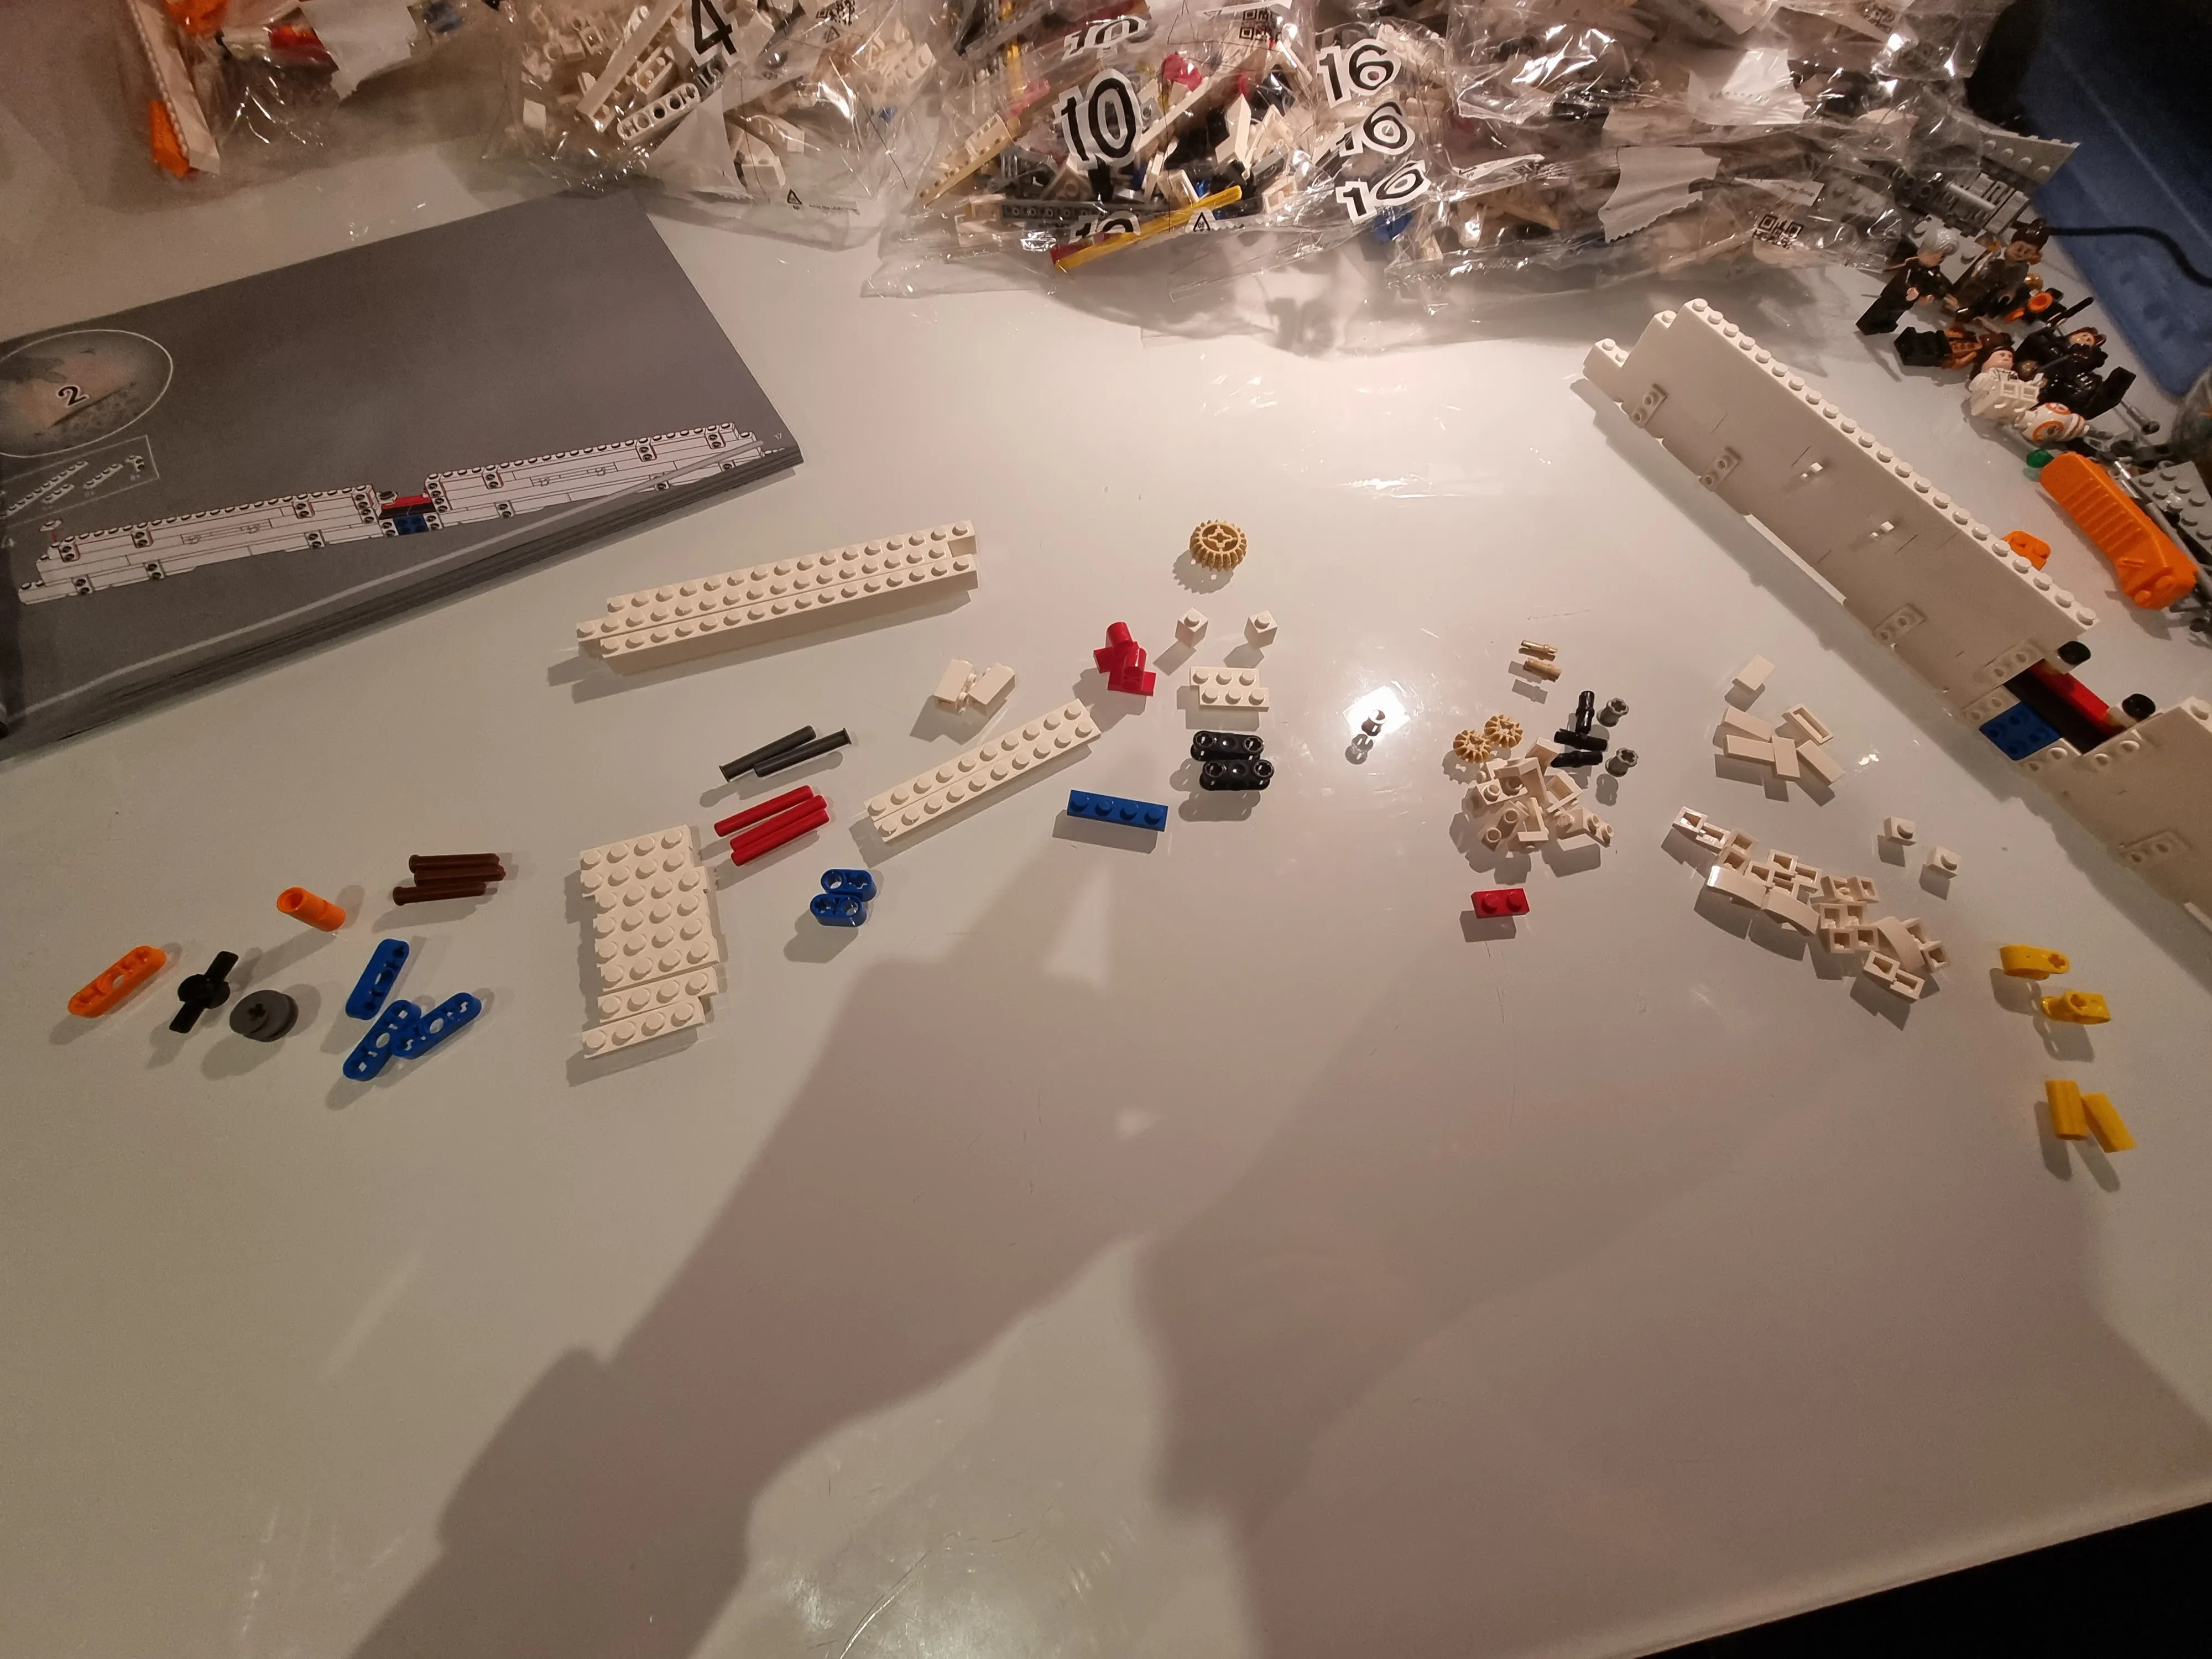
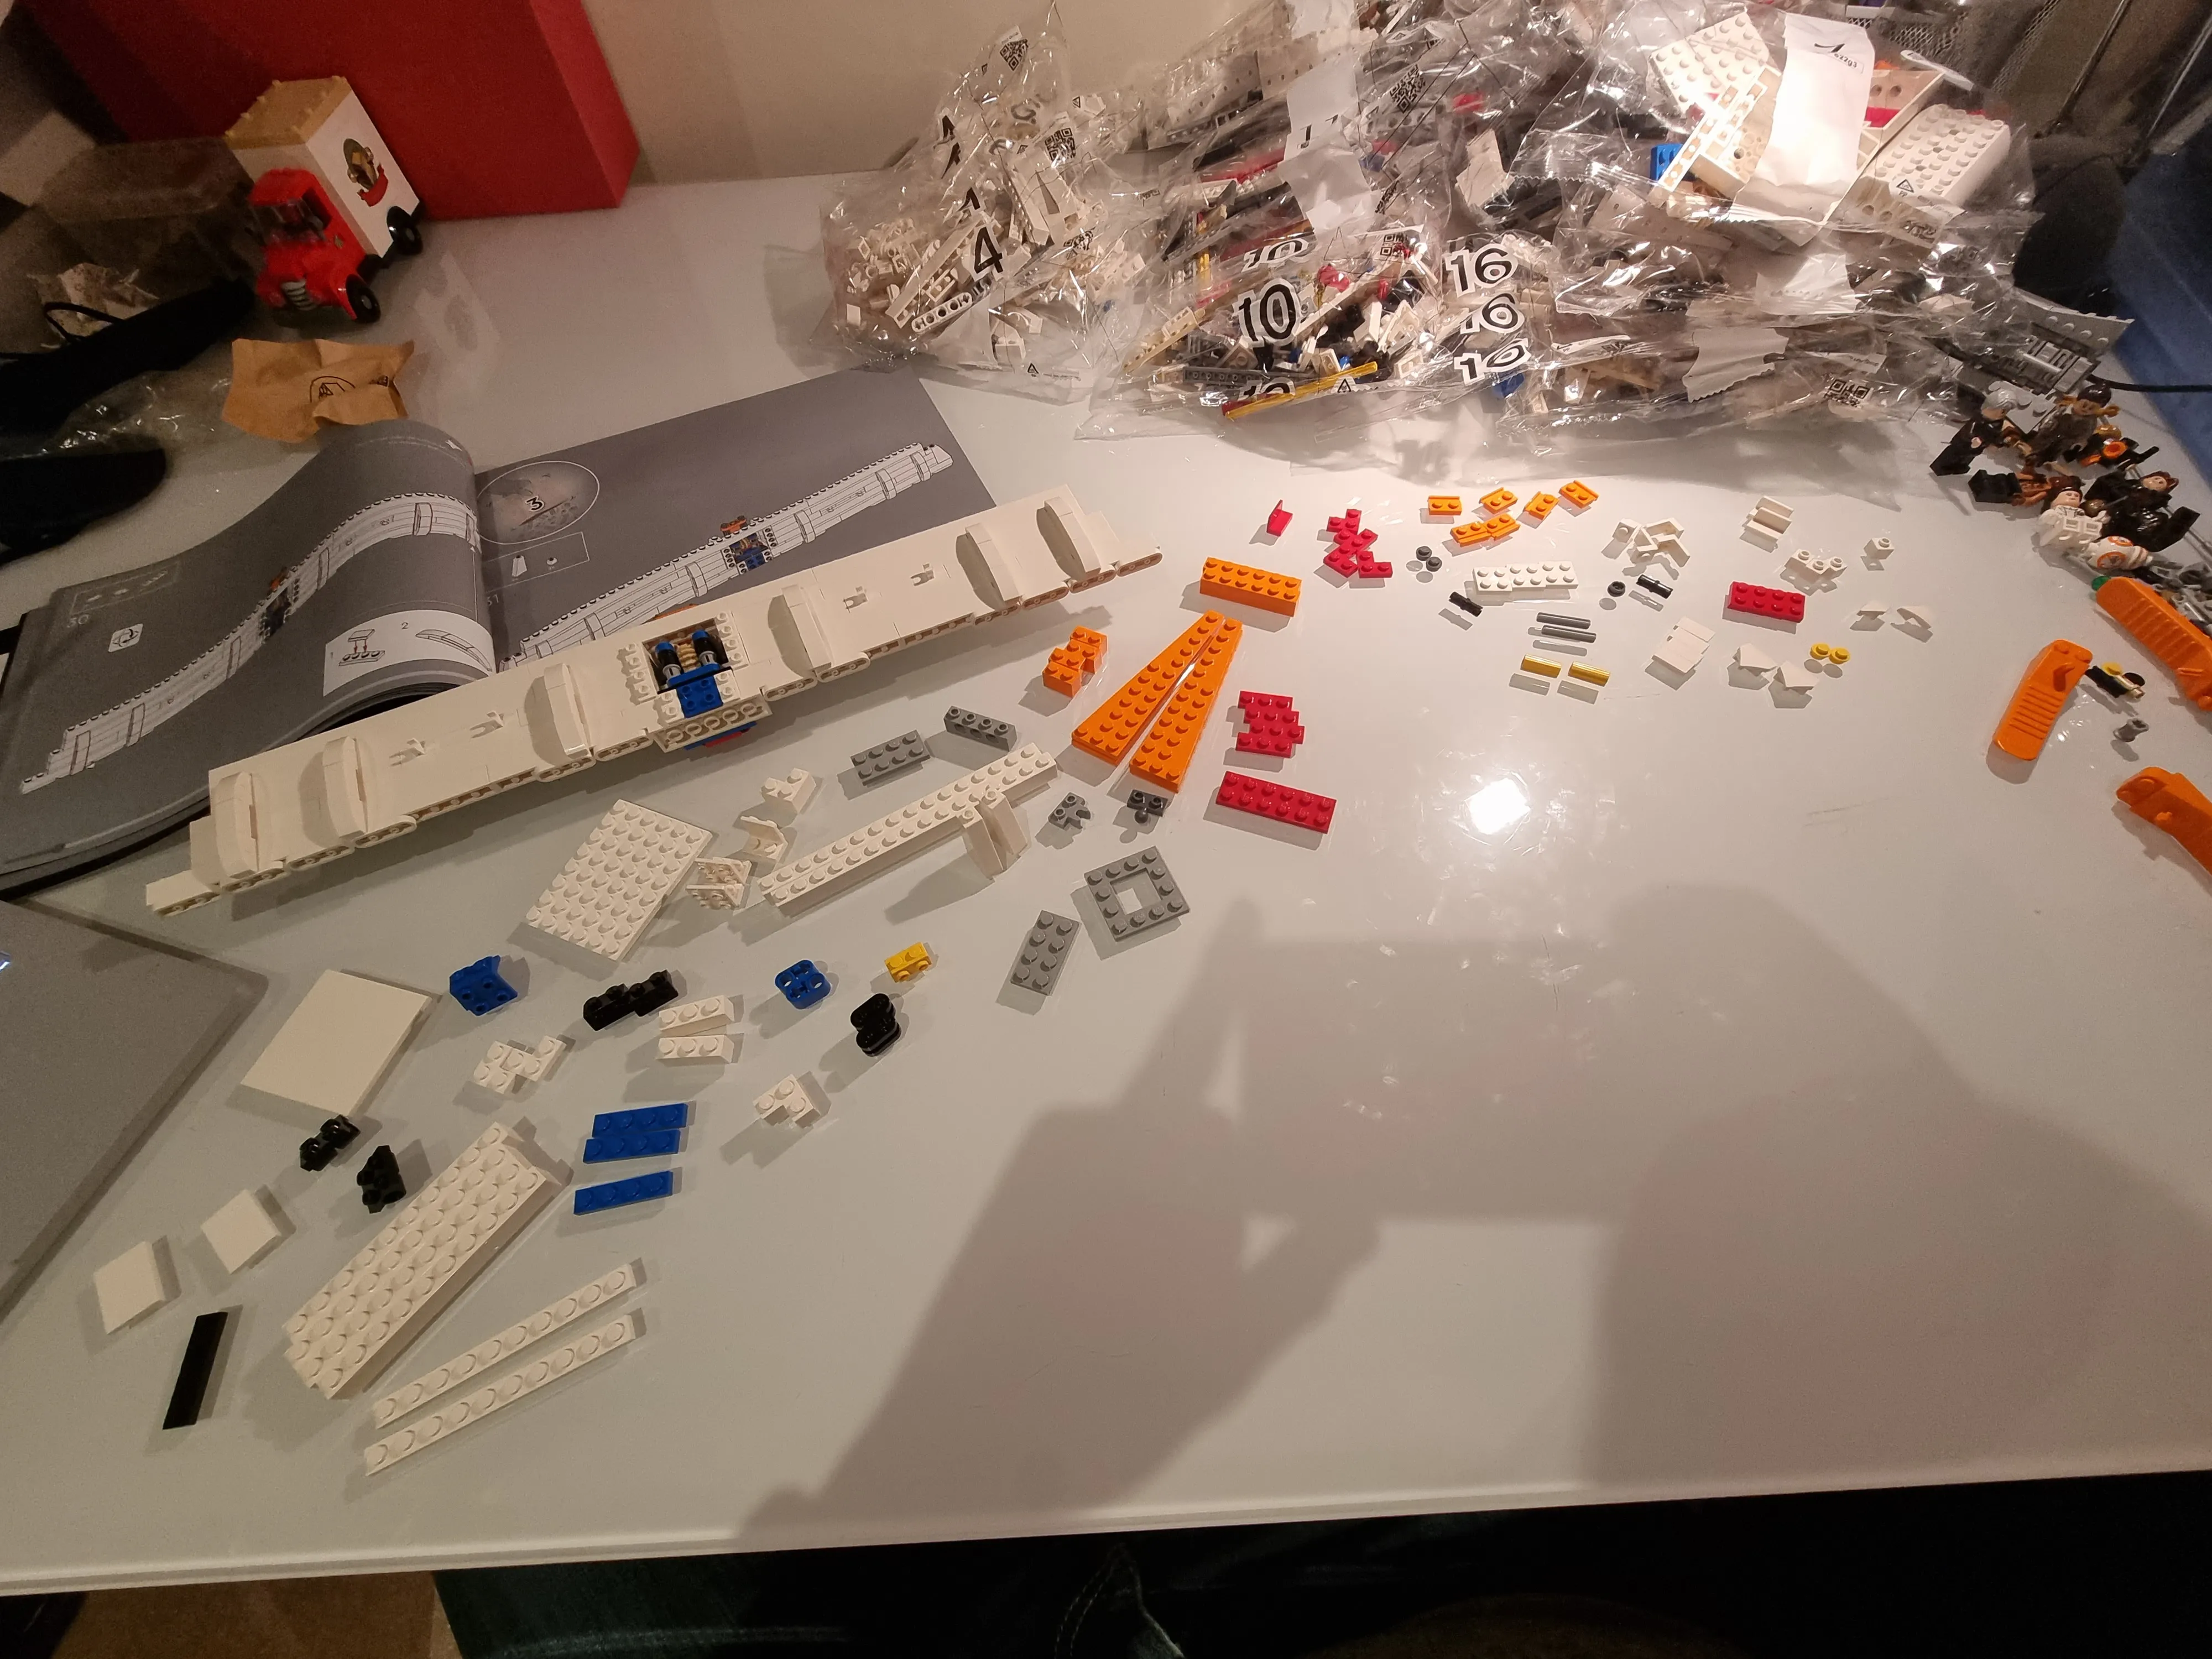
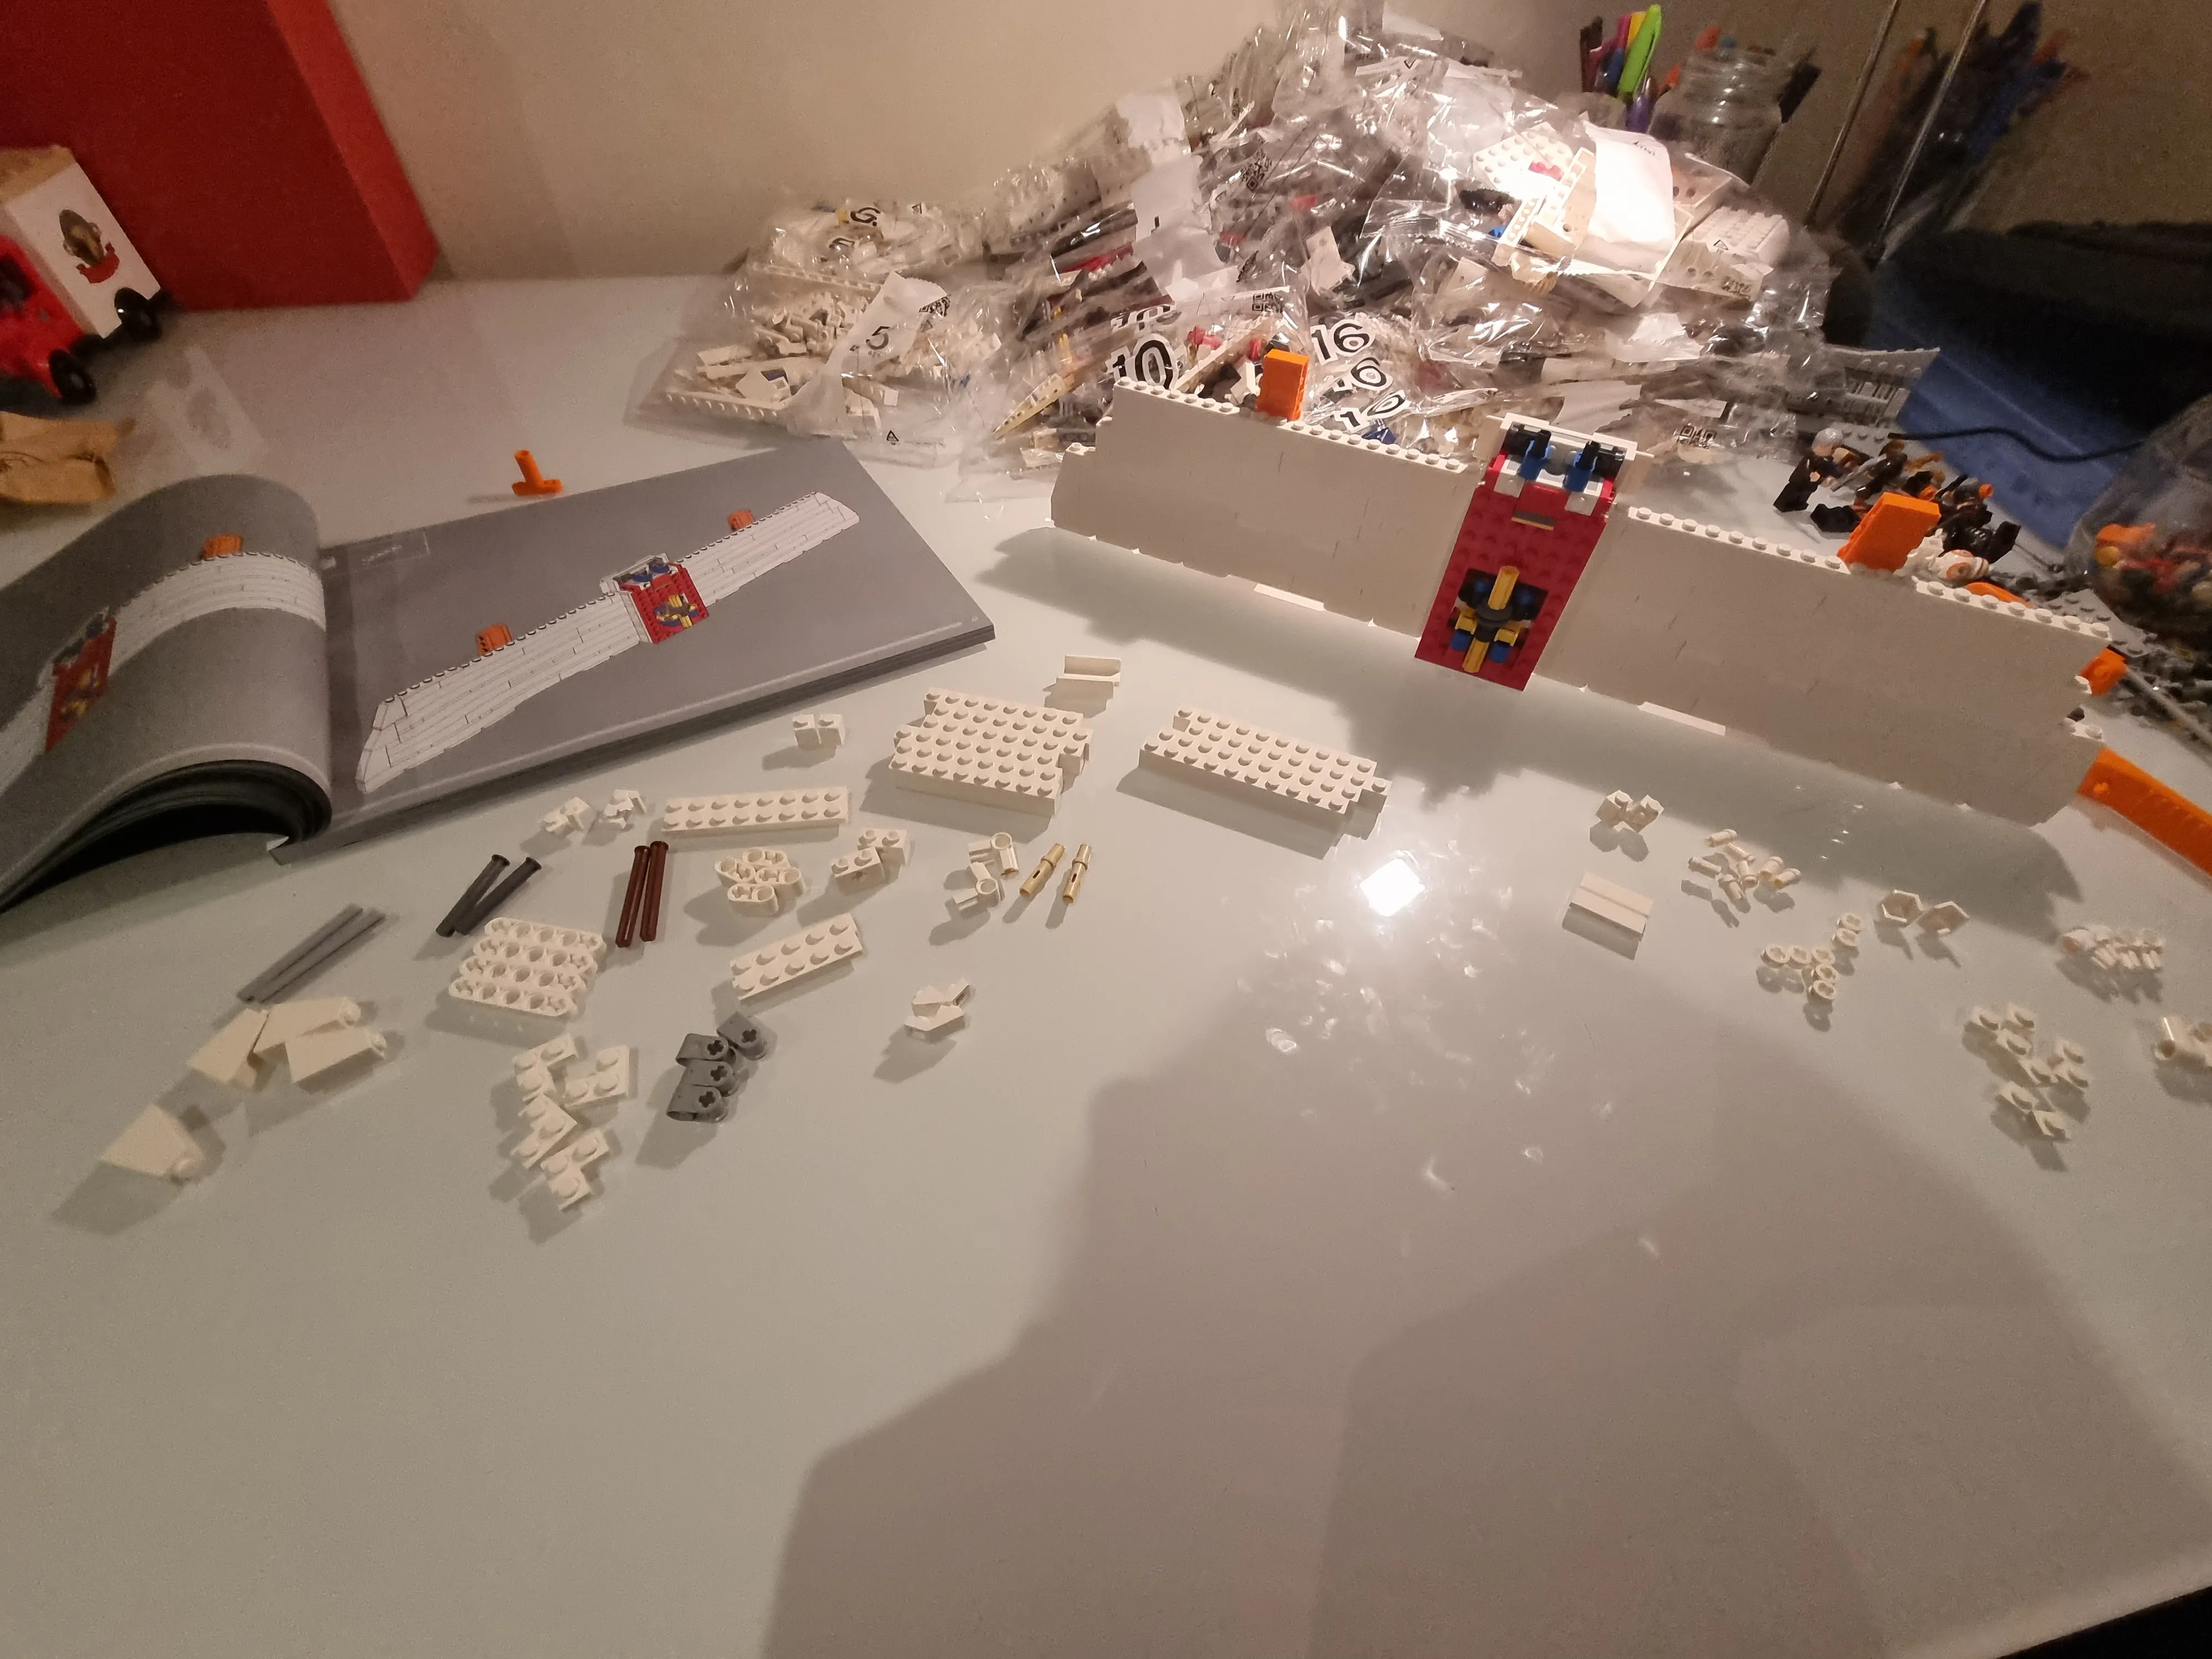
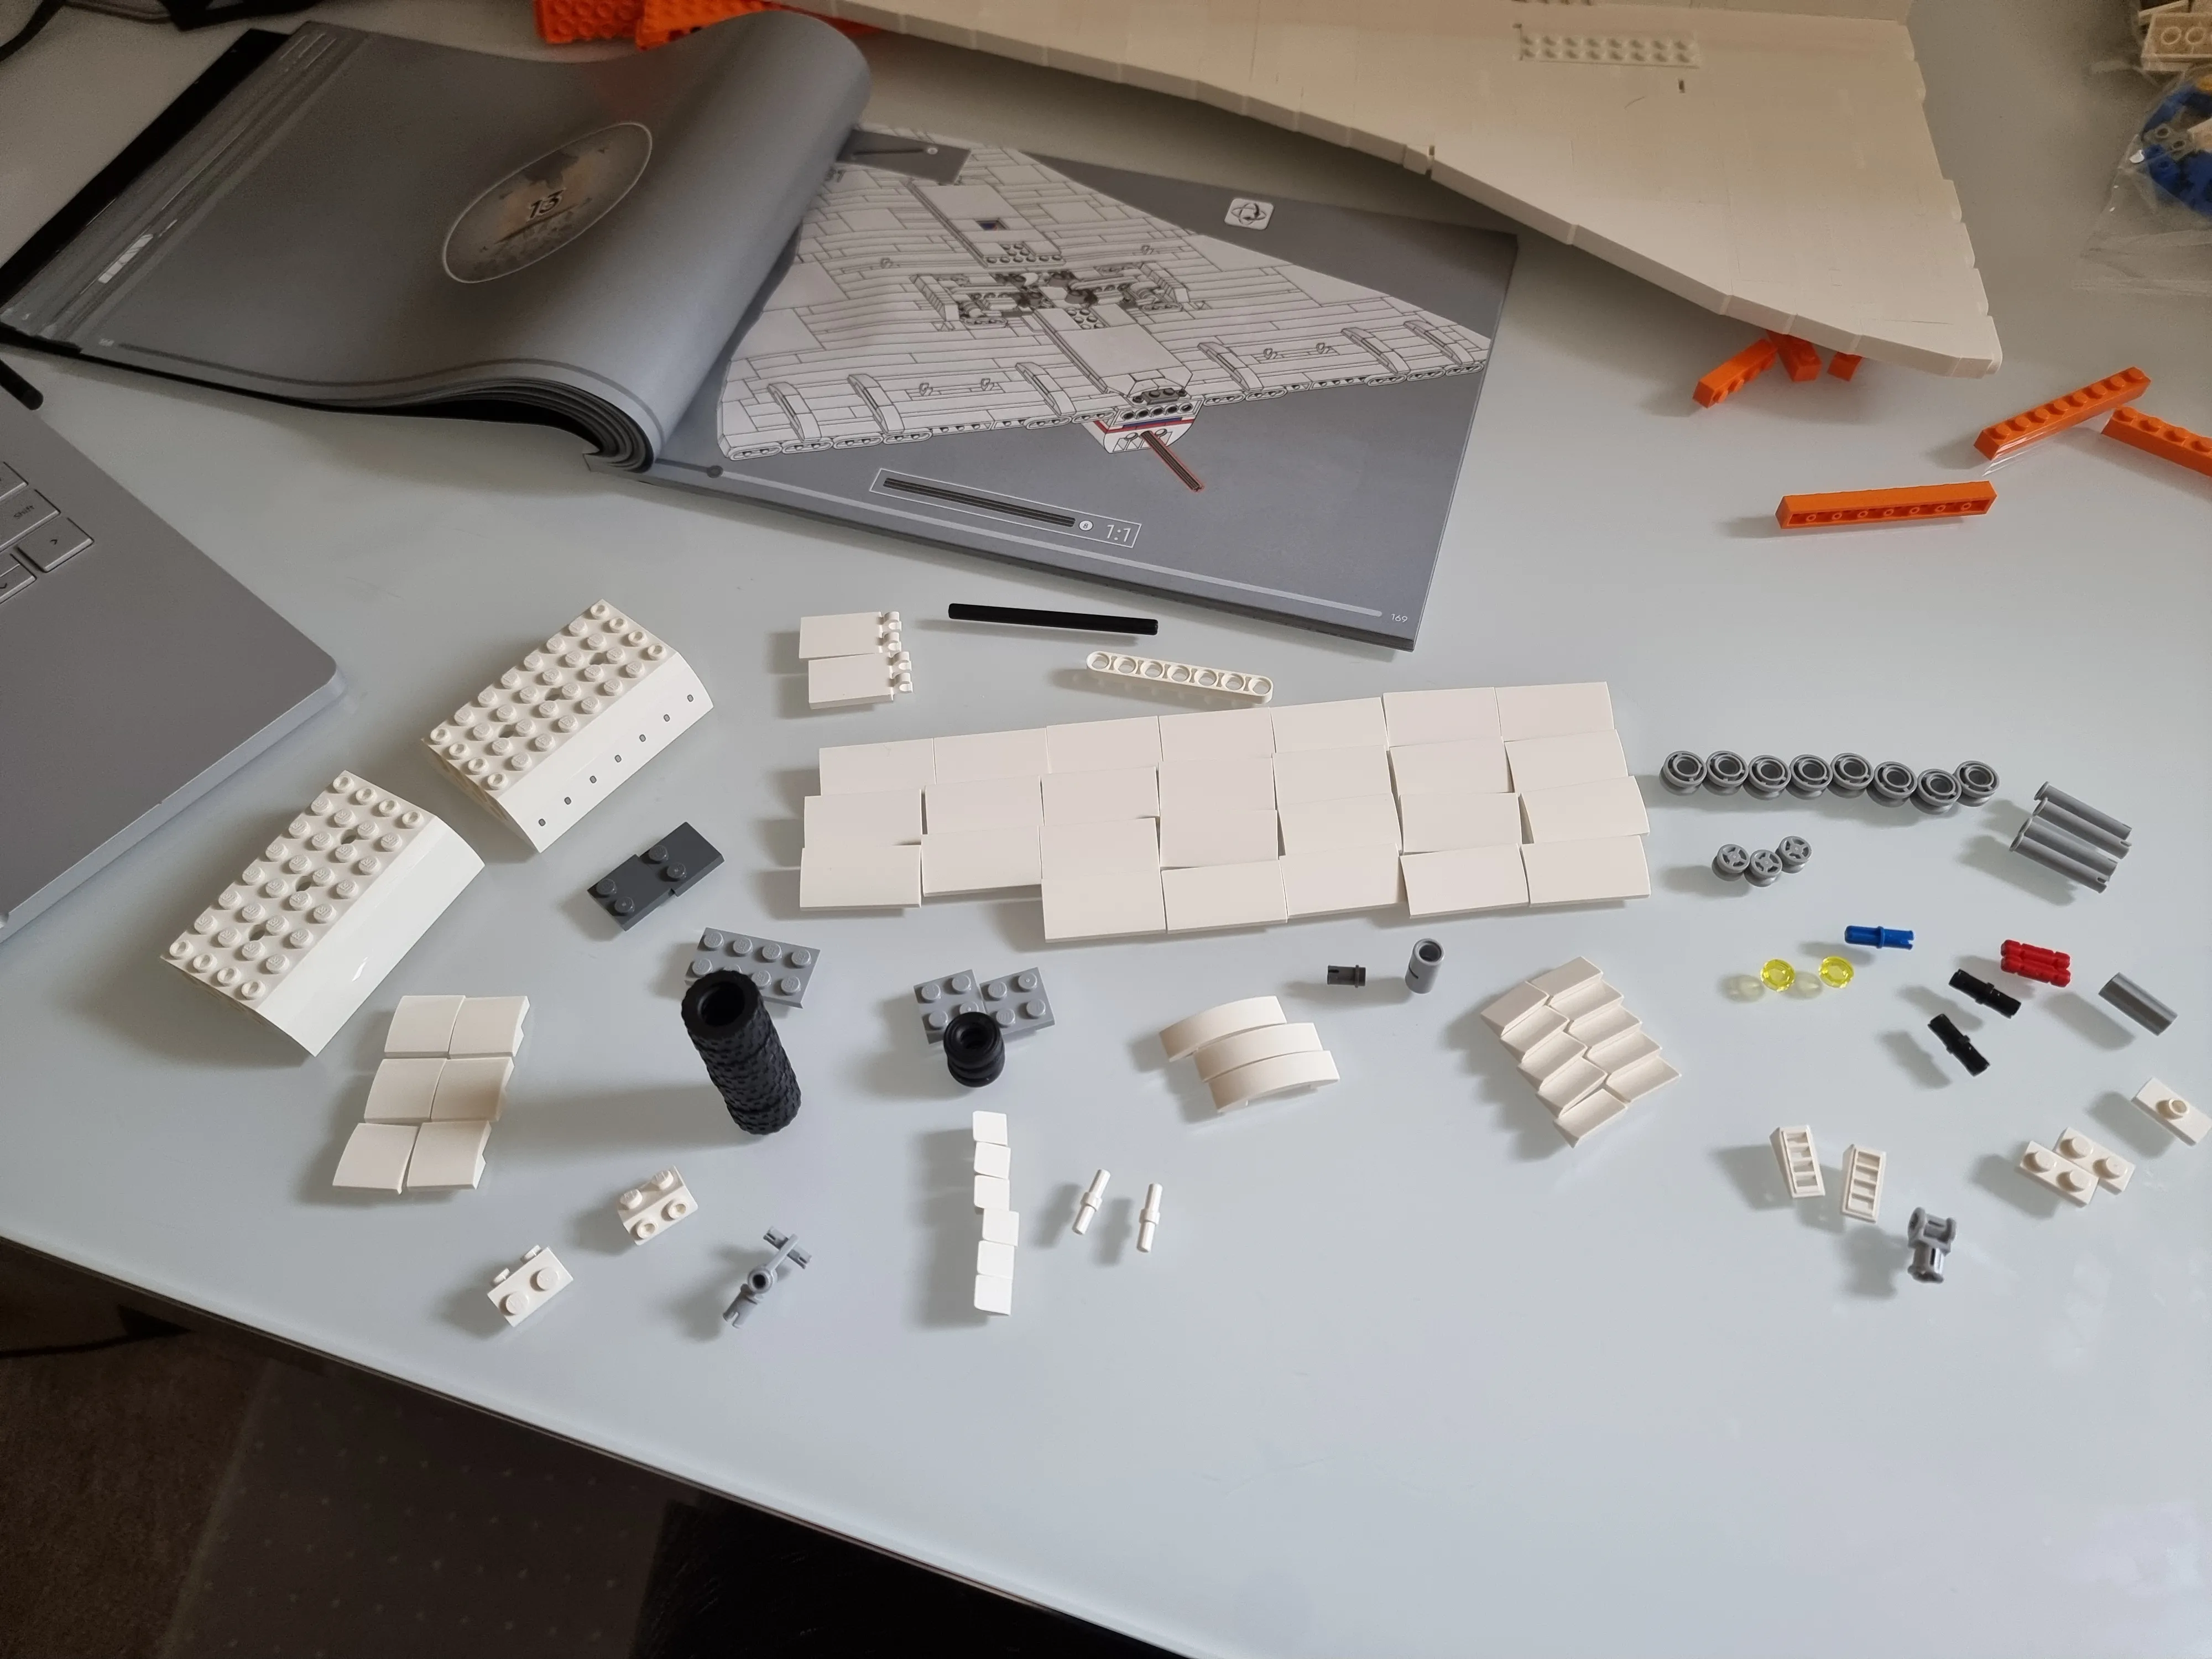
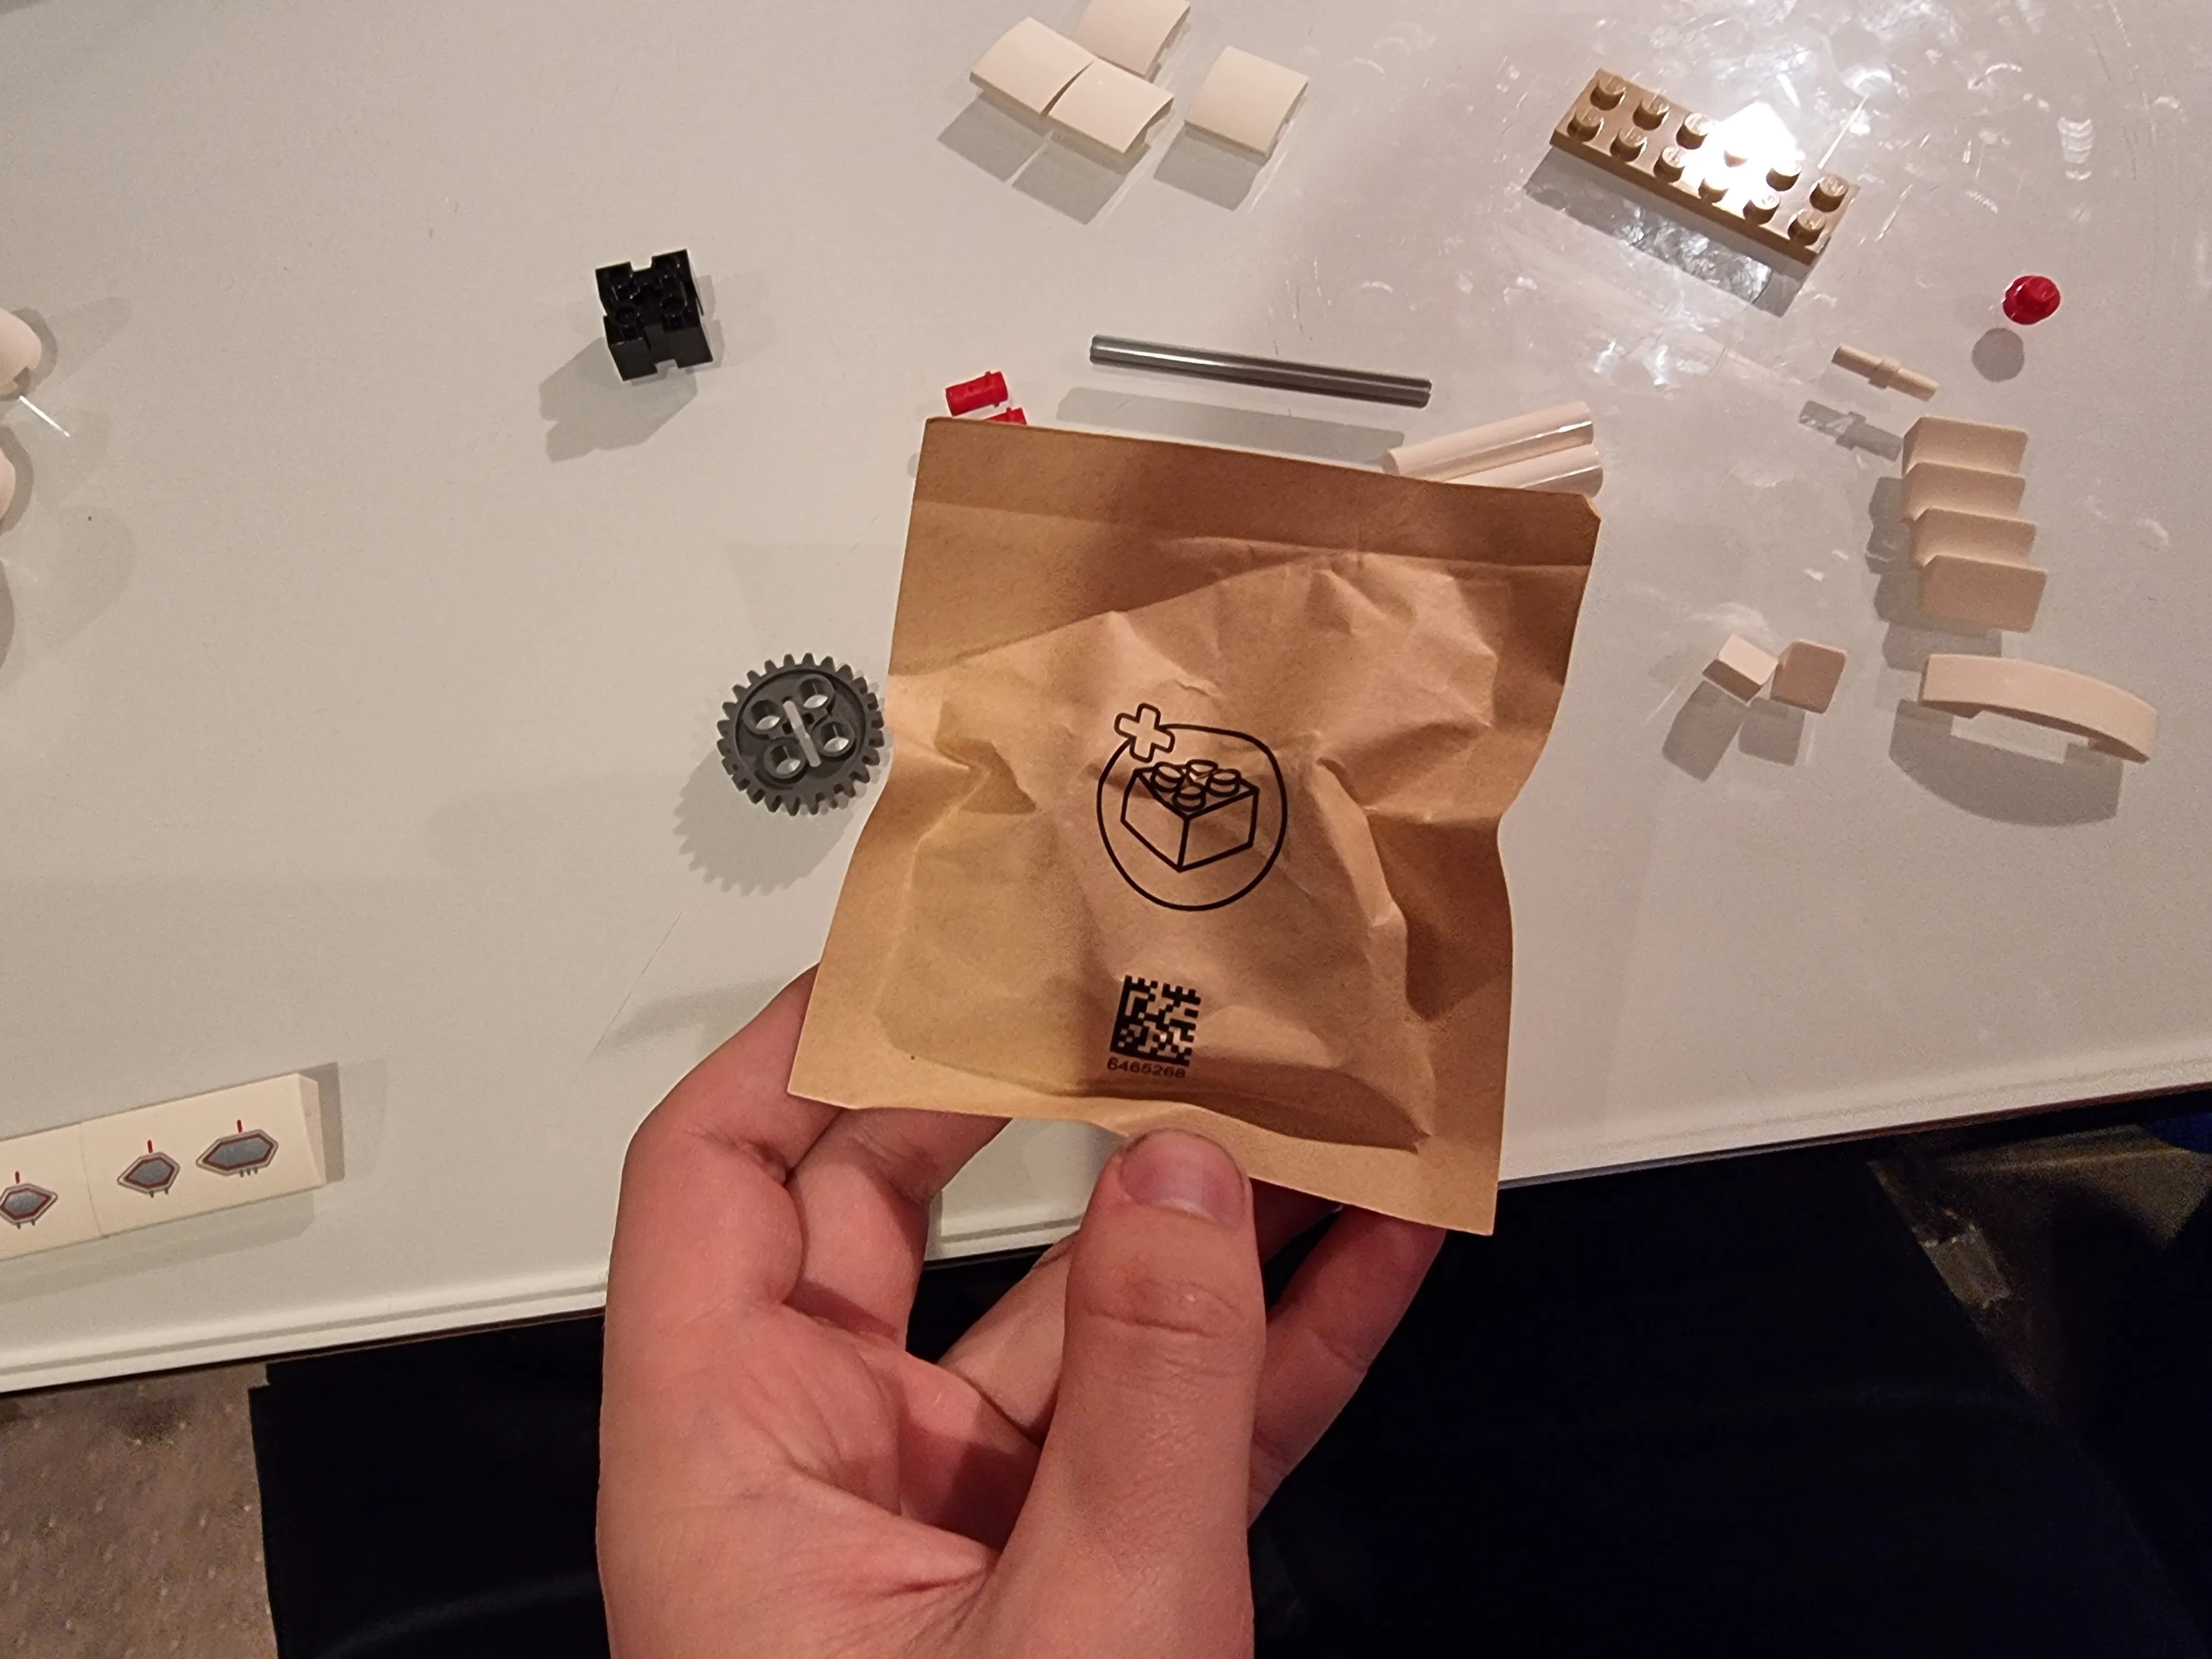
Cracking out the bags, one section is loose bags and the other is a box with the instructions, a few more bags and a mystery piece! Ooooooo, I presume they needed to alter the build but had already setup the production line so it’s cheaper to do this. I am excited to see what will ultimately be a very mundane piece.
Bags:
| Bag # | Number of Bags |
|---|---|
| 1 | 1 |
| 2 | 1 |
| 3 | 1 |
| 4 | 1 |
| 5 | 1 |
| 6 | 1 |
| 7 | 1 |
| 8 | 1 |
| 9 | 1 |
| 10 | 1 |
| 11 | 1 |
| 12 | 1 |
| 13 | 1 |
| 14 | 1 |
| 15 | 1 |
| 16 | 1 |
| 17 | 1 |
| 18 | 1 |
| 19 | 1 |
| 20 | 1 |
| 21 | 1 |
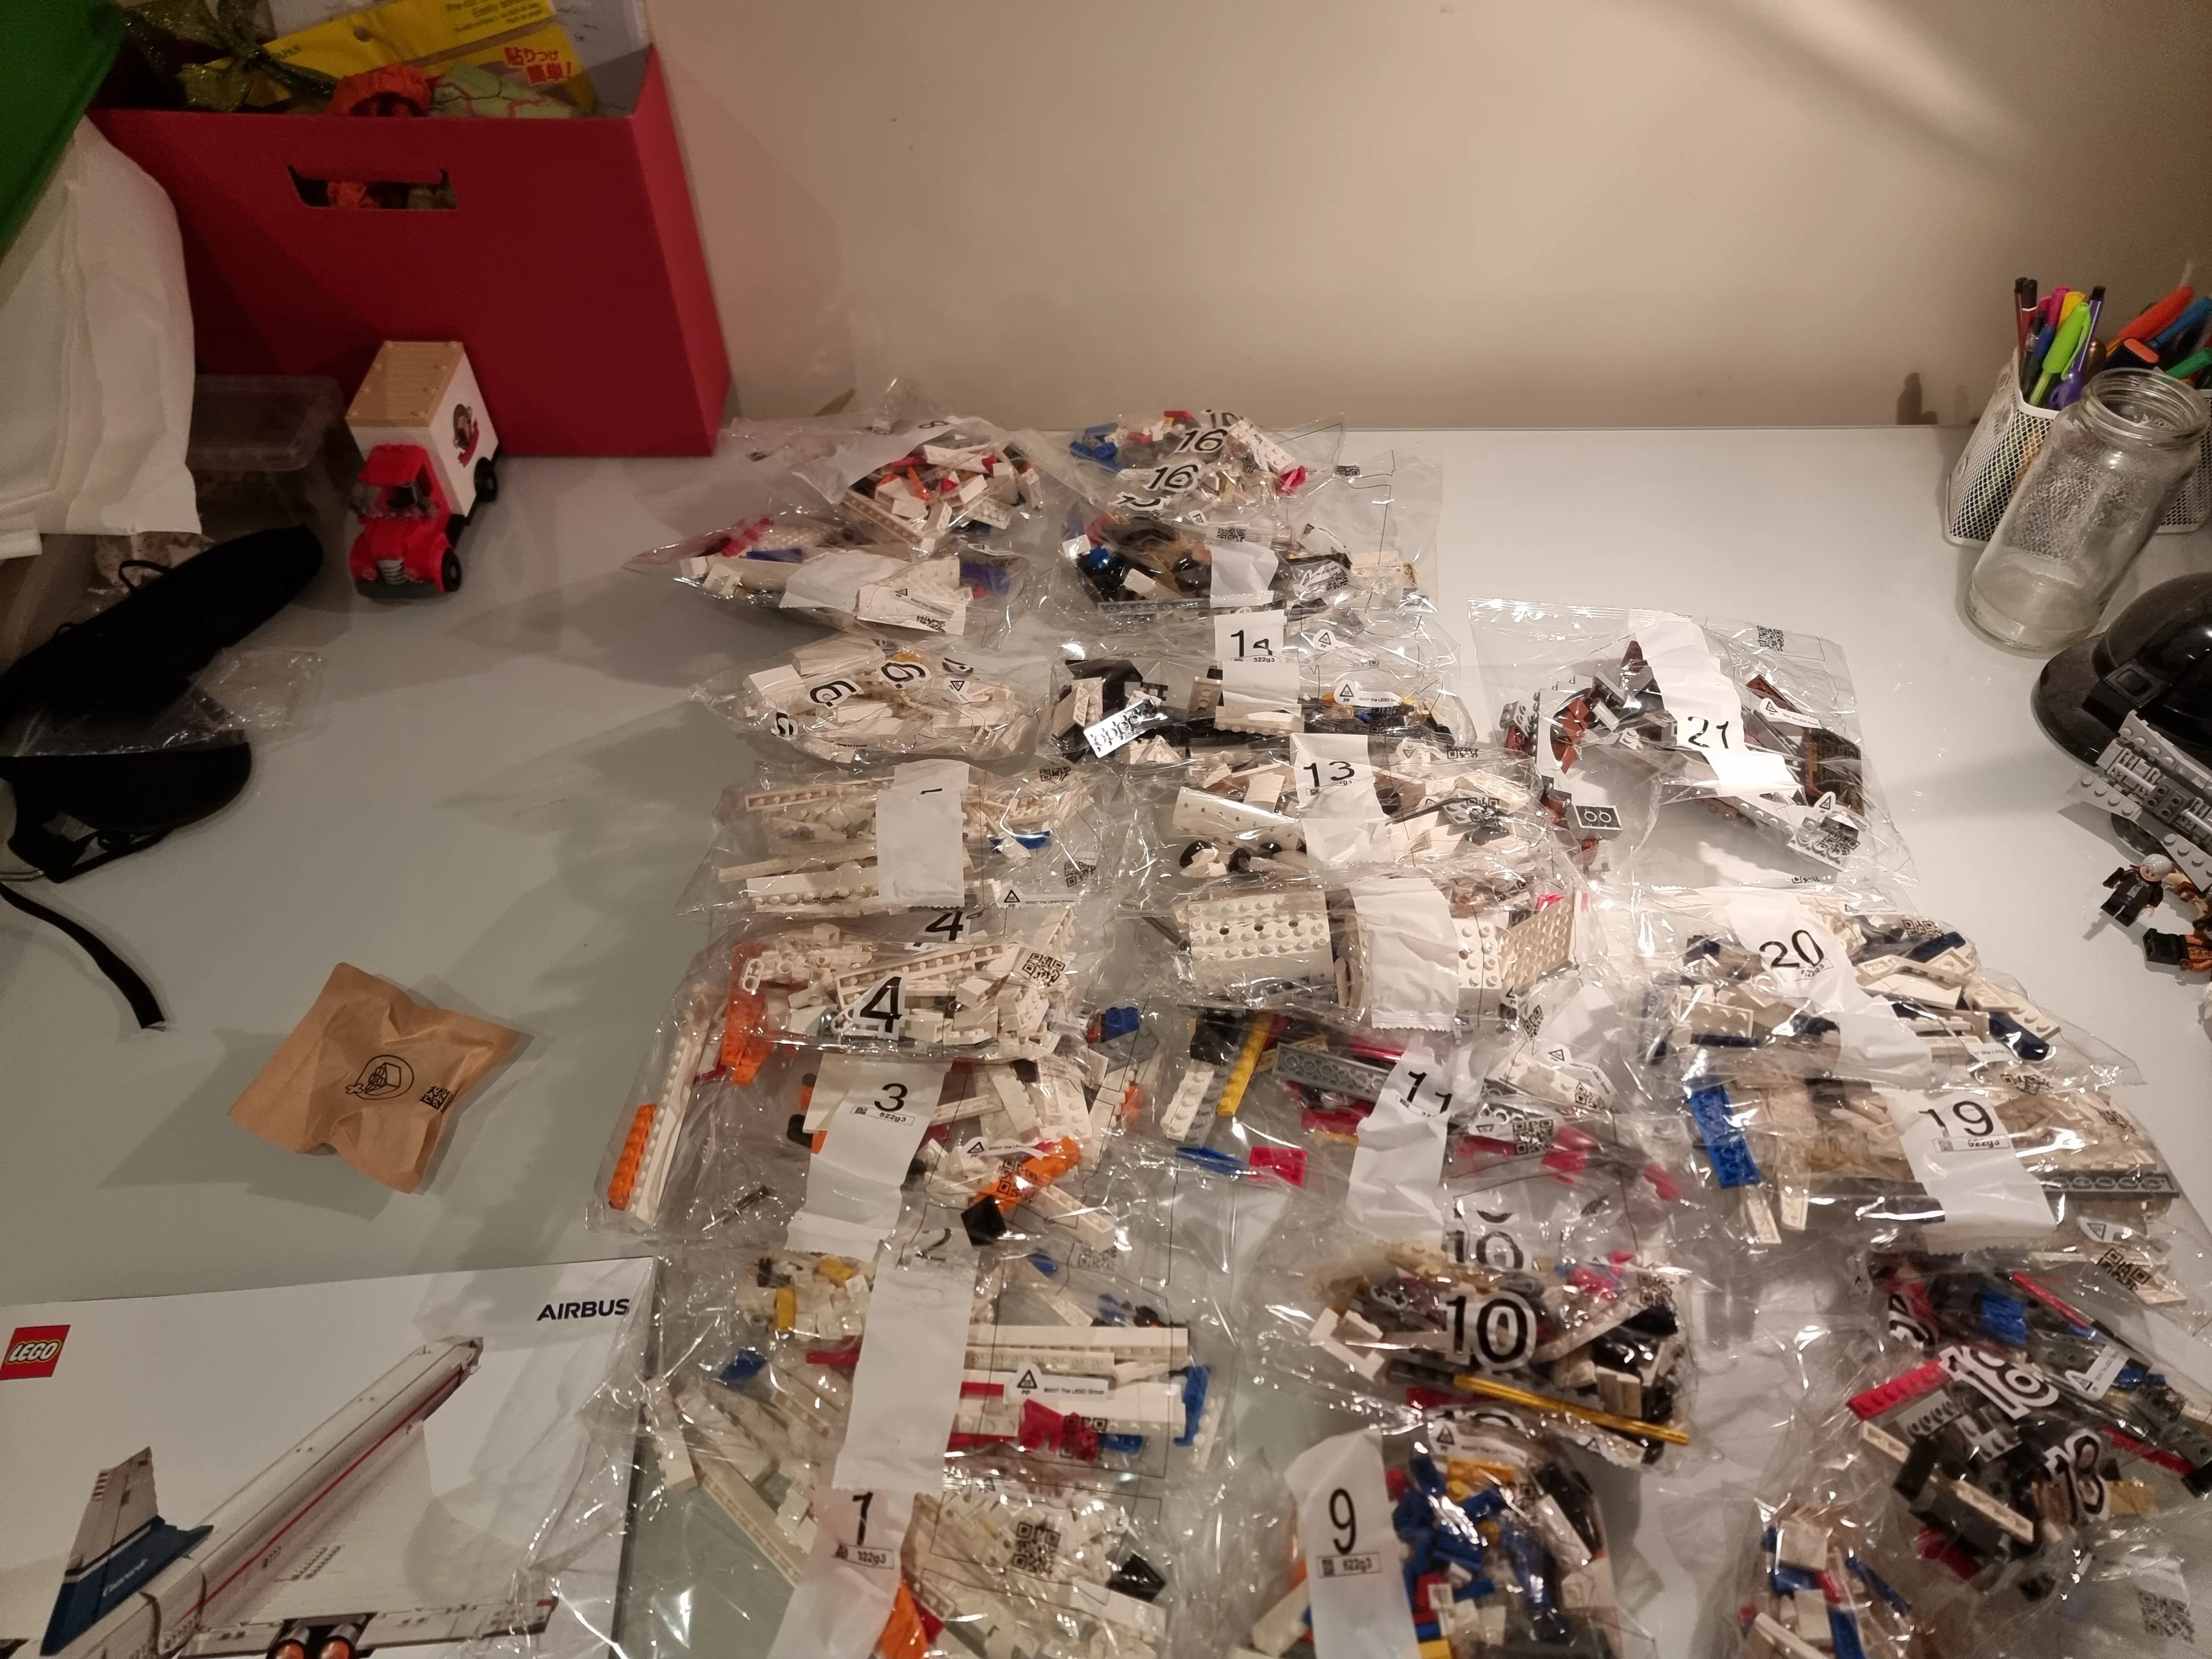
There is only 1 bag per number?? After spending months on the Millennium Falcon this is a nice surprise. There was 2 times where I thought I grabbed all the bags for a section only to discover I was missing one. Fortunately I found them but I had to do a bit of searching to confirm that I was missing a bag. I like starting and stopping when a bag is finished so this is a nice change because I can immediately see if a bag has a lot or few pieces.
Bag 1
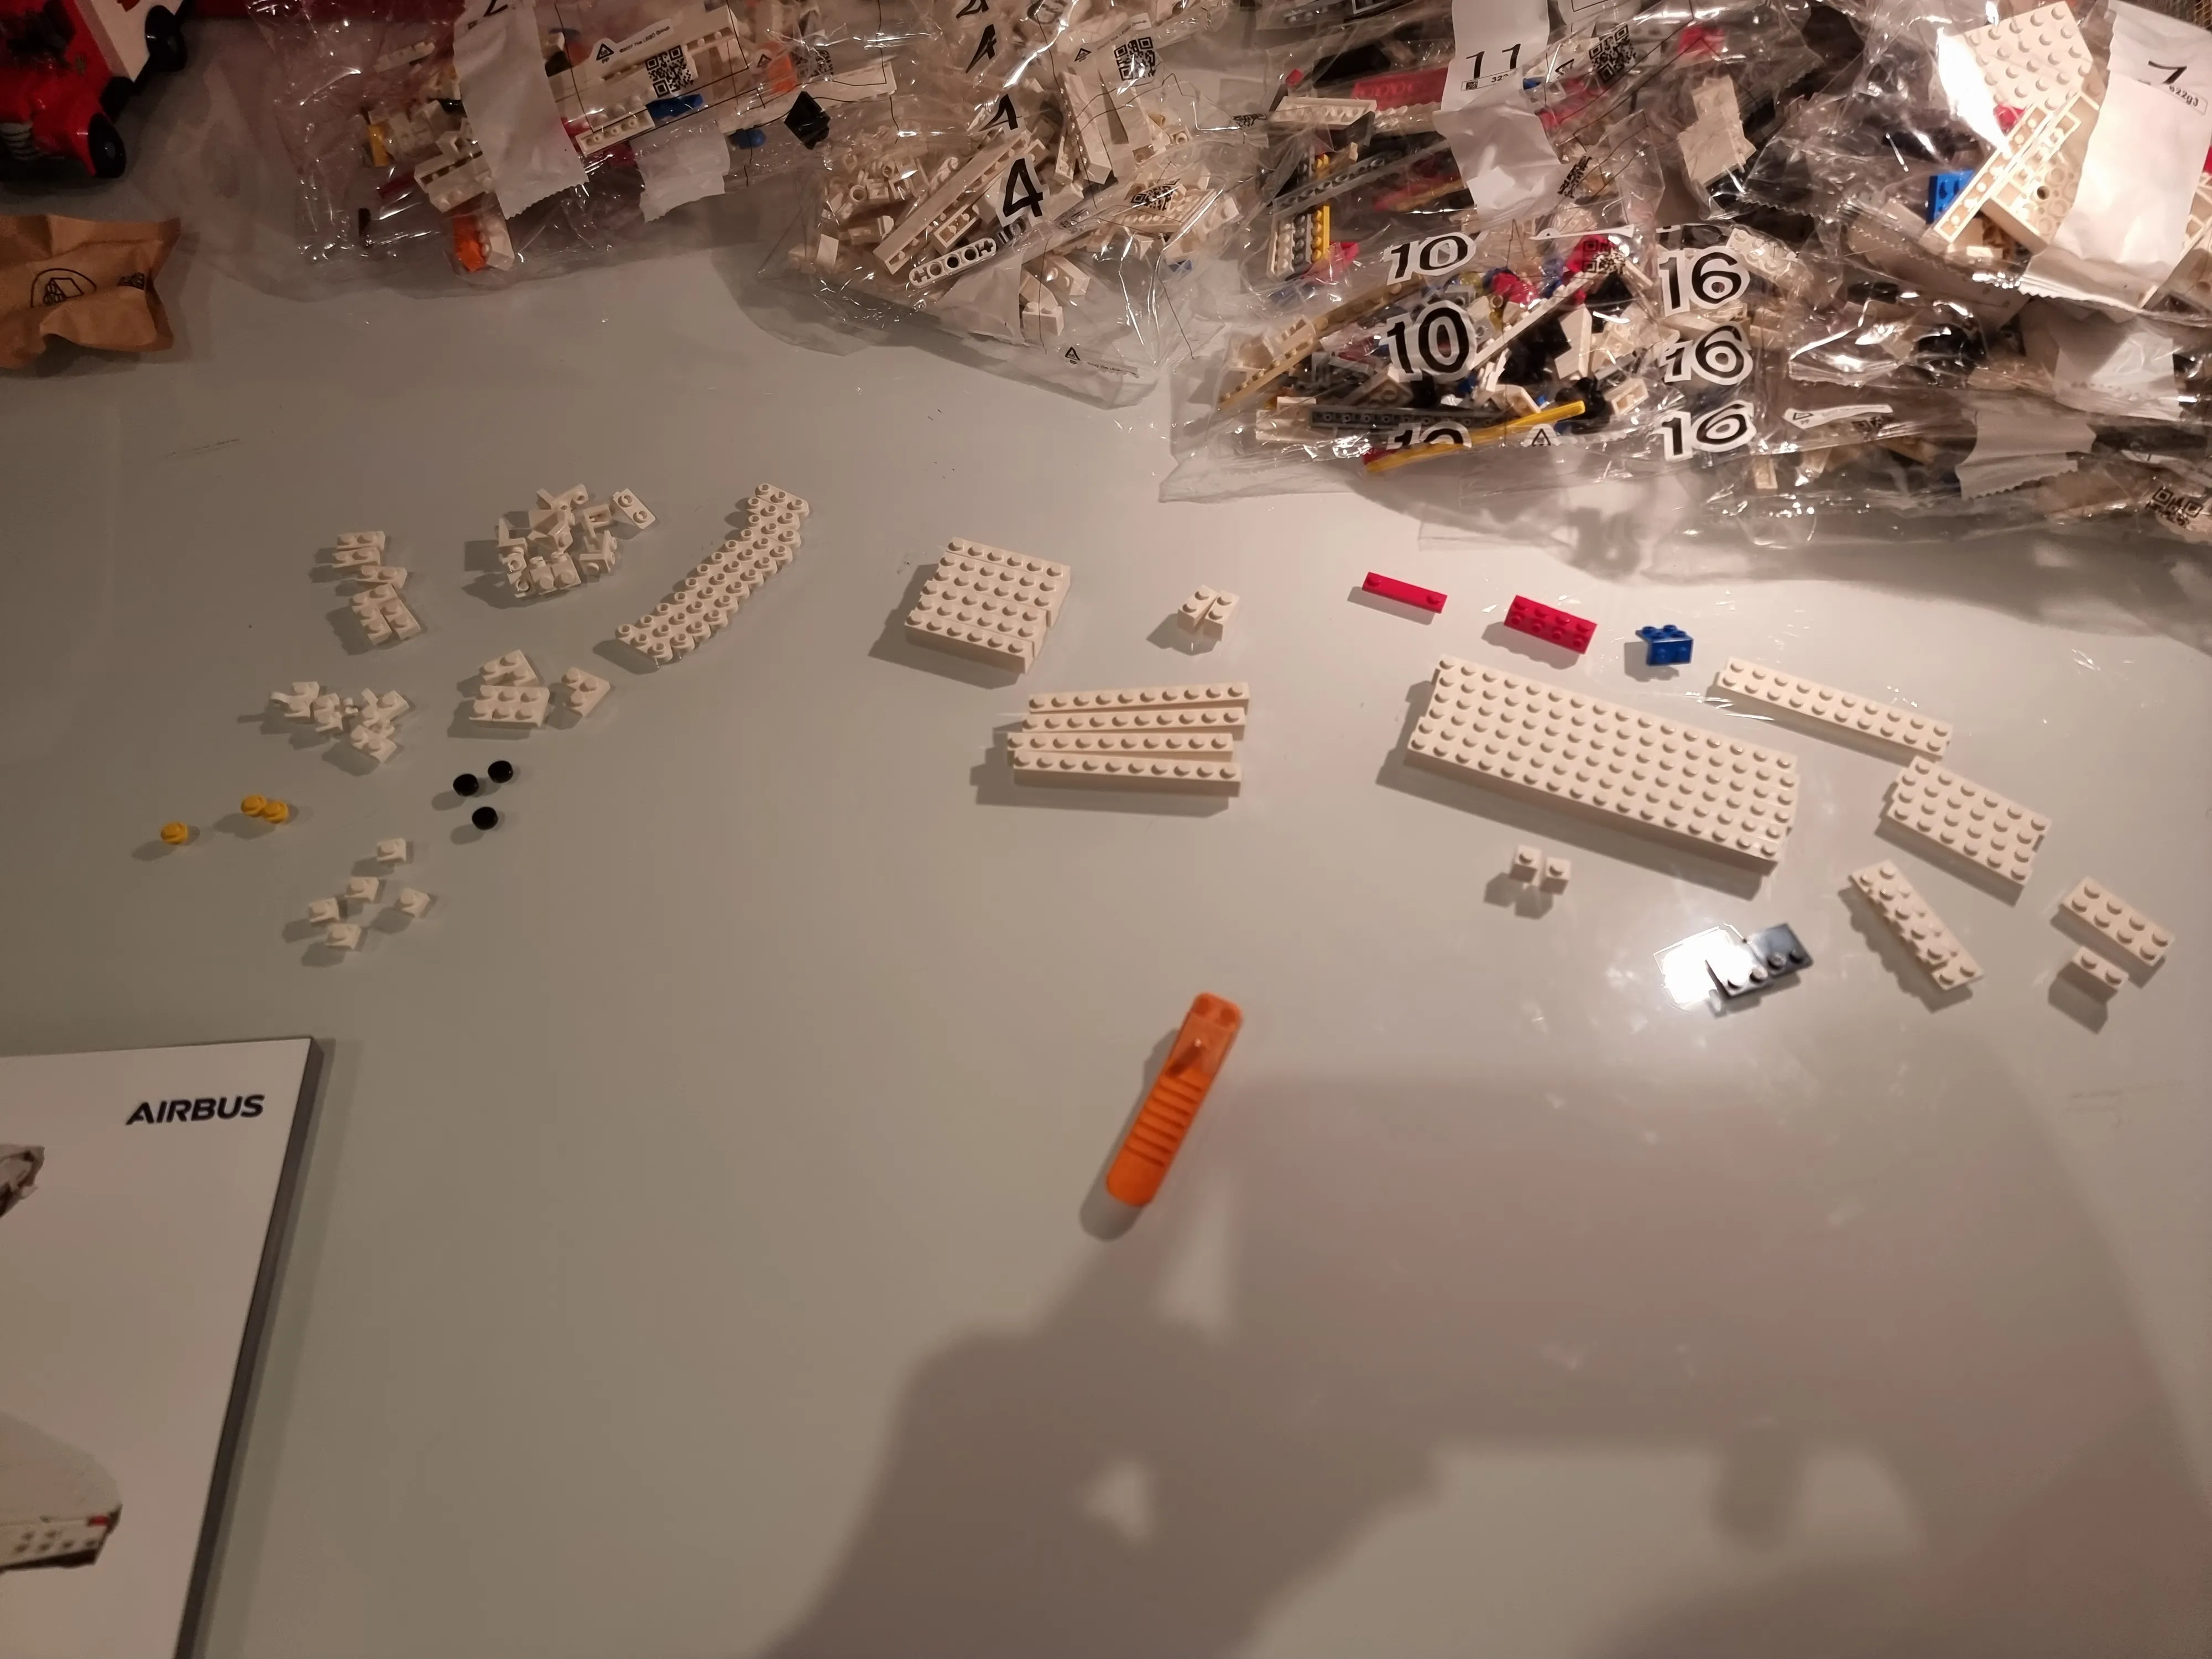
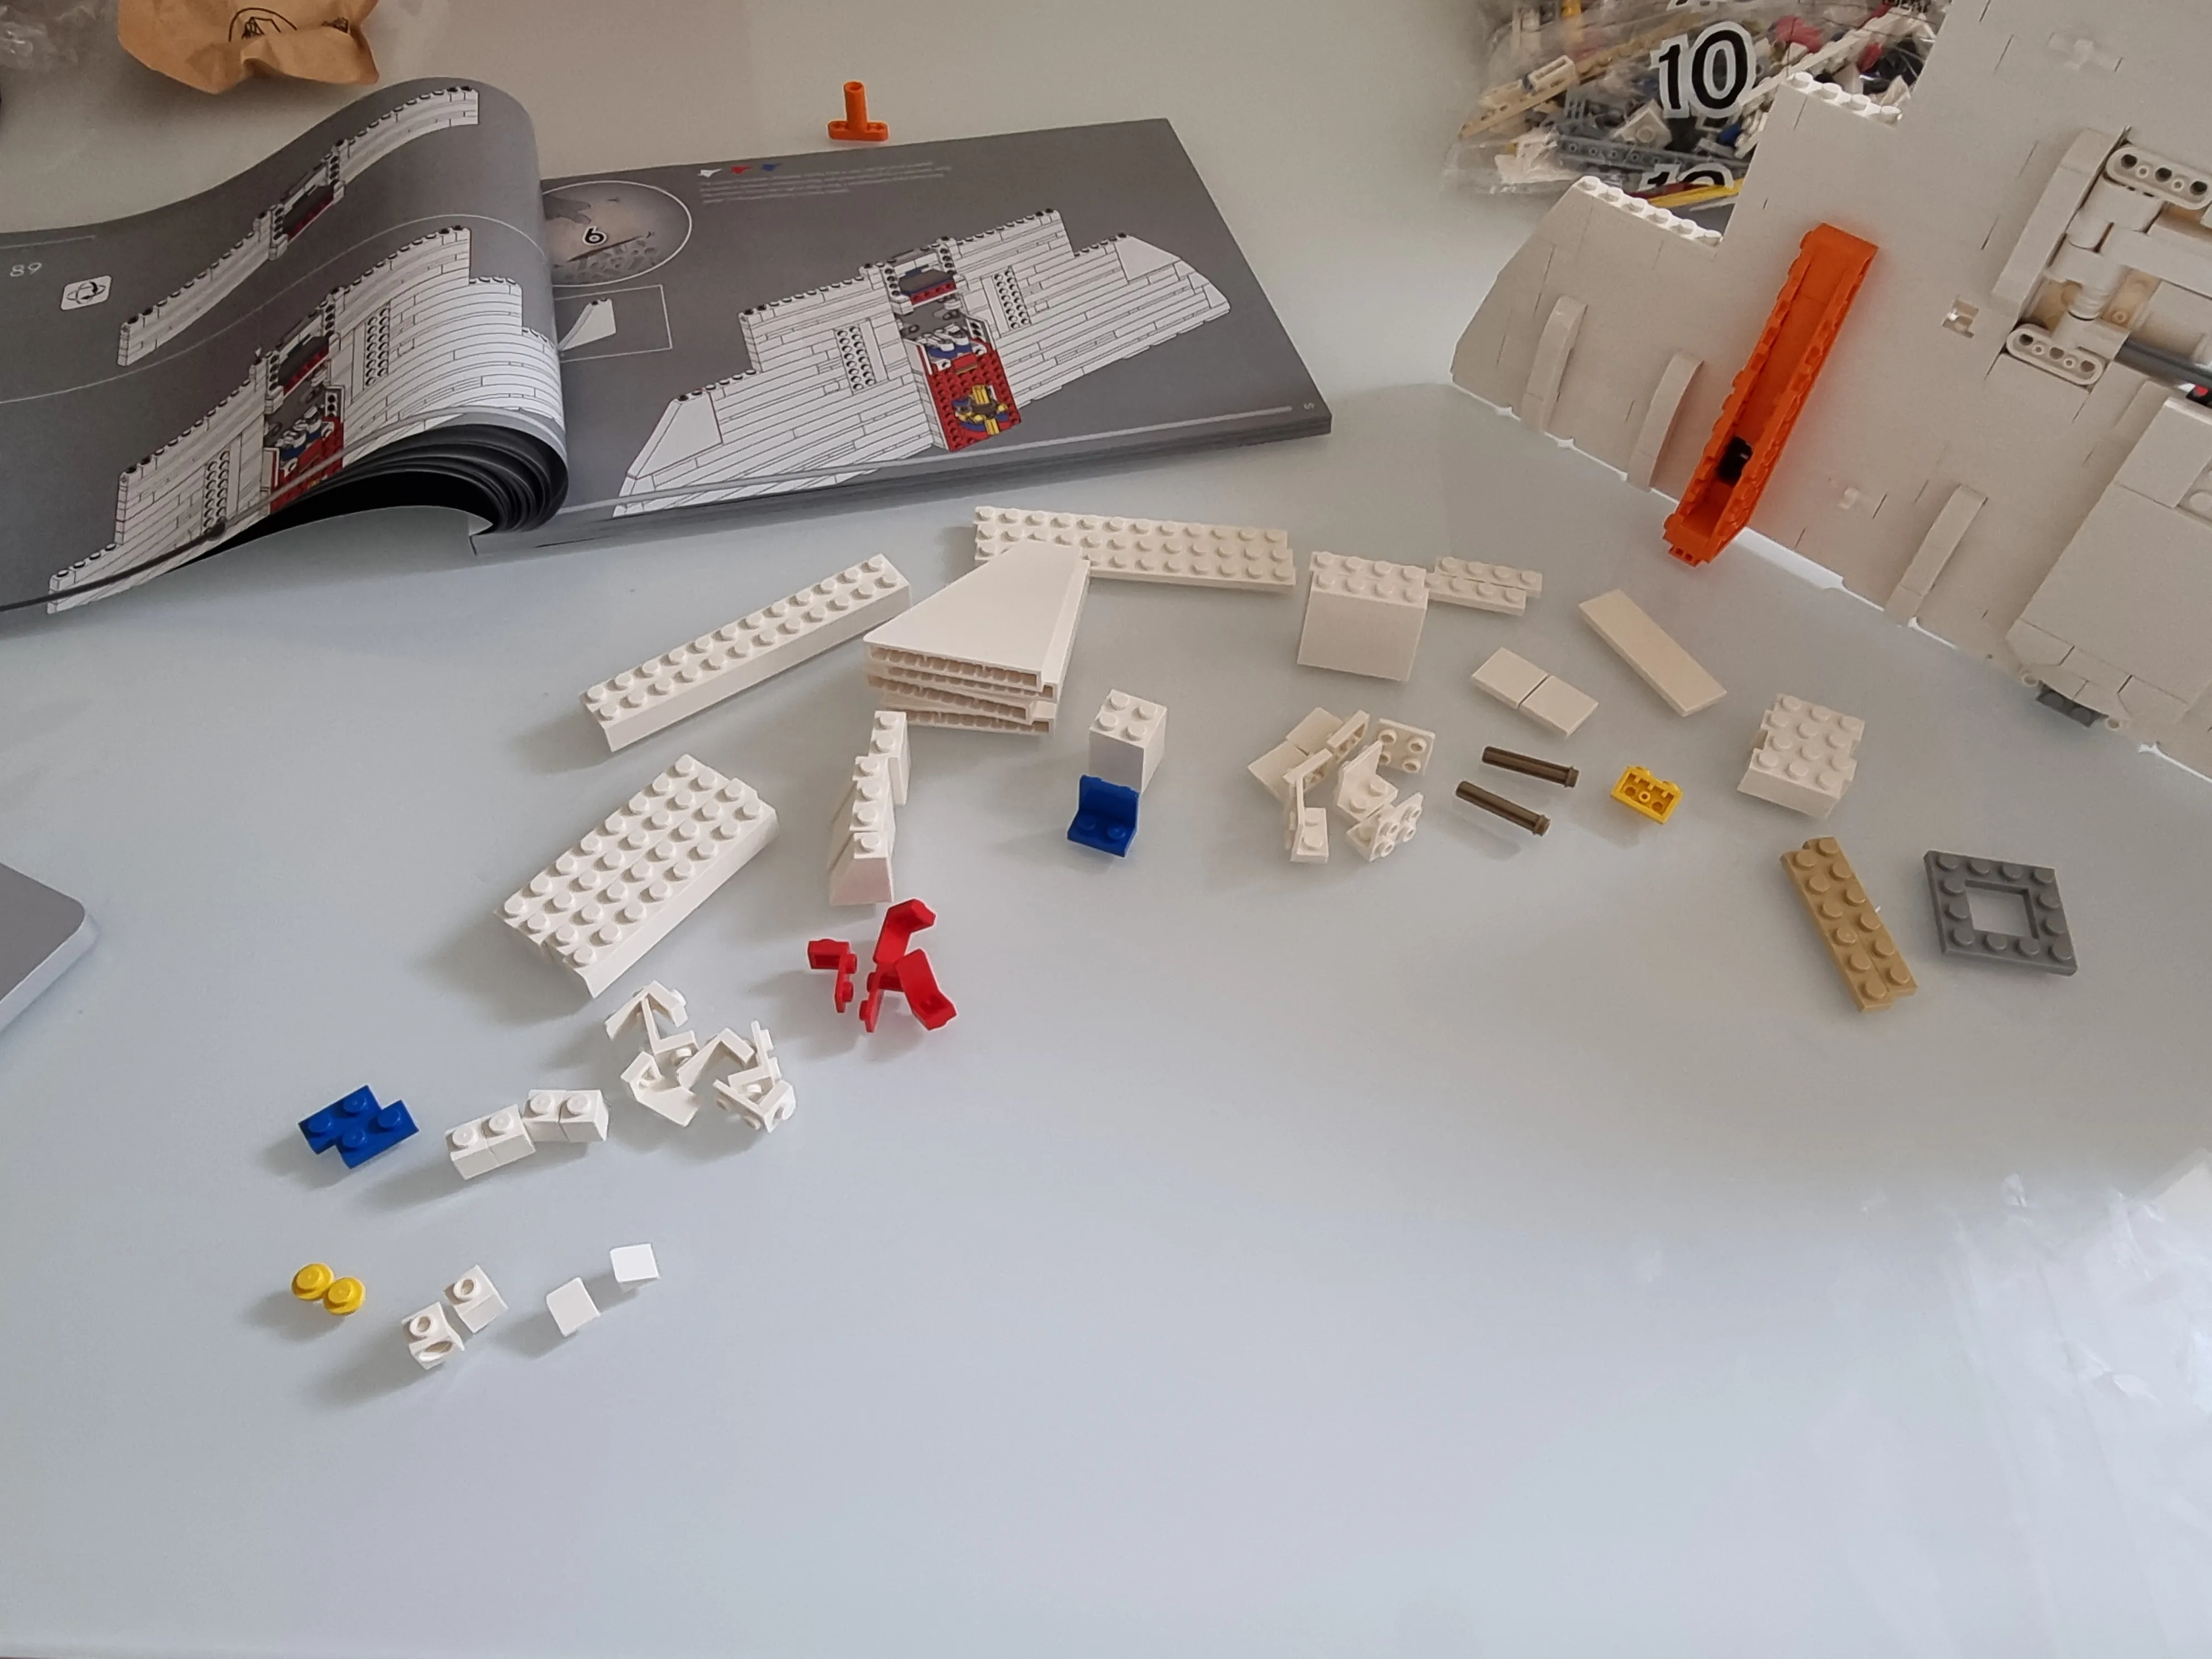
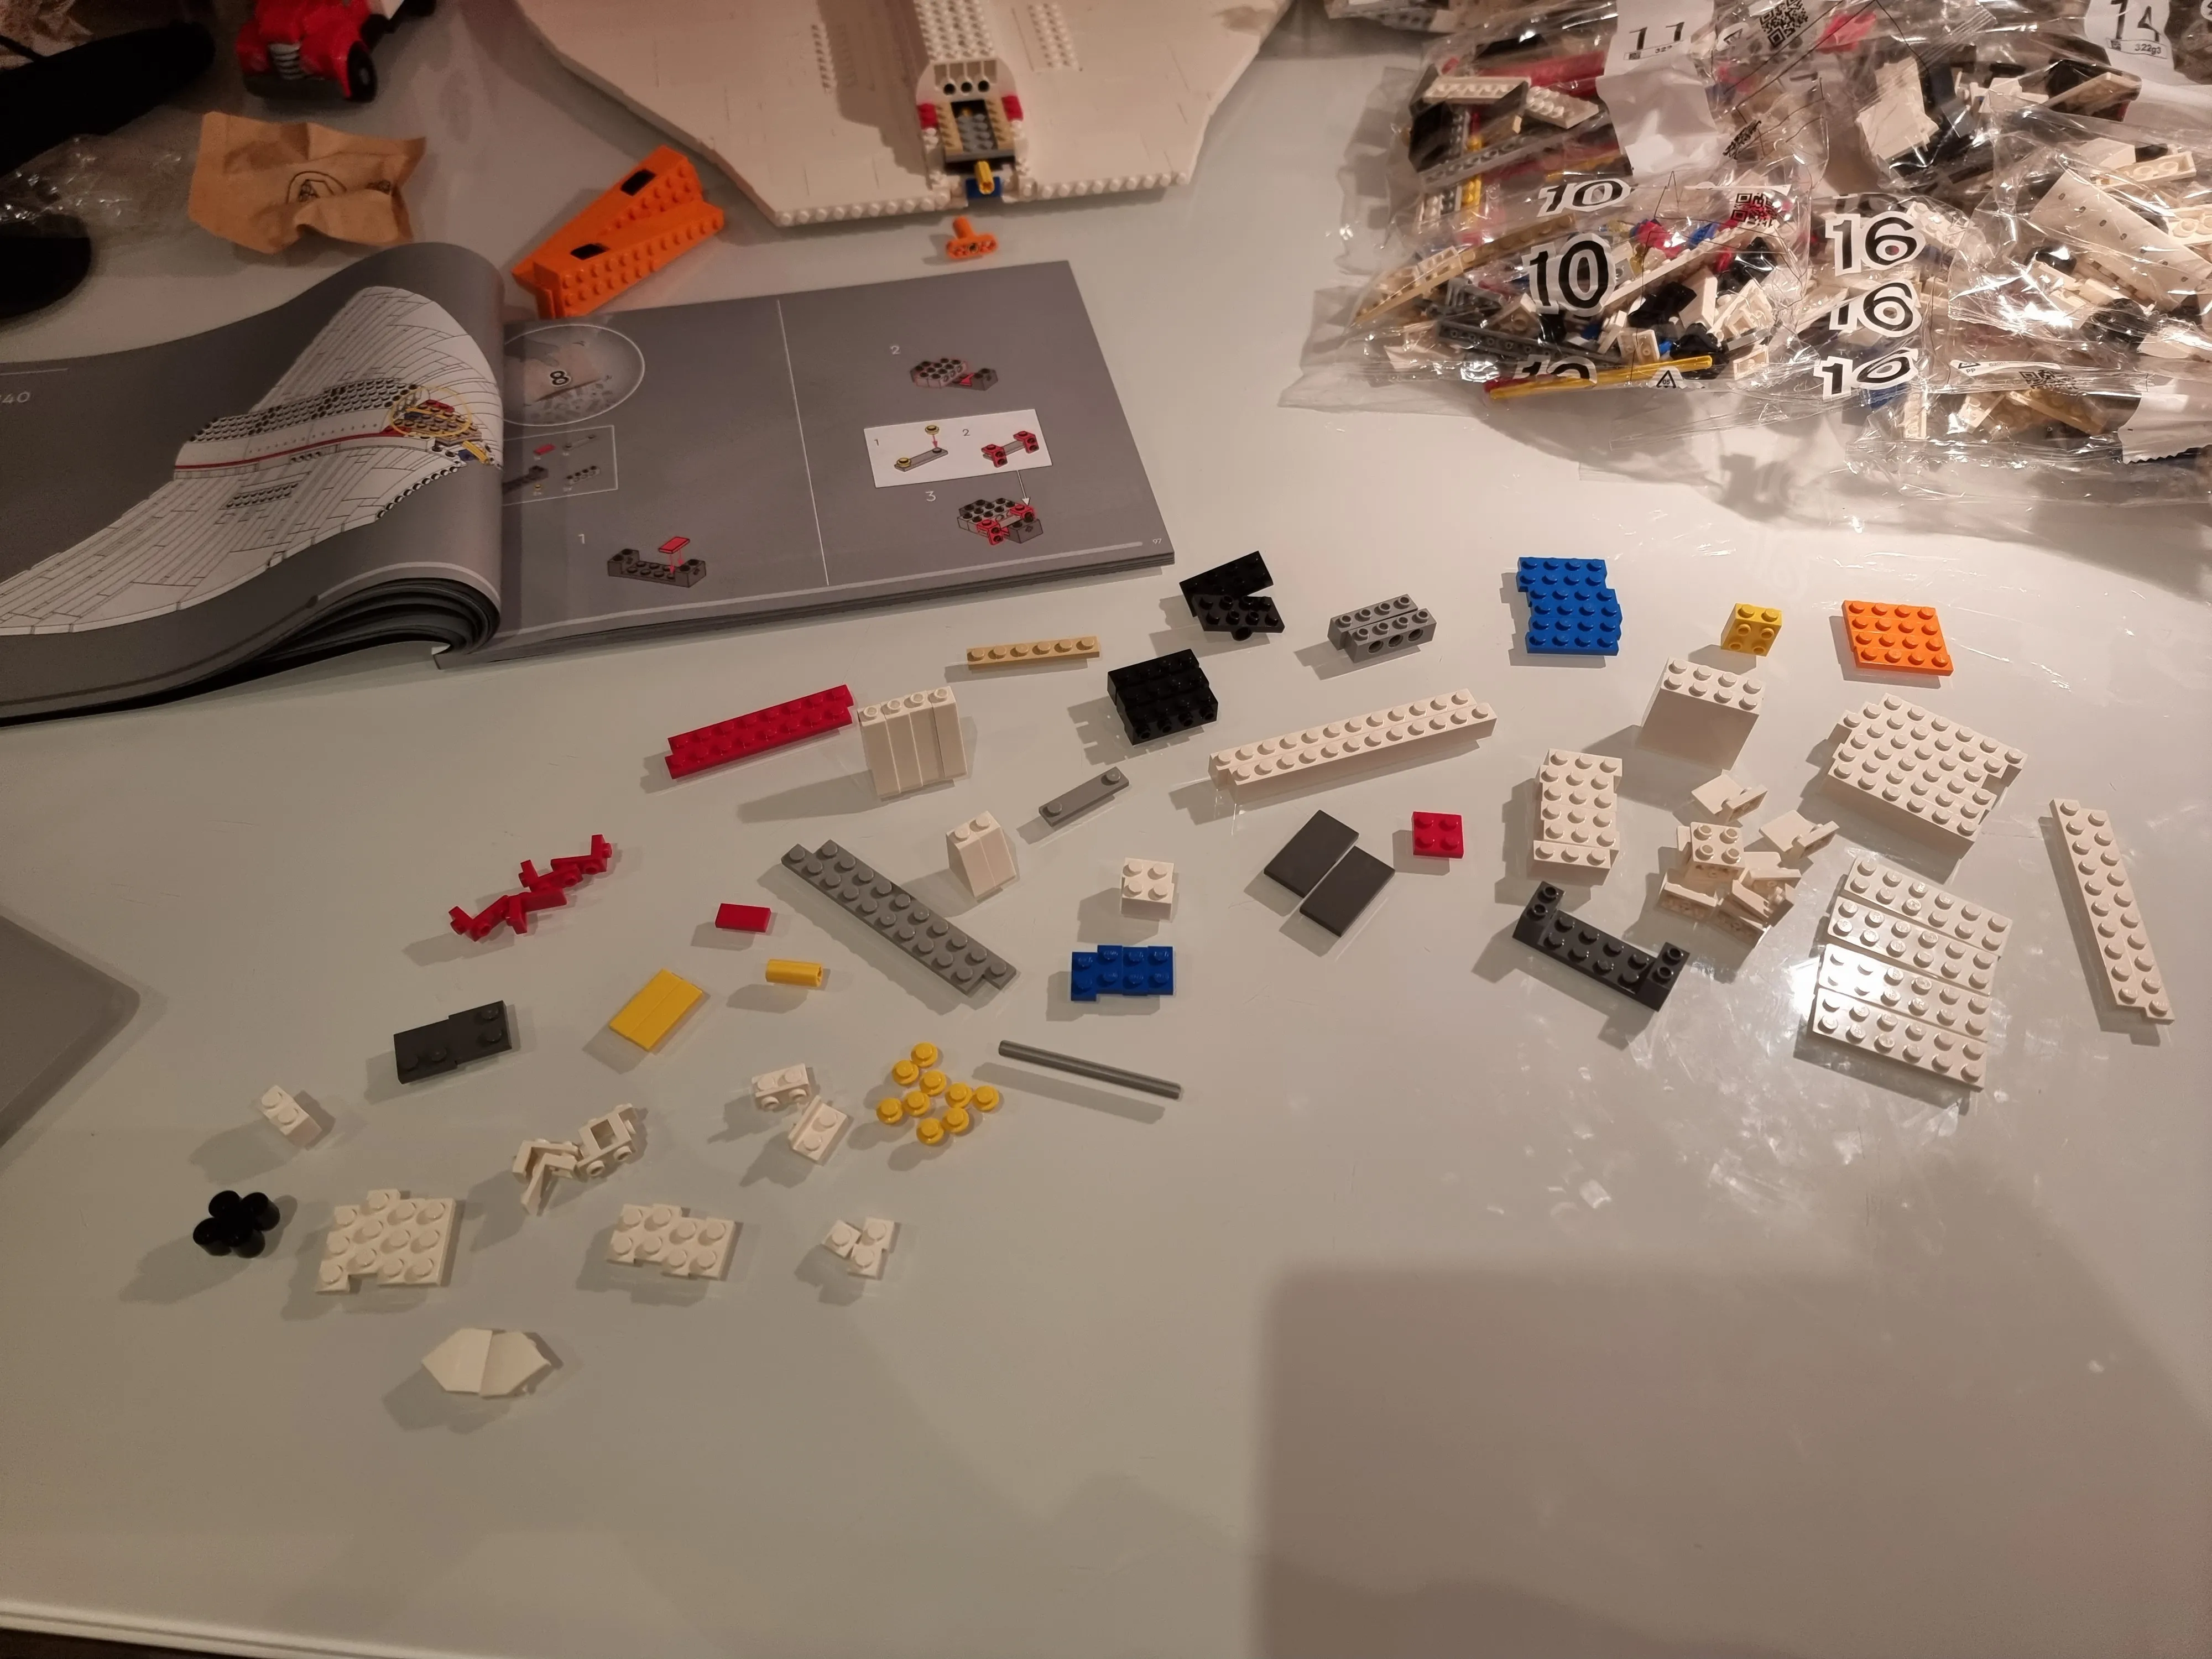
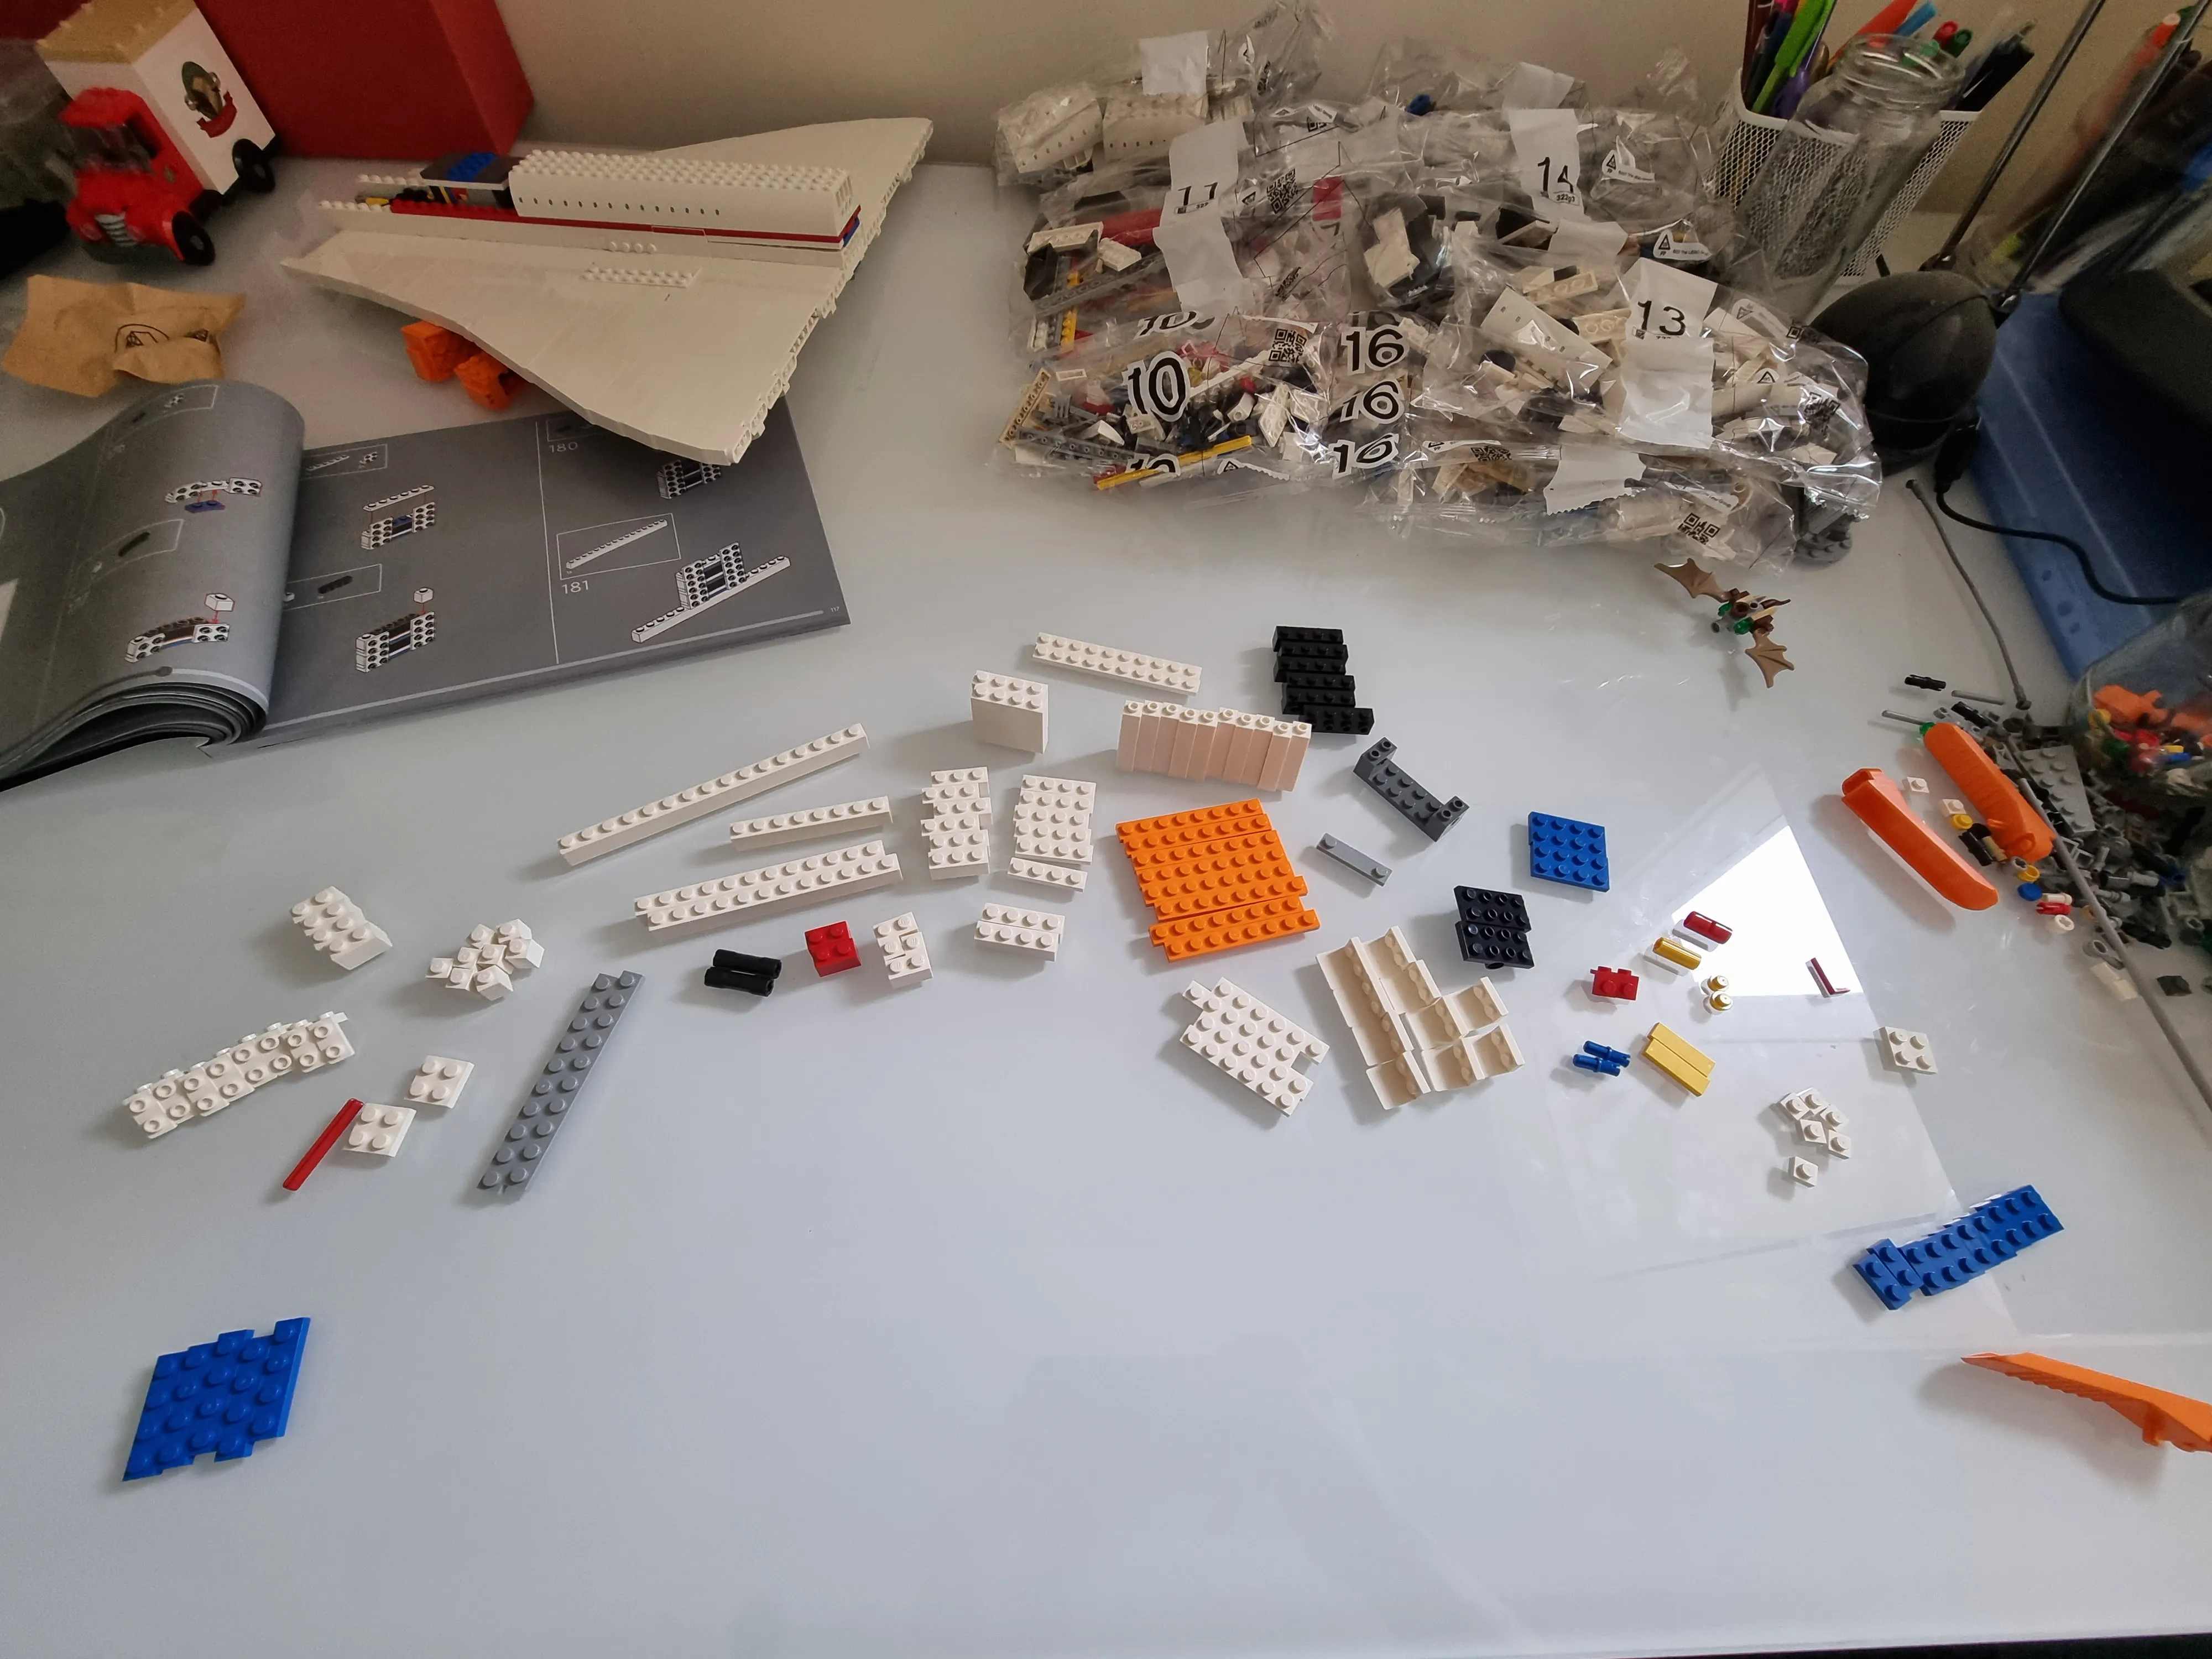
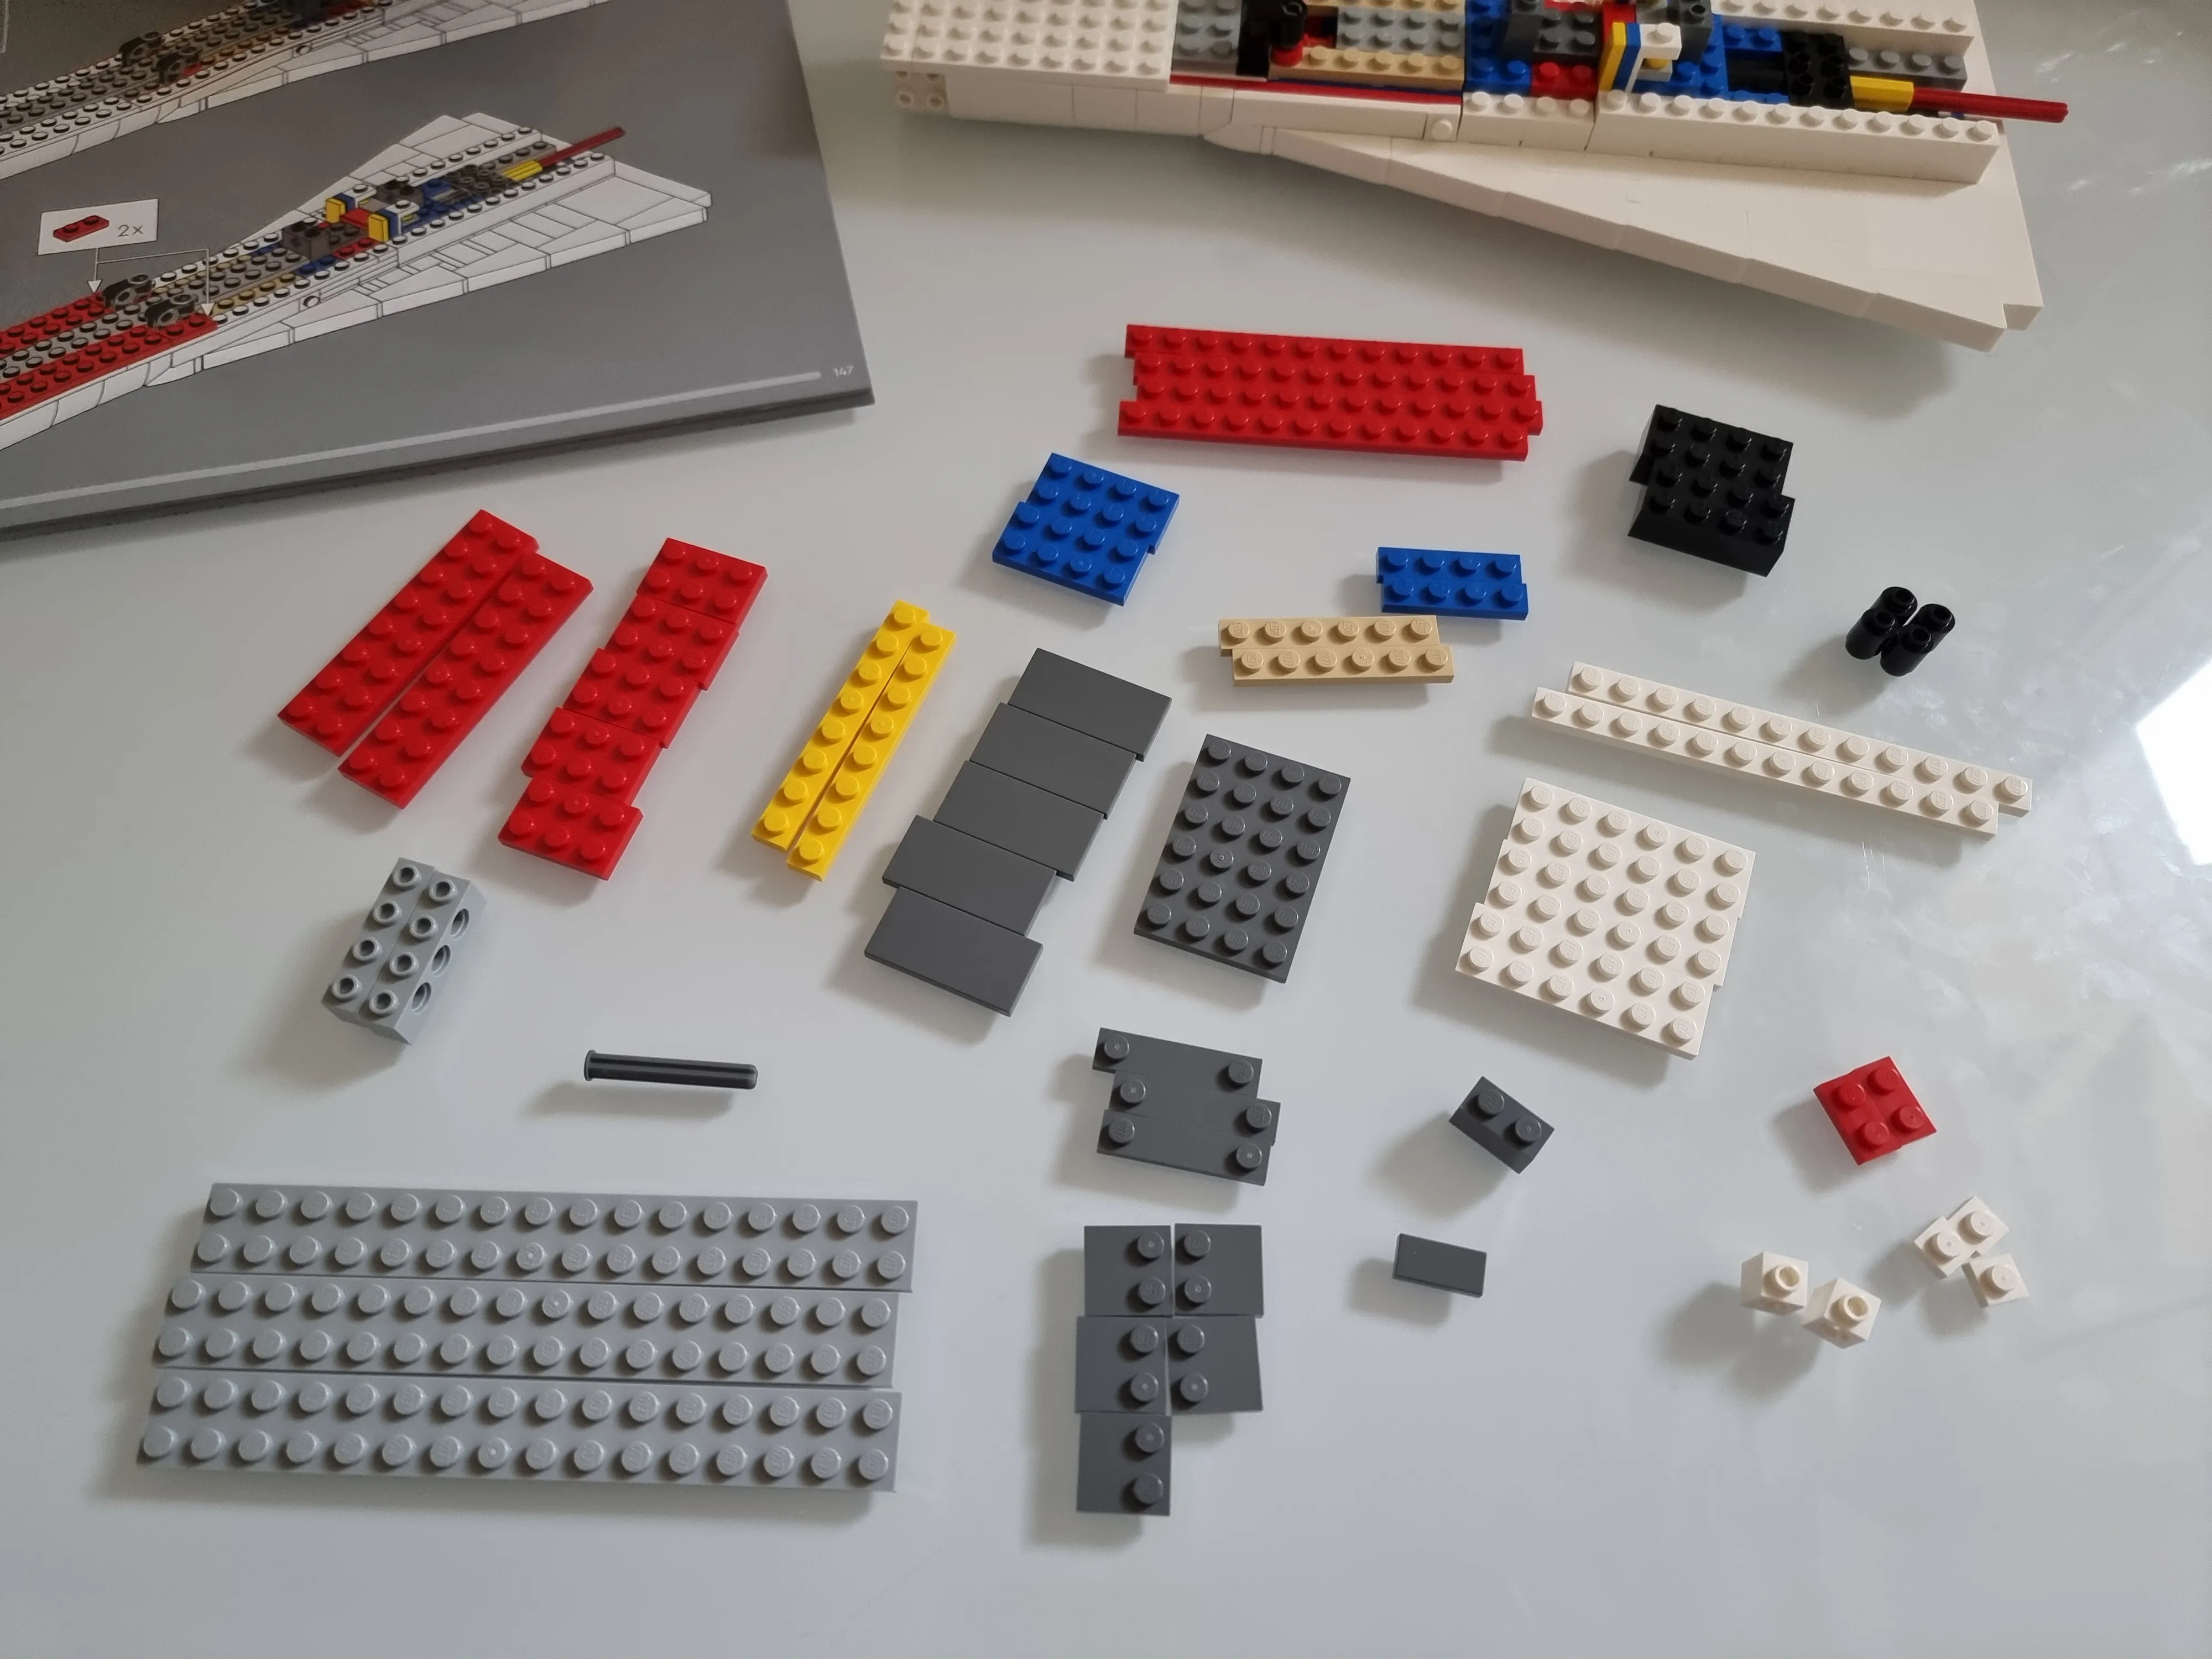
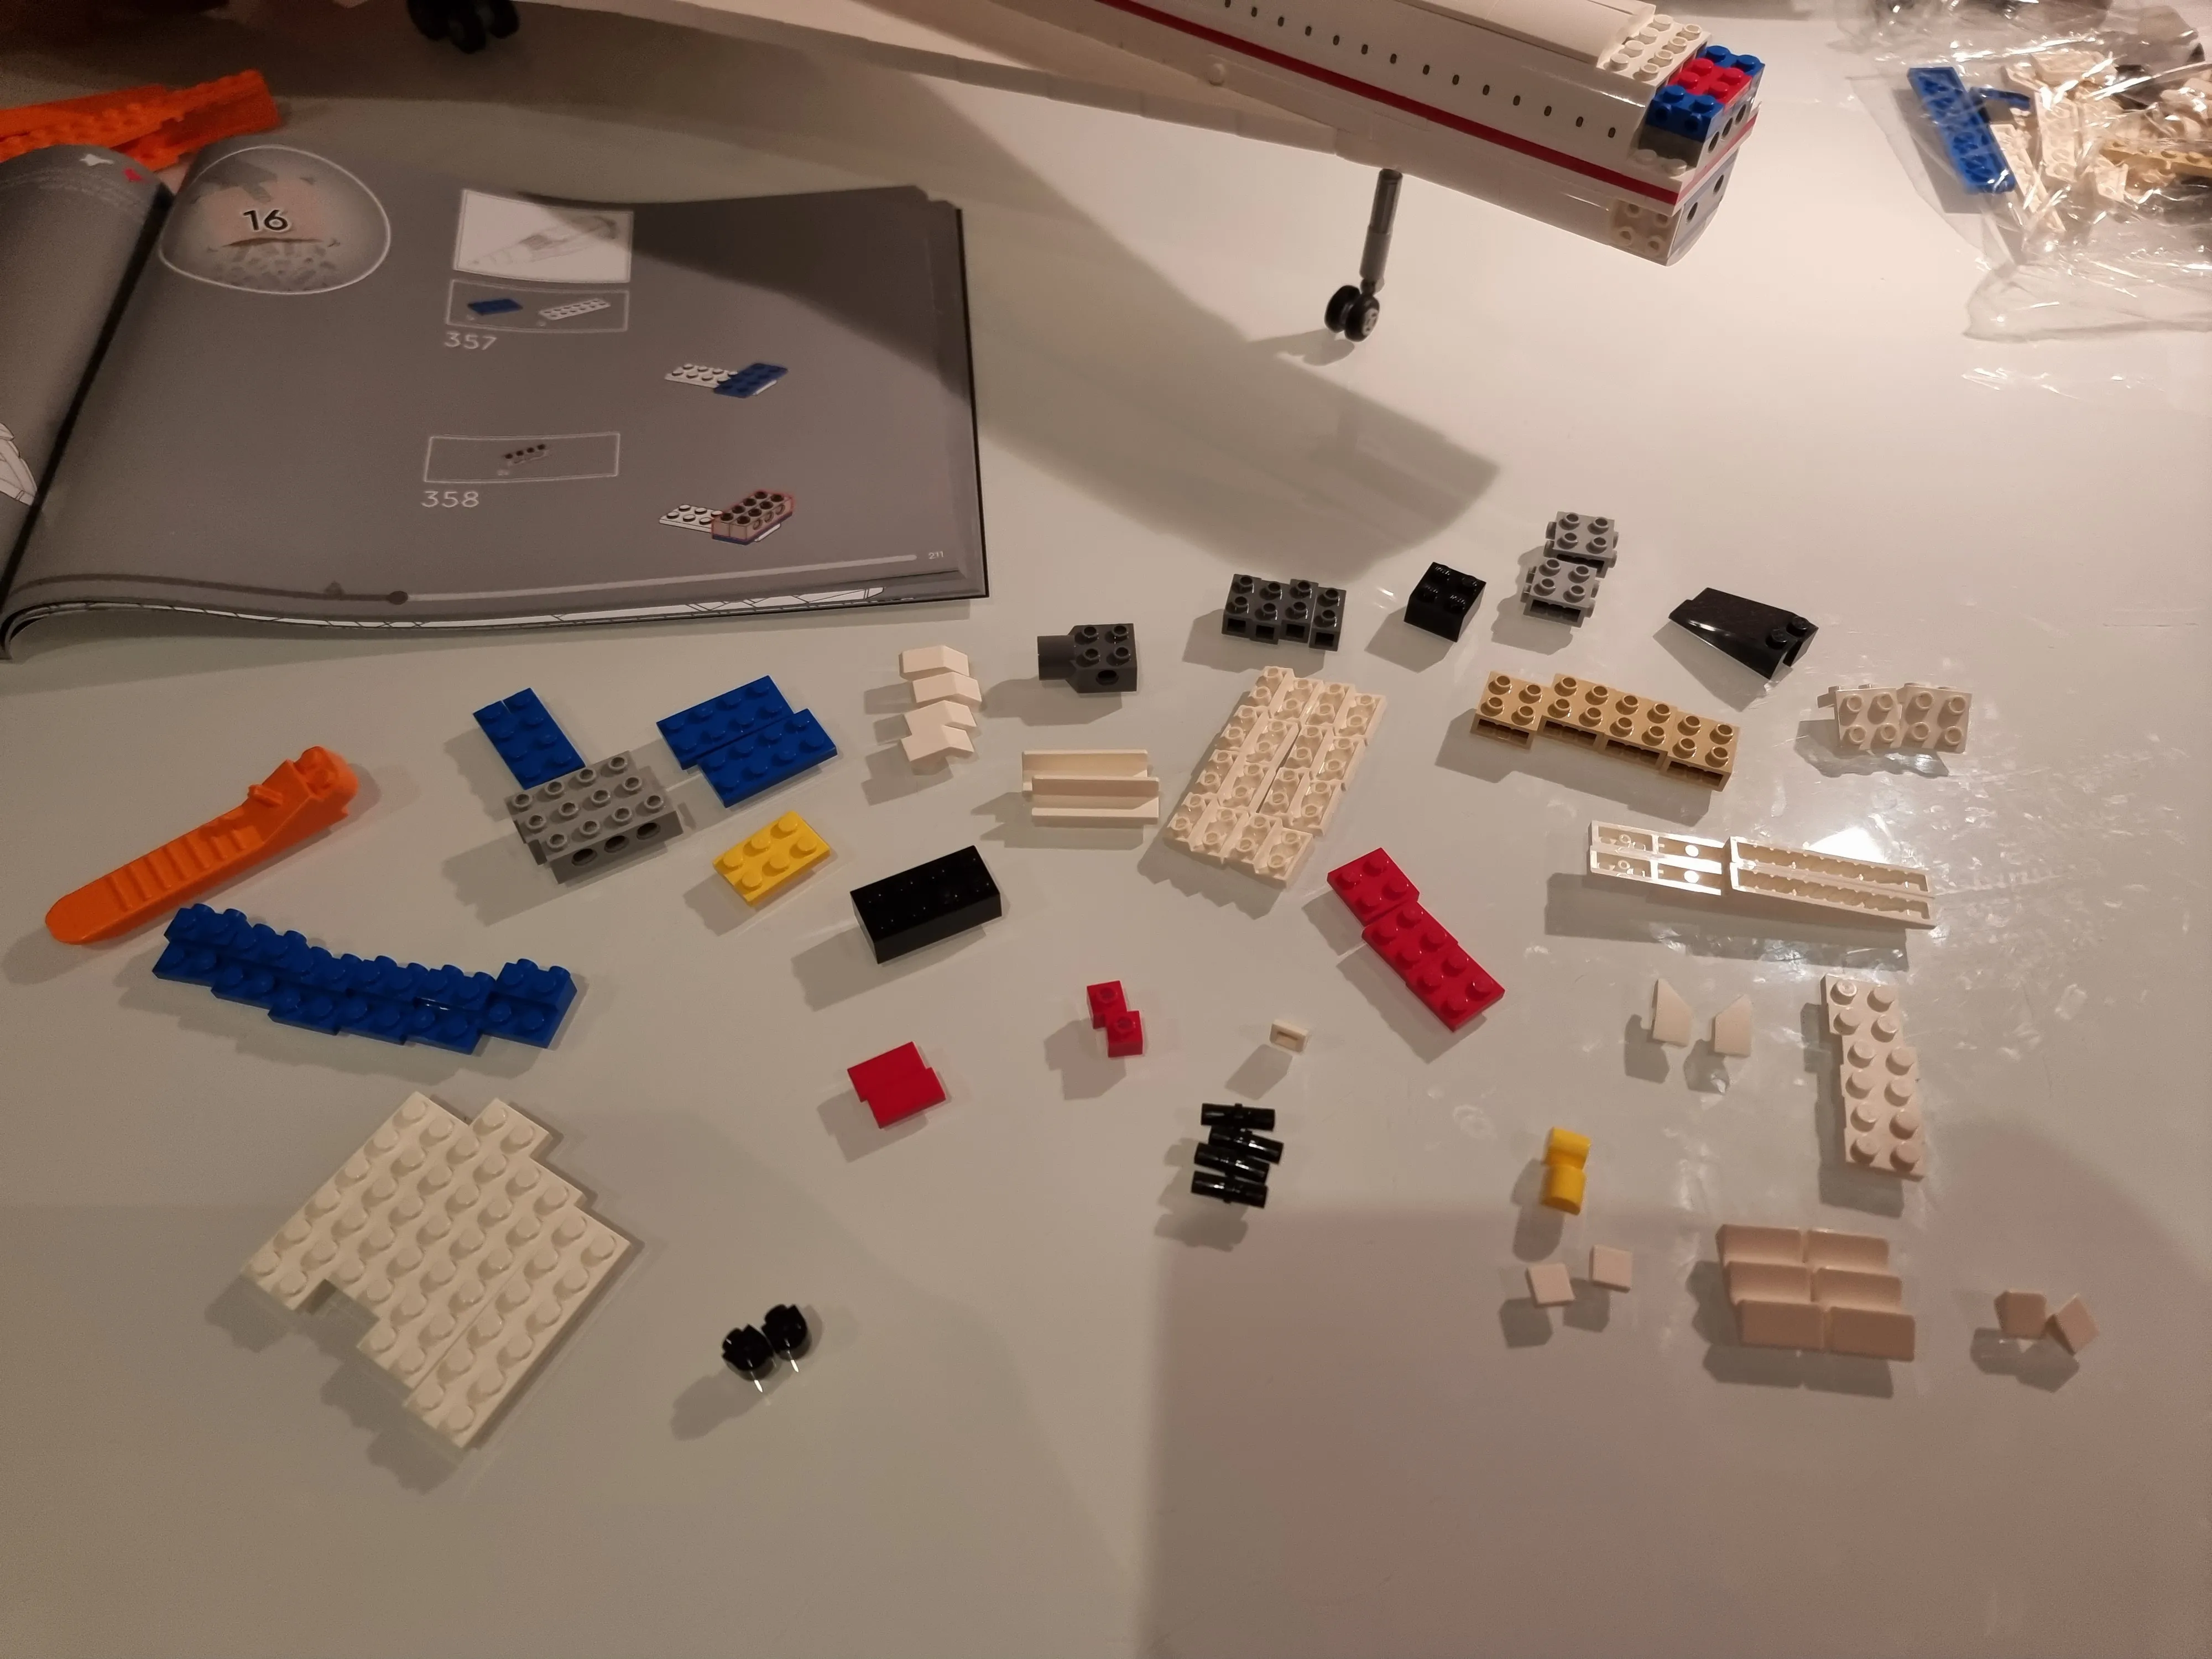
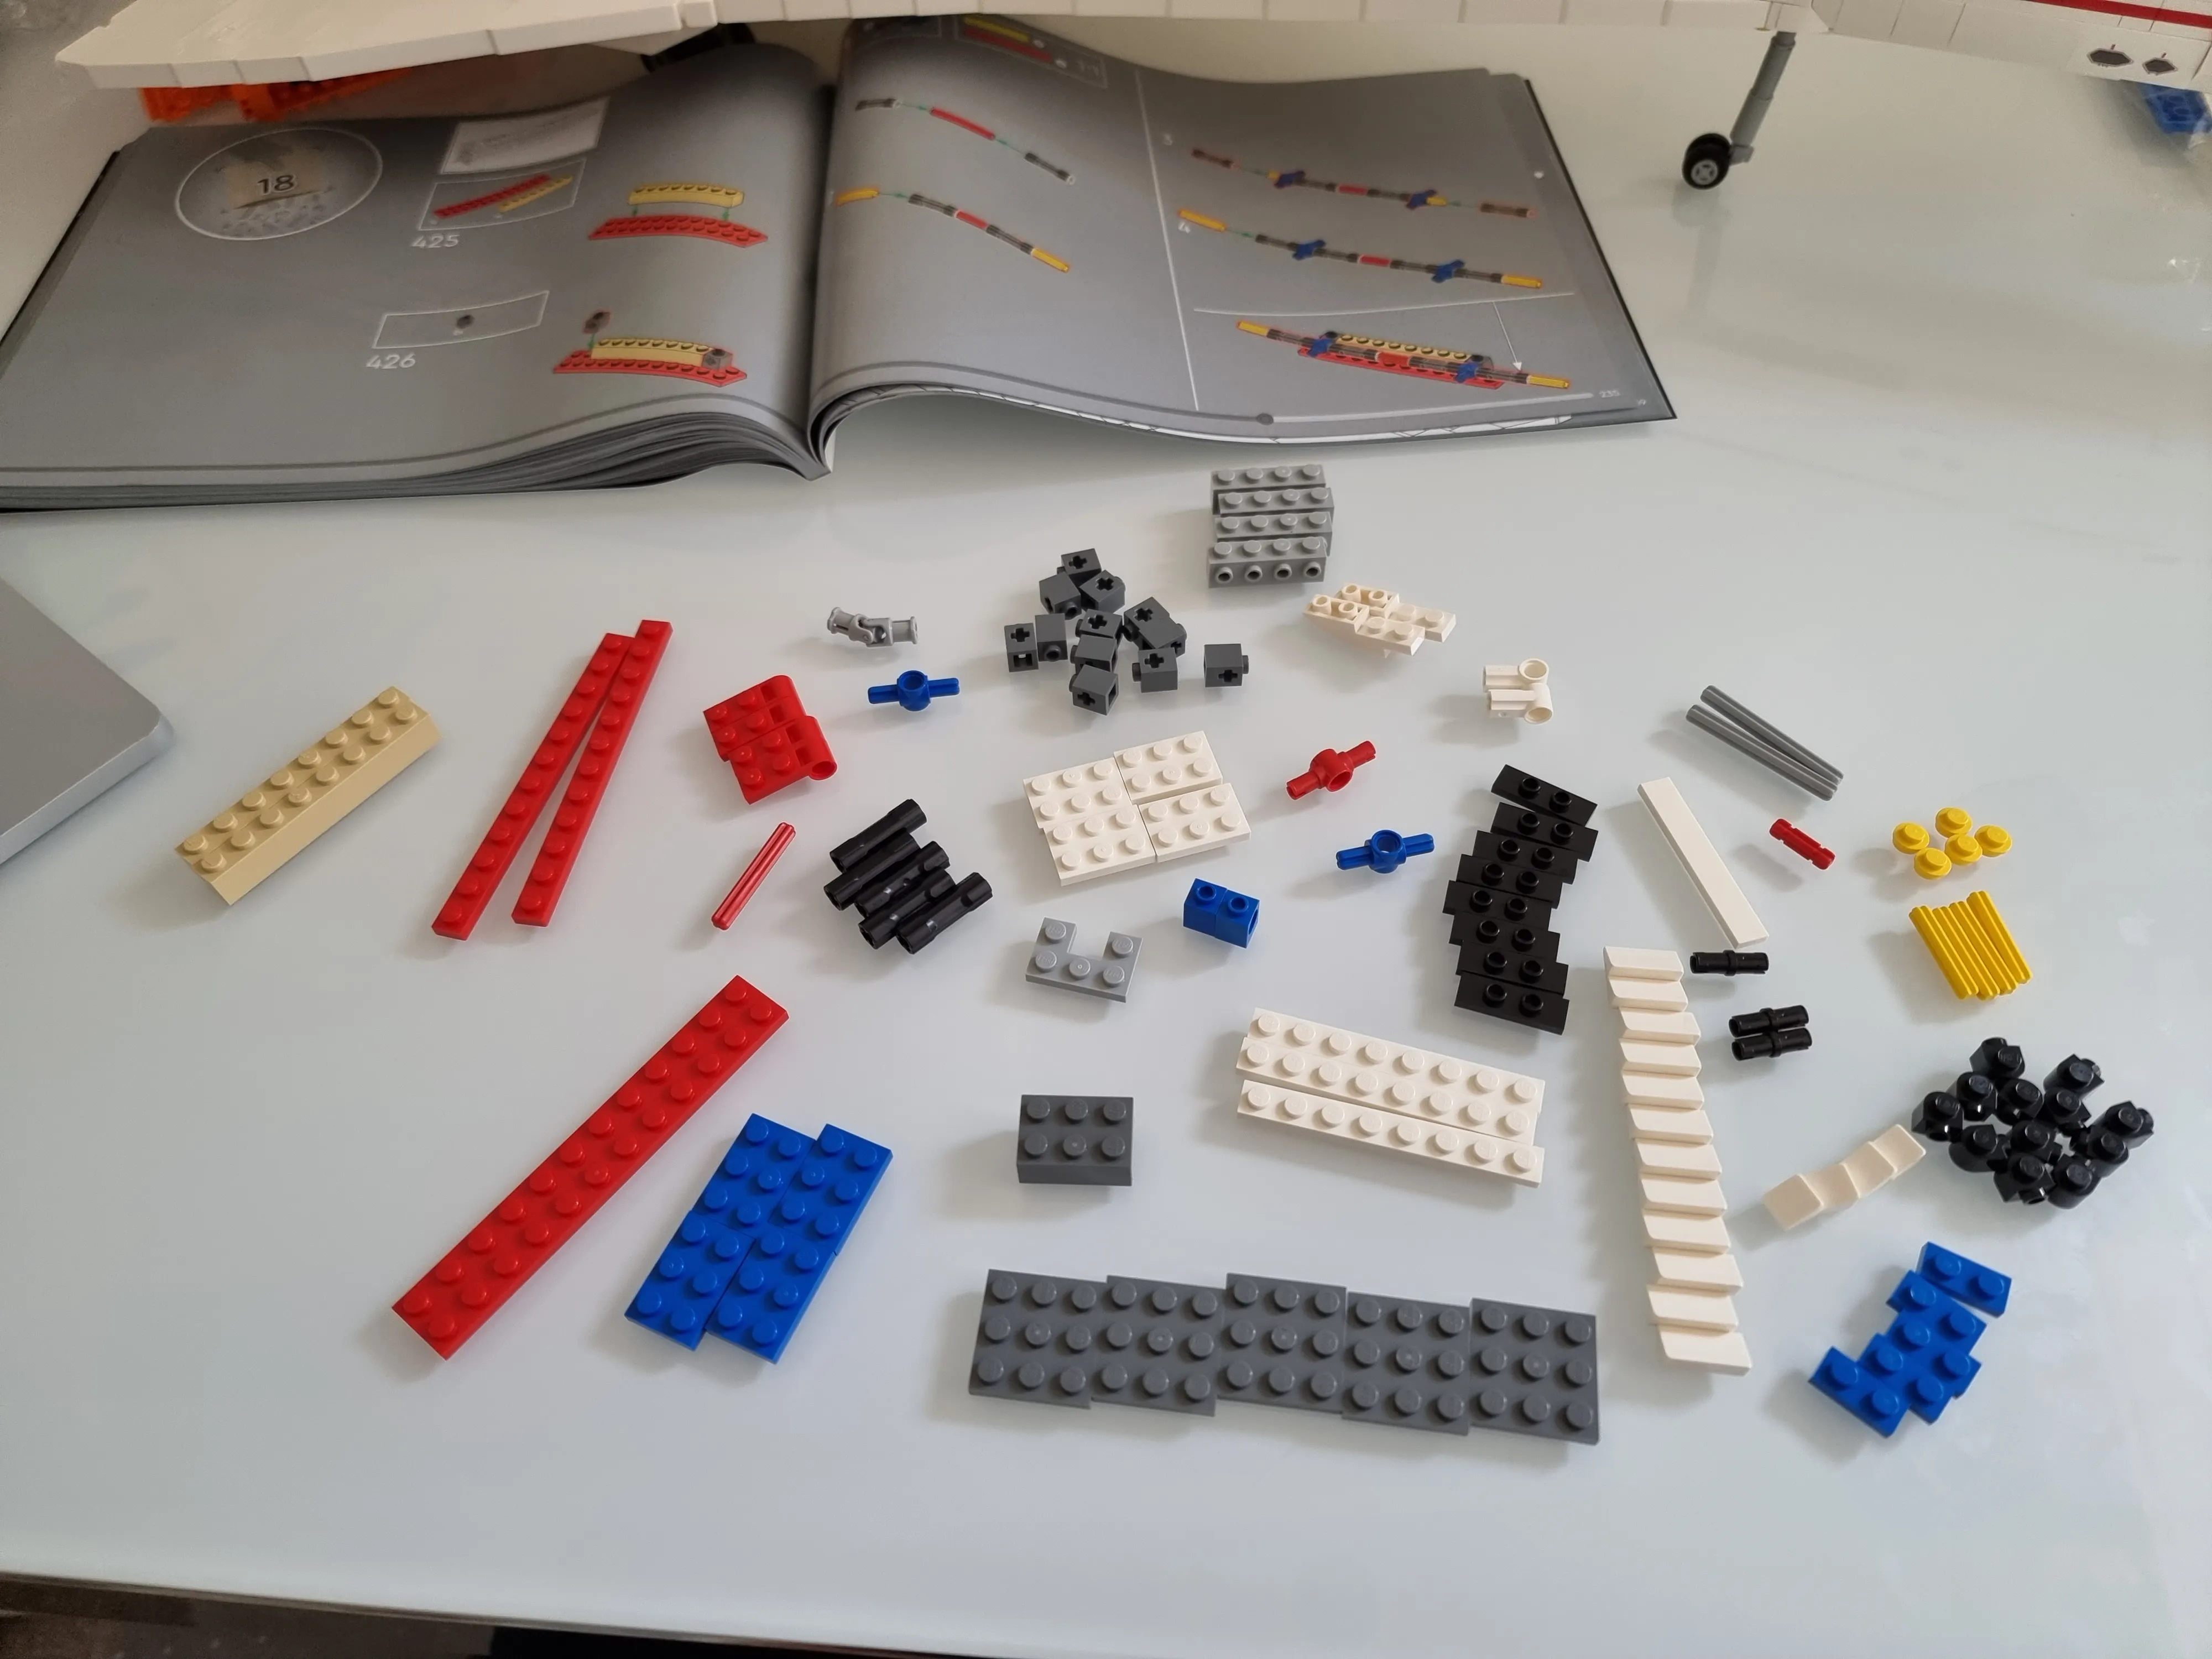
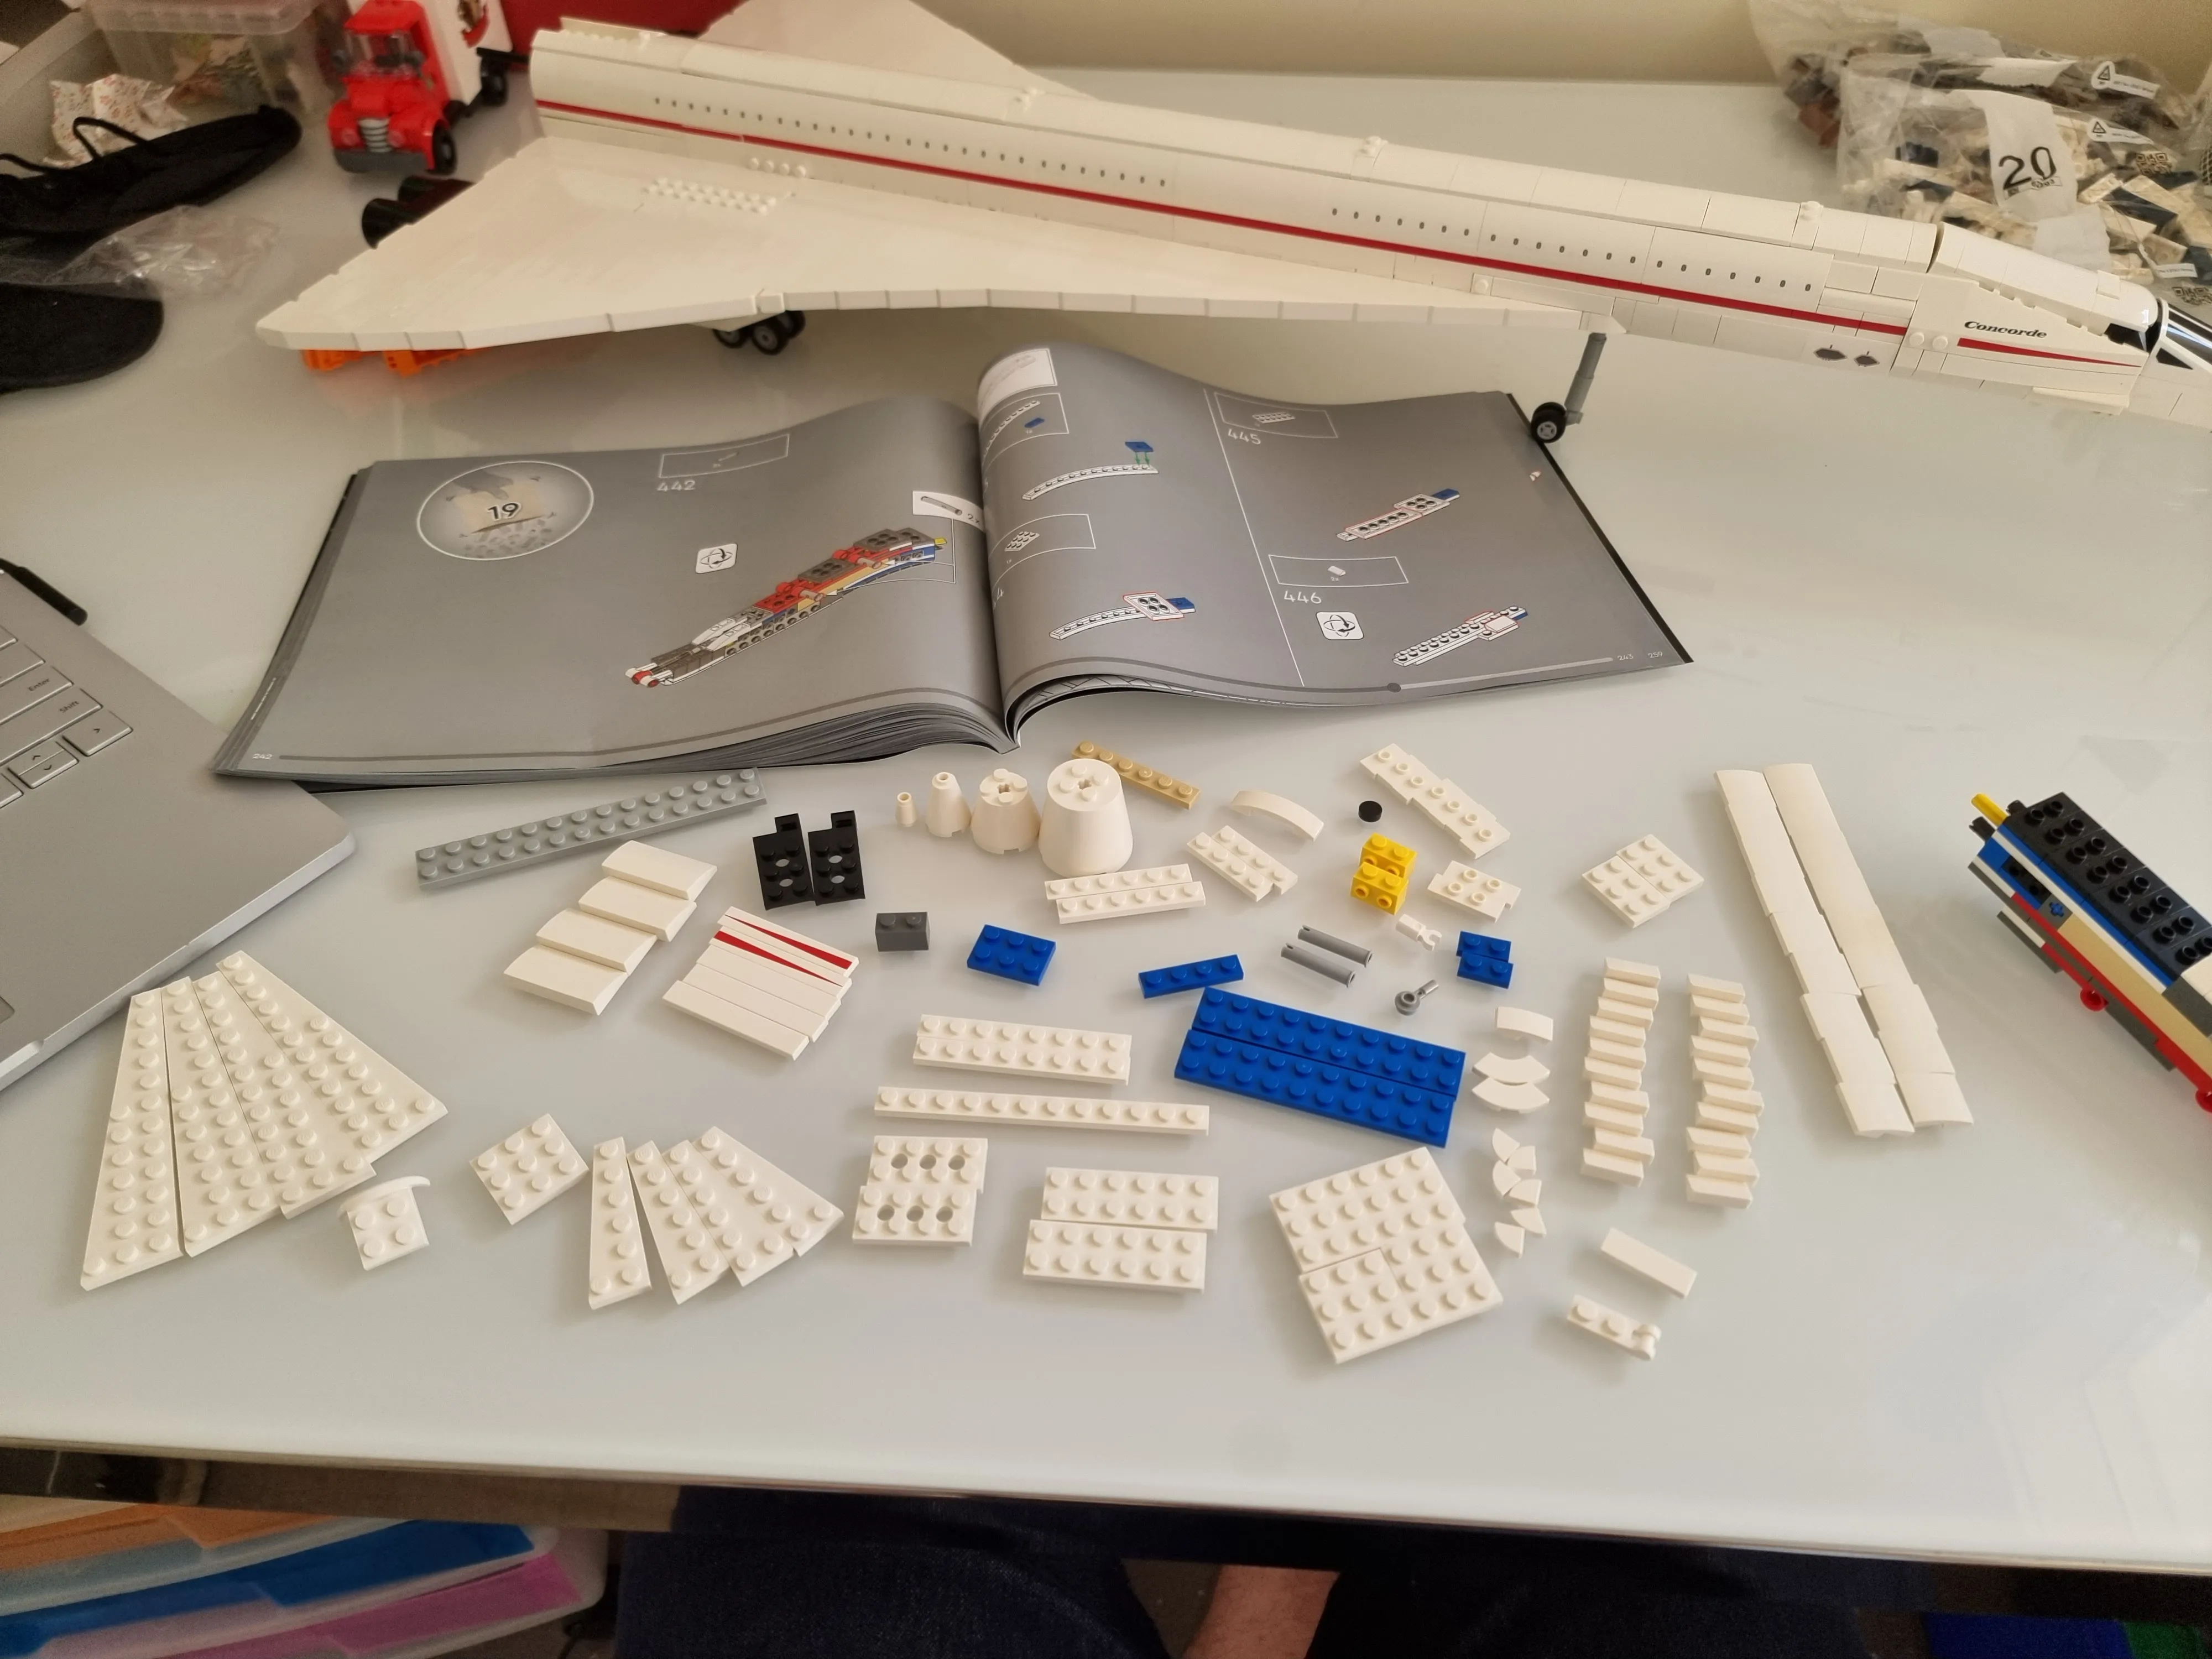
I’ve started to do some knolling at the start of opening a bag. I started doing it in the last build when I thought I had lost a piece. I found that it was a lot faster than expected sorting out all the pieces and helps me get familiar with some more unique pieces that might be used. It also sped up the build time a lot as I went back to my usual method of pouring out the bag and spreading it out a little and got so frustrated trying to find pieces.
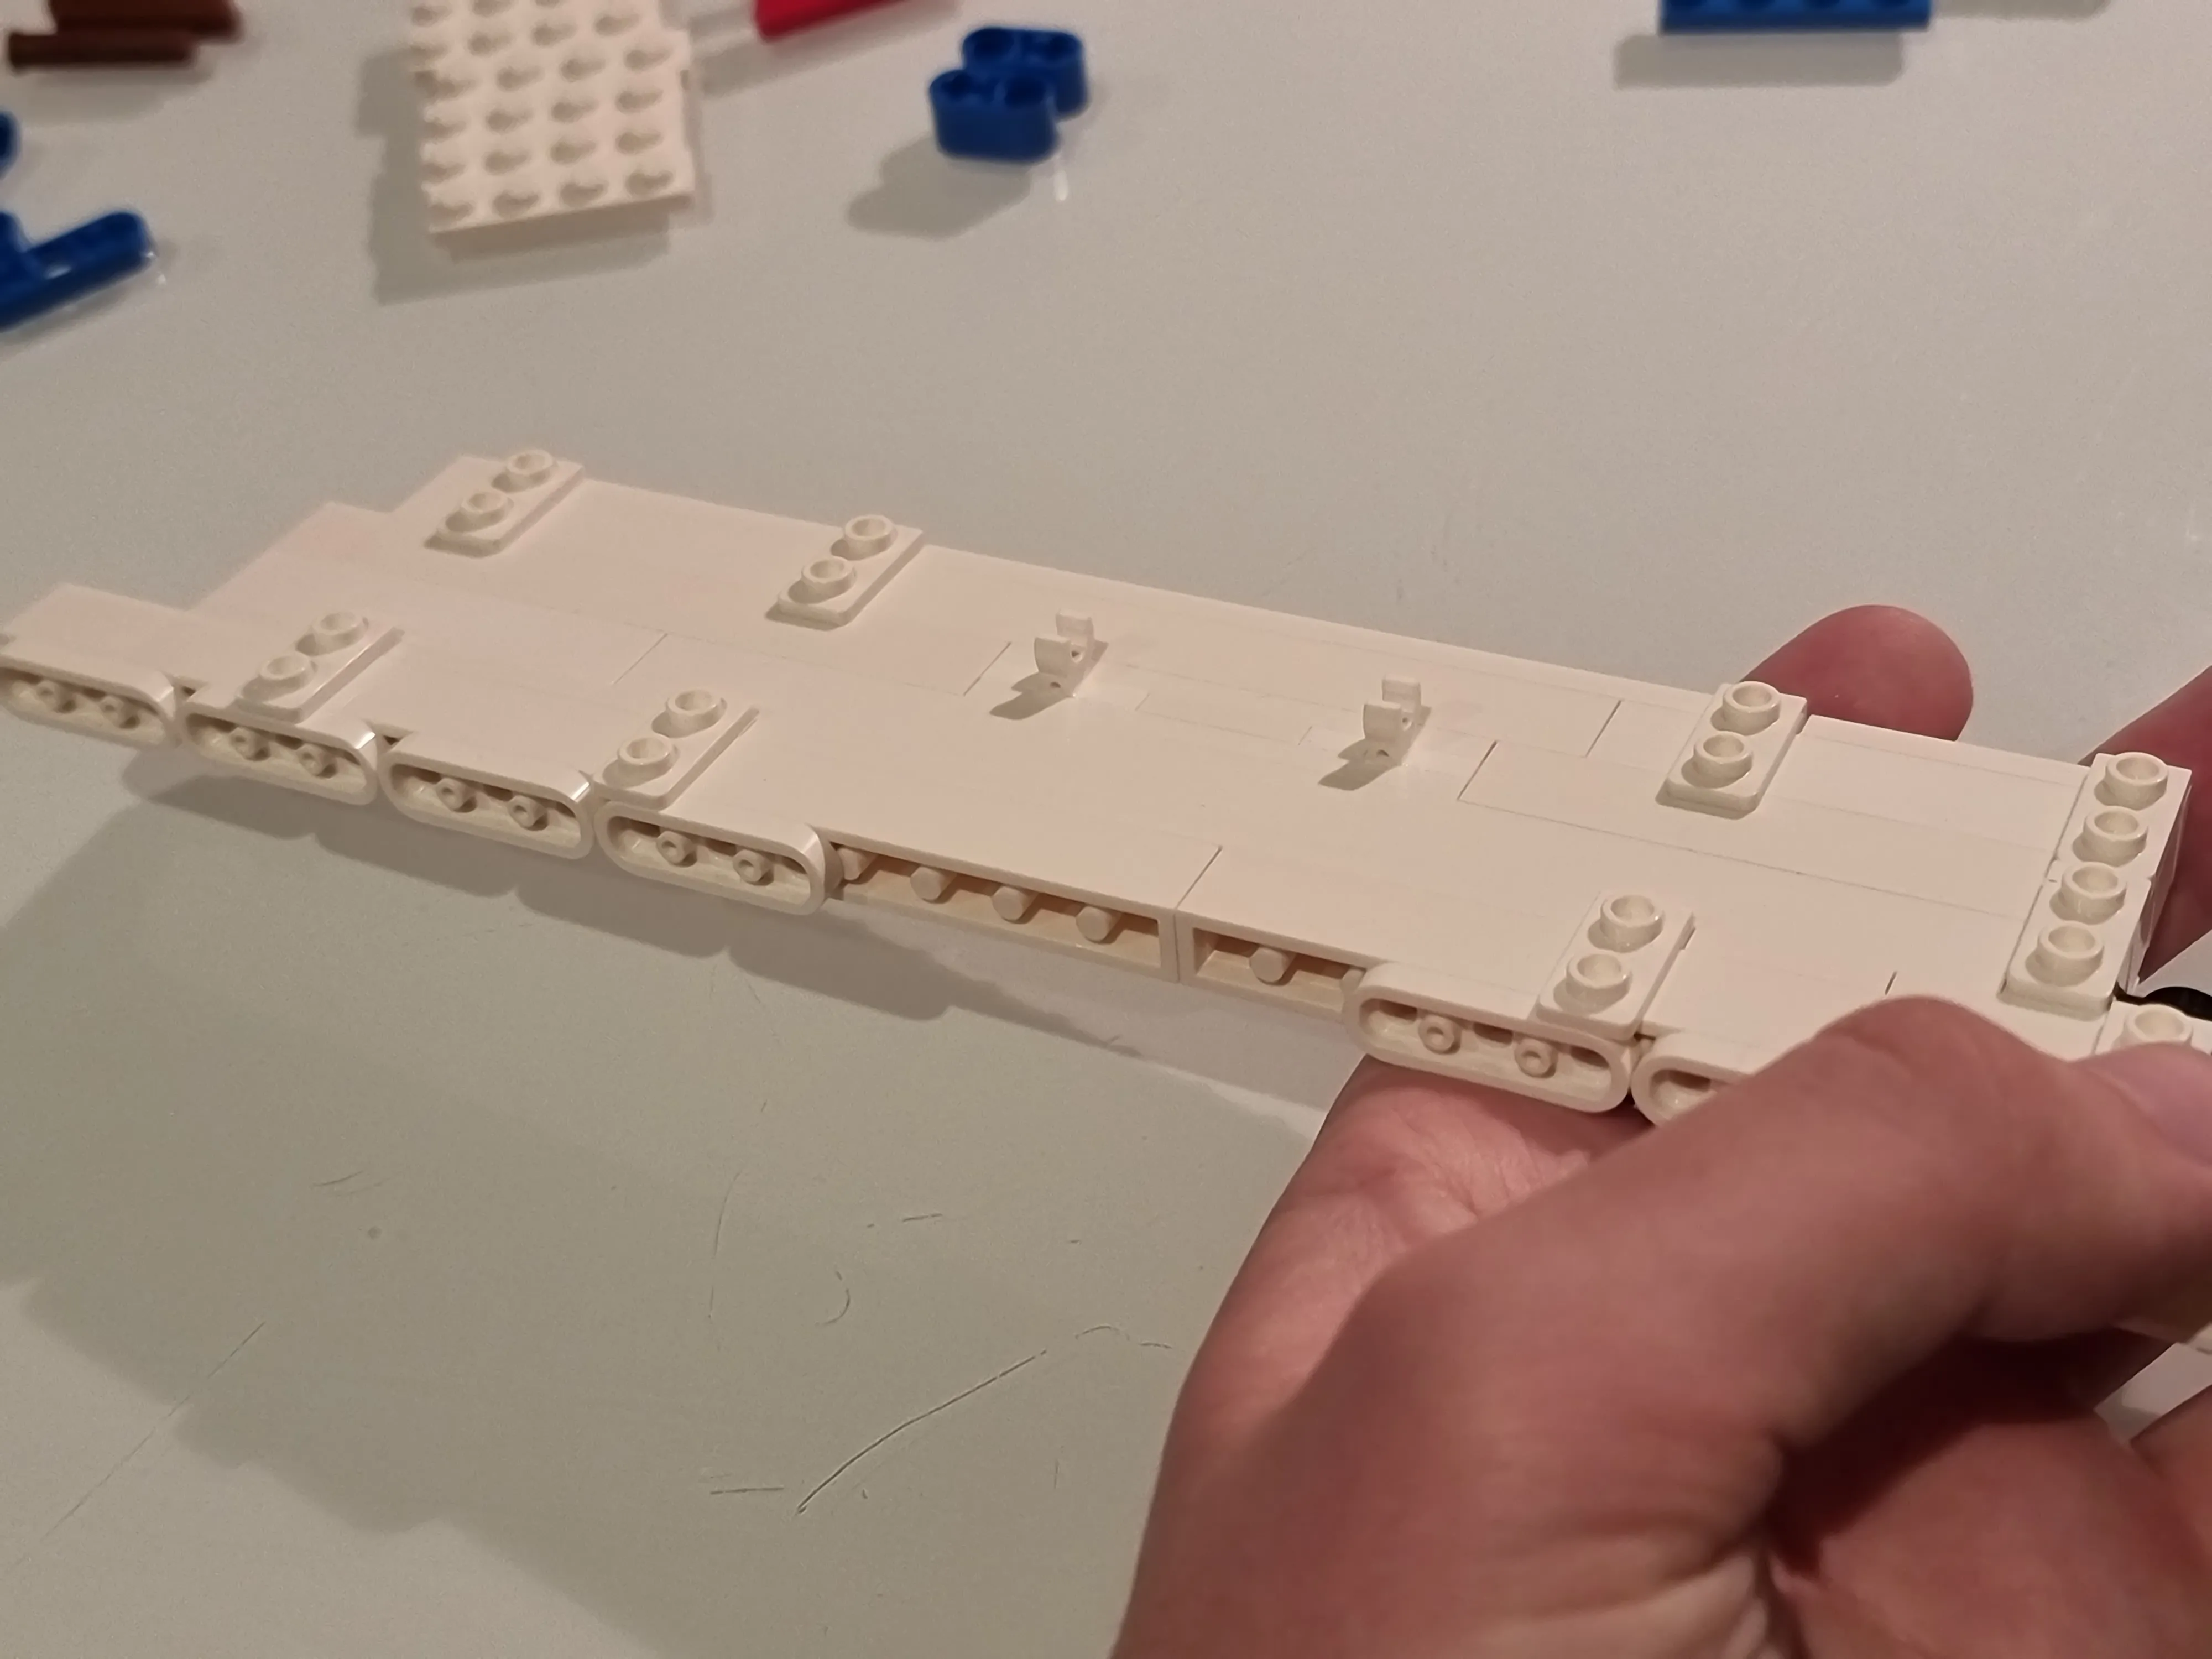
It seems like we’re building the trailing edge of the wing and fuselage first which helps get a sense of scale for the rest of the build.

These little notes are what I missed from the Millennium Falcon build. Just little tid bits of information that would’ve been nice rather than having to guess or make it to the end of the process.
Only 13 steps for the first bag??? It went by so quickly. I again had gotten used to doing a section for an hour or two and taking a break or leaving another bag for the next day. I feel like I could do 2 or 3 more right now! Let’s keep going!
Bag 2
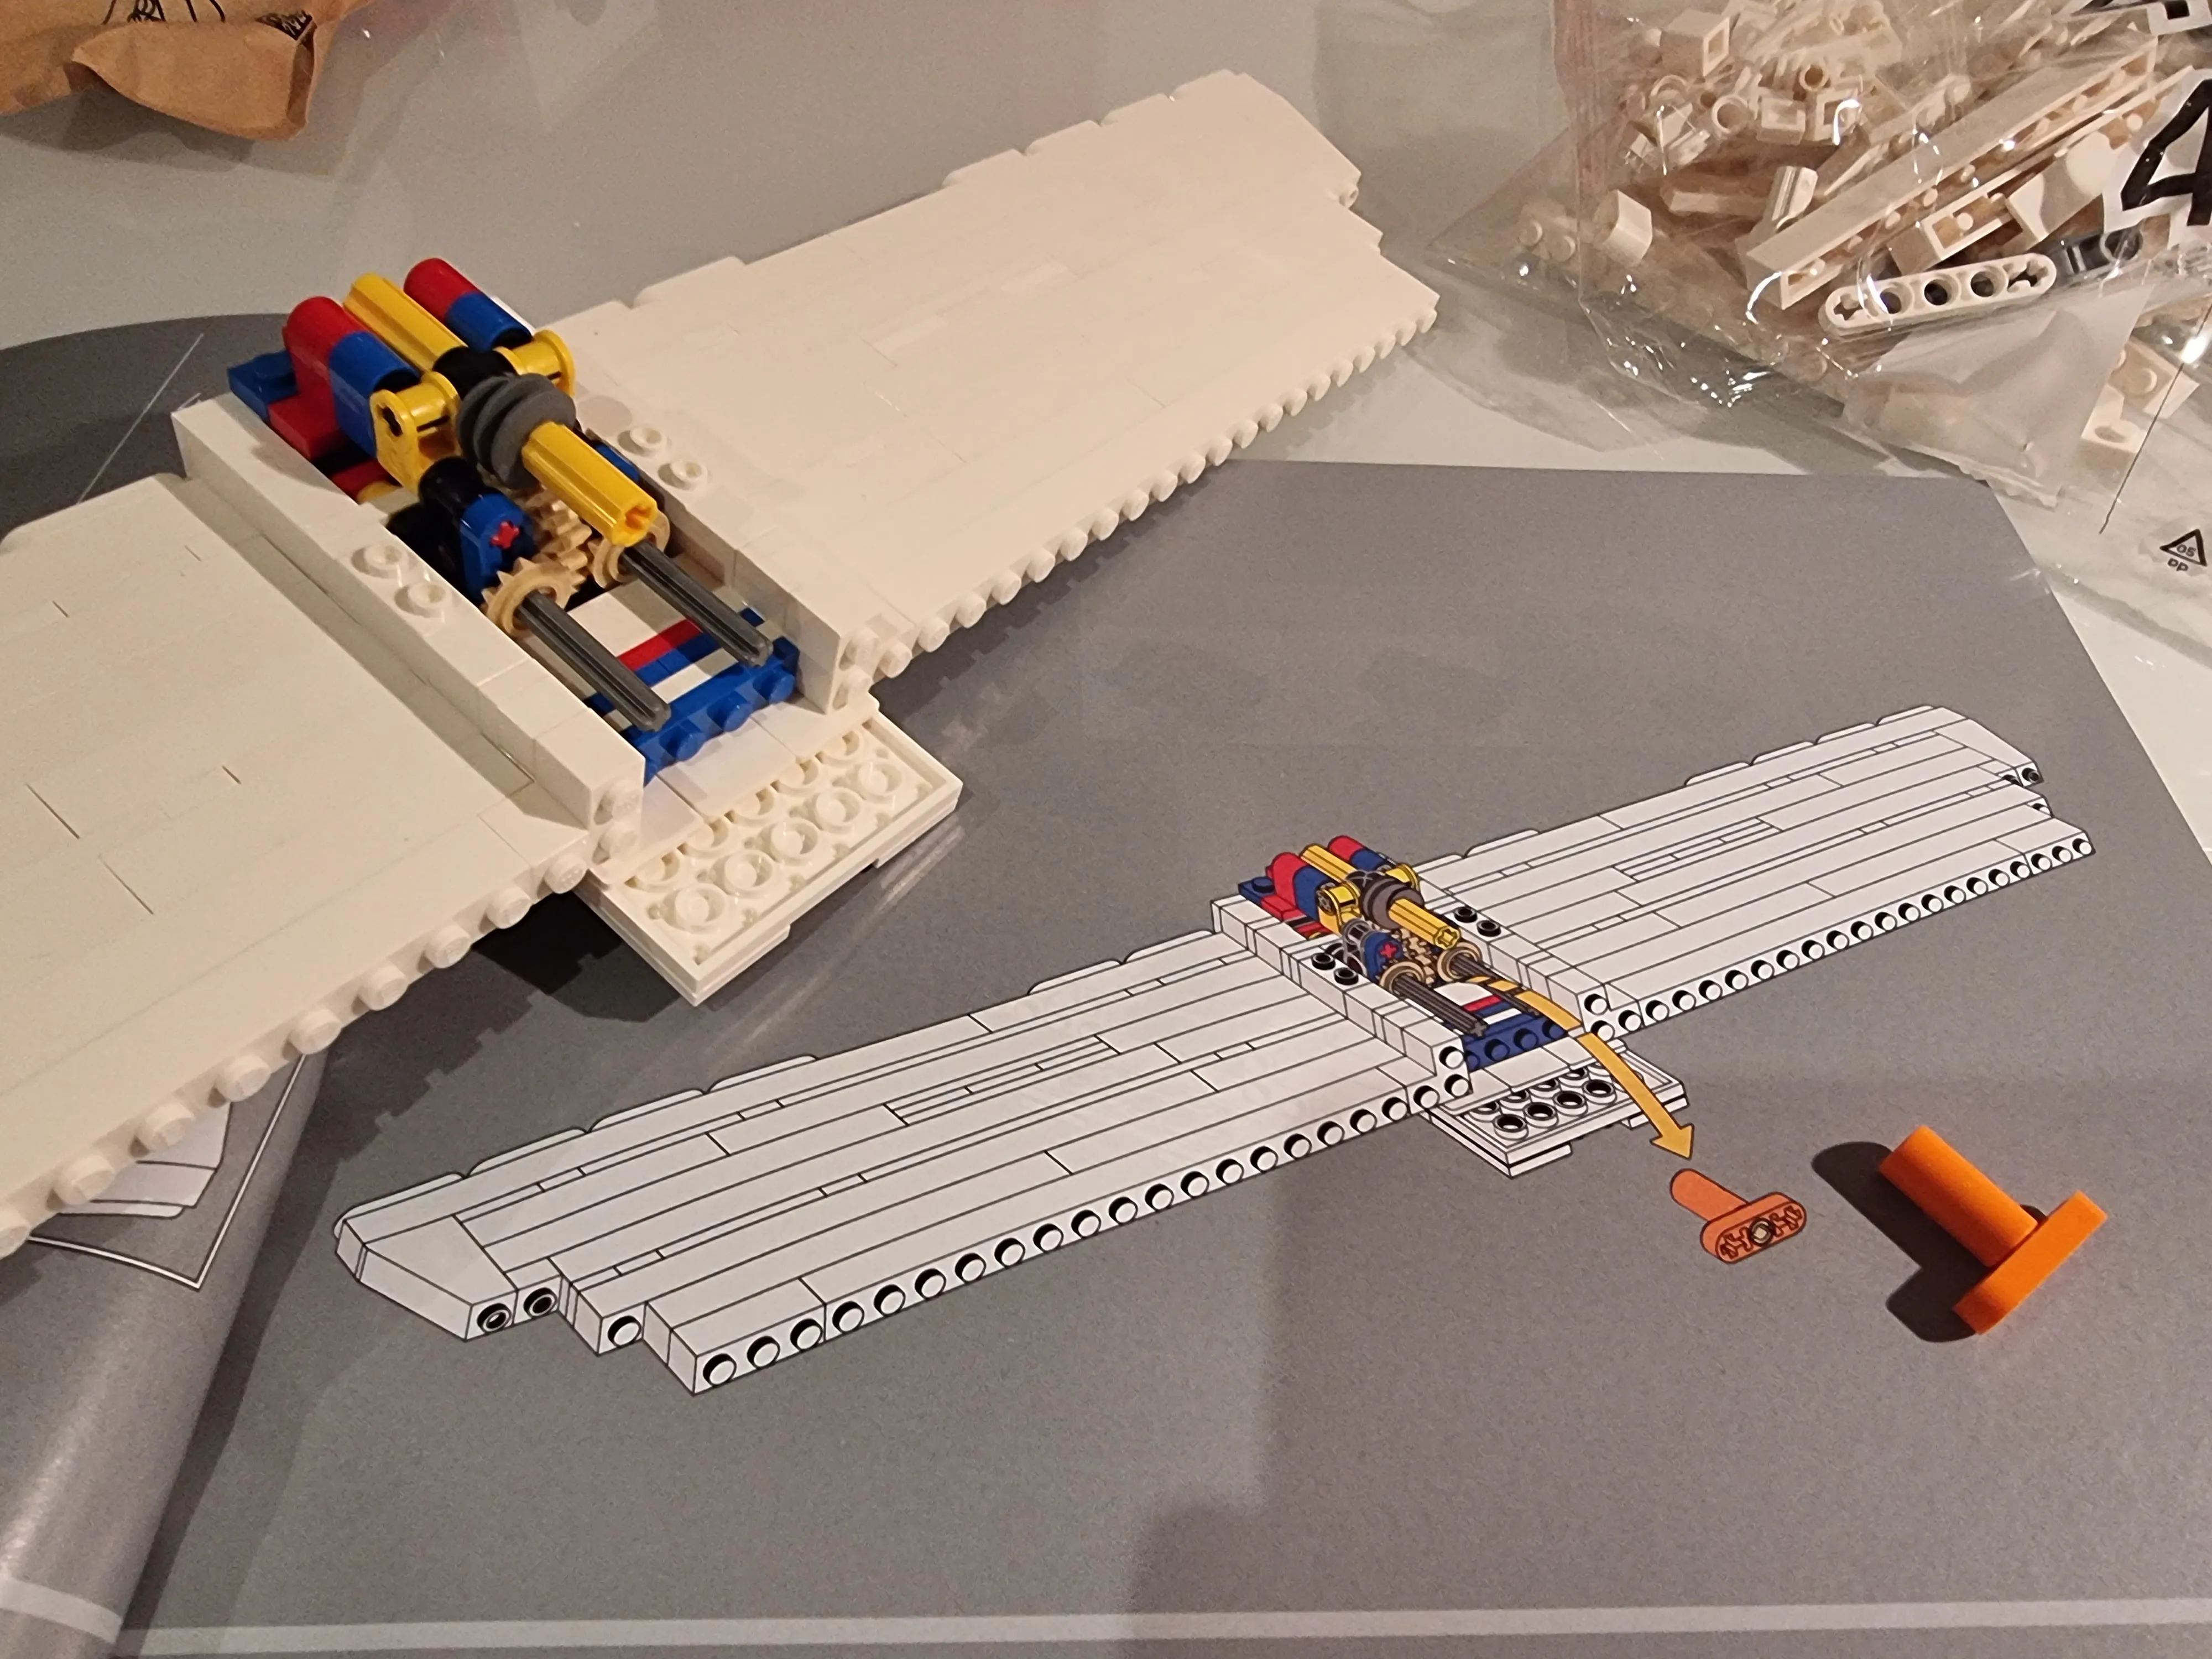
Ooooooo gears! I love mechanics in lego sets but I am pretty indifferent to technic (not that I would say no to technic). I just like the bricks part of lego and snapping them together rather than trying to line up 3 pins that… just… won’t… go in. I do have some technic sets, notably the Mars Rover and the McLaren F1.
Not quite sure what these are going to connect to. Seems too spread apart for the engines (unless the wings get even longer) but could be.
Some Lego pieces are not symmetric, which then leaves the OCD in me to make sure I follow the instructions to a tee. I wonder if the orientation actually matters. Probably searchable, people of course have probably used the different symmetries to make their builds that little bit better but I have to assume for a normal build that it really doesn’t matter. (Also learned that those parts are called a bush and I did reorient them before continuing)
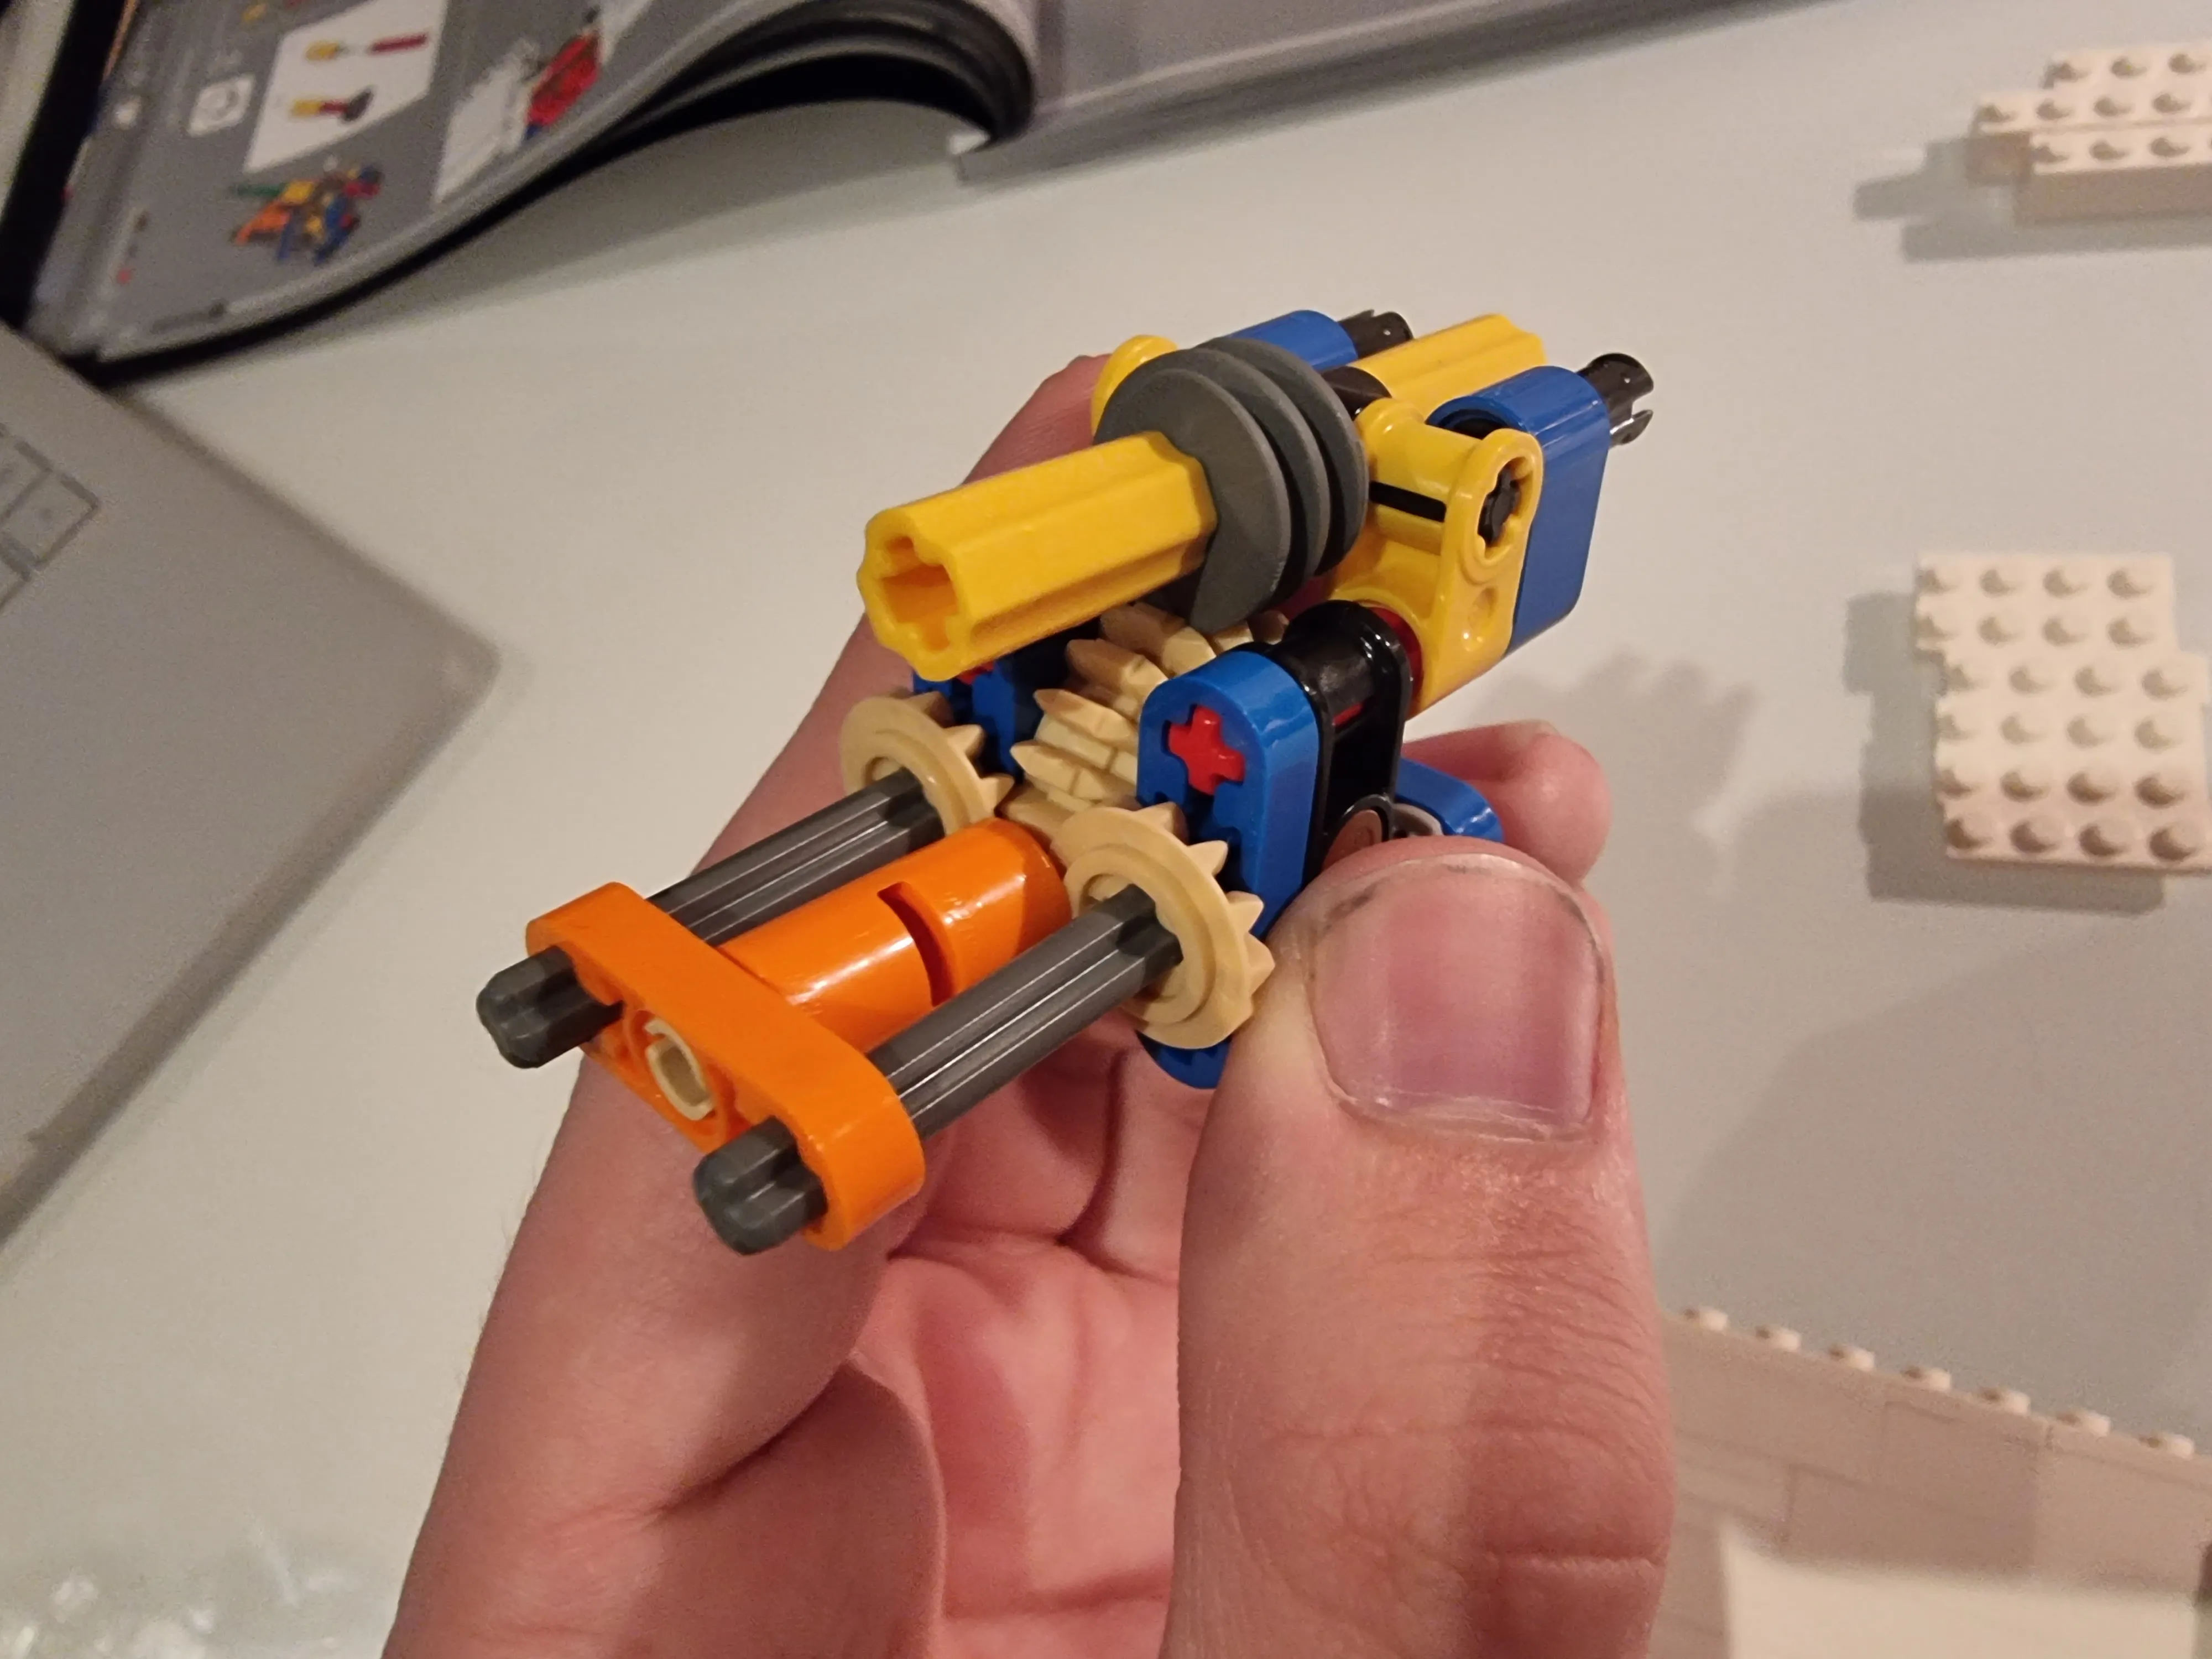
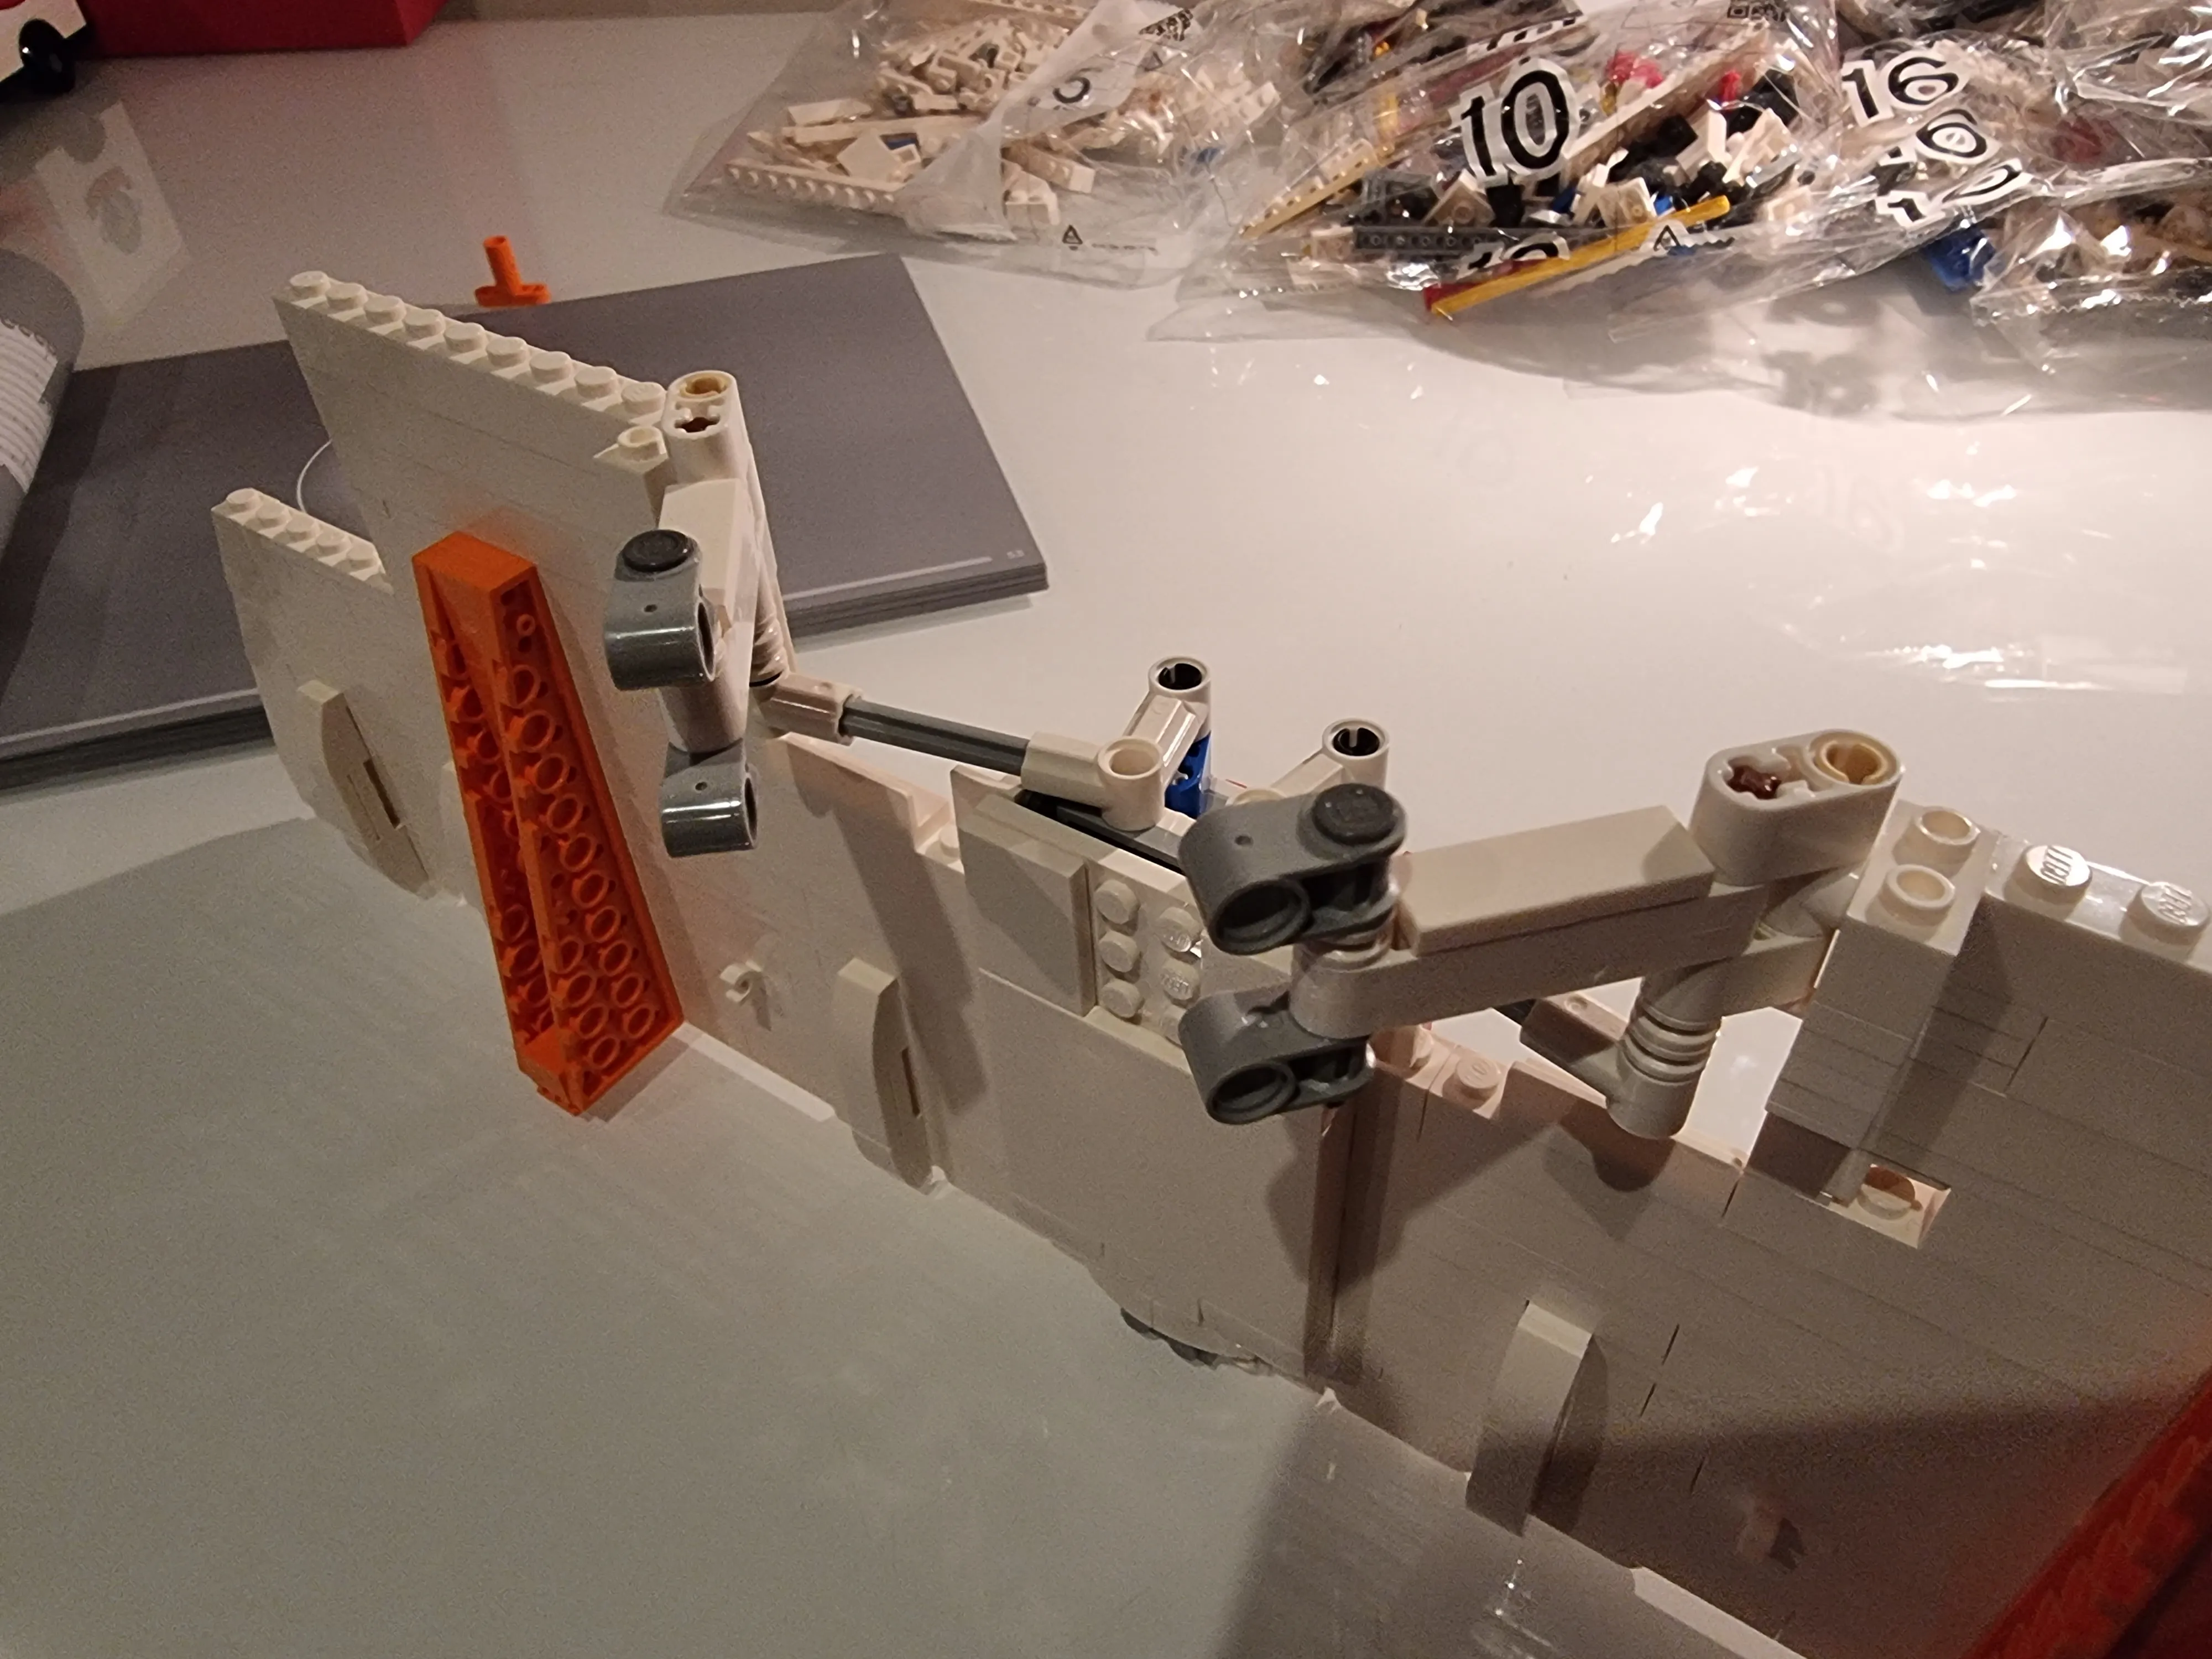
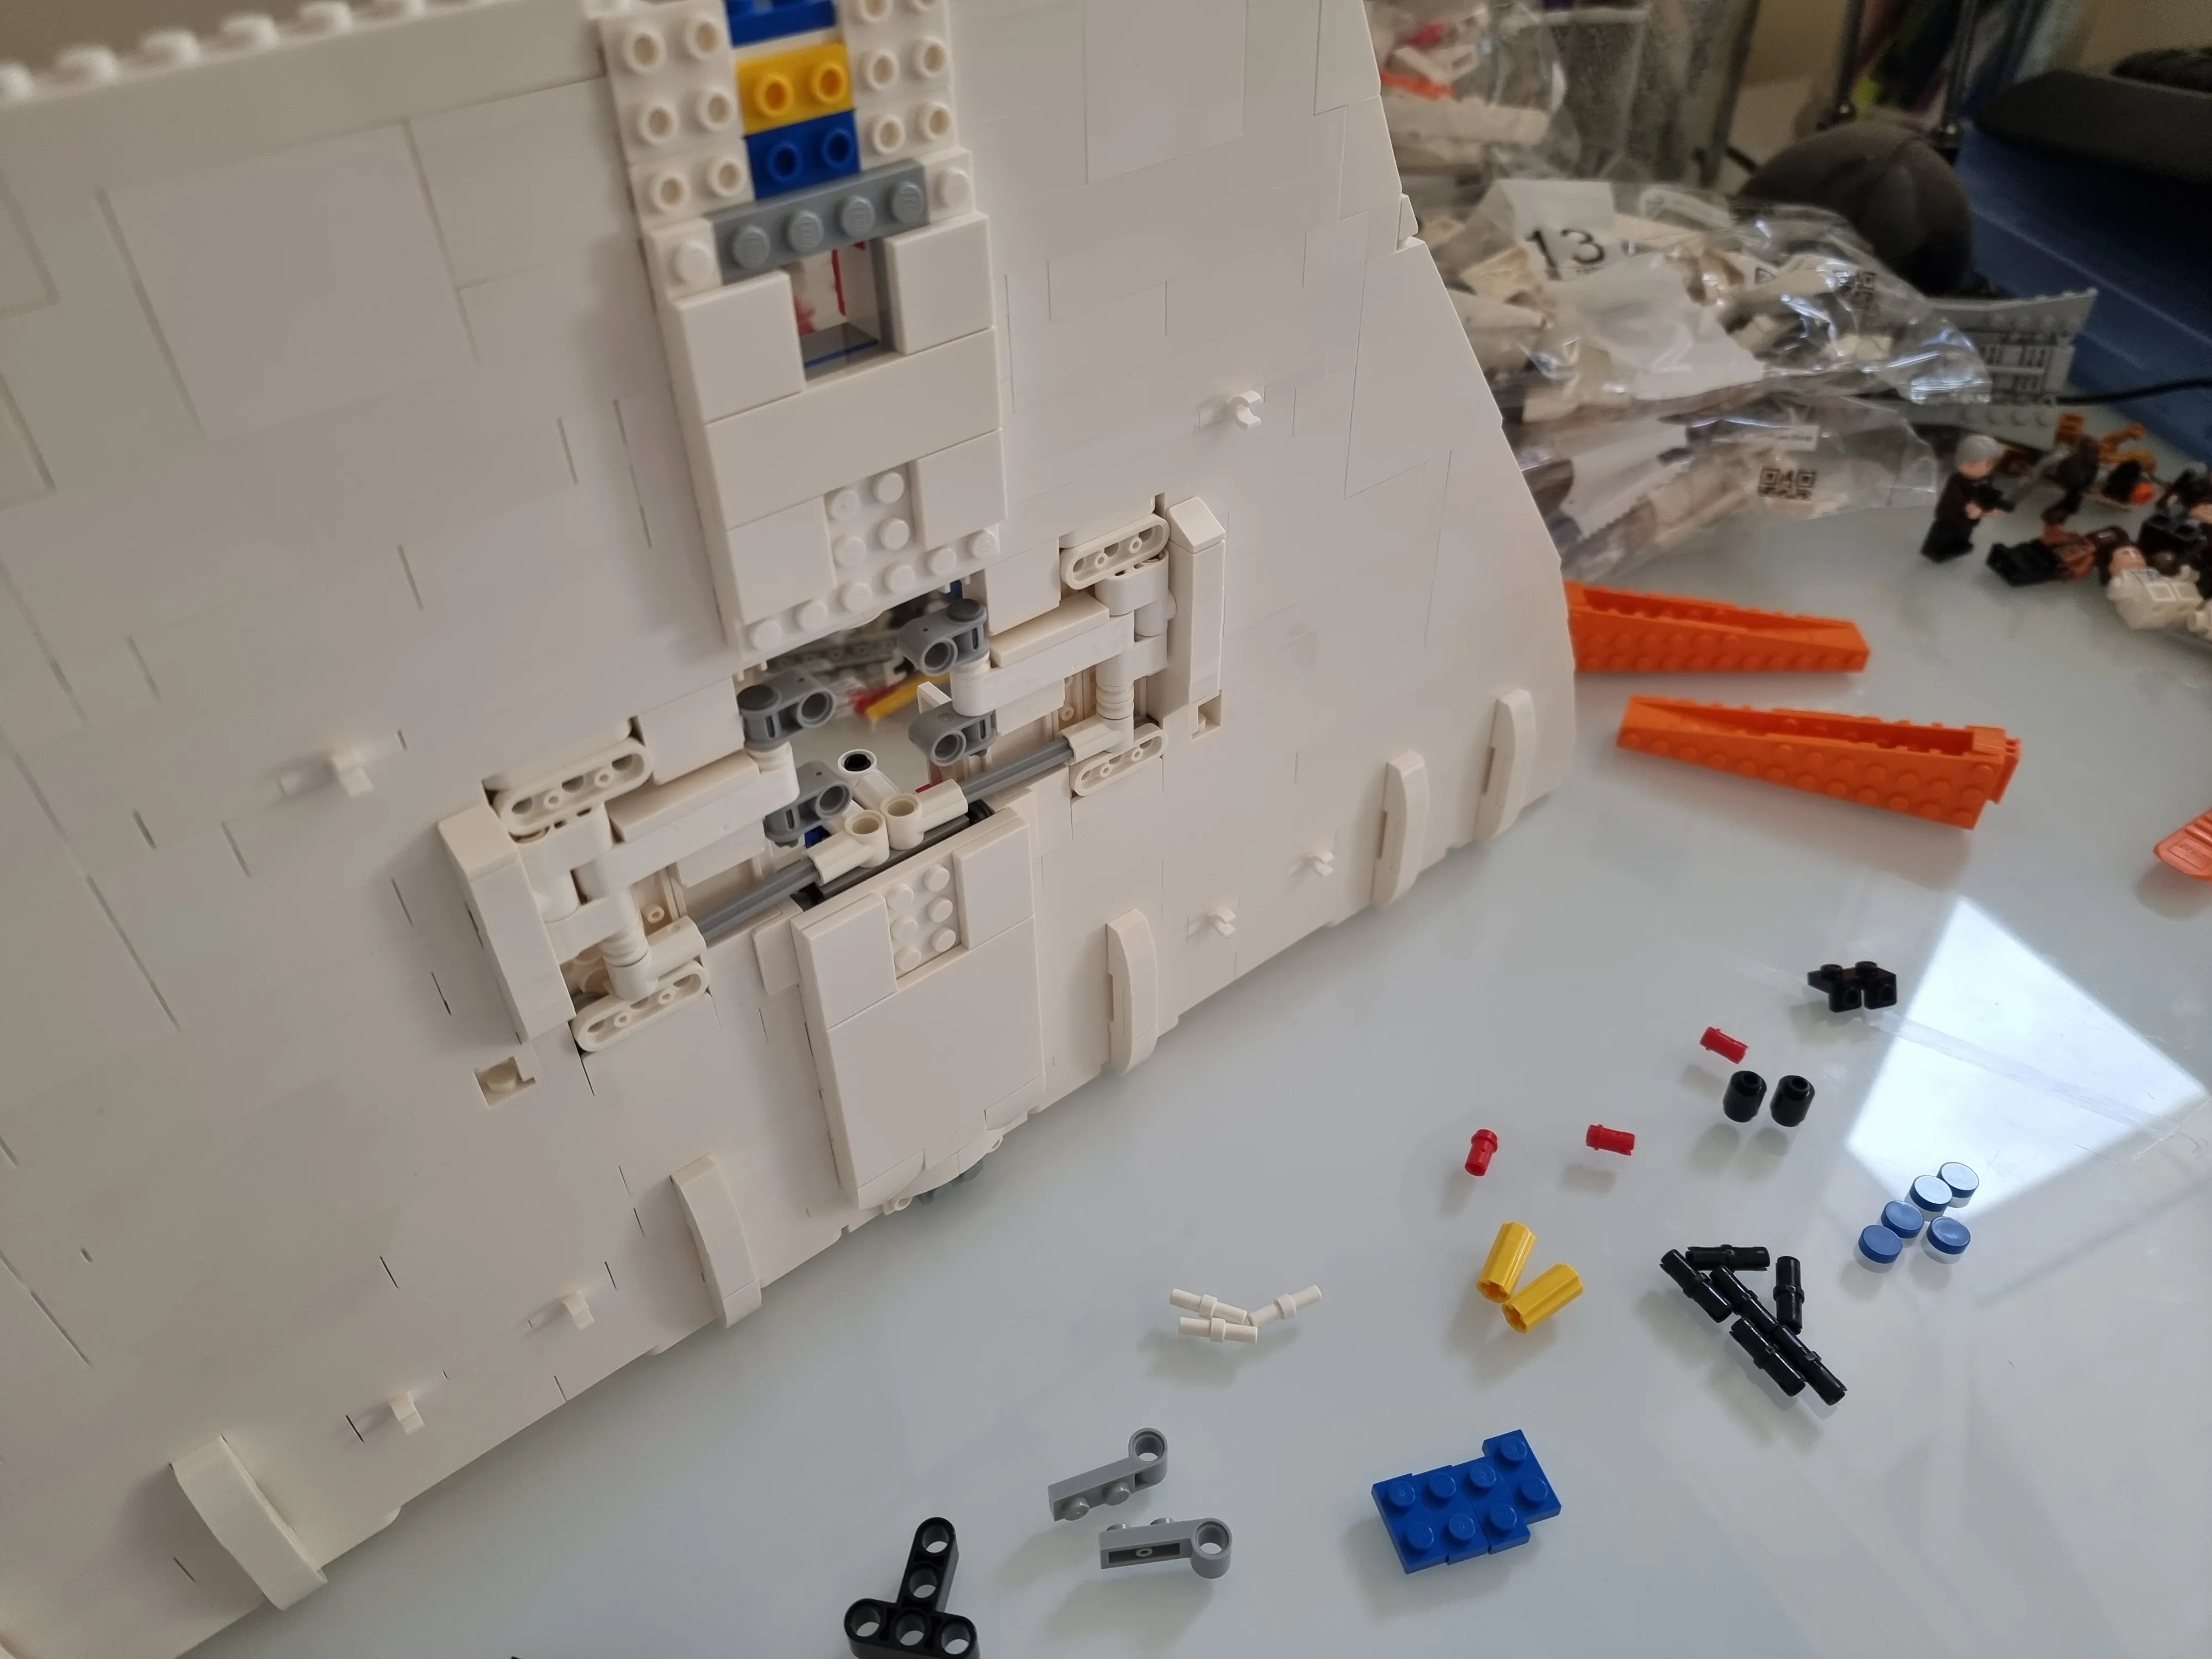
Alright… interesting choice locking 2 of the gears. I think I may have done something wrong but looking at the instructions the orange technic liftarm is locking the two axles. I can only assume that the worm gear helps put enough torque on the gears to force them to skip but idk??
Bag 3
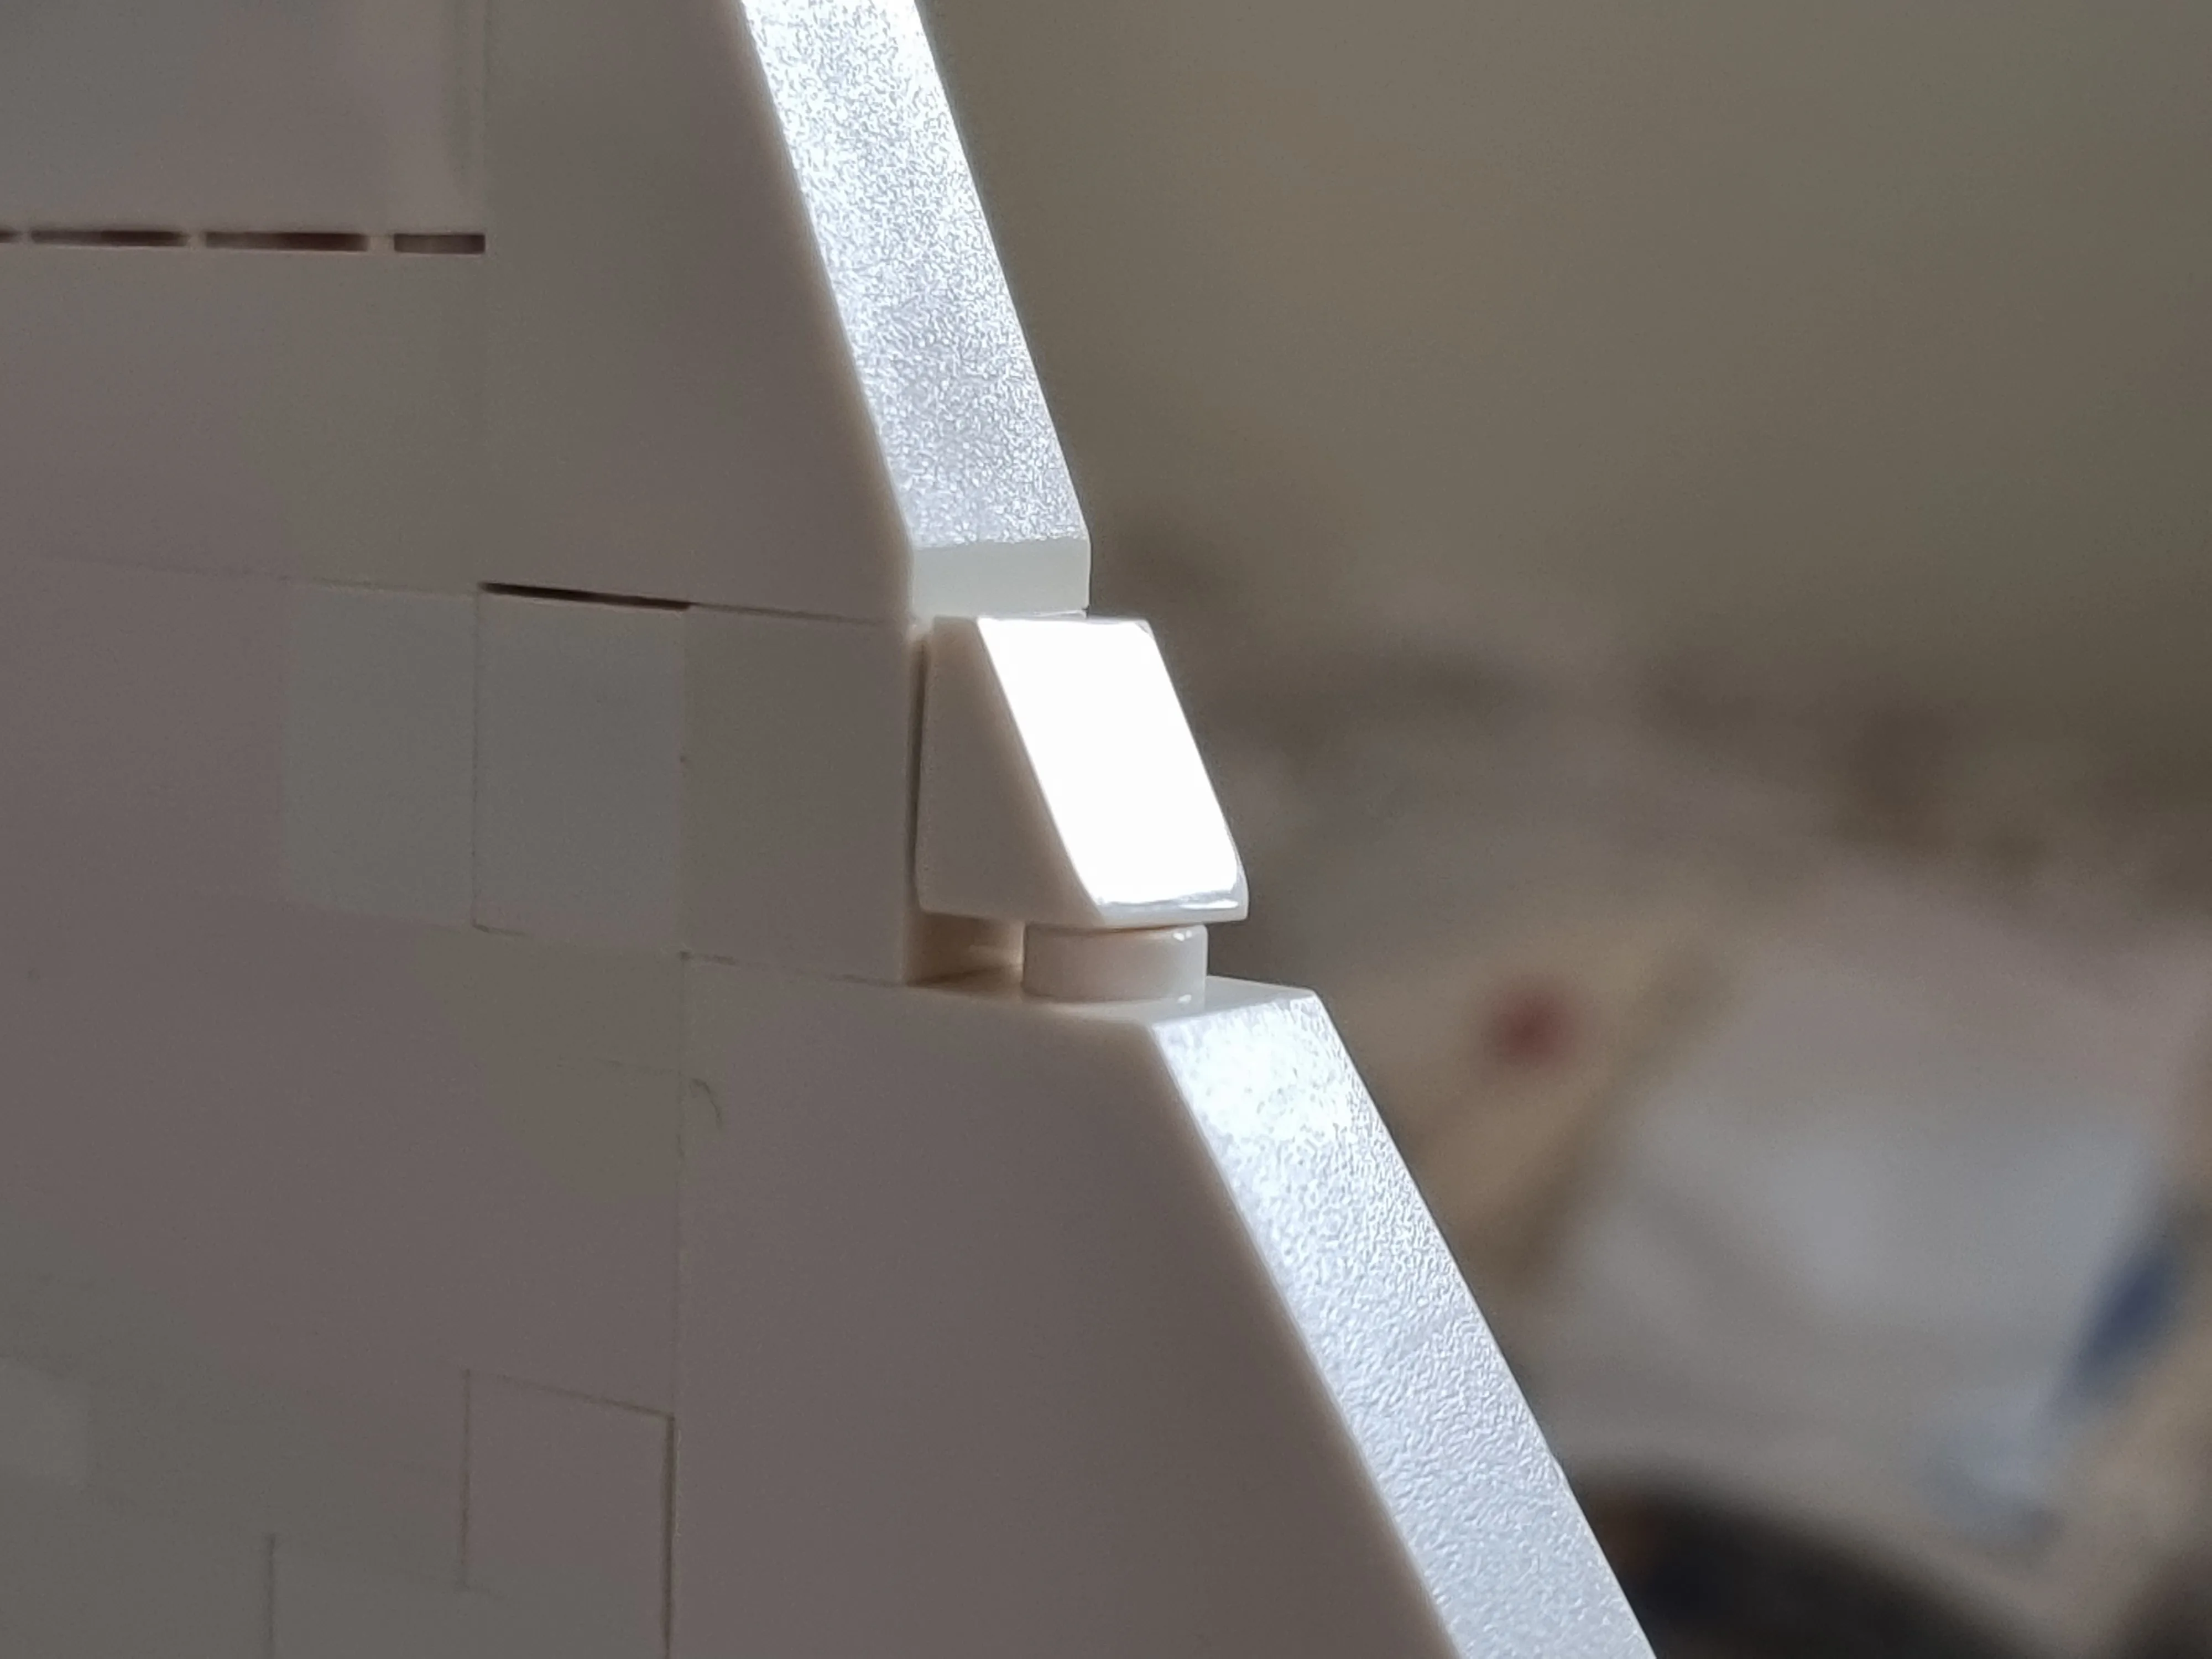
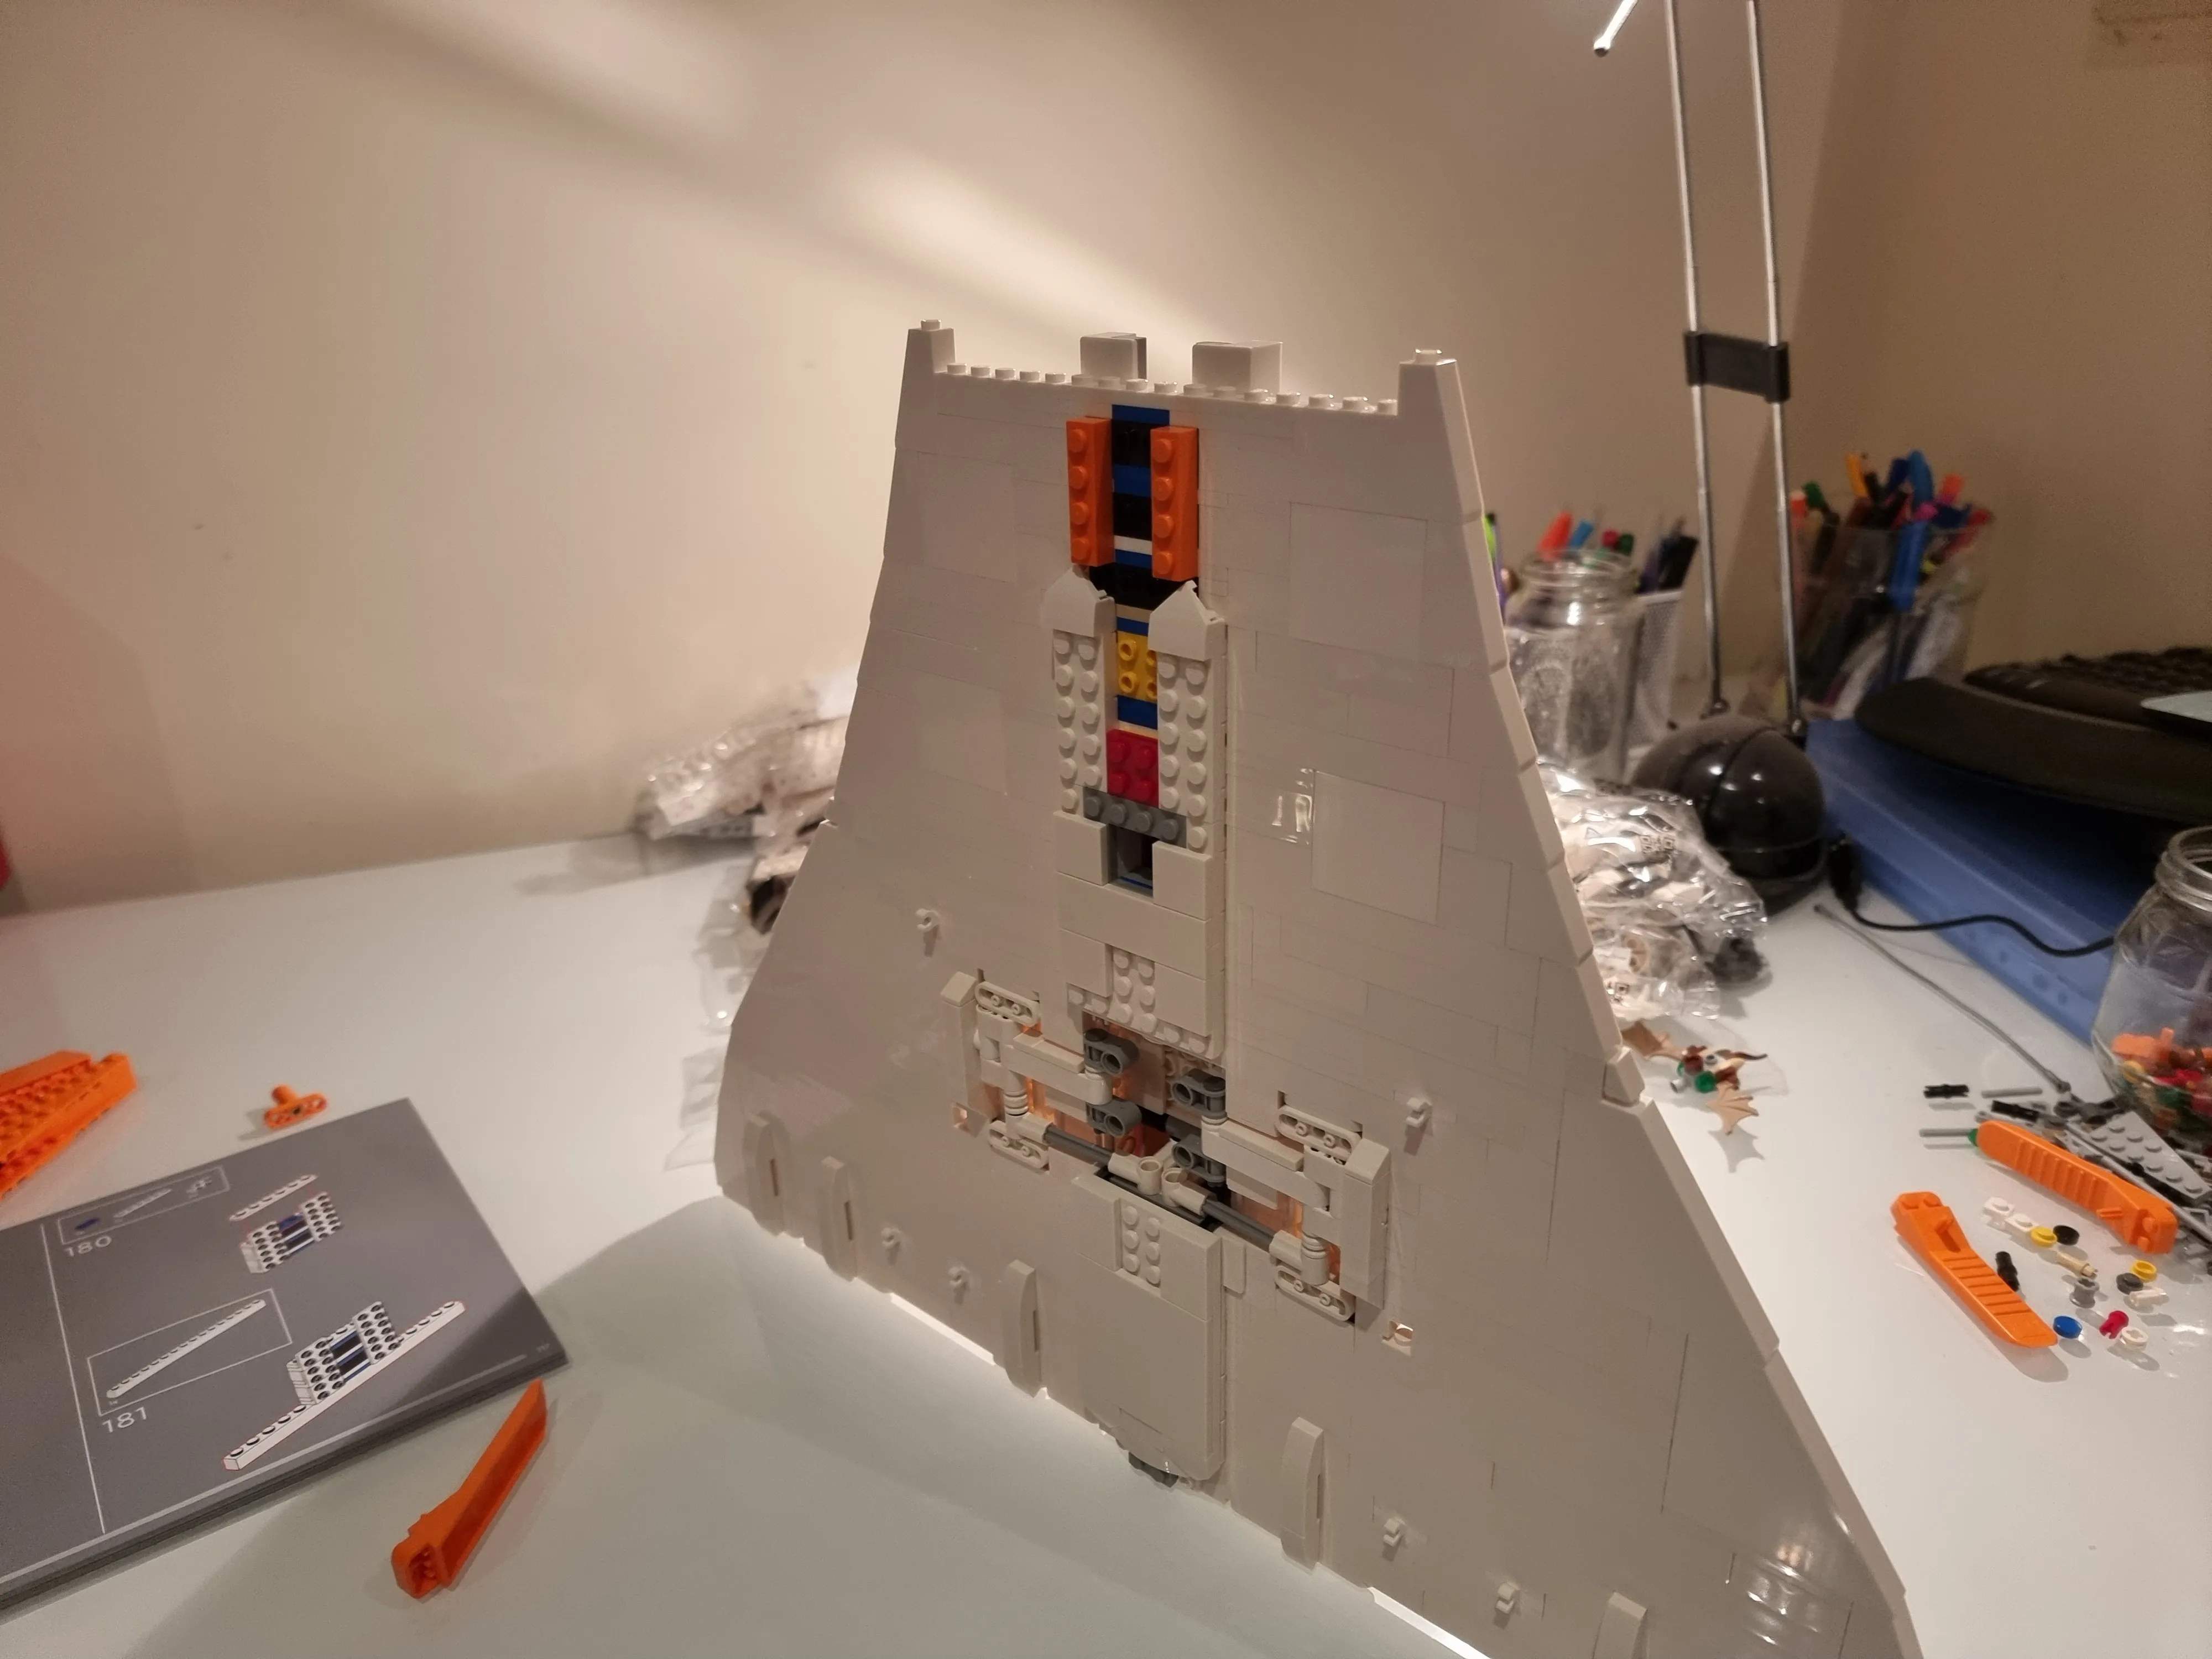
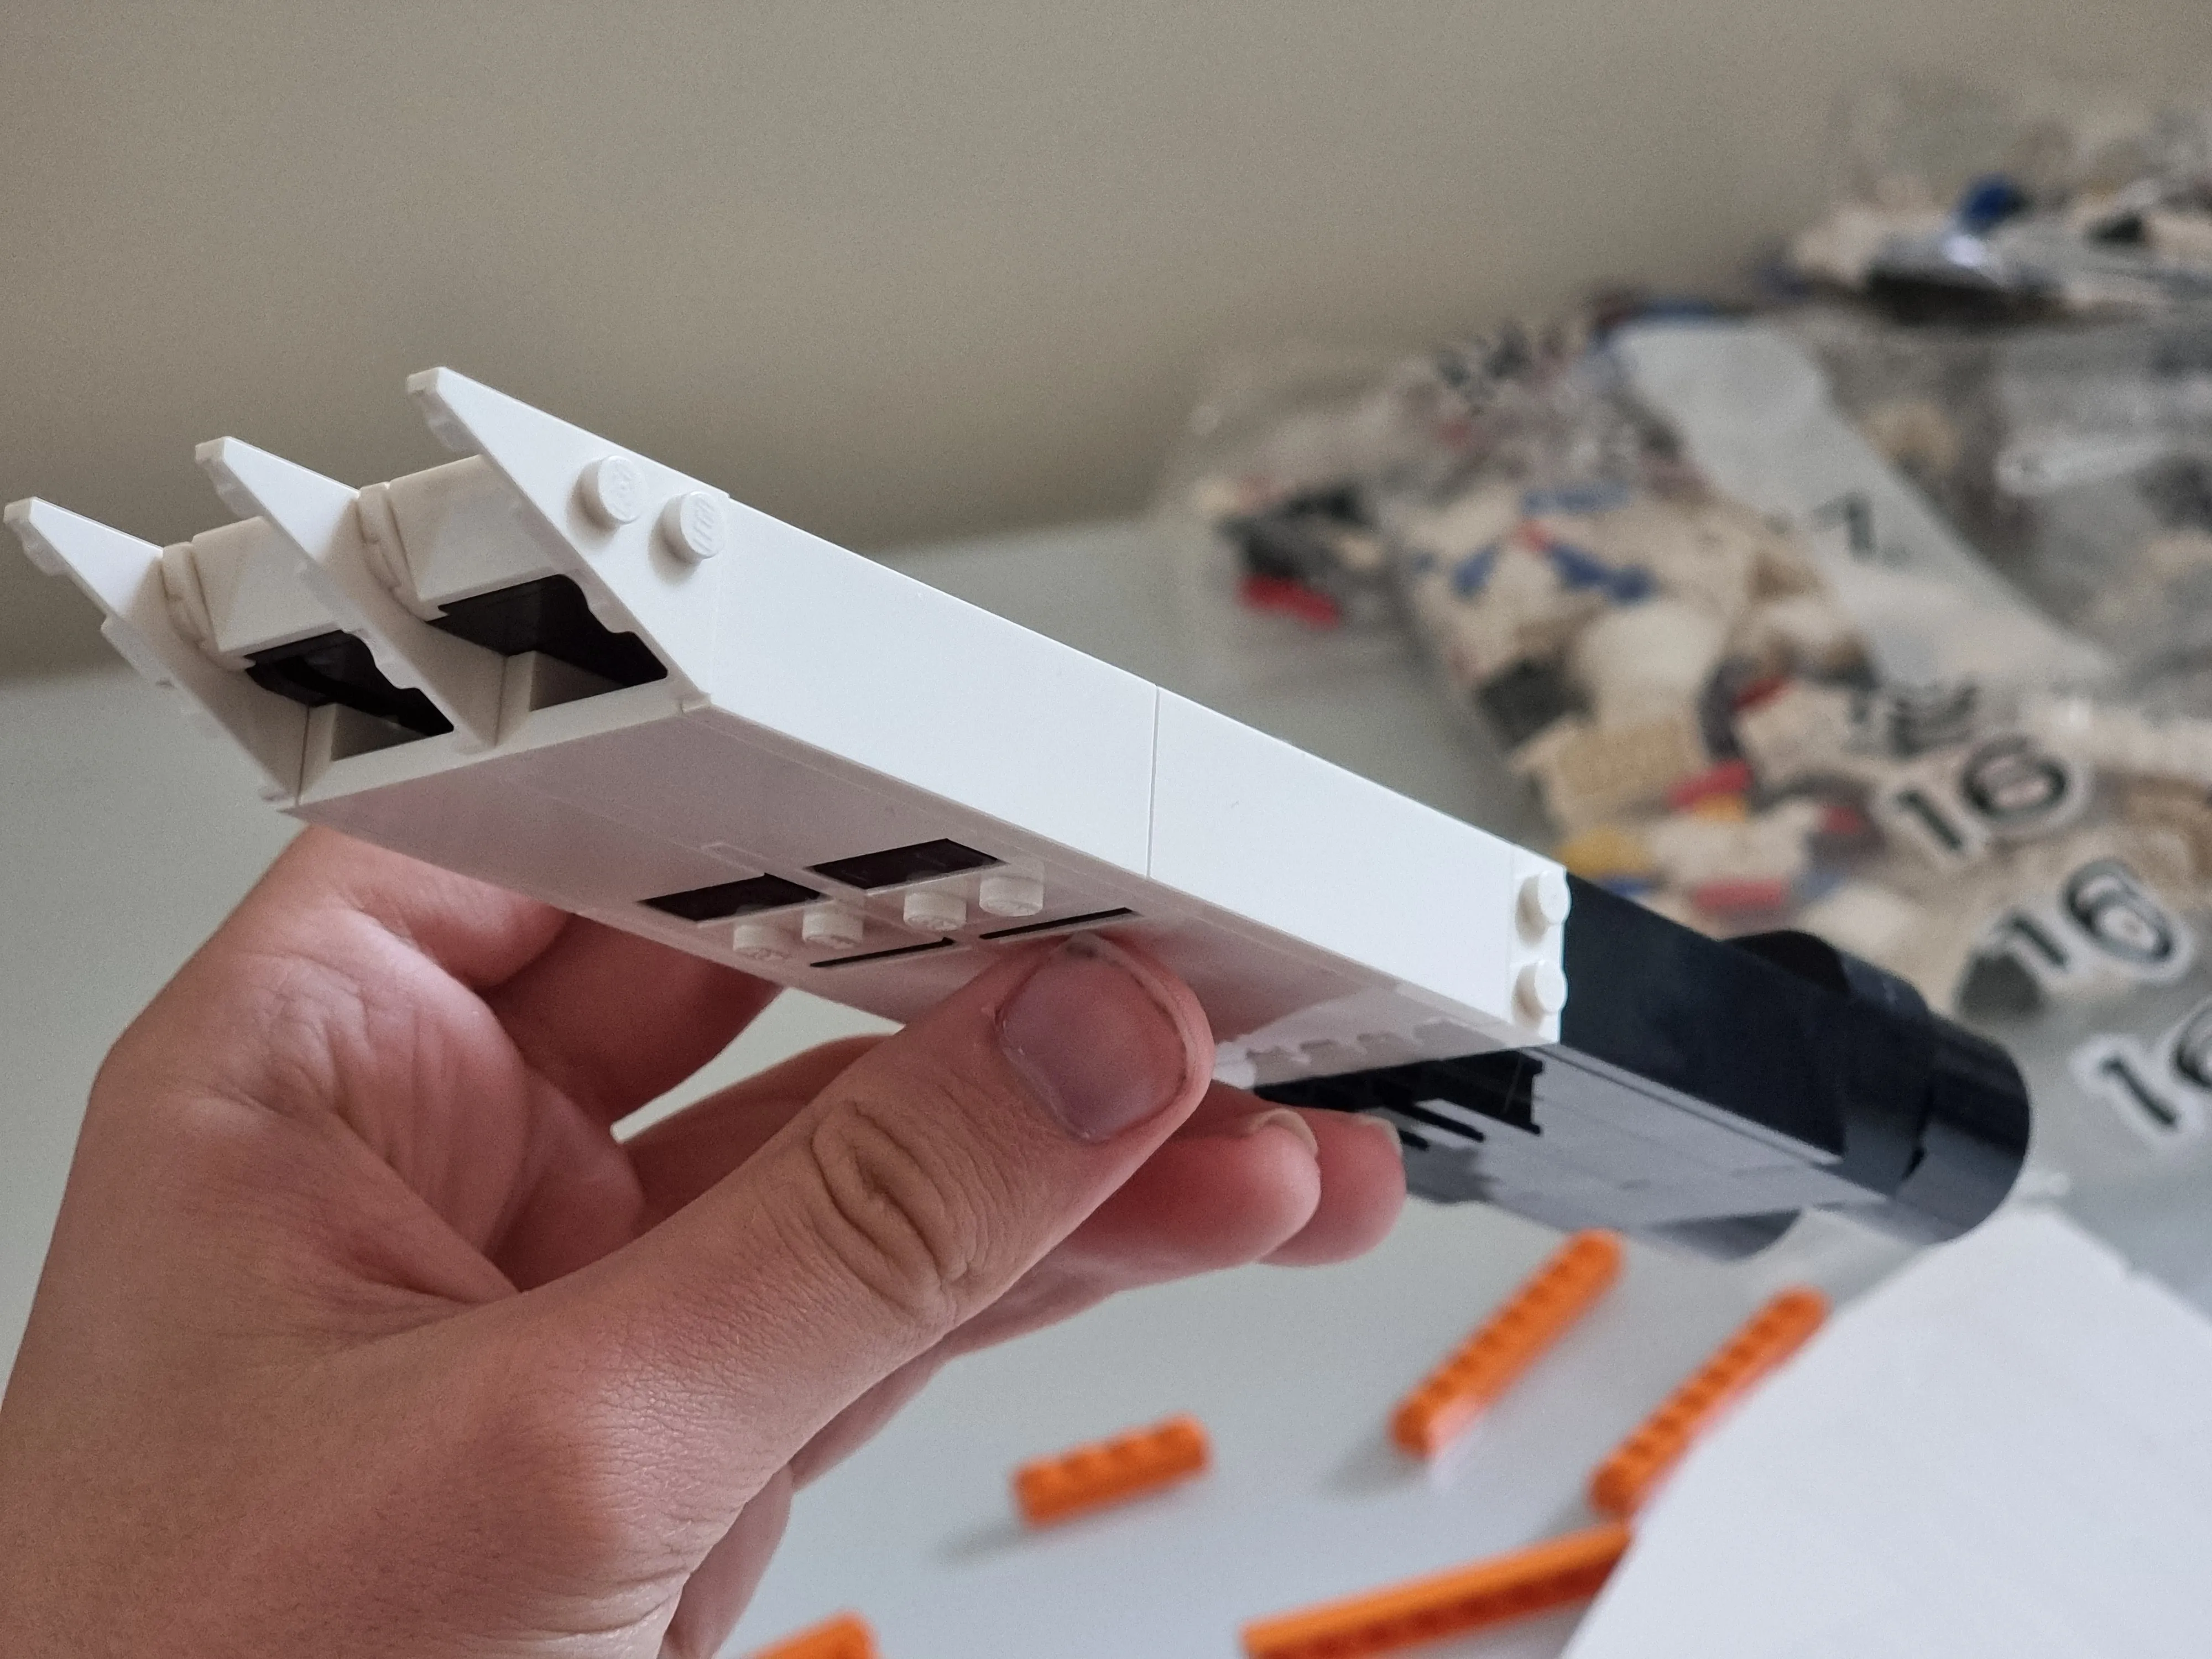
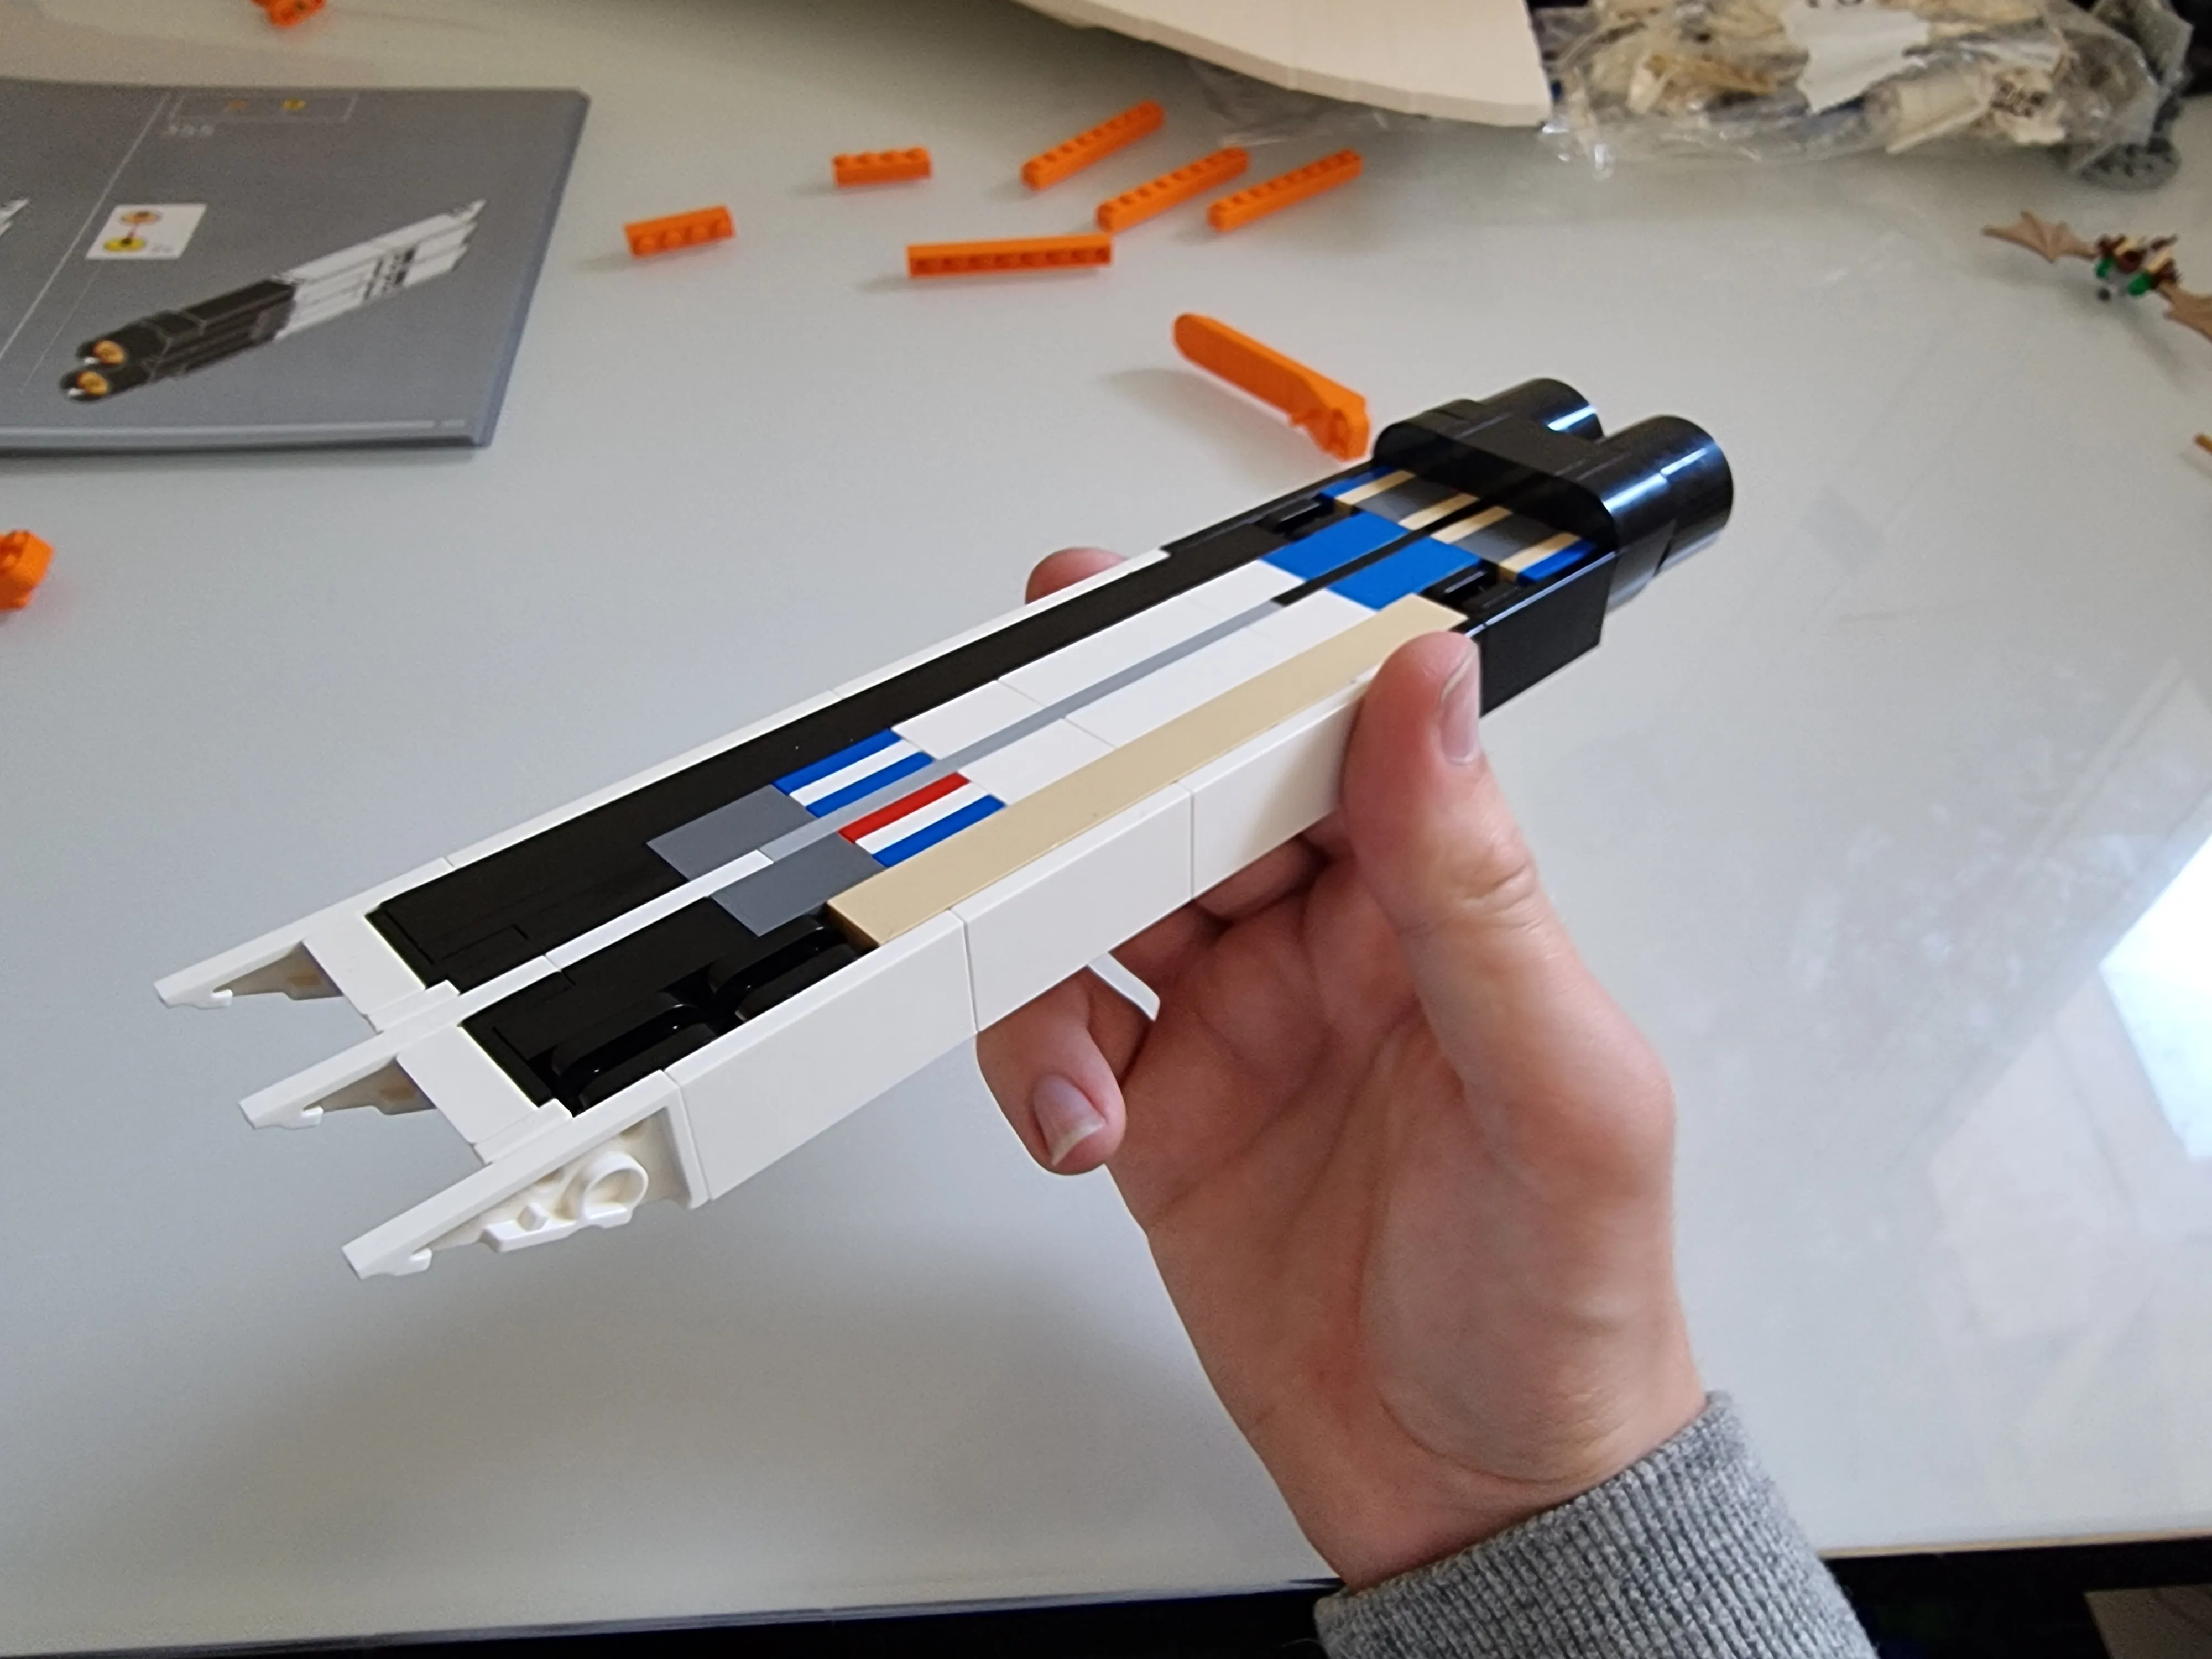
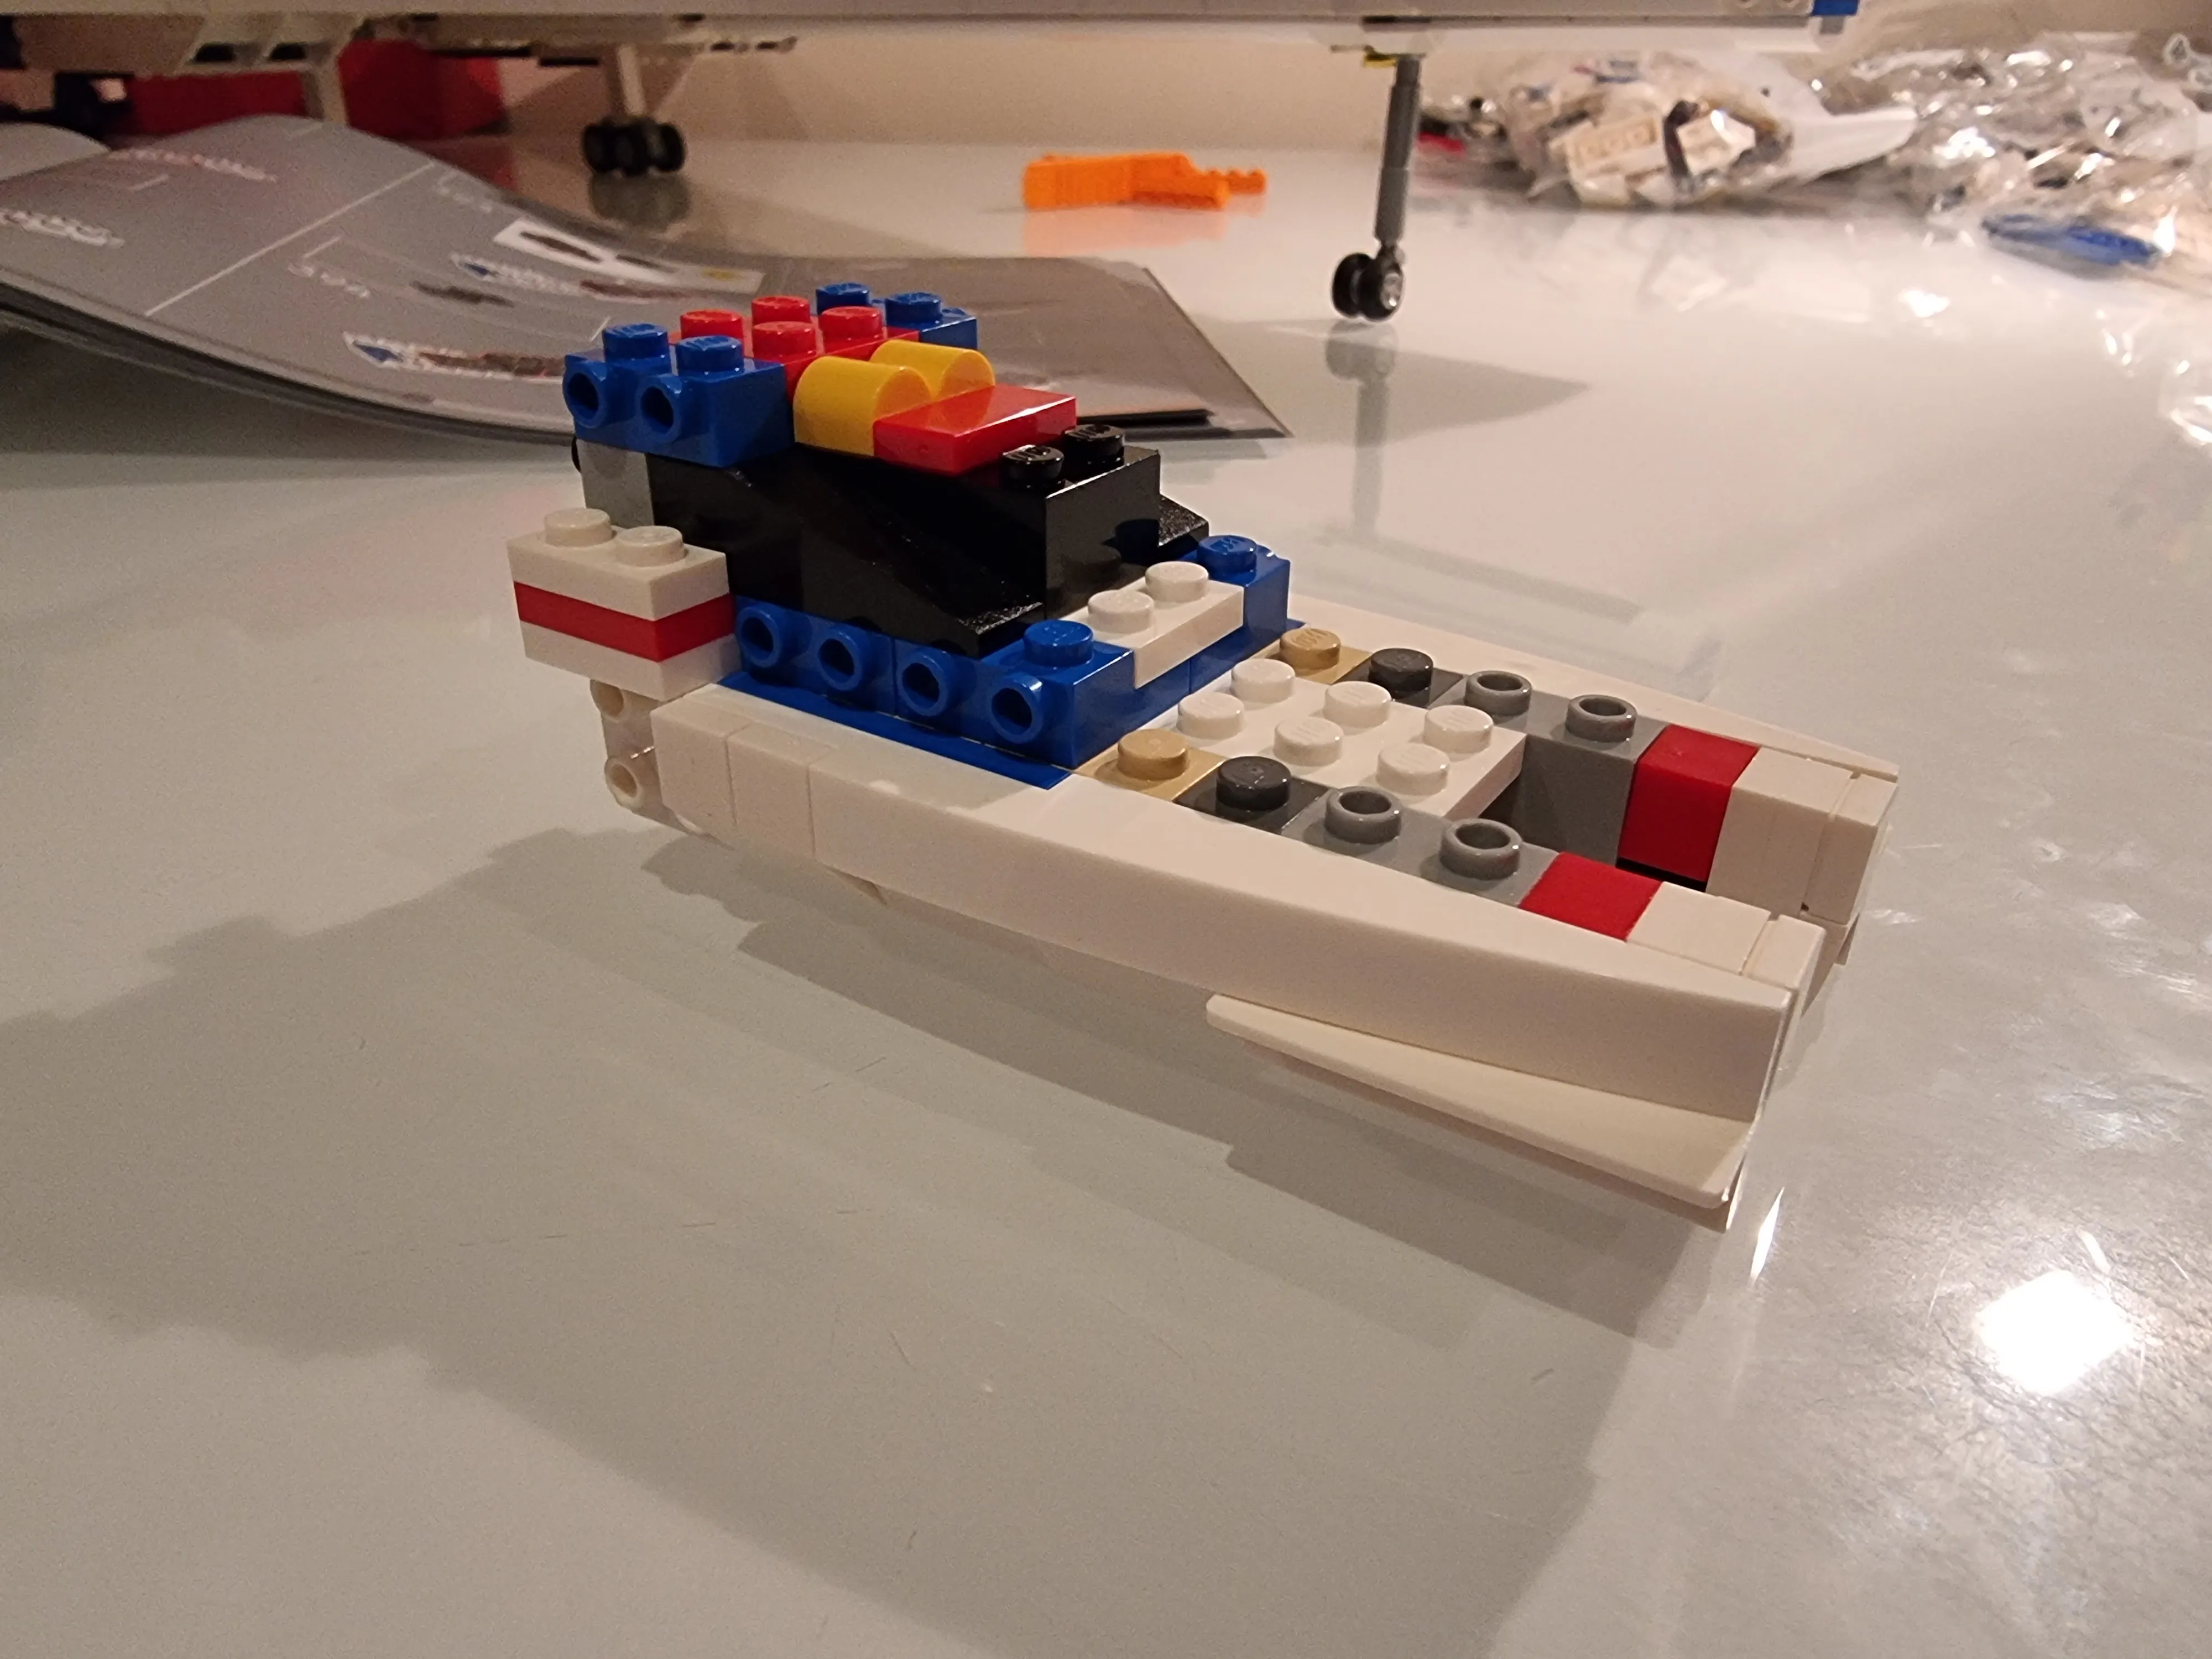
I was right! It wasn’t the engine! They are fairings for the mechanisms that control the elerons! Very nice :)

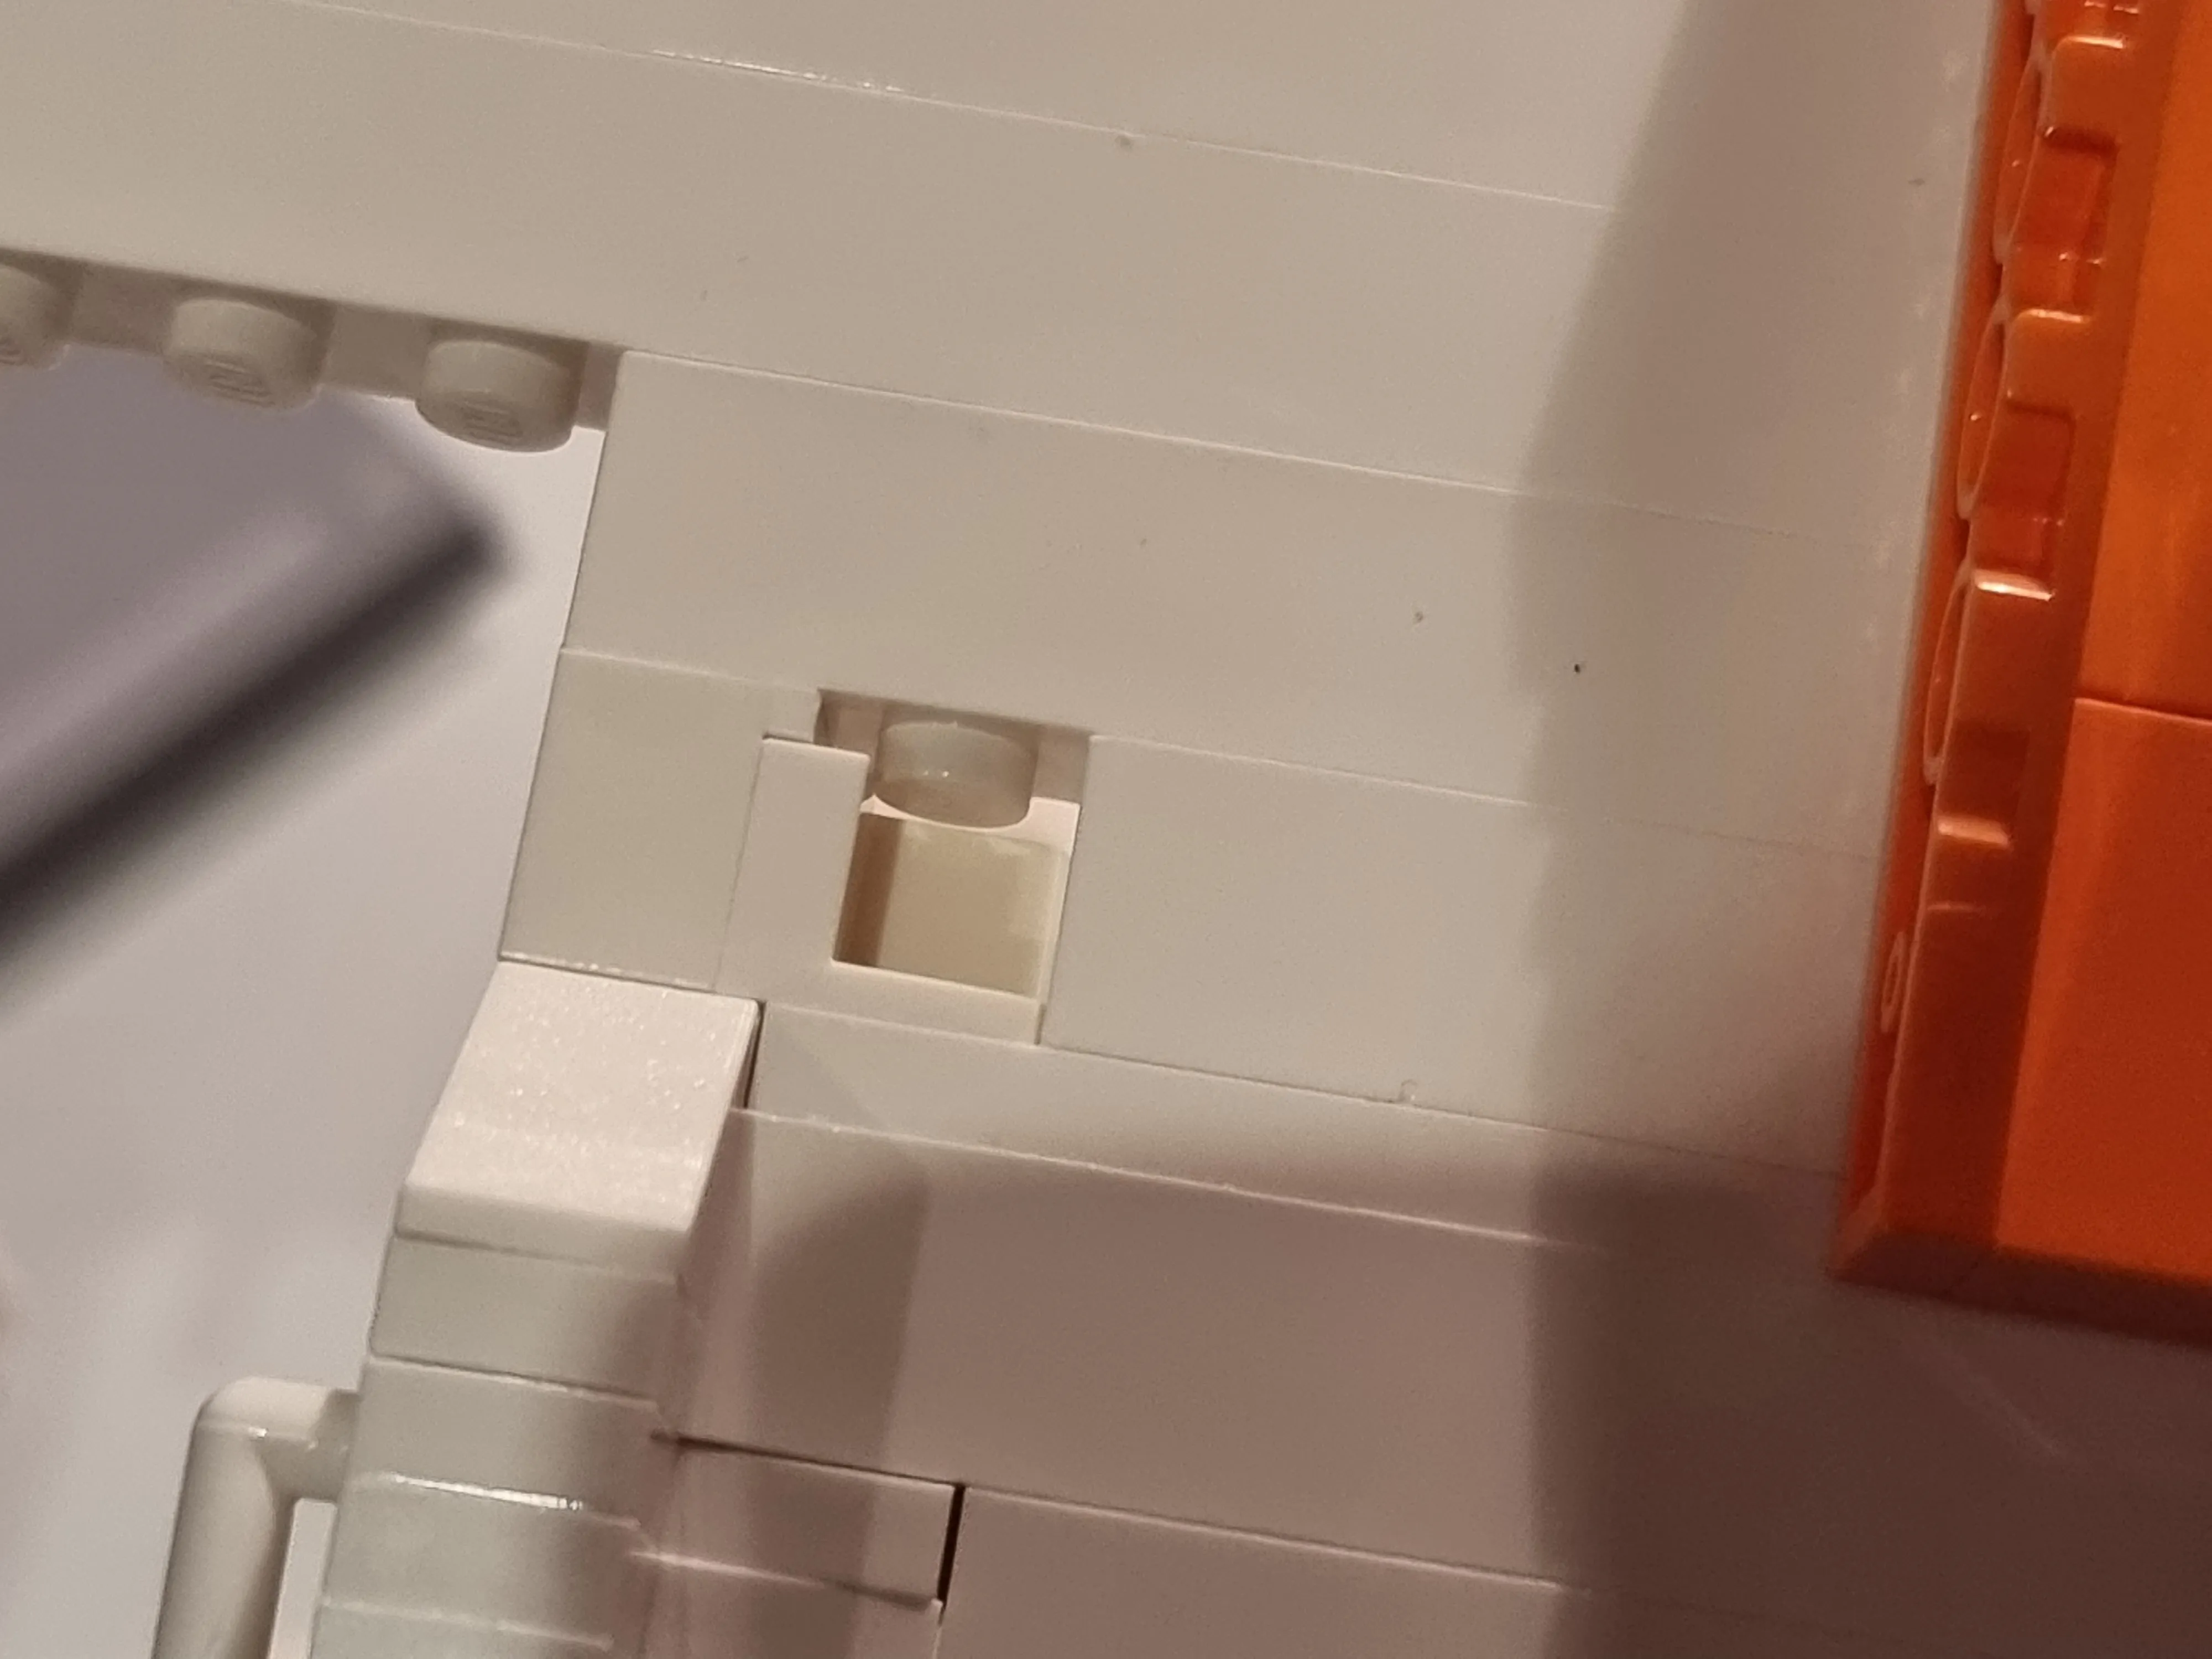
These are some weird looking pieces. on the left we have like a raised 1x2 rounded plate called a “Round 1 x 2 with Hollow Studs and Open Center with Bars”. Then we have a 1x1 half brick called a “Modified 1 x 1 x 2/3 with Open Stud” which I wonder why they didn’t just decide to do 2 1x1’s you have to combine and then a very particular corner tile thing called a “Wedge 2 x 1 x 2/3”, such a specific piece. I often think if each new big lego set the designers get to create just 1 new piece because I swear each build has just one piece I’ve never seen before.
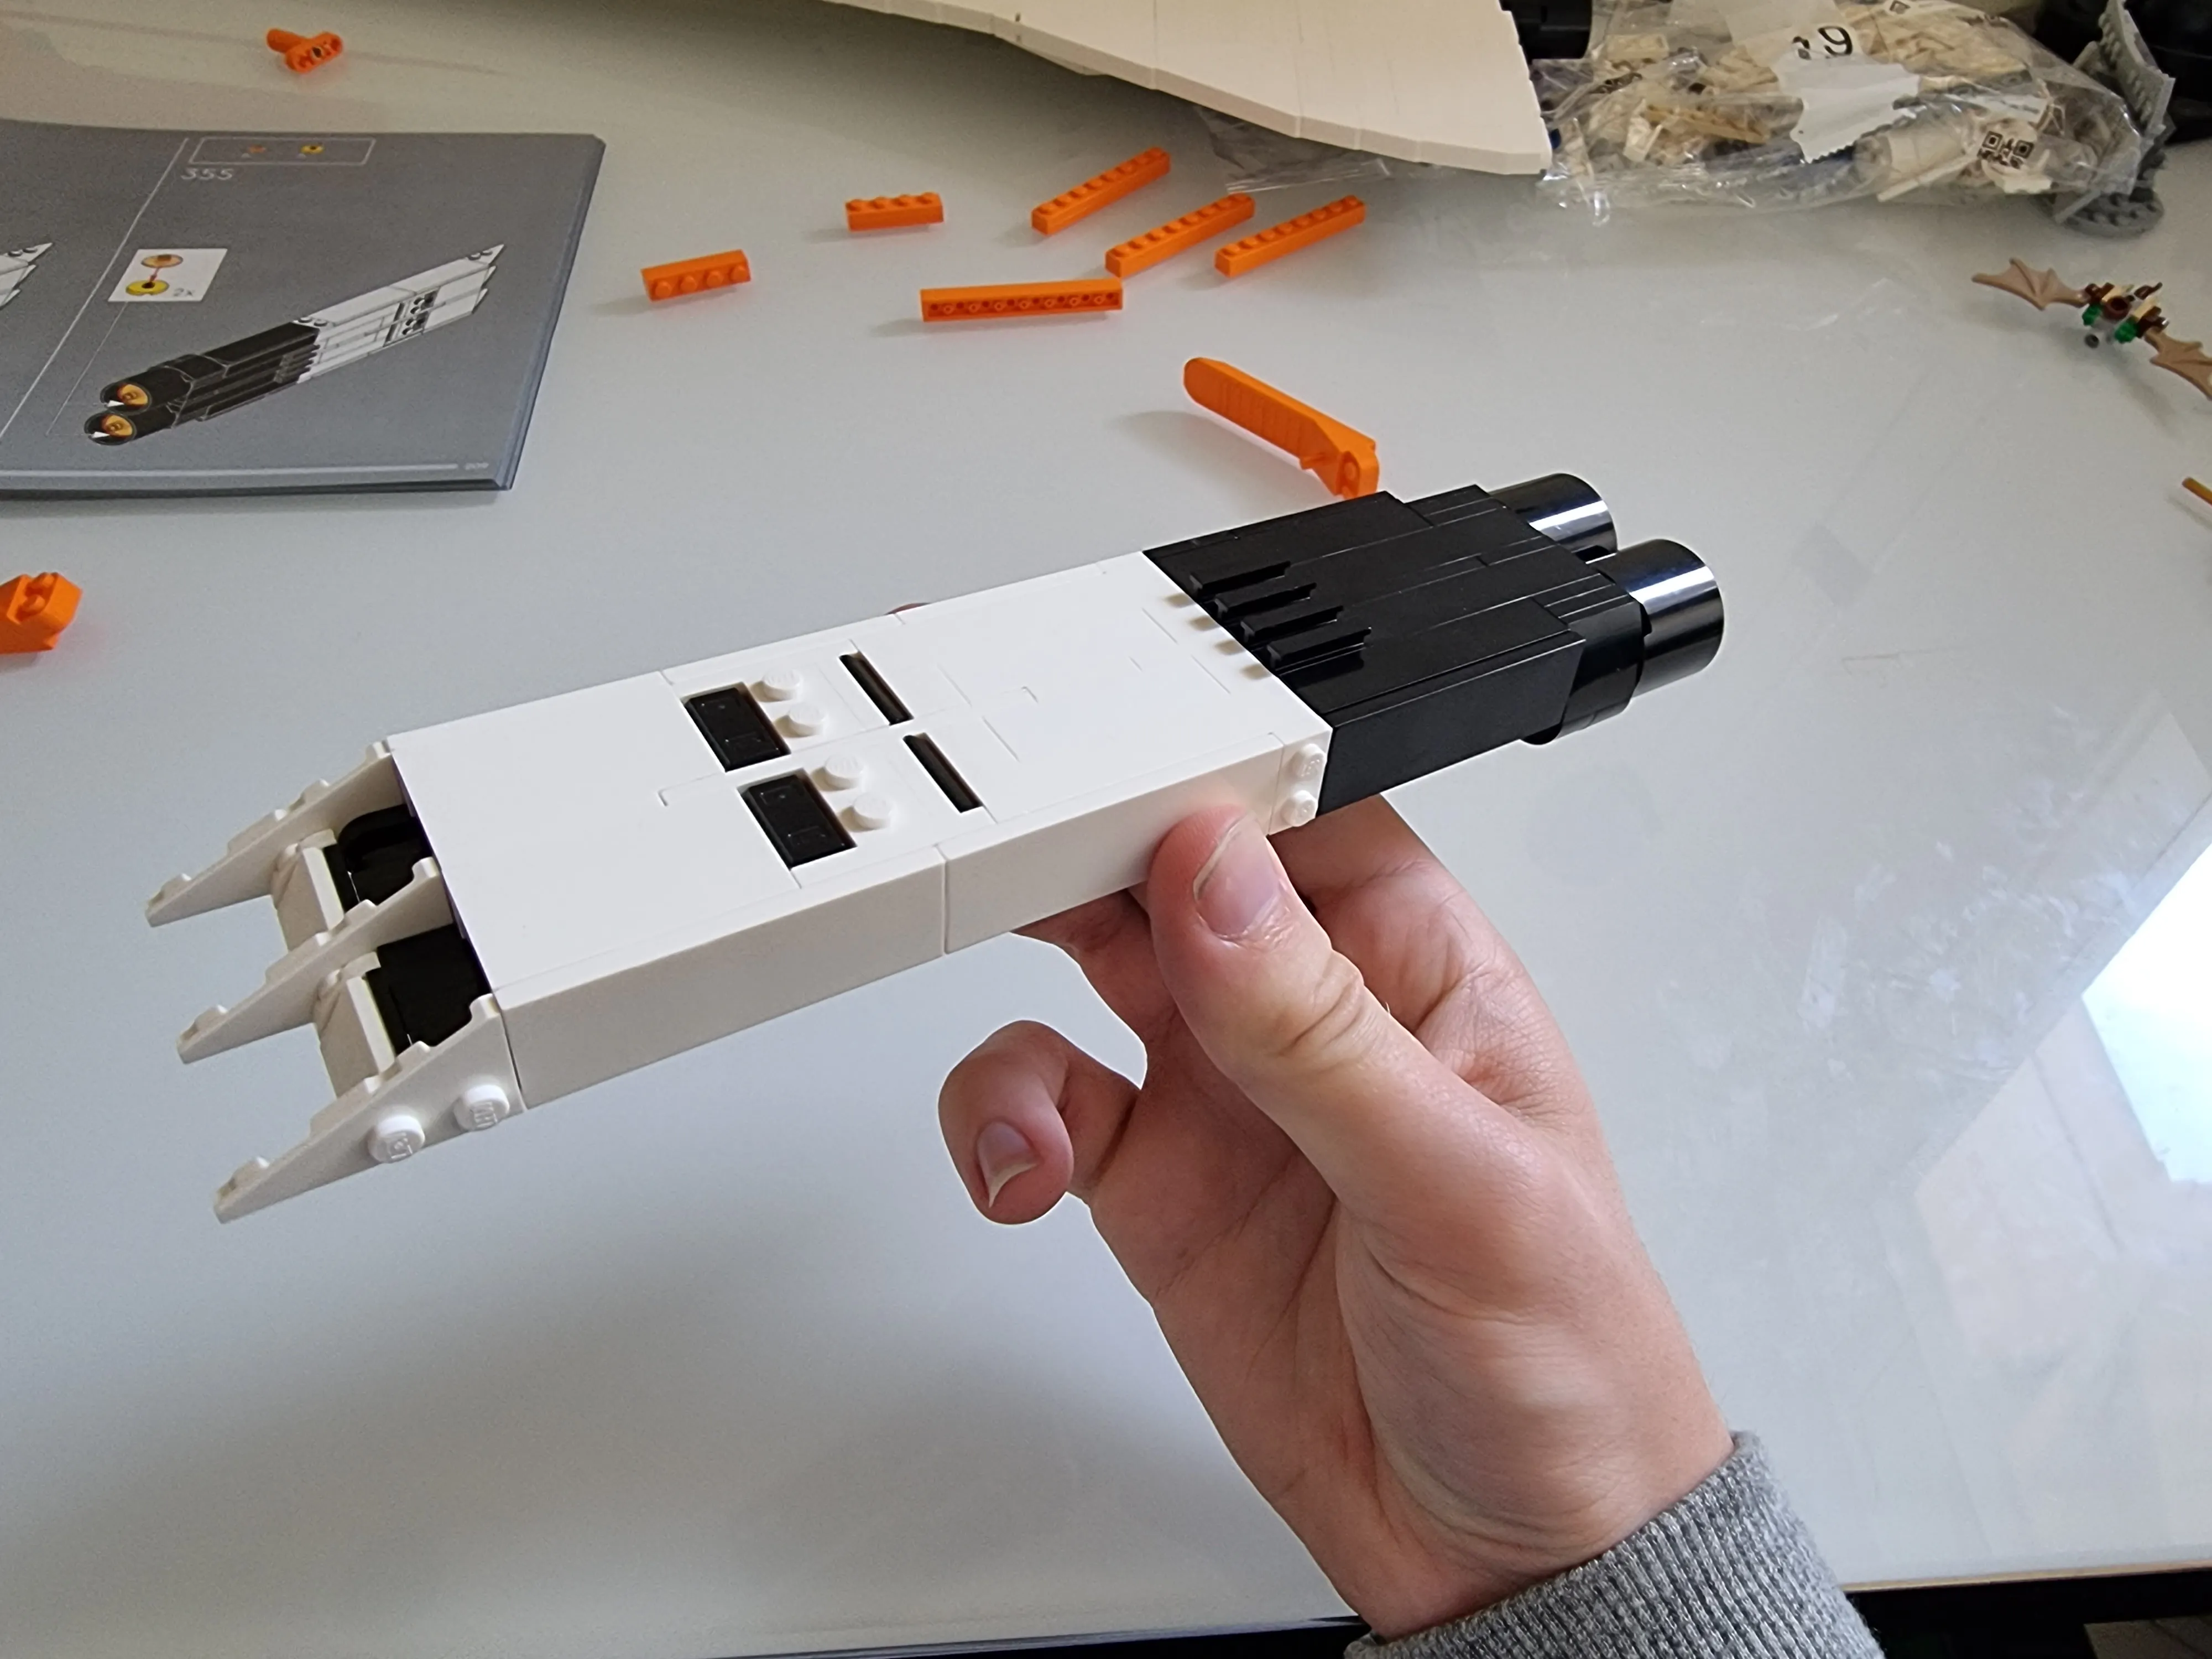
It gets removed!!!!!!! Now the gears can spin freely. I wonder if they encountered weird stuff in play testing.
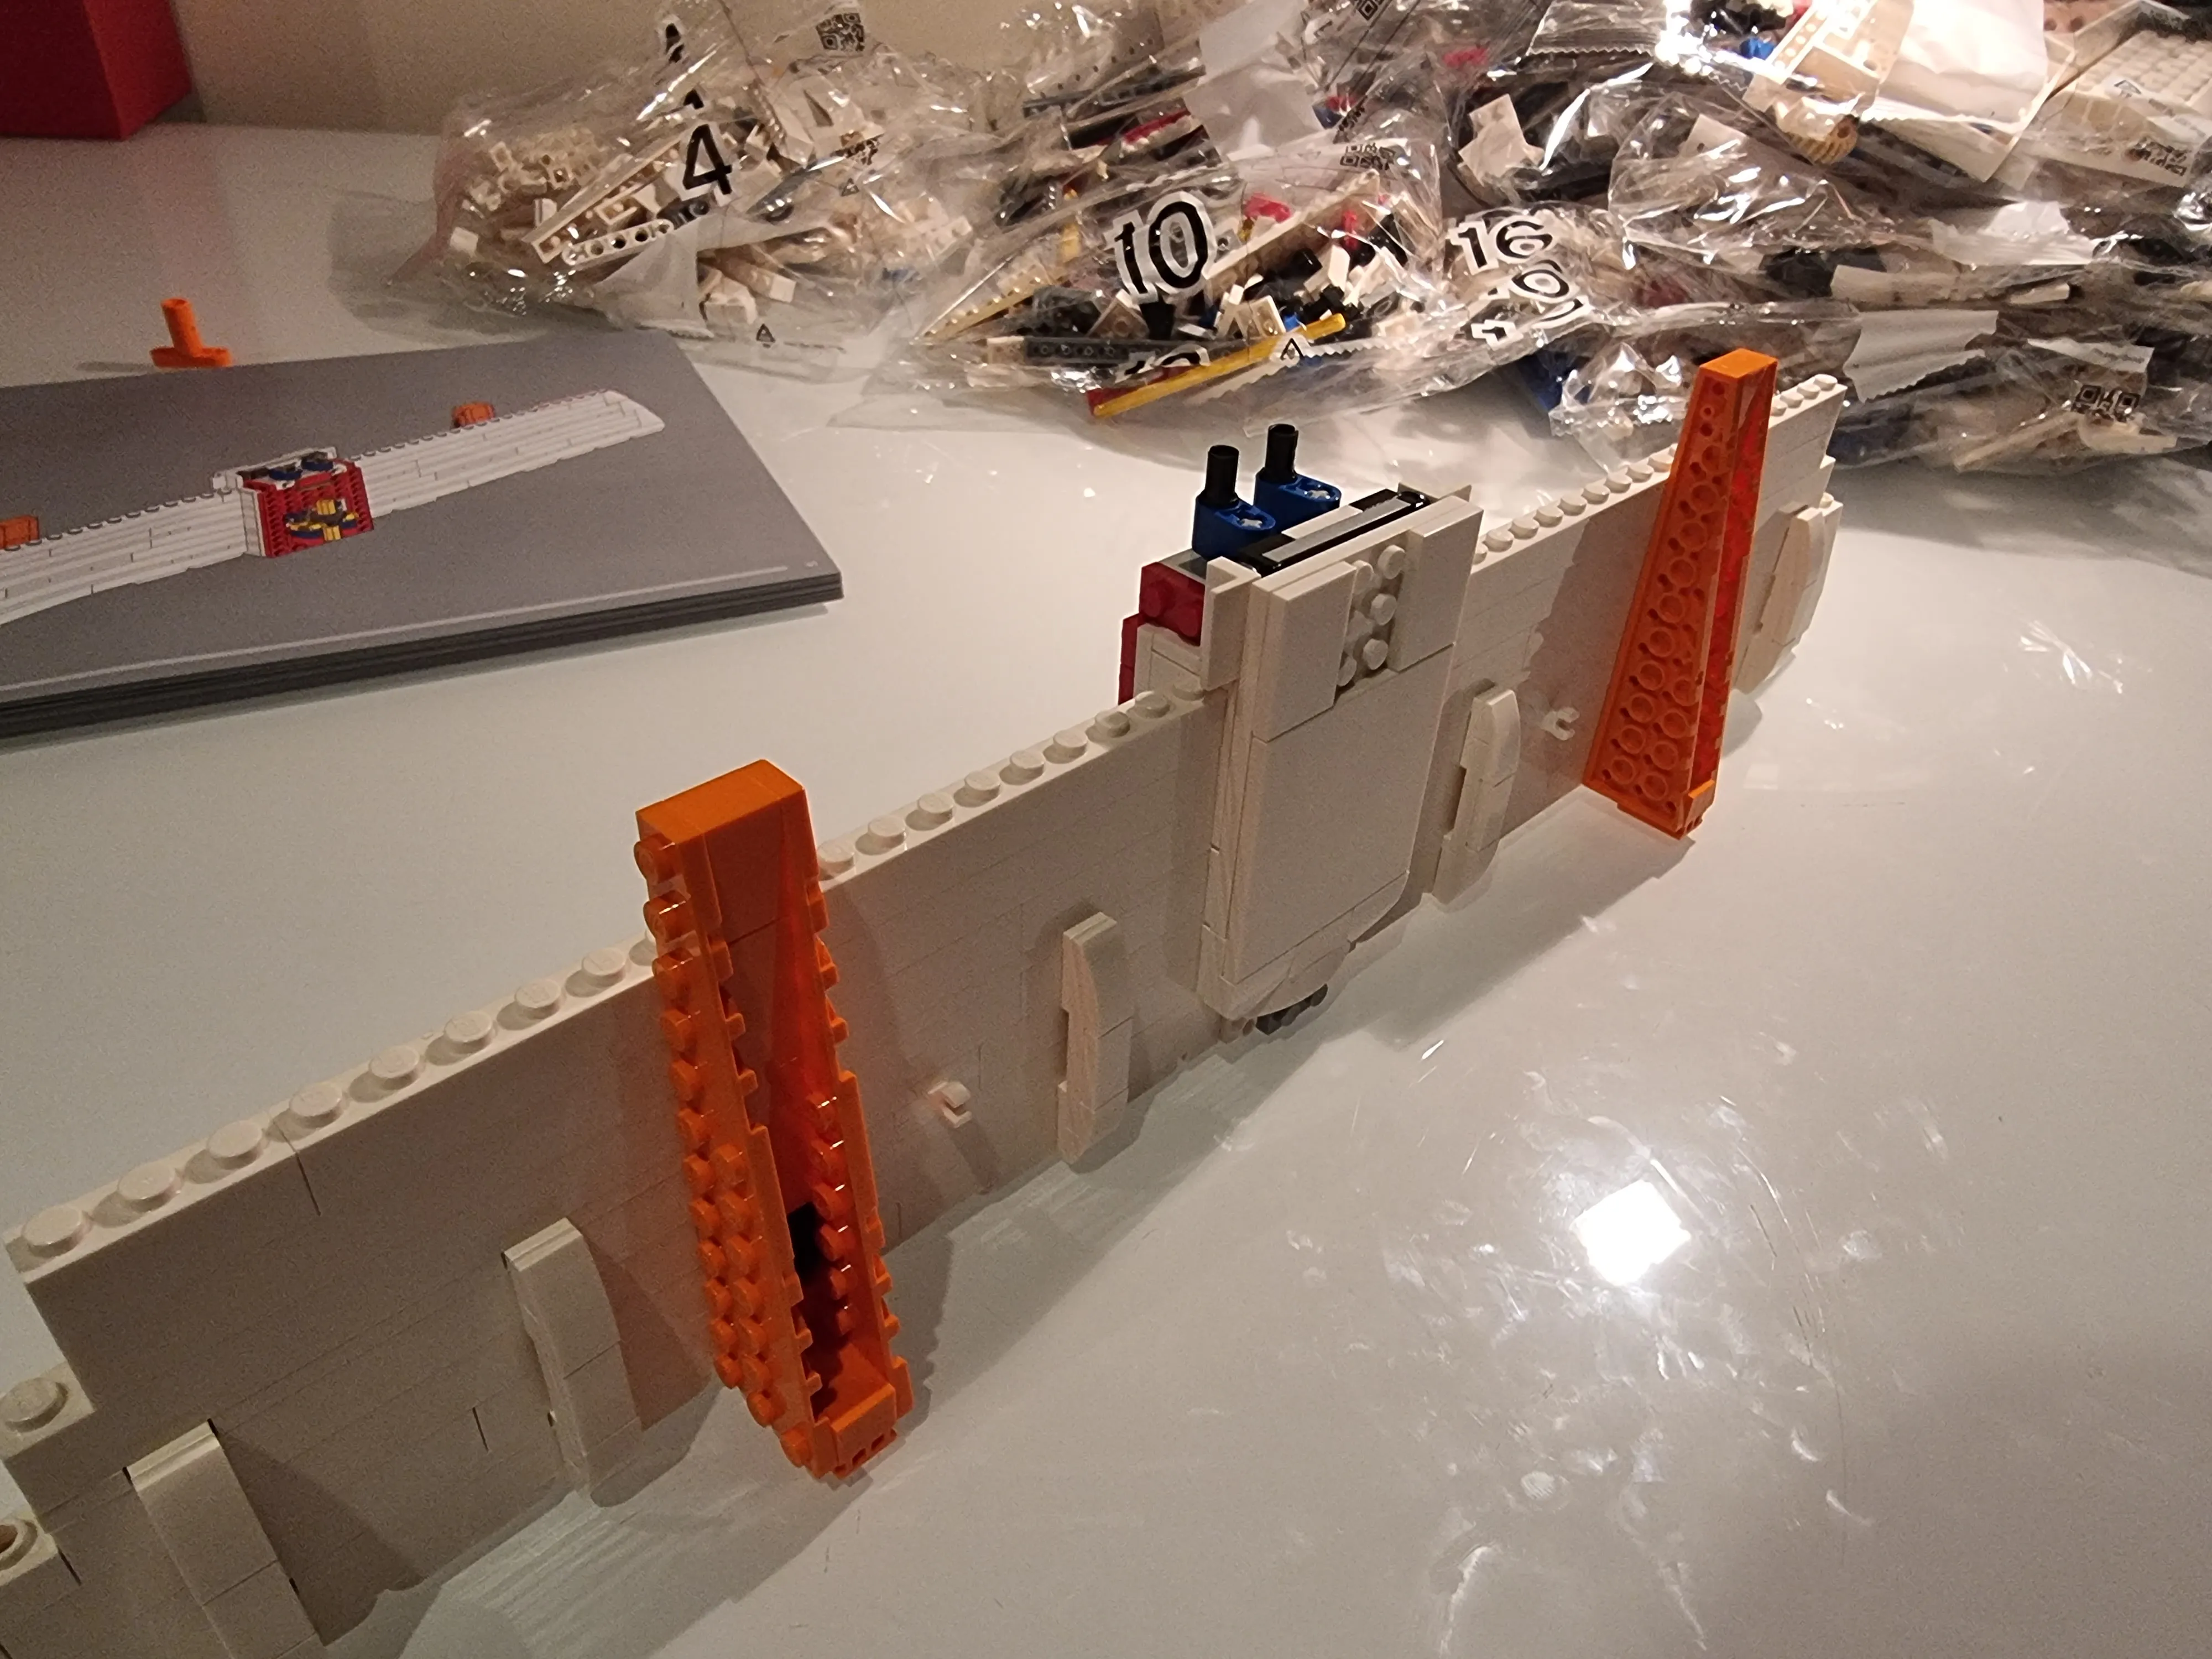
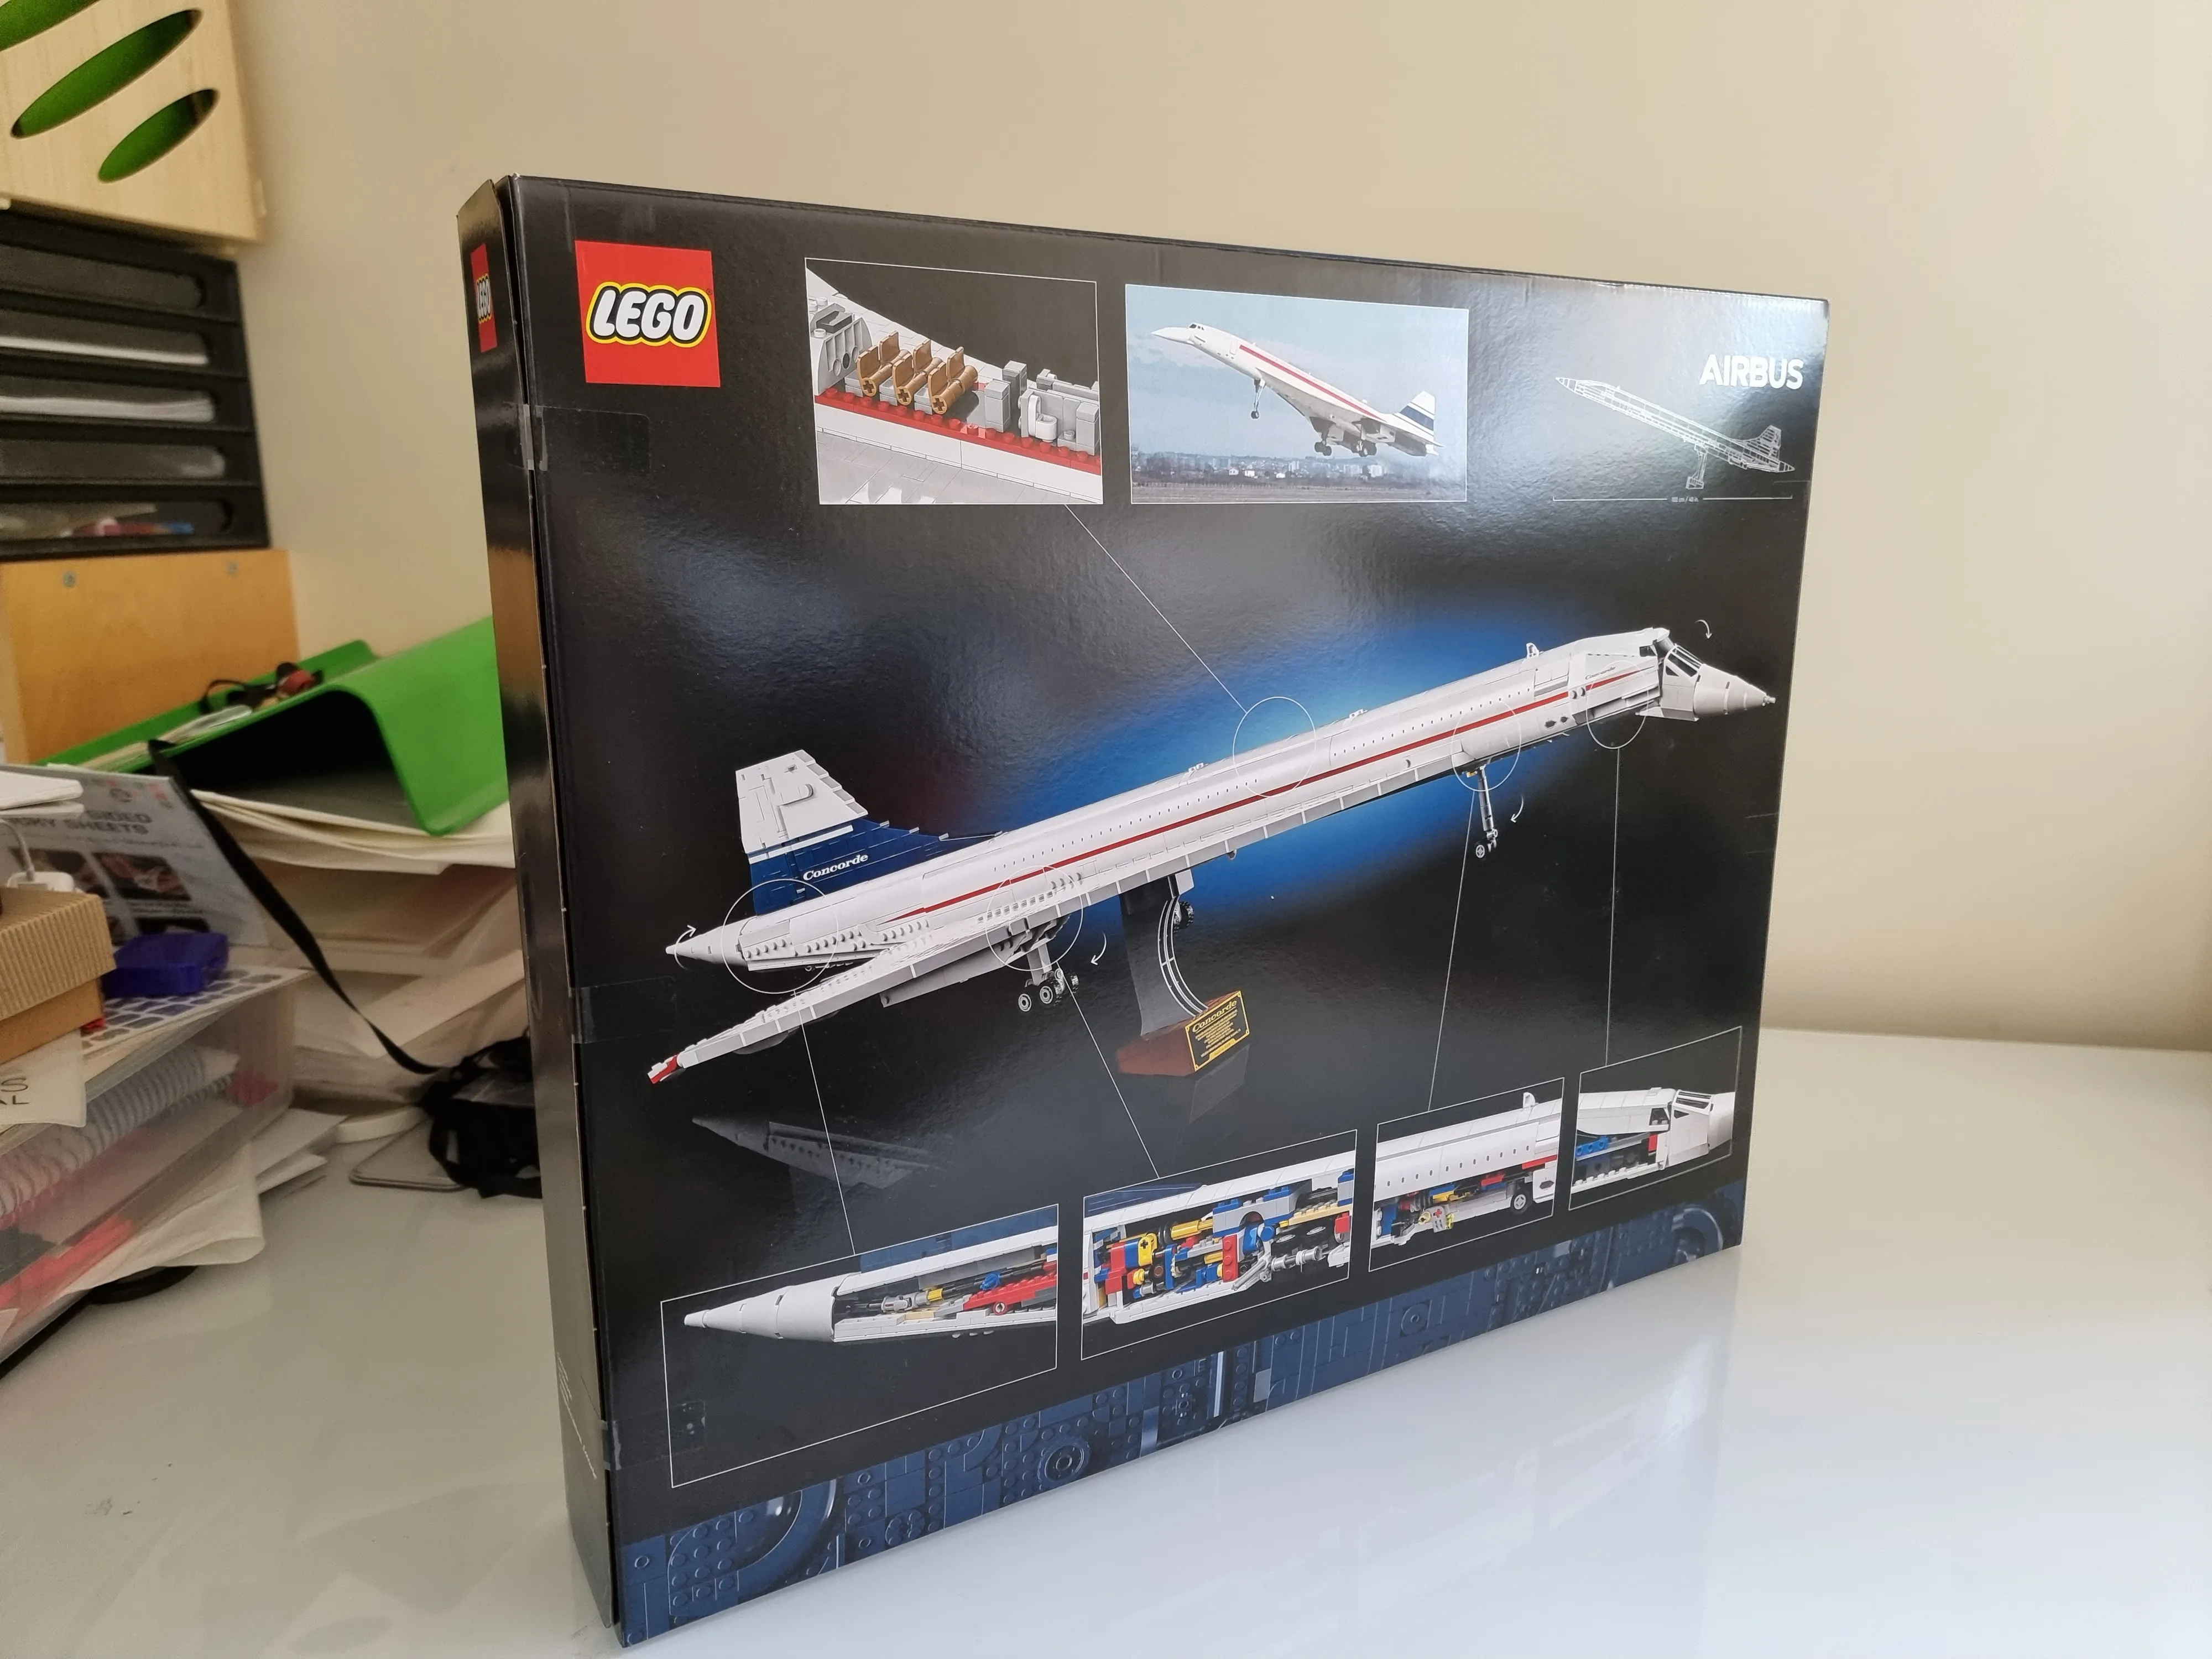
THEY MADE BUILDING STANDS?!?!?!?!? I can only imagine the amount of meetings the design team must’ve had with the business team to include large pieces that aren’t included in the final build. Even though Lego would only be losing probably a couple extra cents per build for this I can imagine this making the build process so much better. I had heard this was one of the best build’s of the year and so far it is not disappointing.
Day 2: 27-11-23
Bag 4
Don’t have much time to build today :( Might only get 2 bags in.
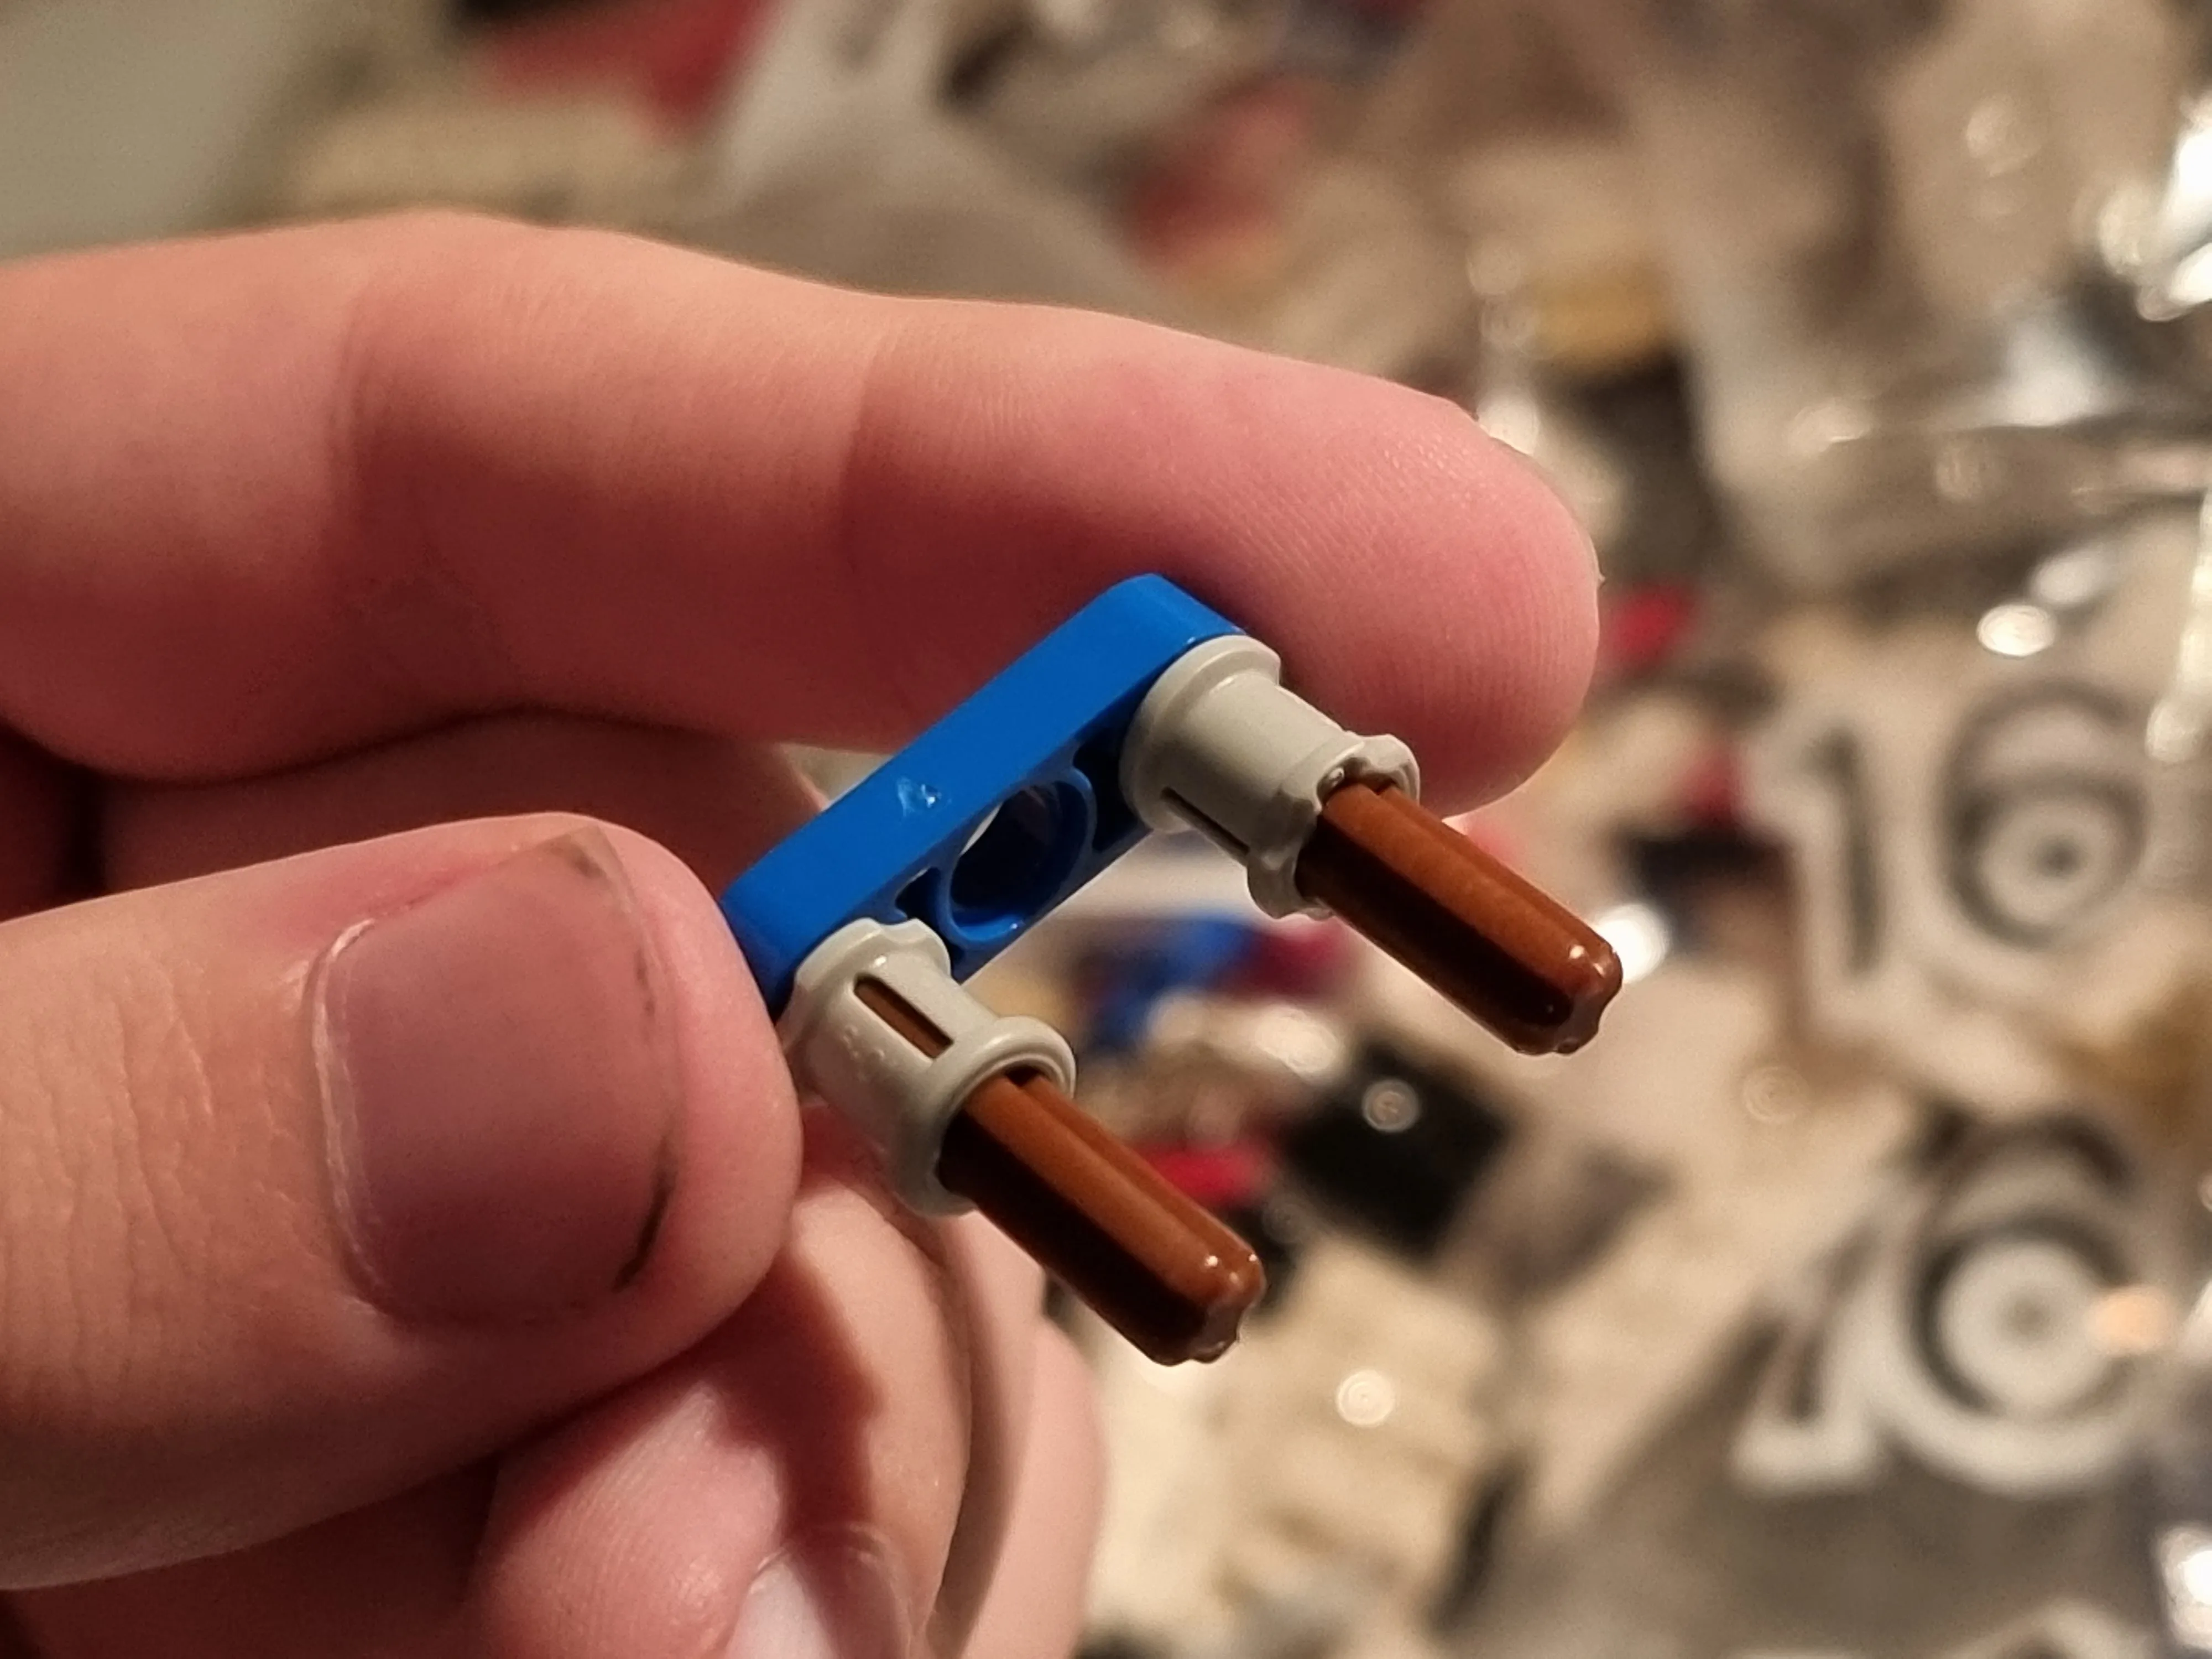
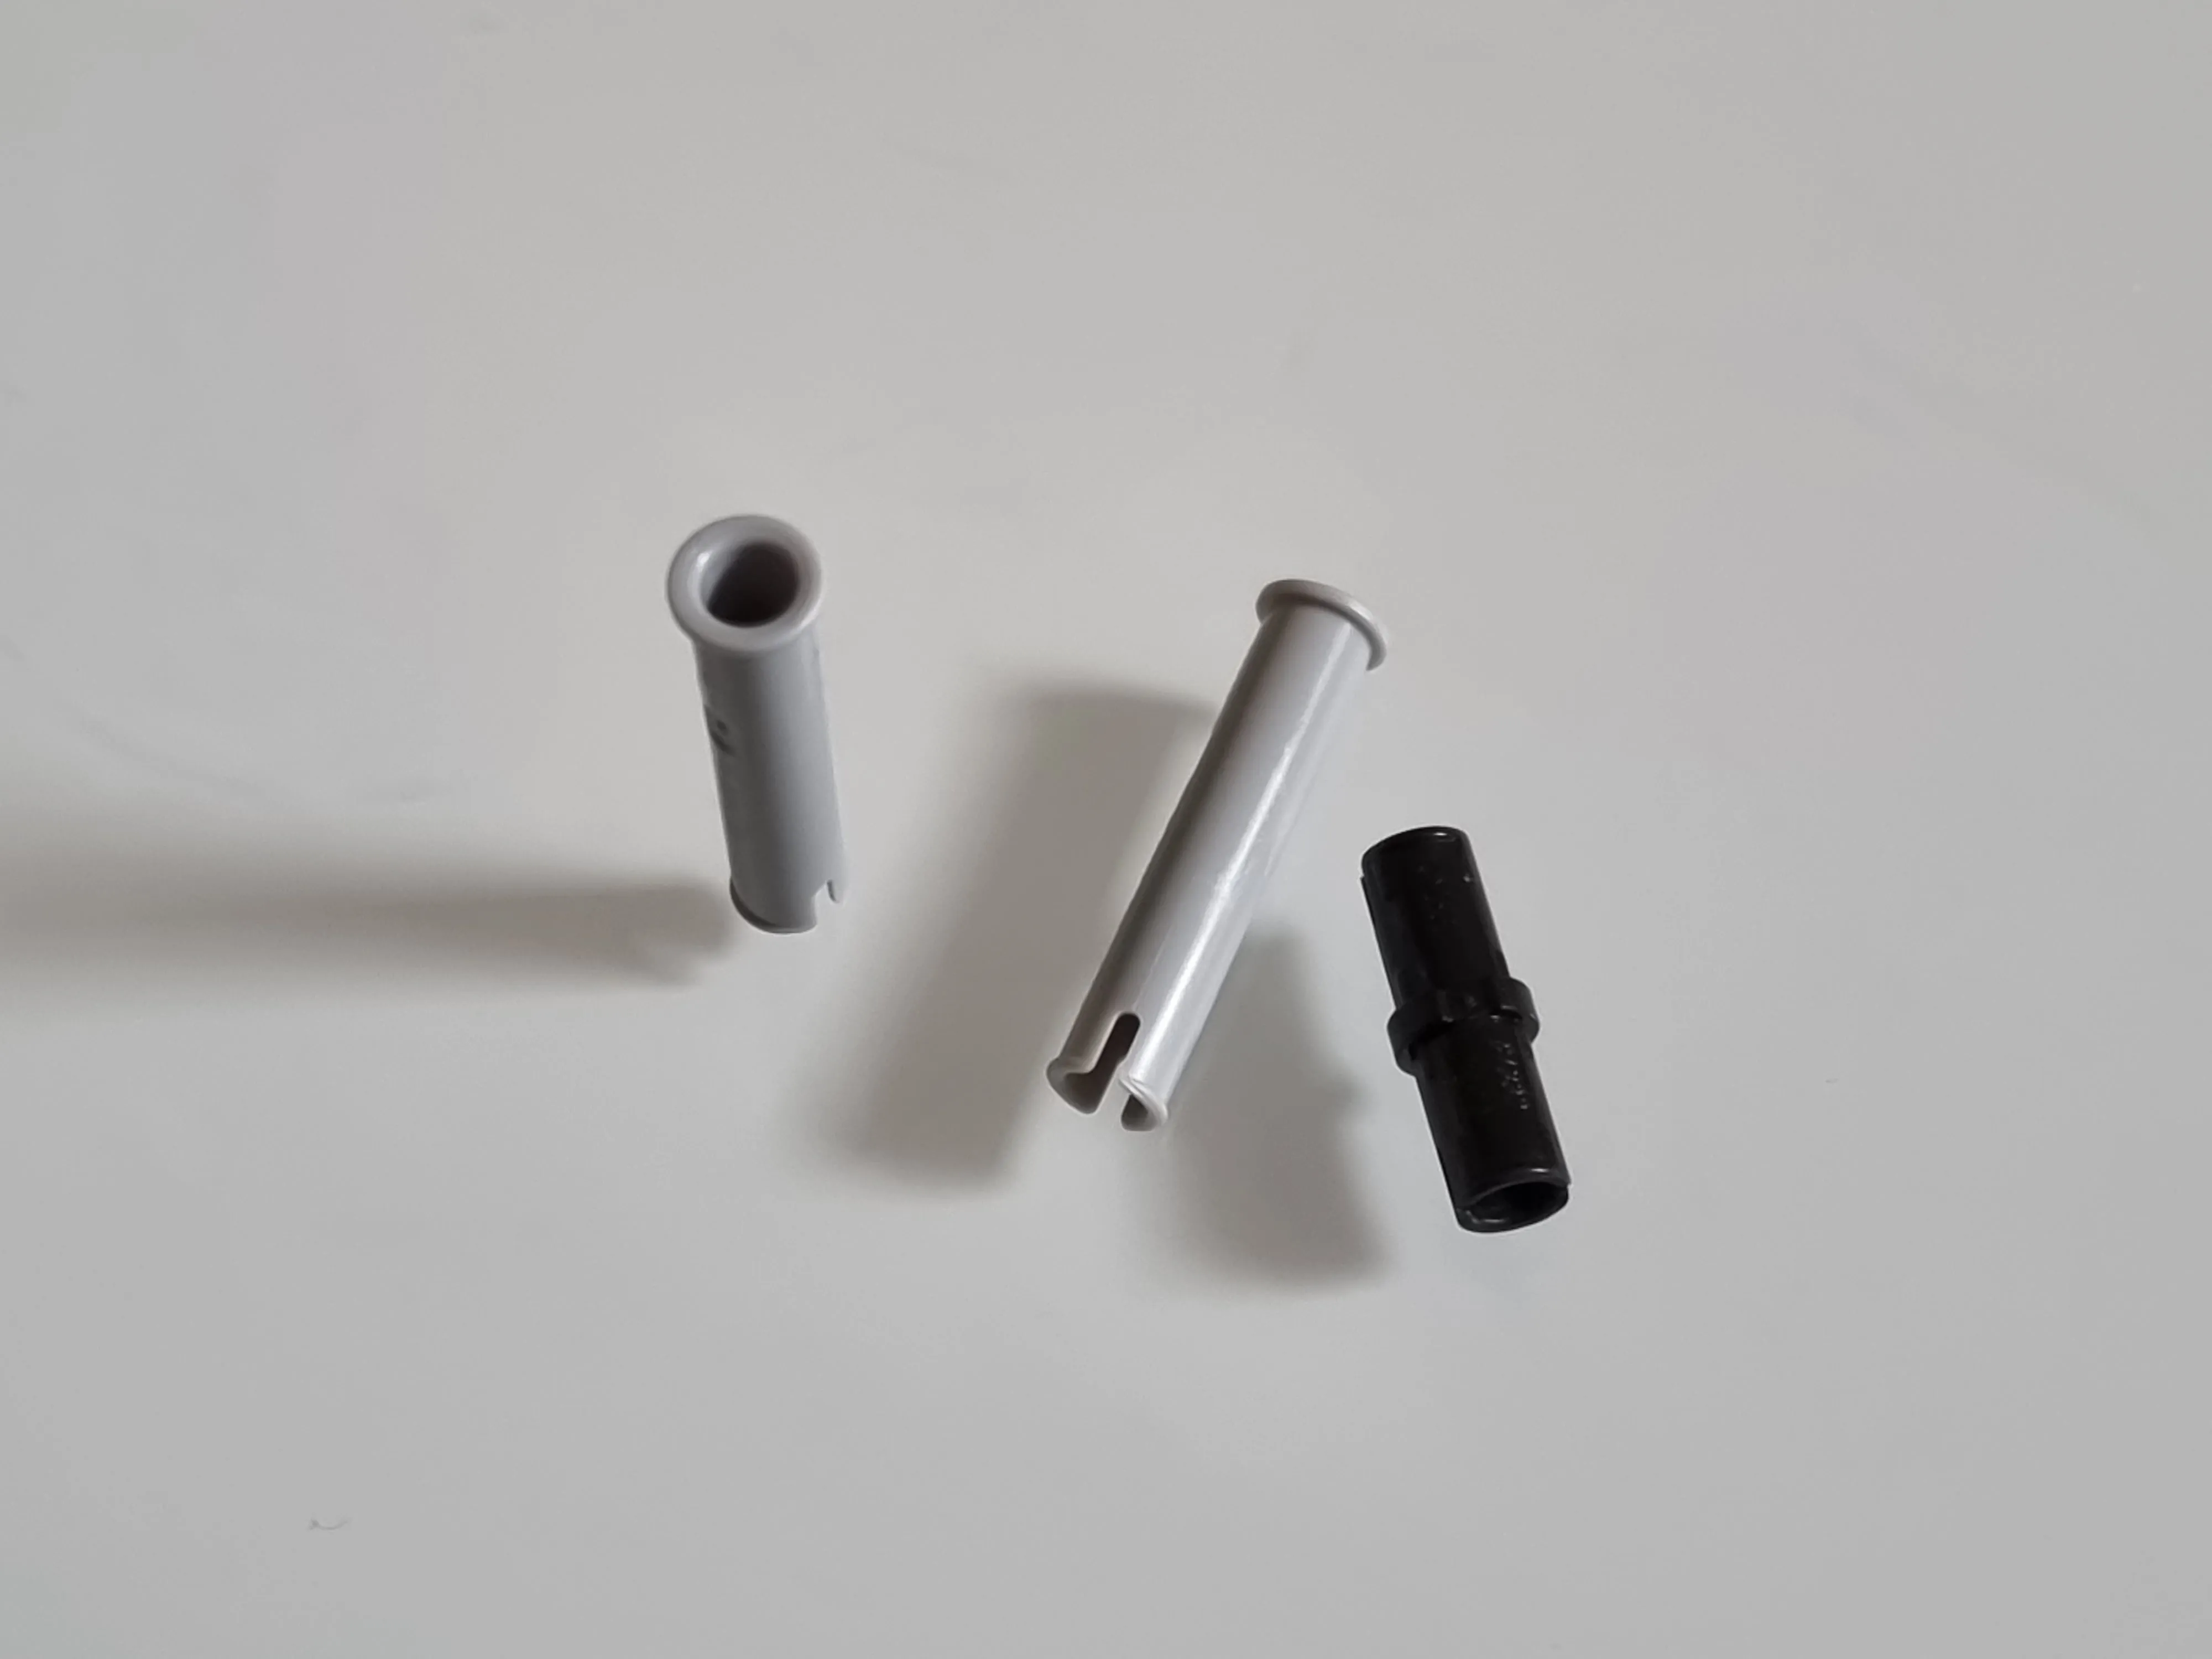
The white pins insterest me, since they’re white I assume they’ll actually be visible on the outside.
This is an interesting technique. I assume we’ll be locking something to this but the top side has to be flat.
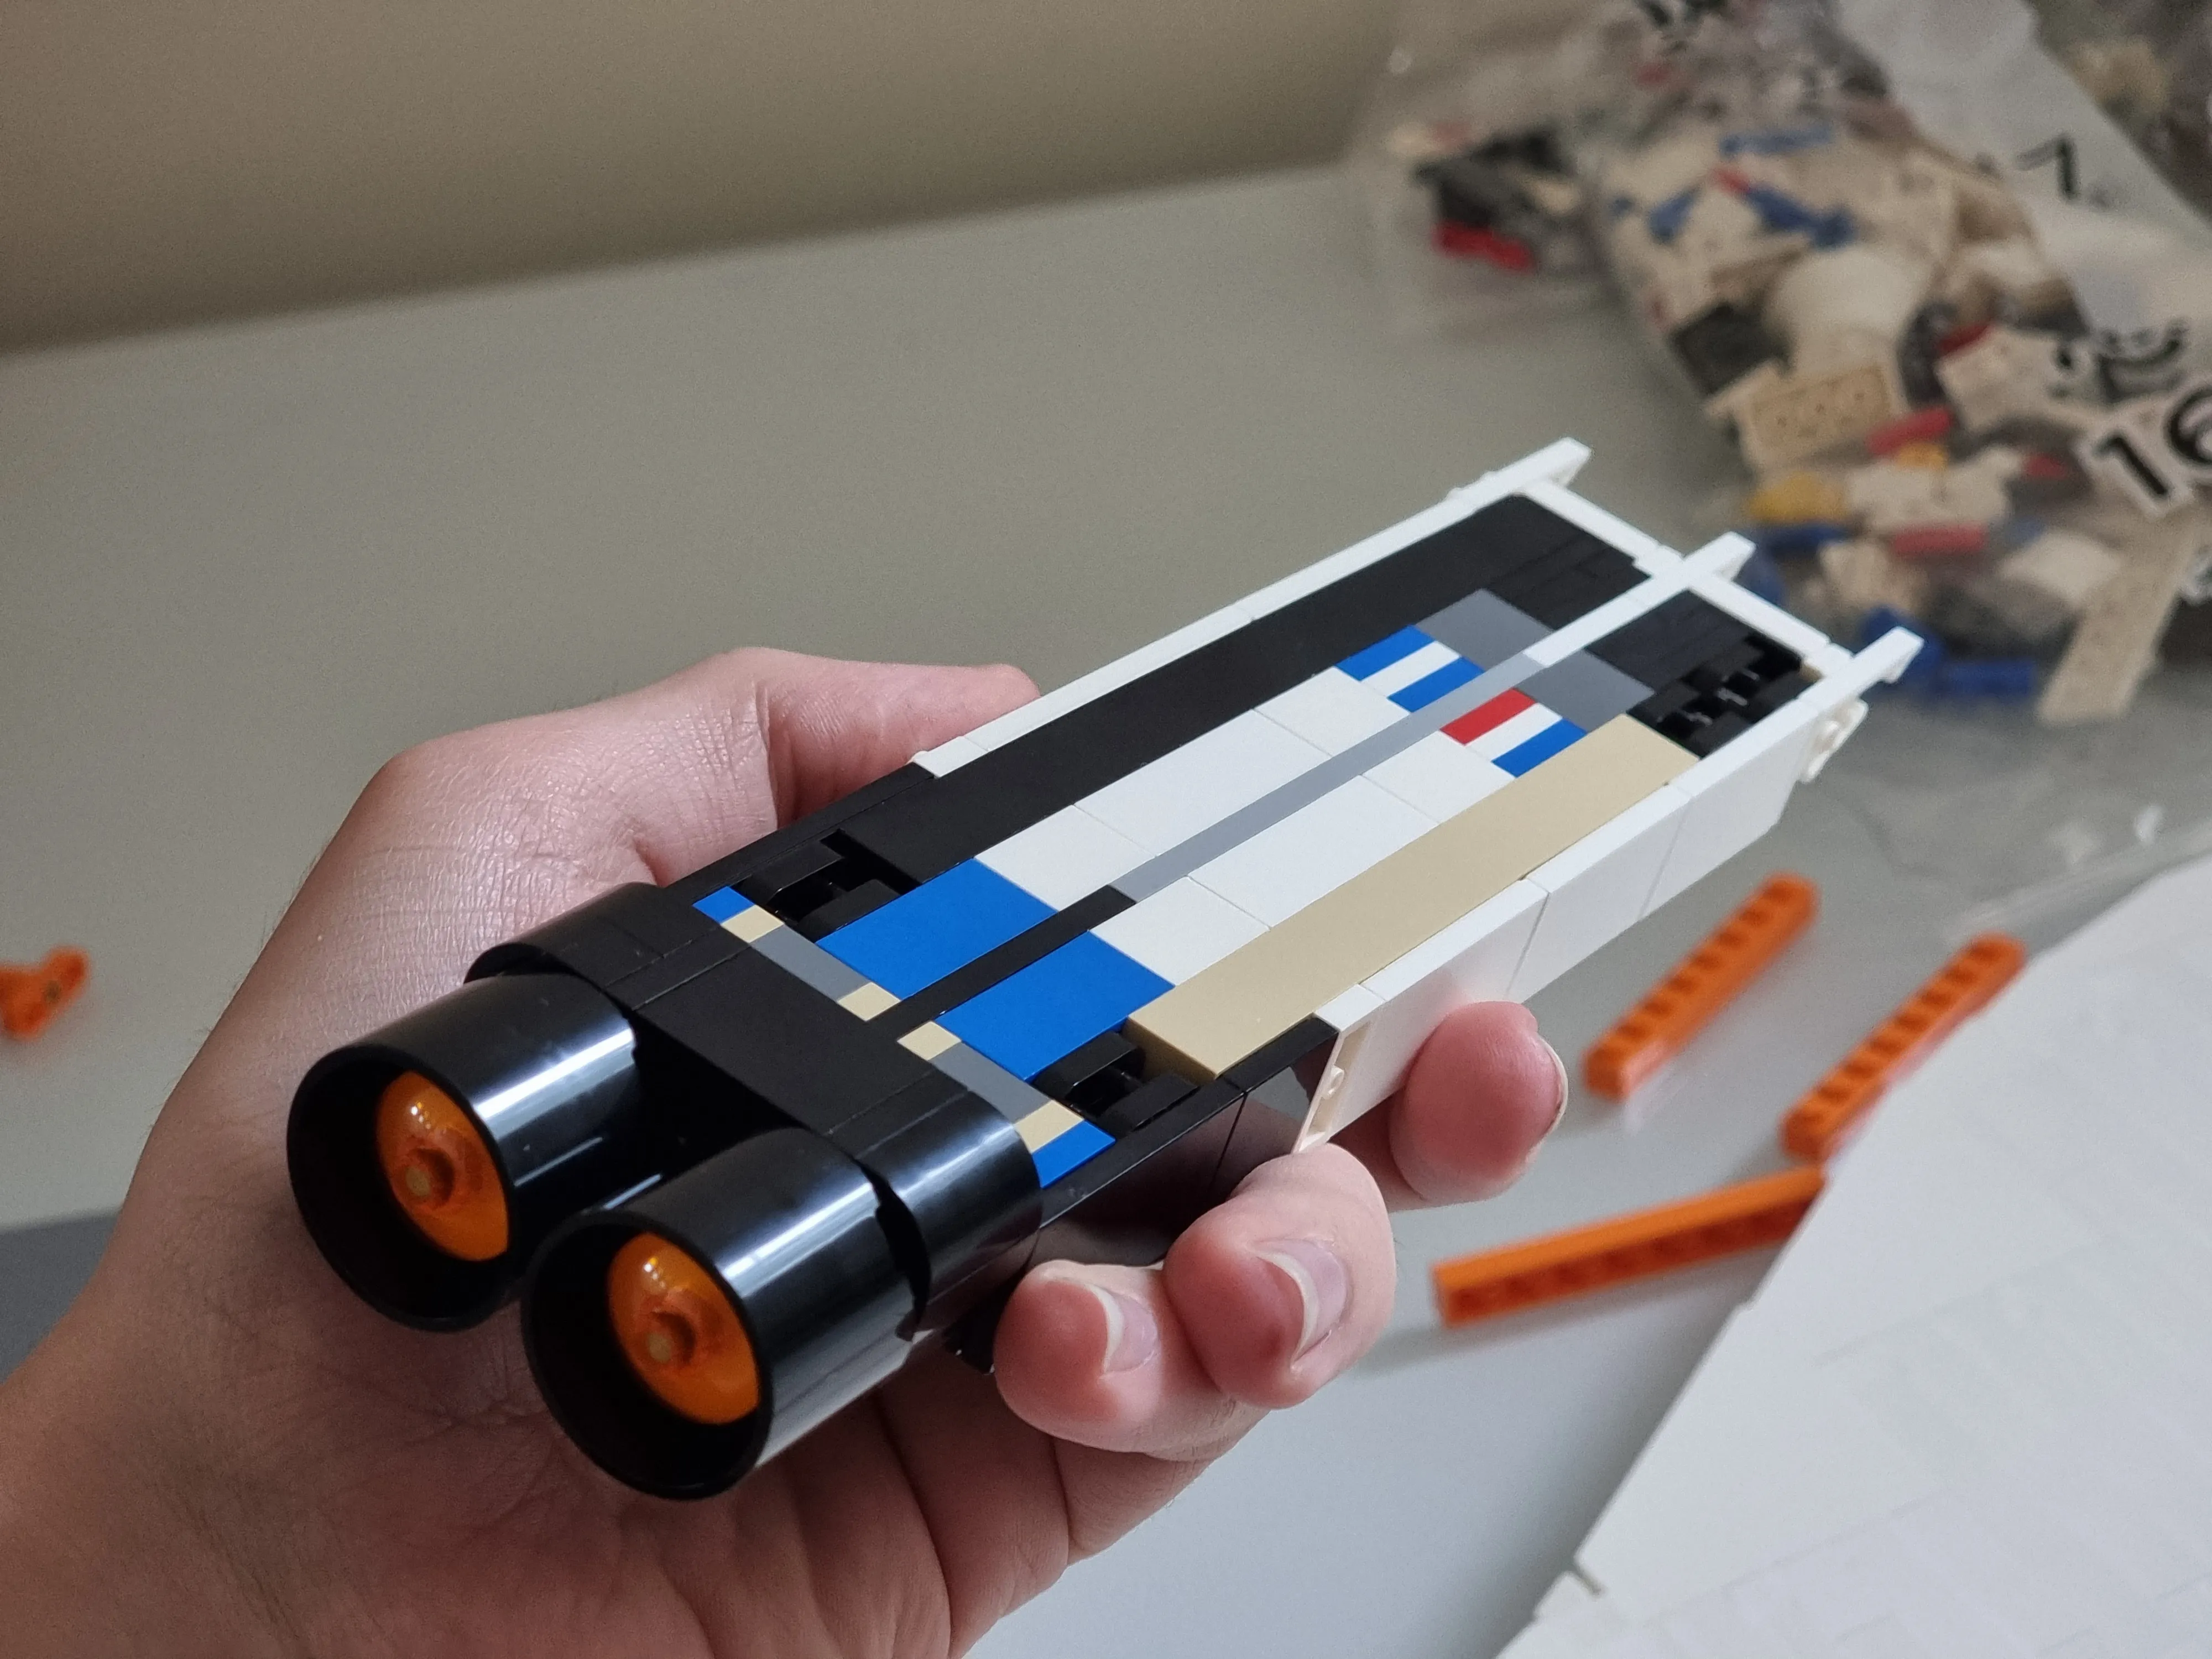
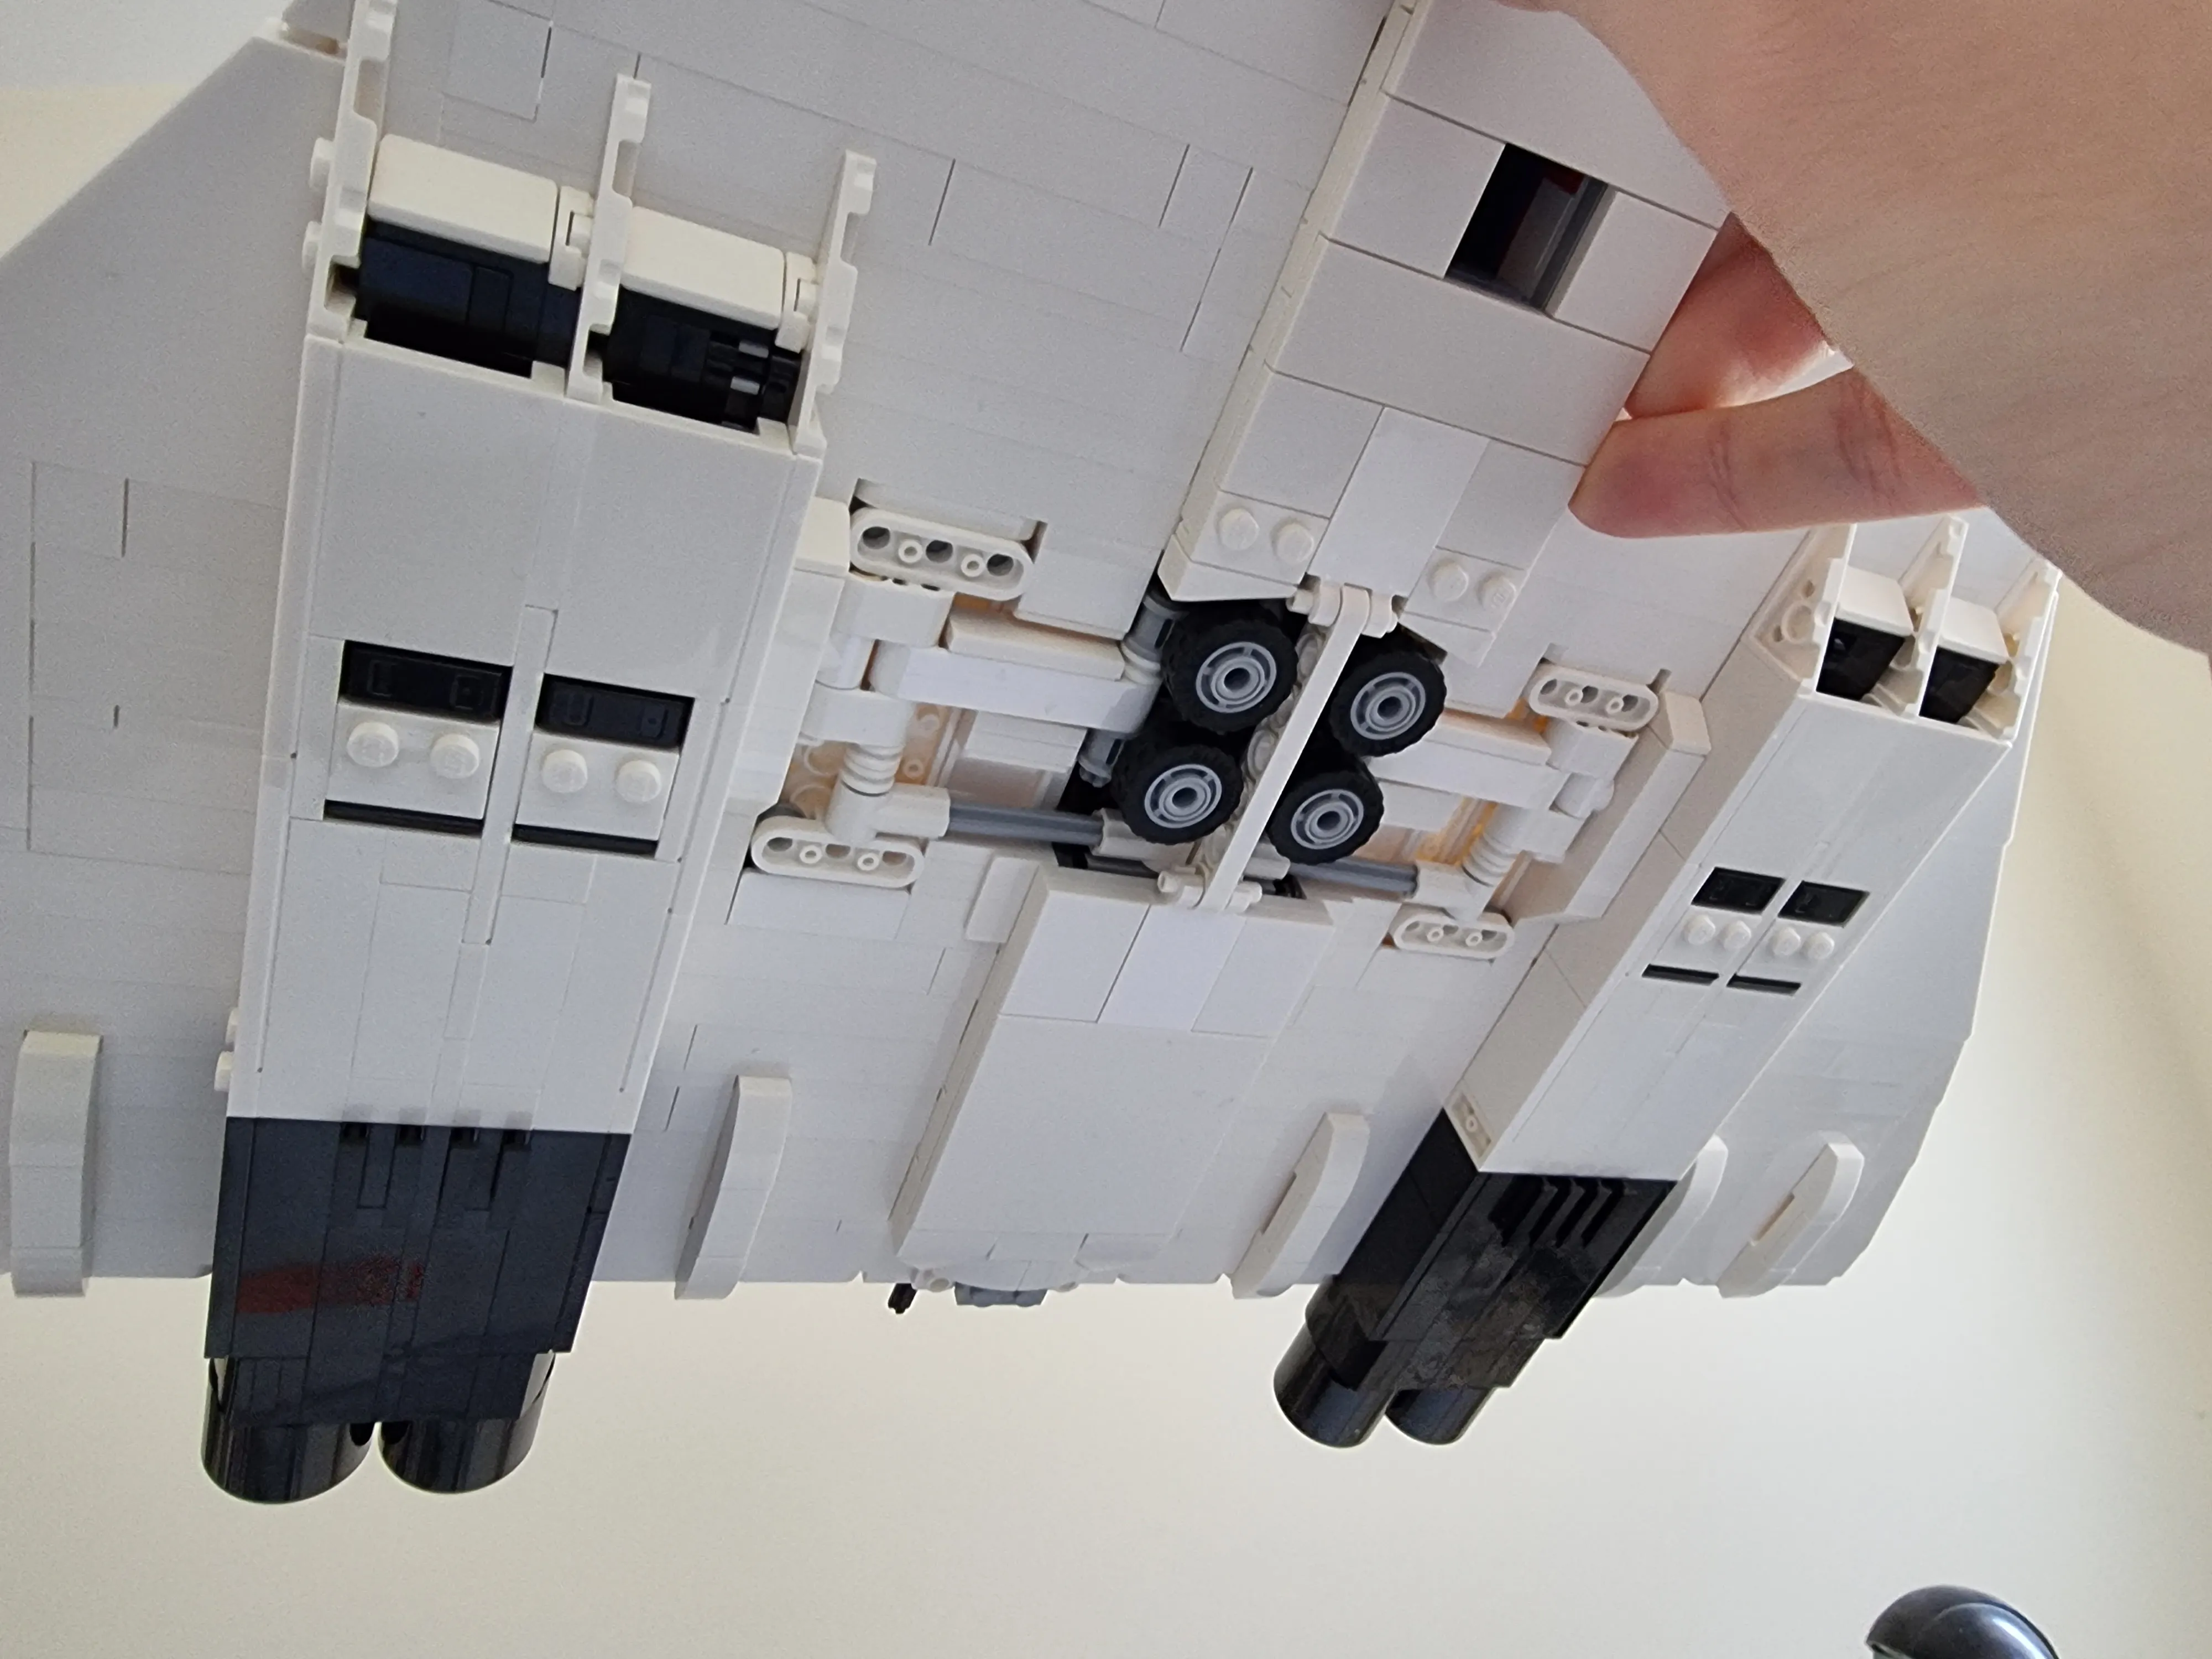
Main Gear mostly done!. The way the main struct is built was quite satisfying to build.
Bag 5
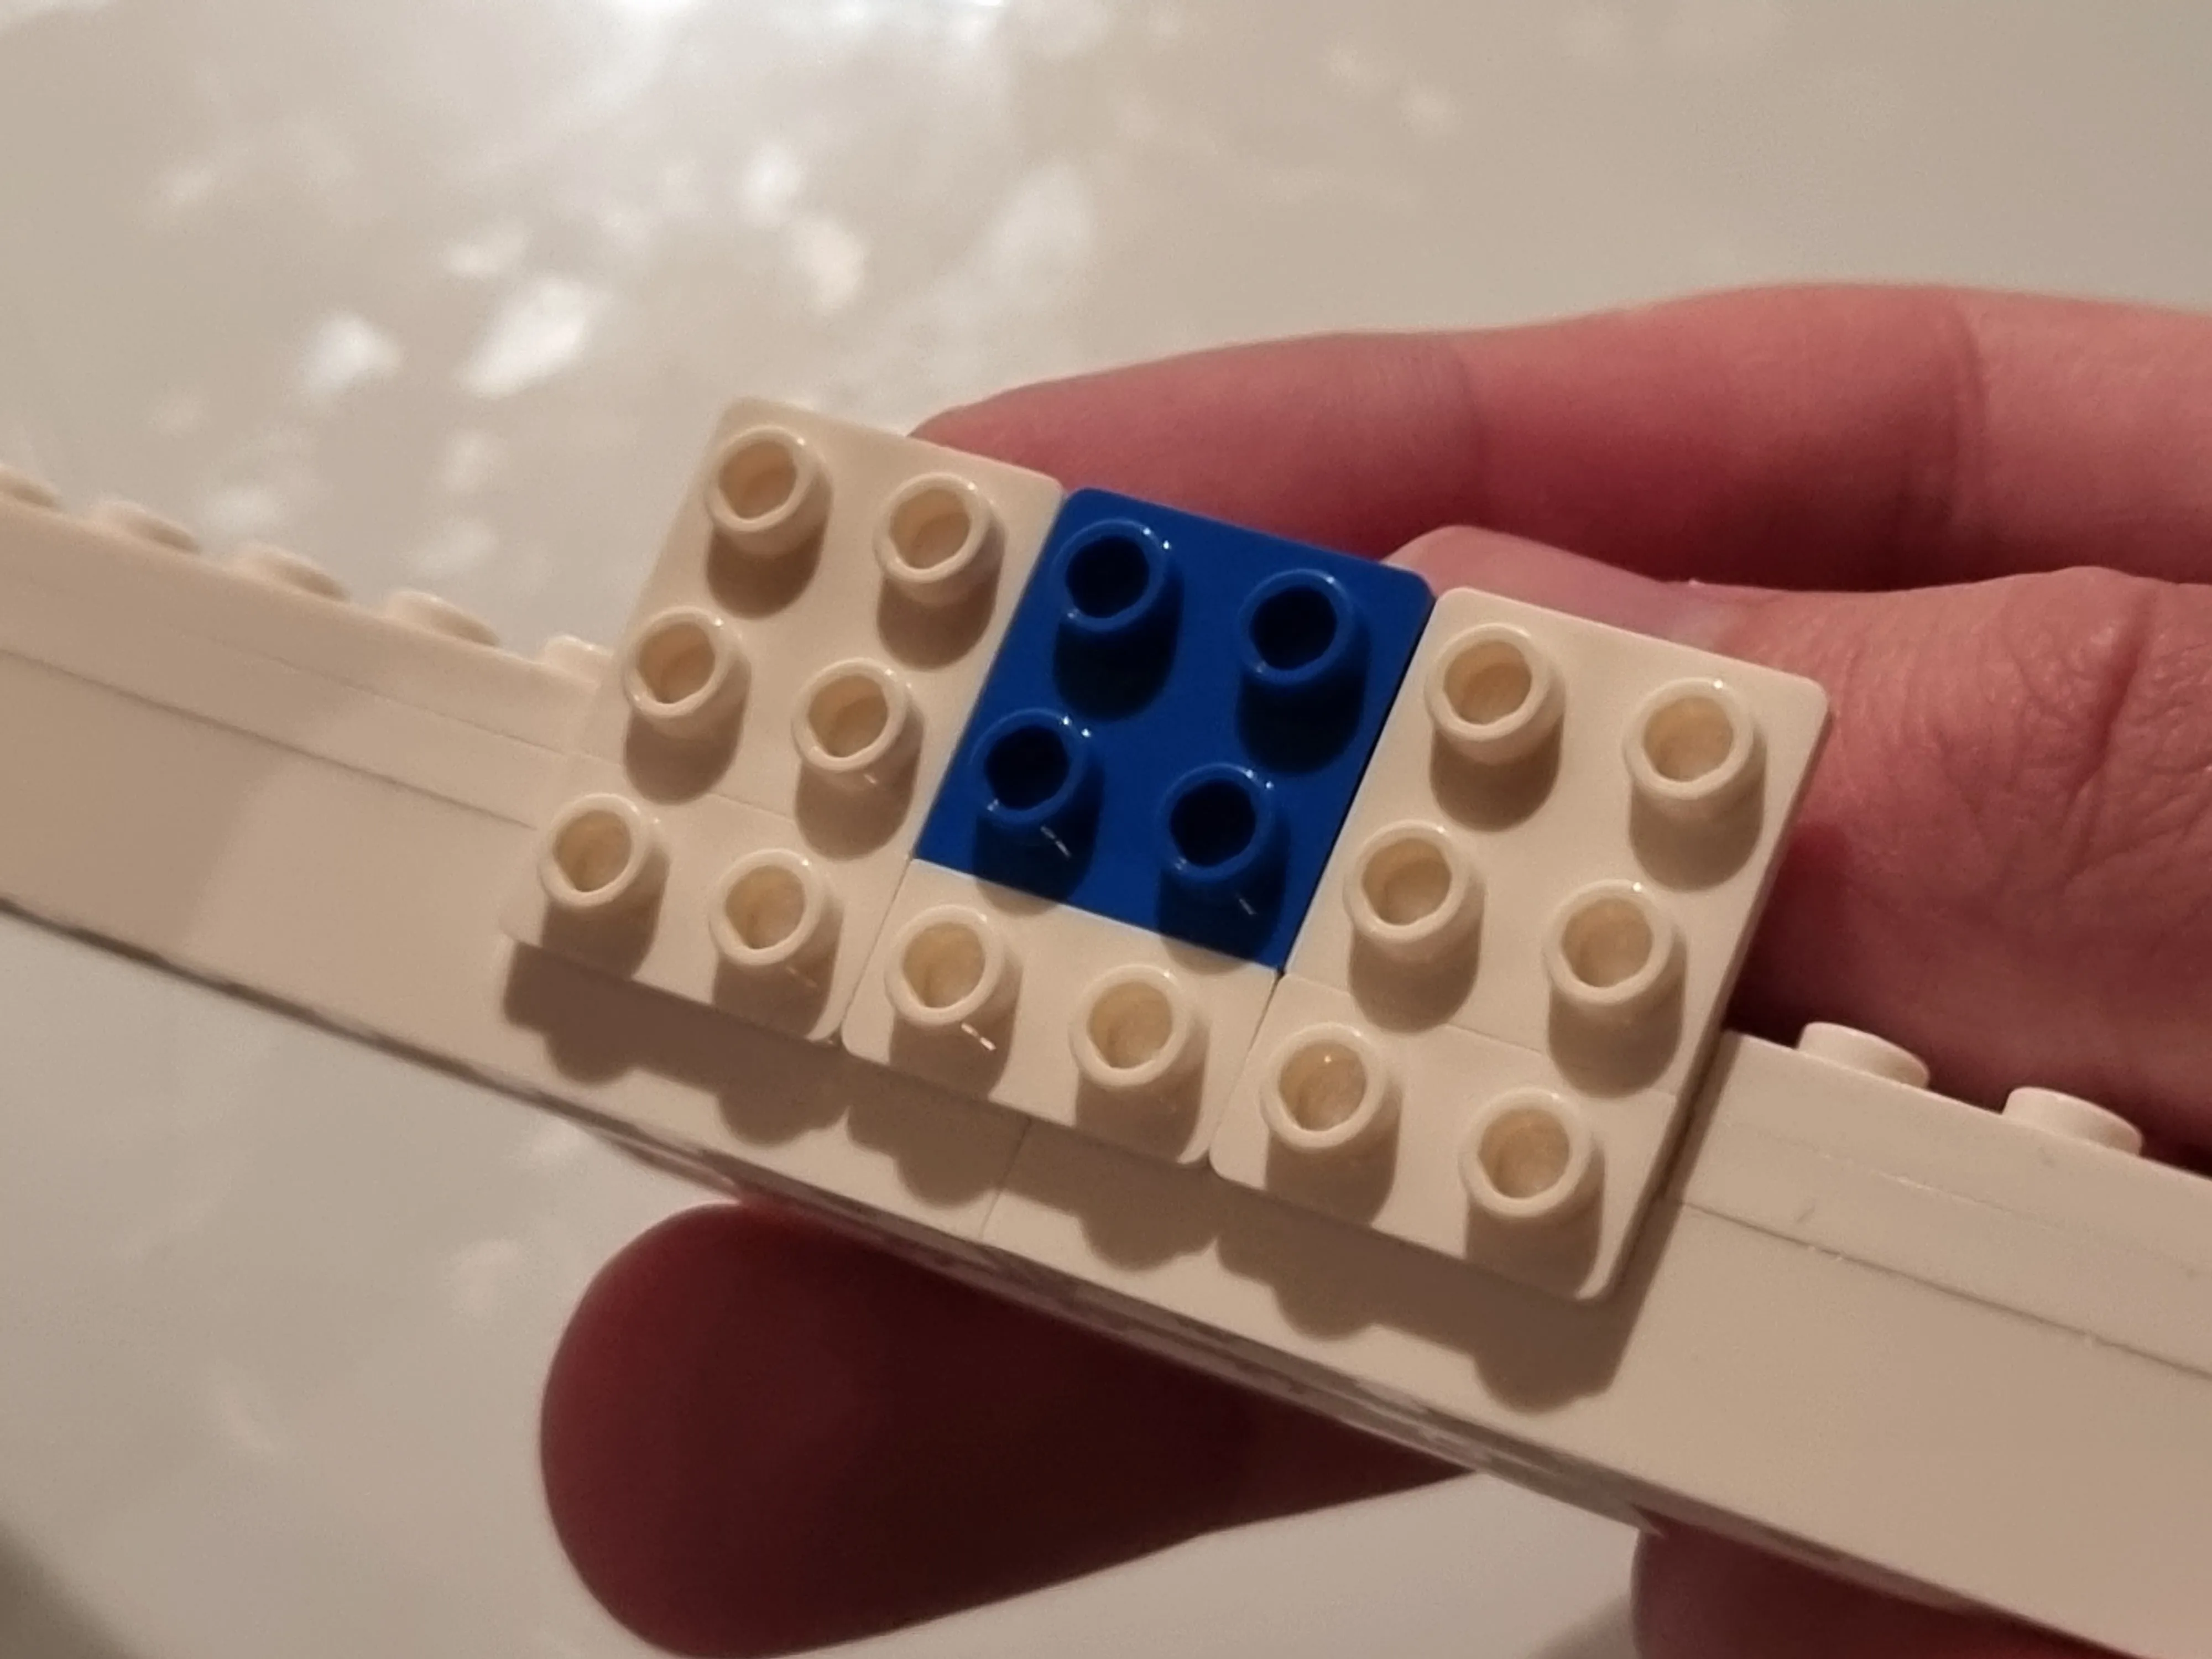
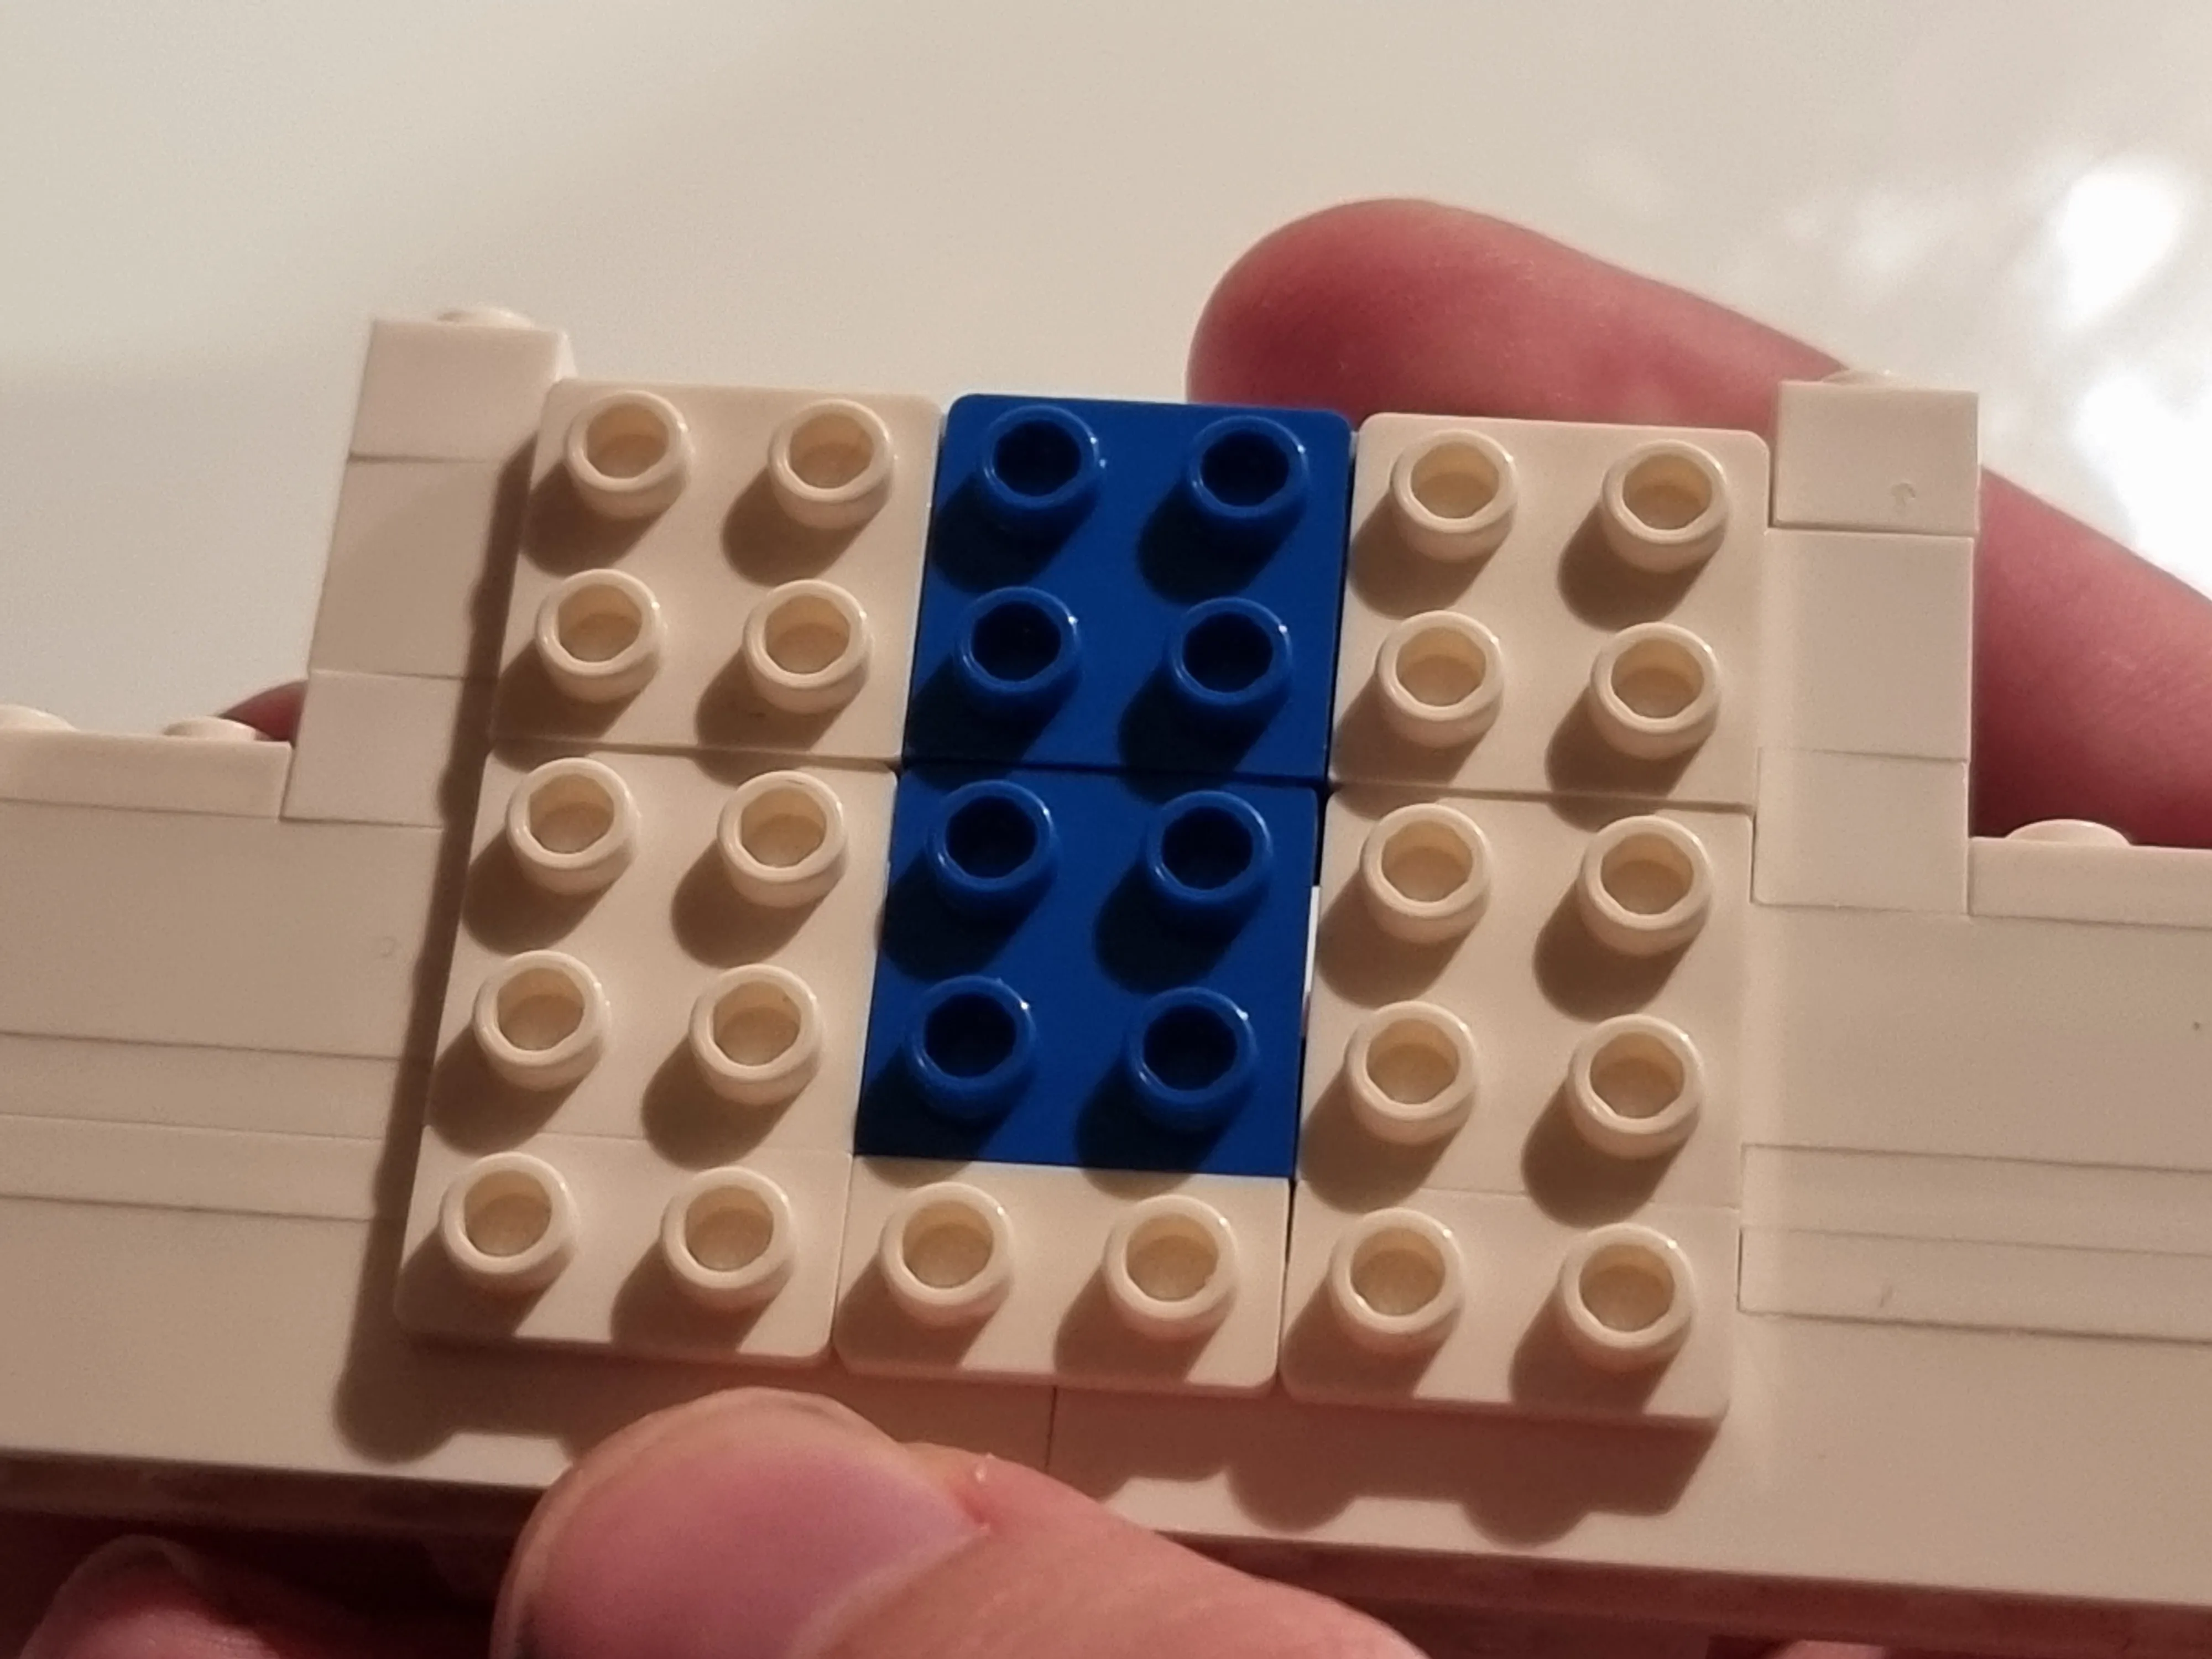
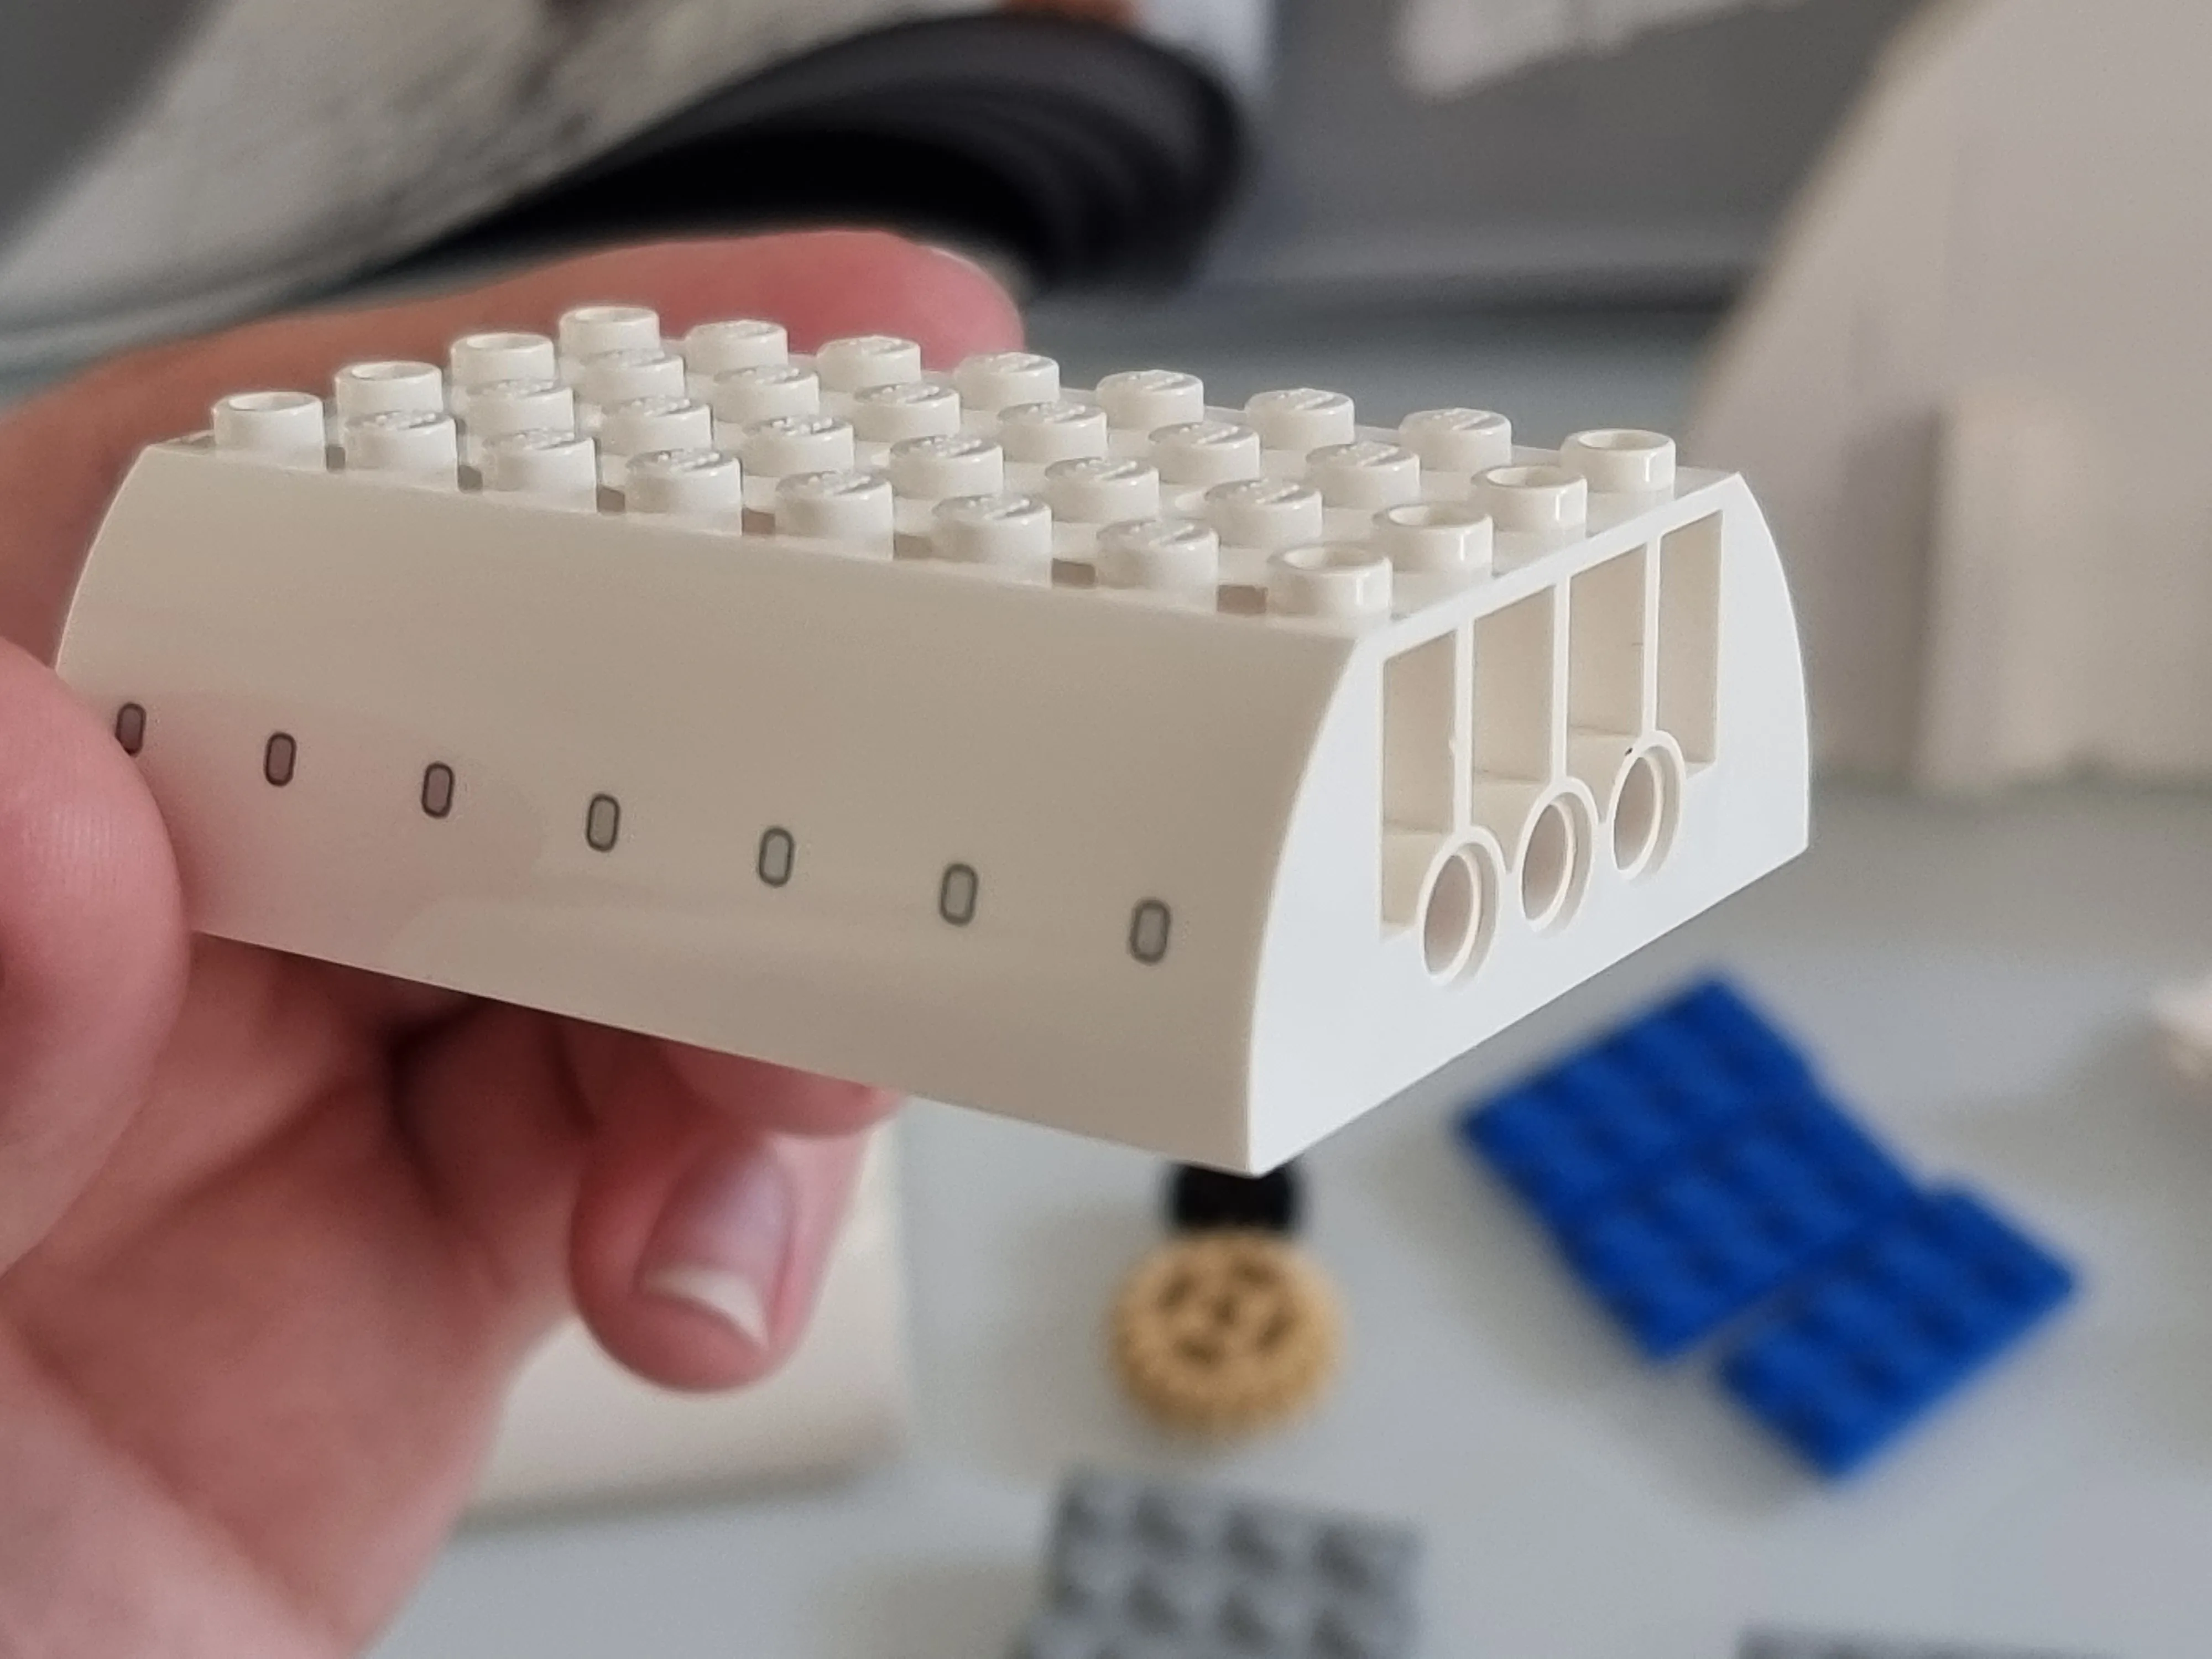
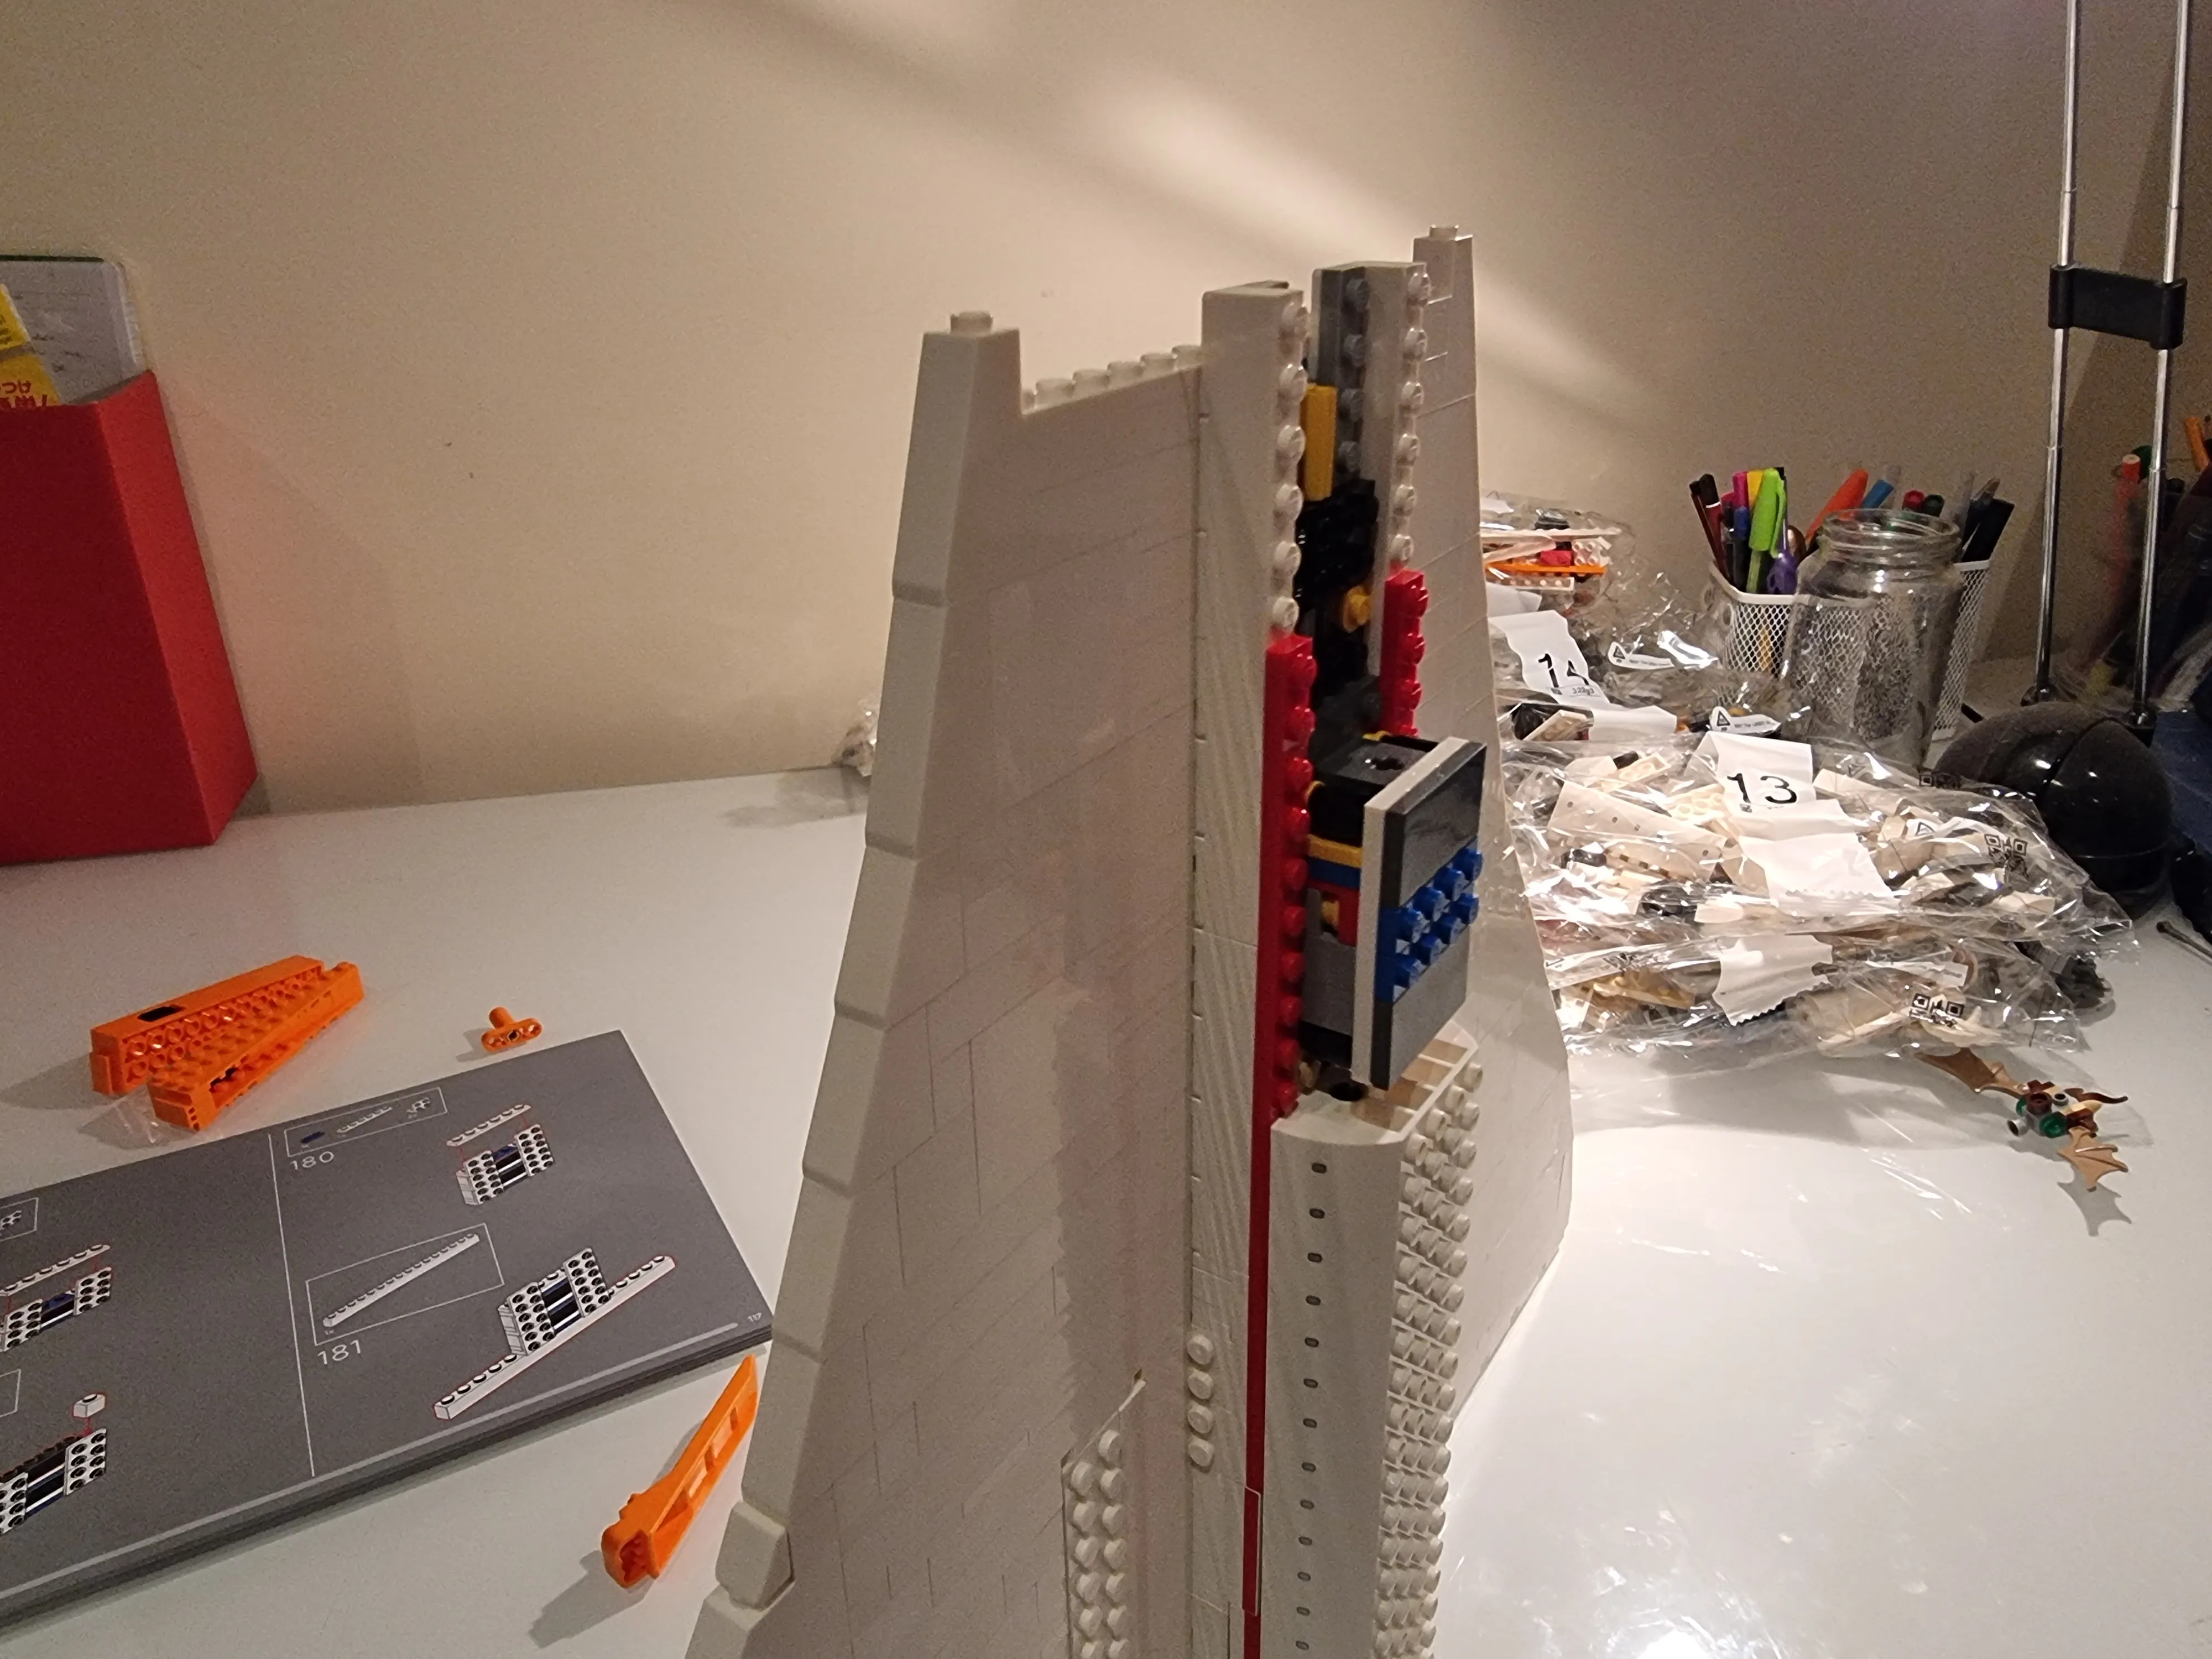
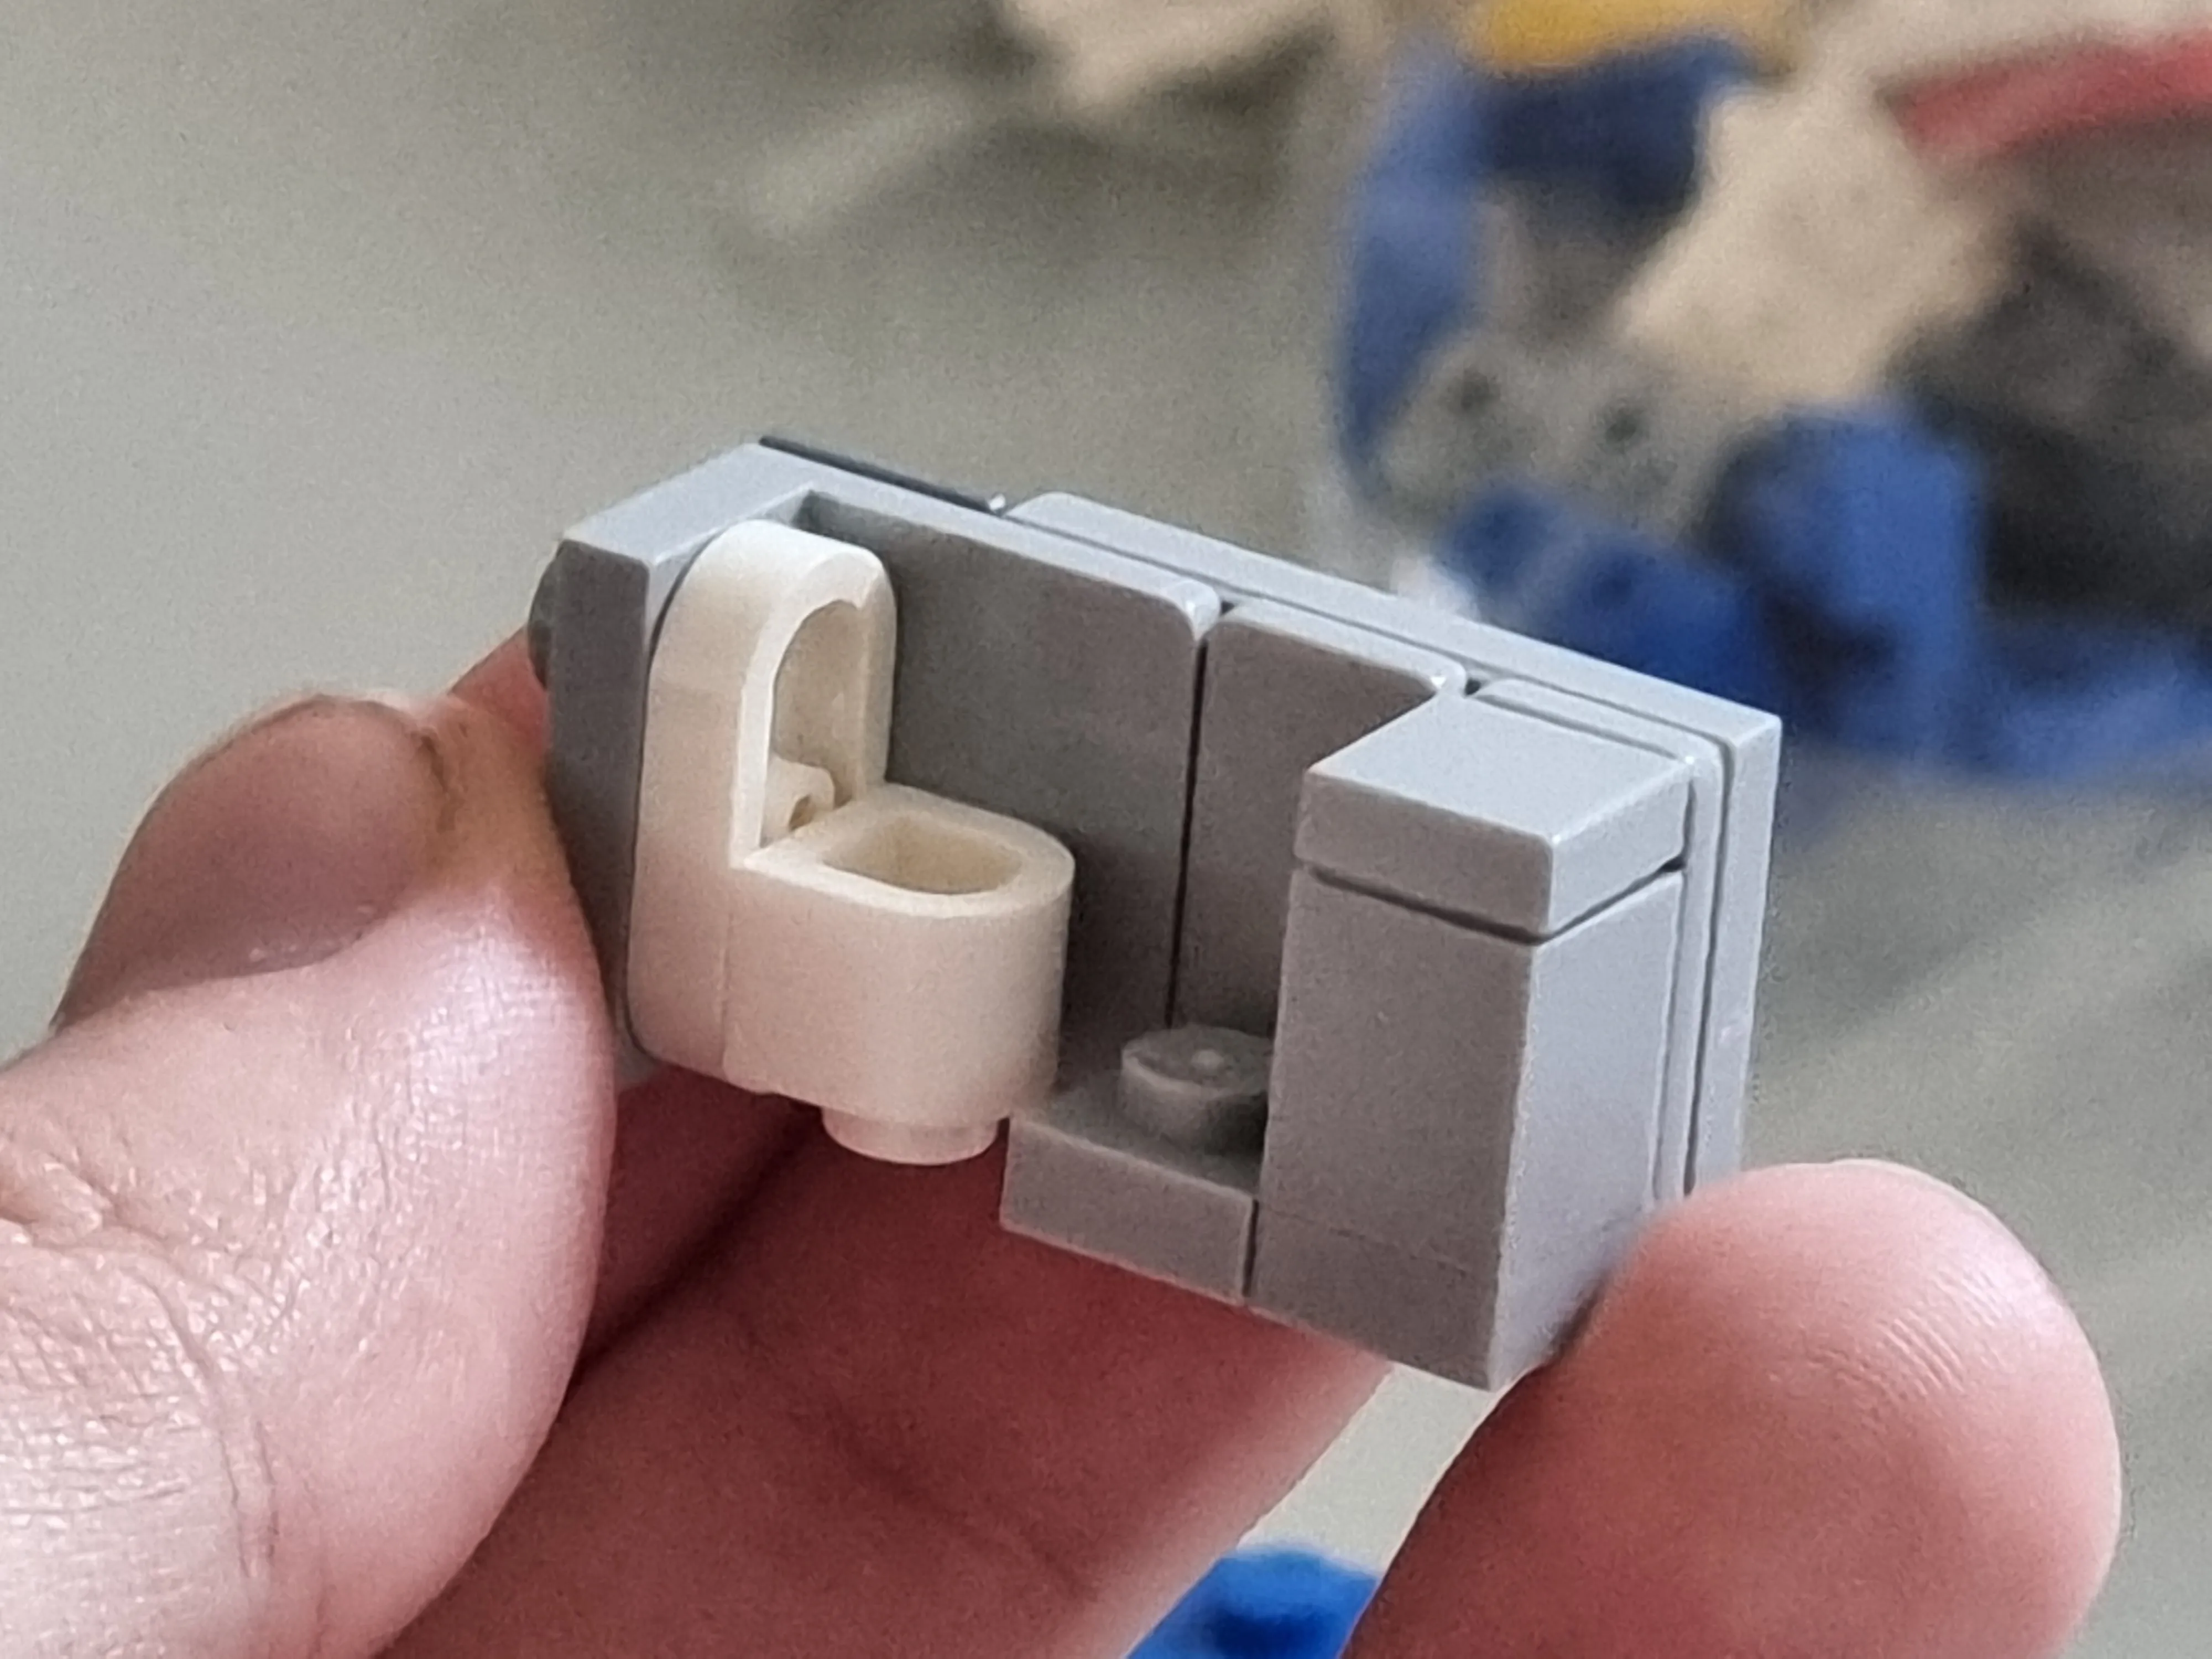
I see some printed pieces! Actually, come to think of it, there wasn’t a sticker sheet. I hate sticker sheets. I try to line it up as best I can and I fuck it up and now either the sticker will be ruined if I unpeel it or I just have to deal with an askew sticker.
Not sure how I feel about the structural rigidity of this part. It is braced against the wall and the corner piece at the bottom but it’s really just held in by the tiny post.
This part is satisfying.

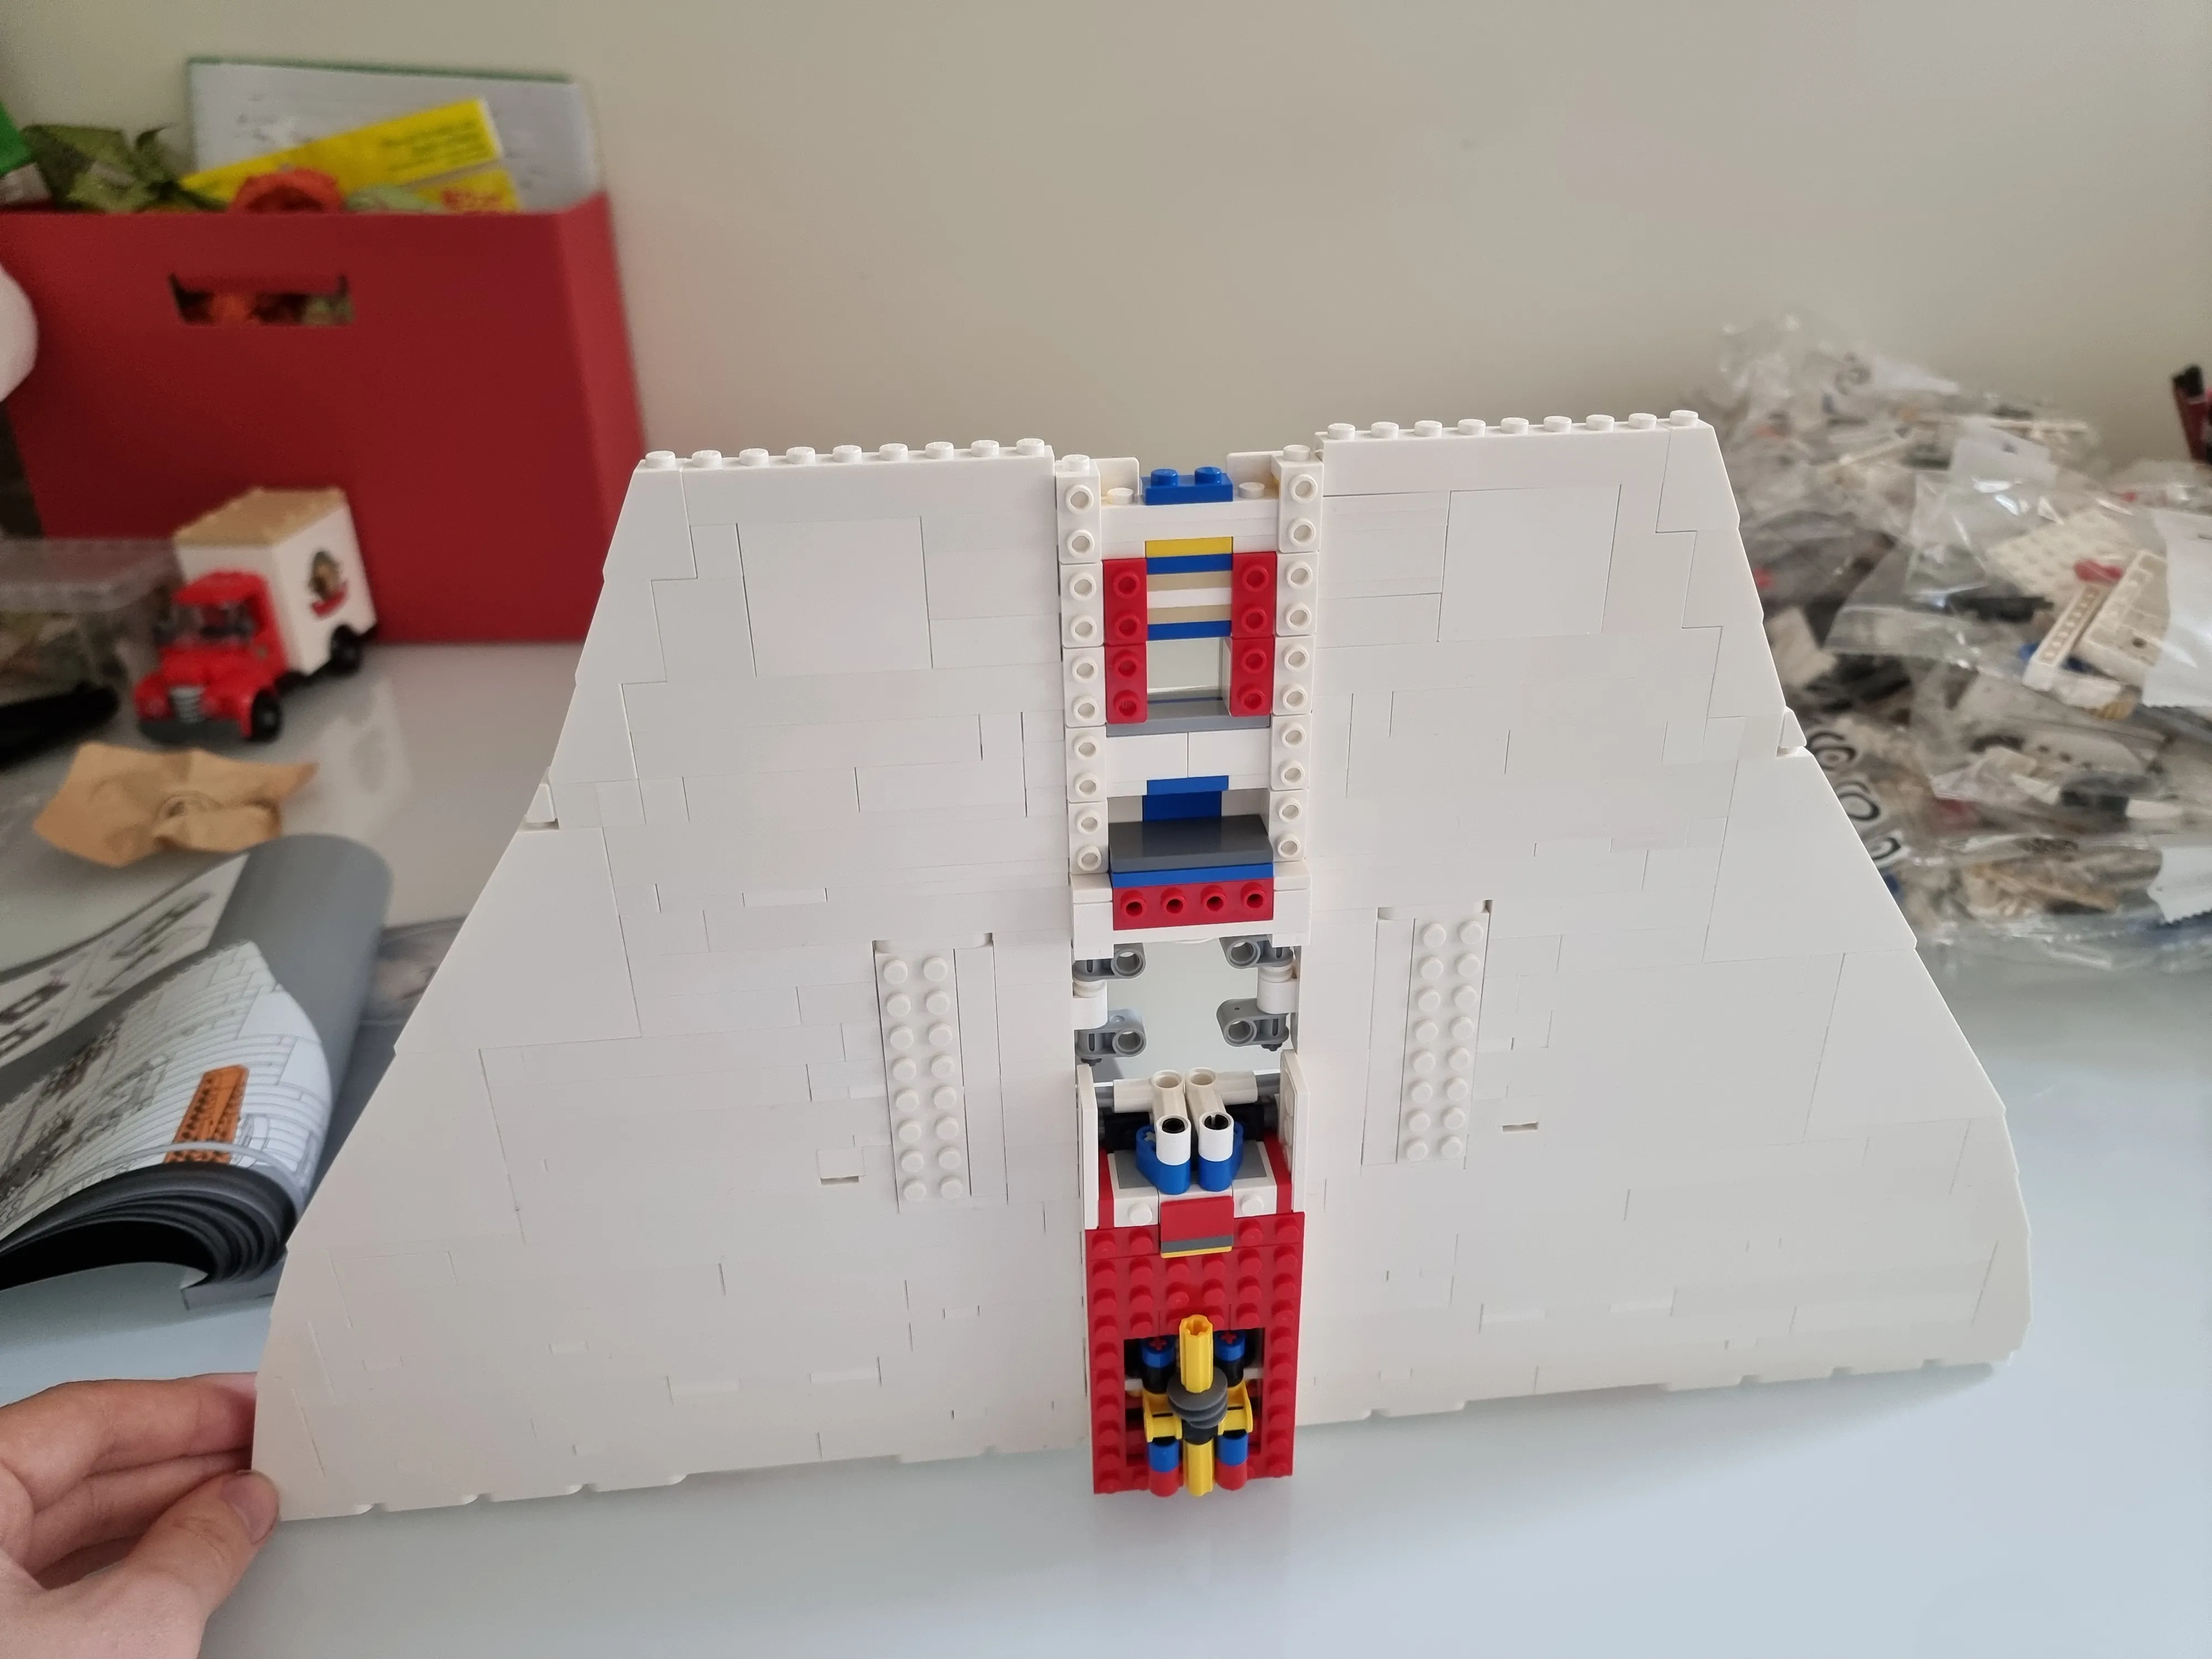
A big white slab is being created! A bit happier with the gear covers now that they’re secured on top as well but it was a little tricky to line up but got it after a second try.
Day Three: 28-11-23
Bag 6
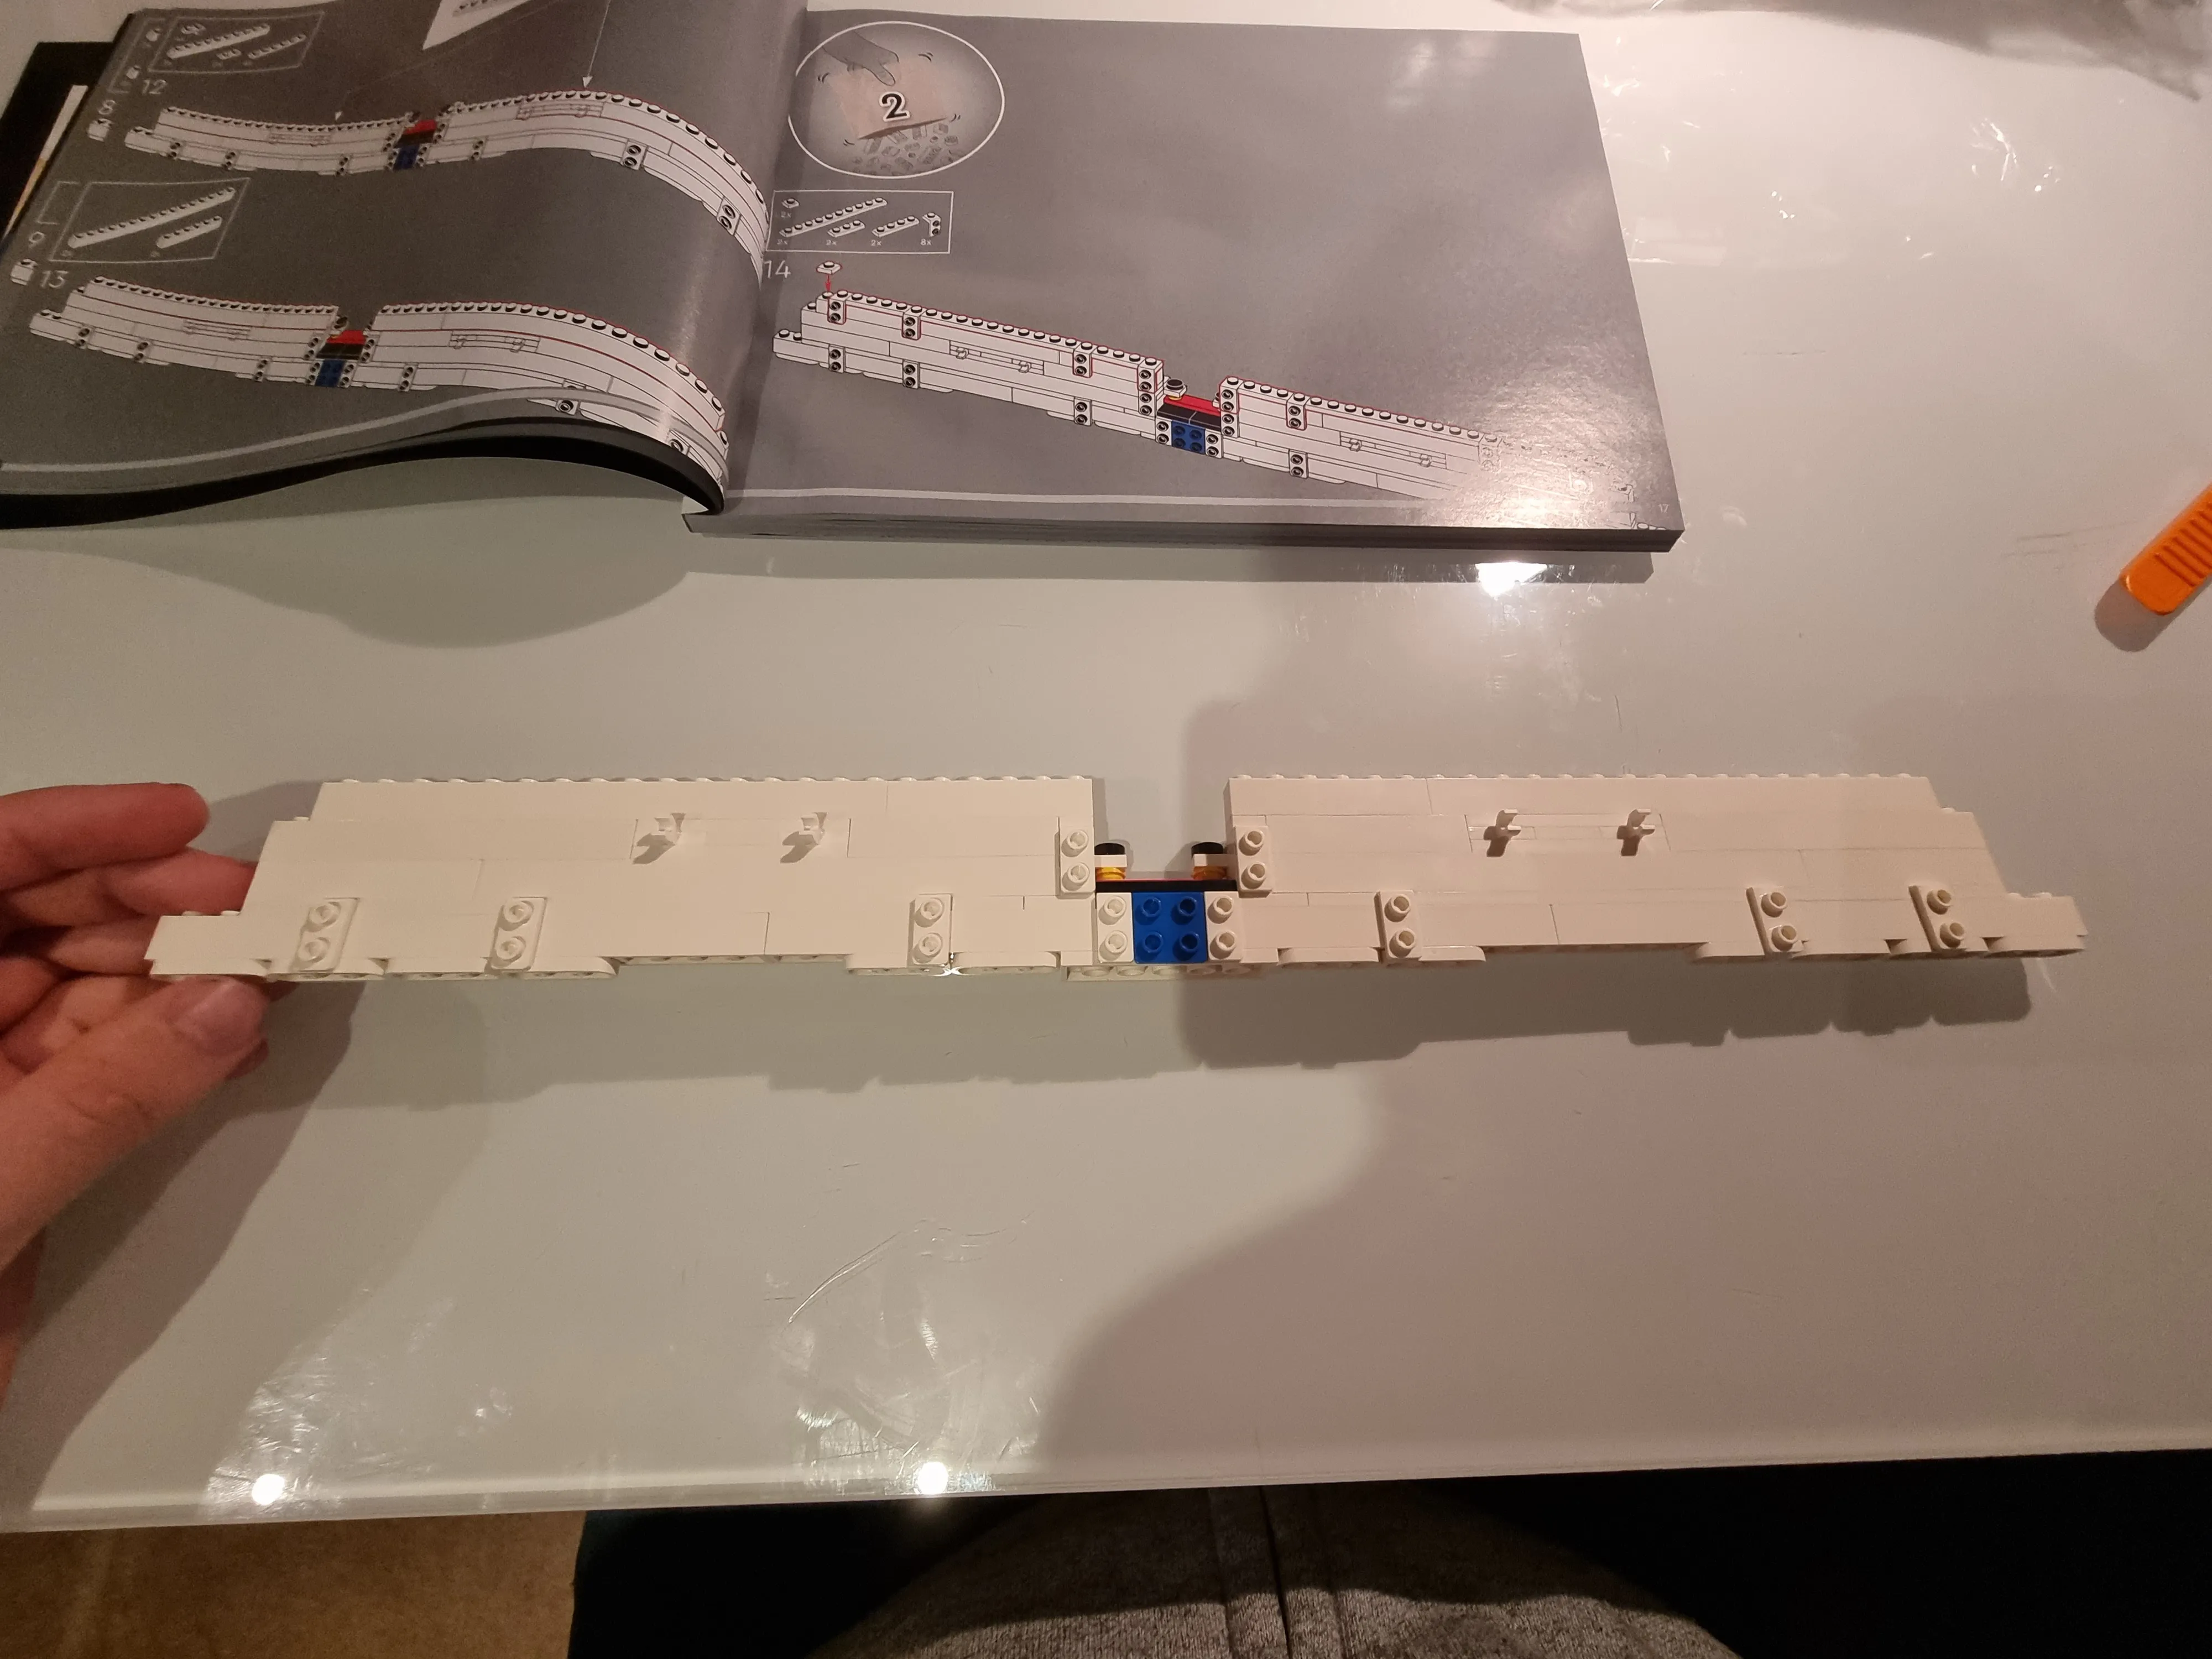
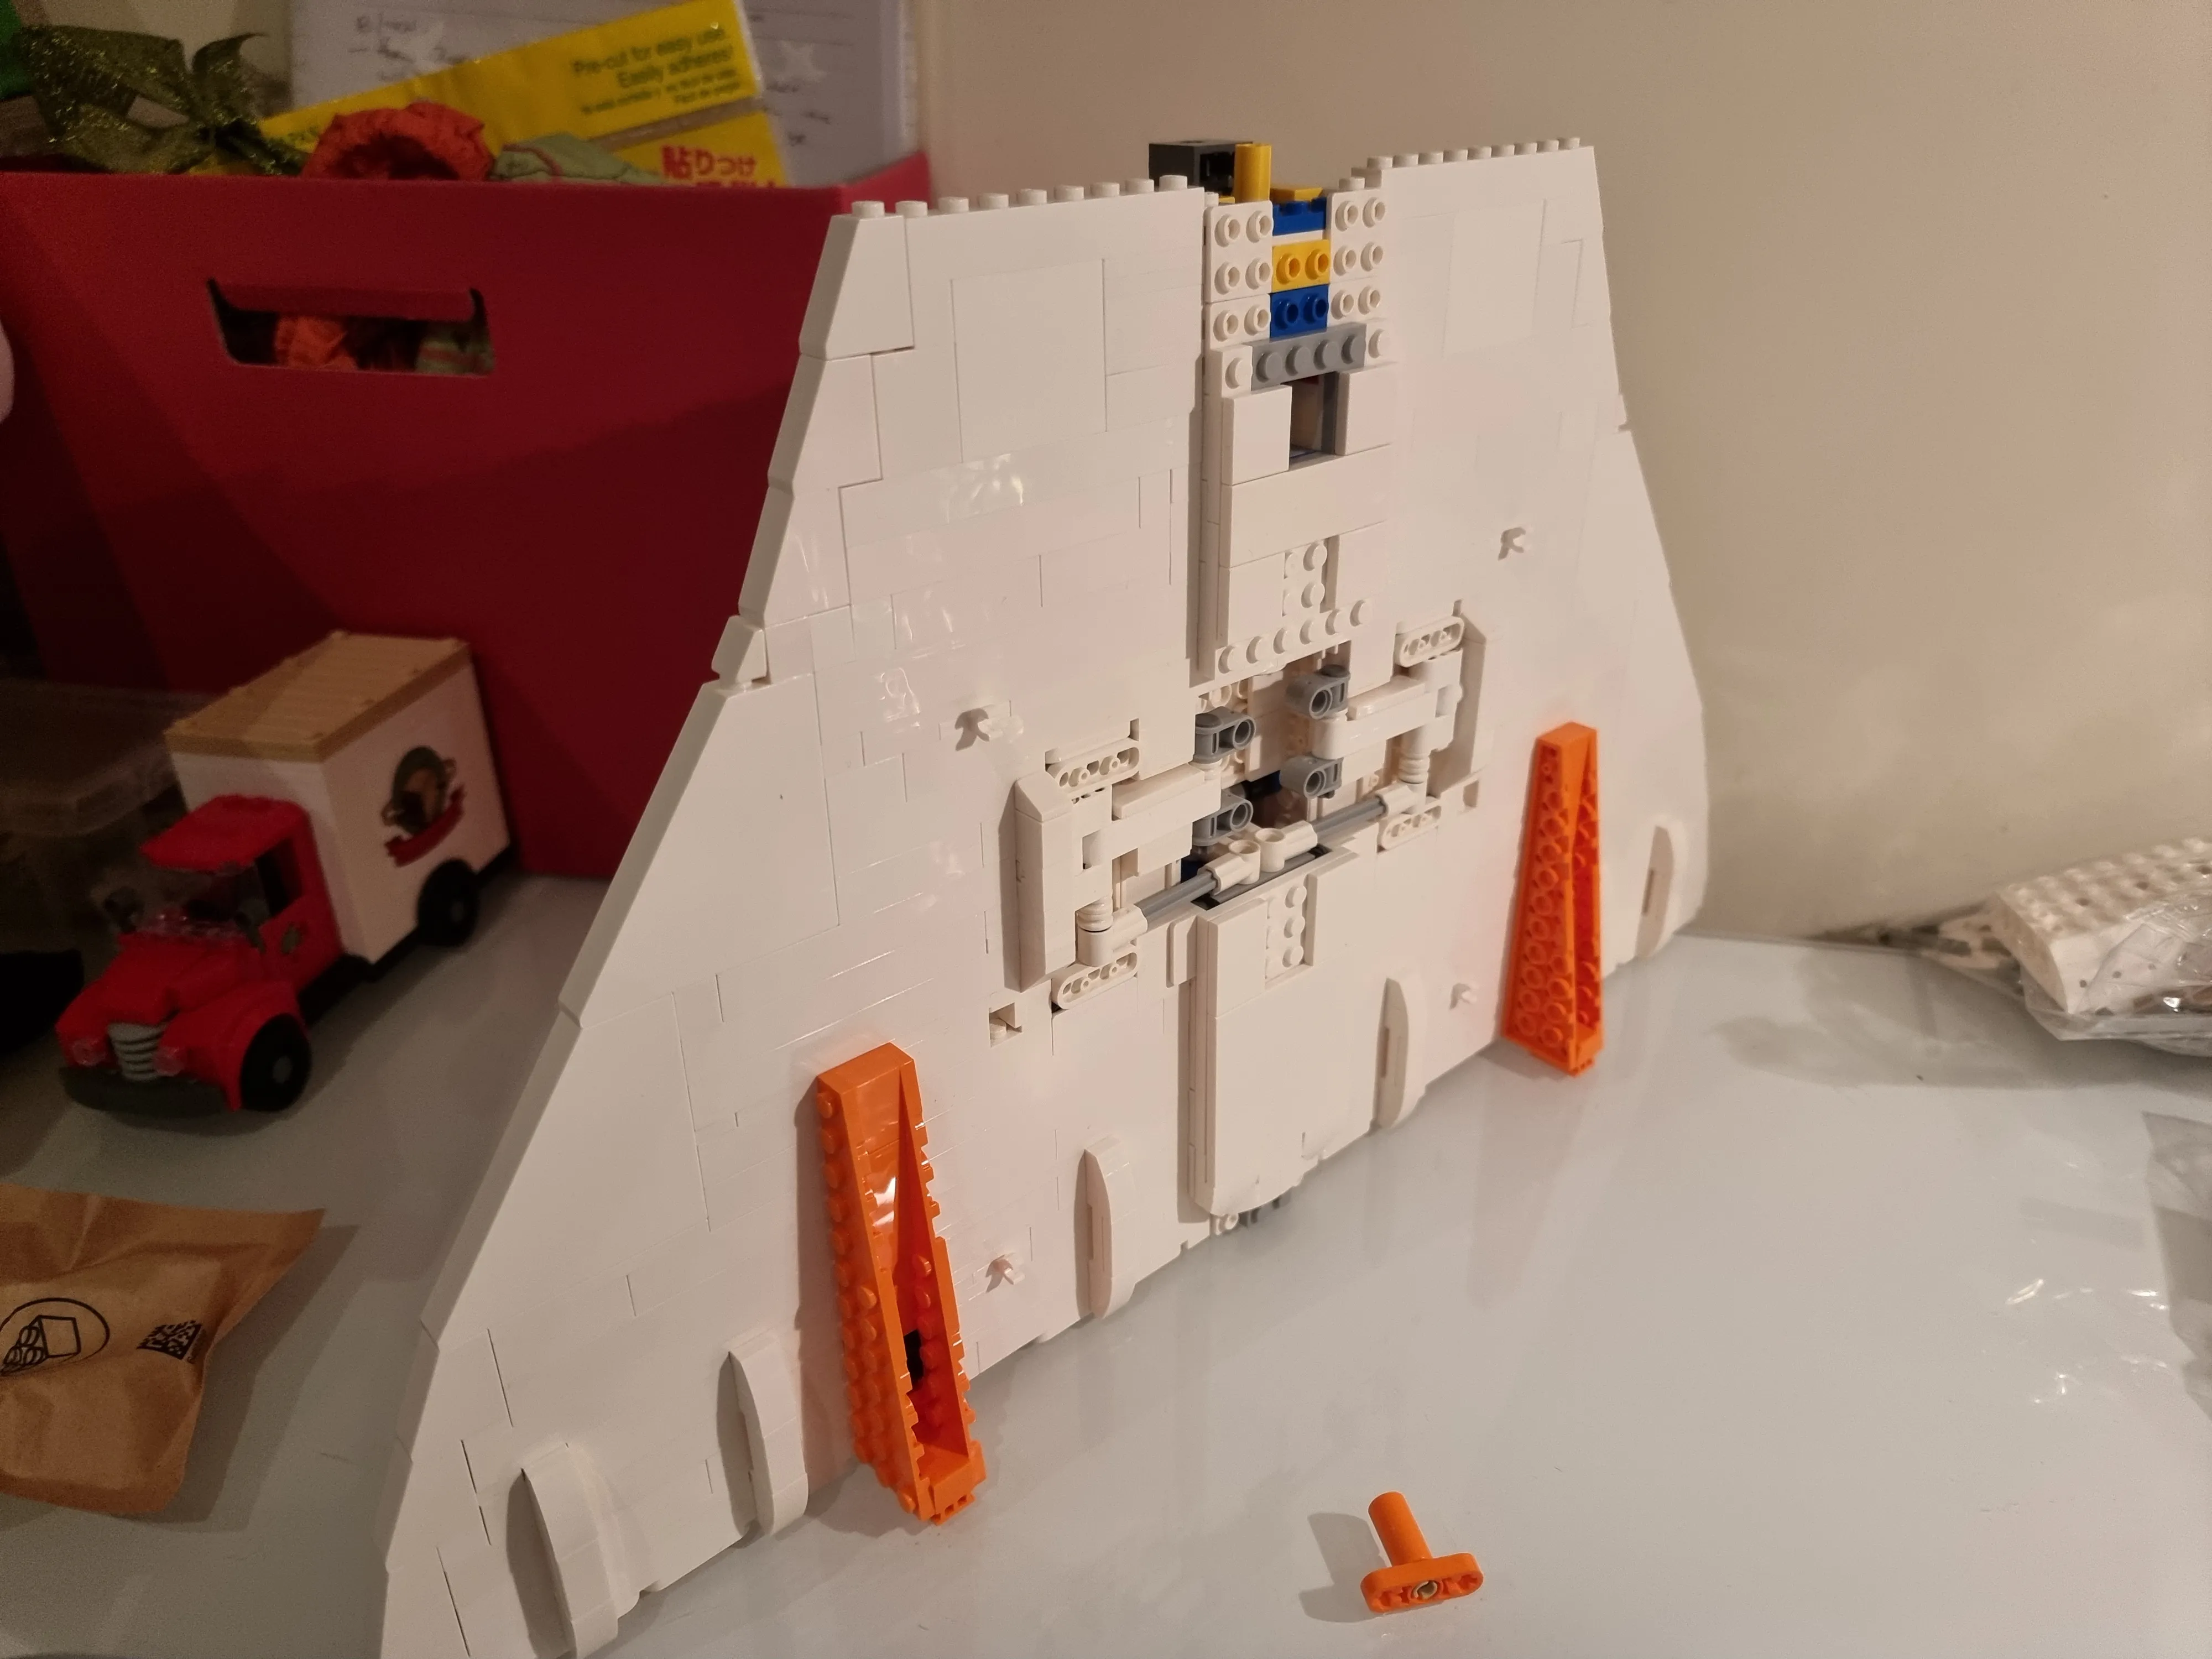
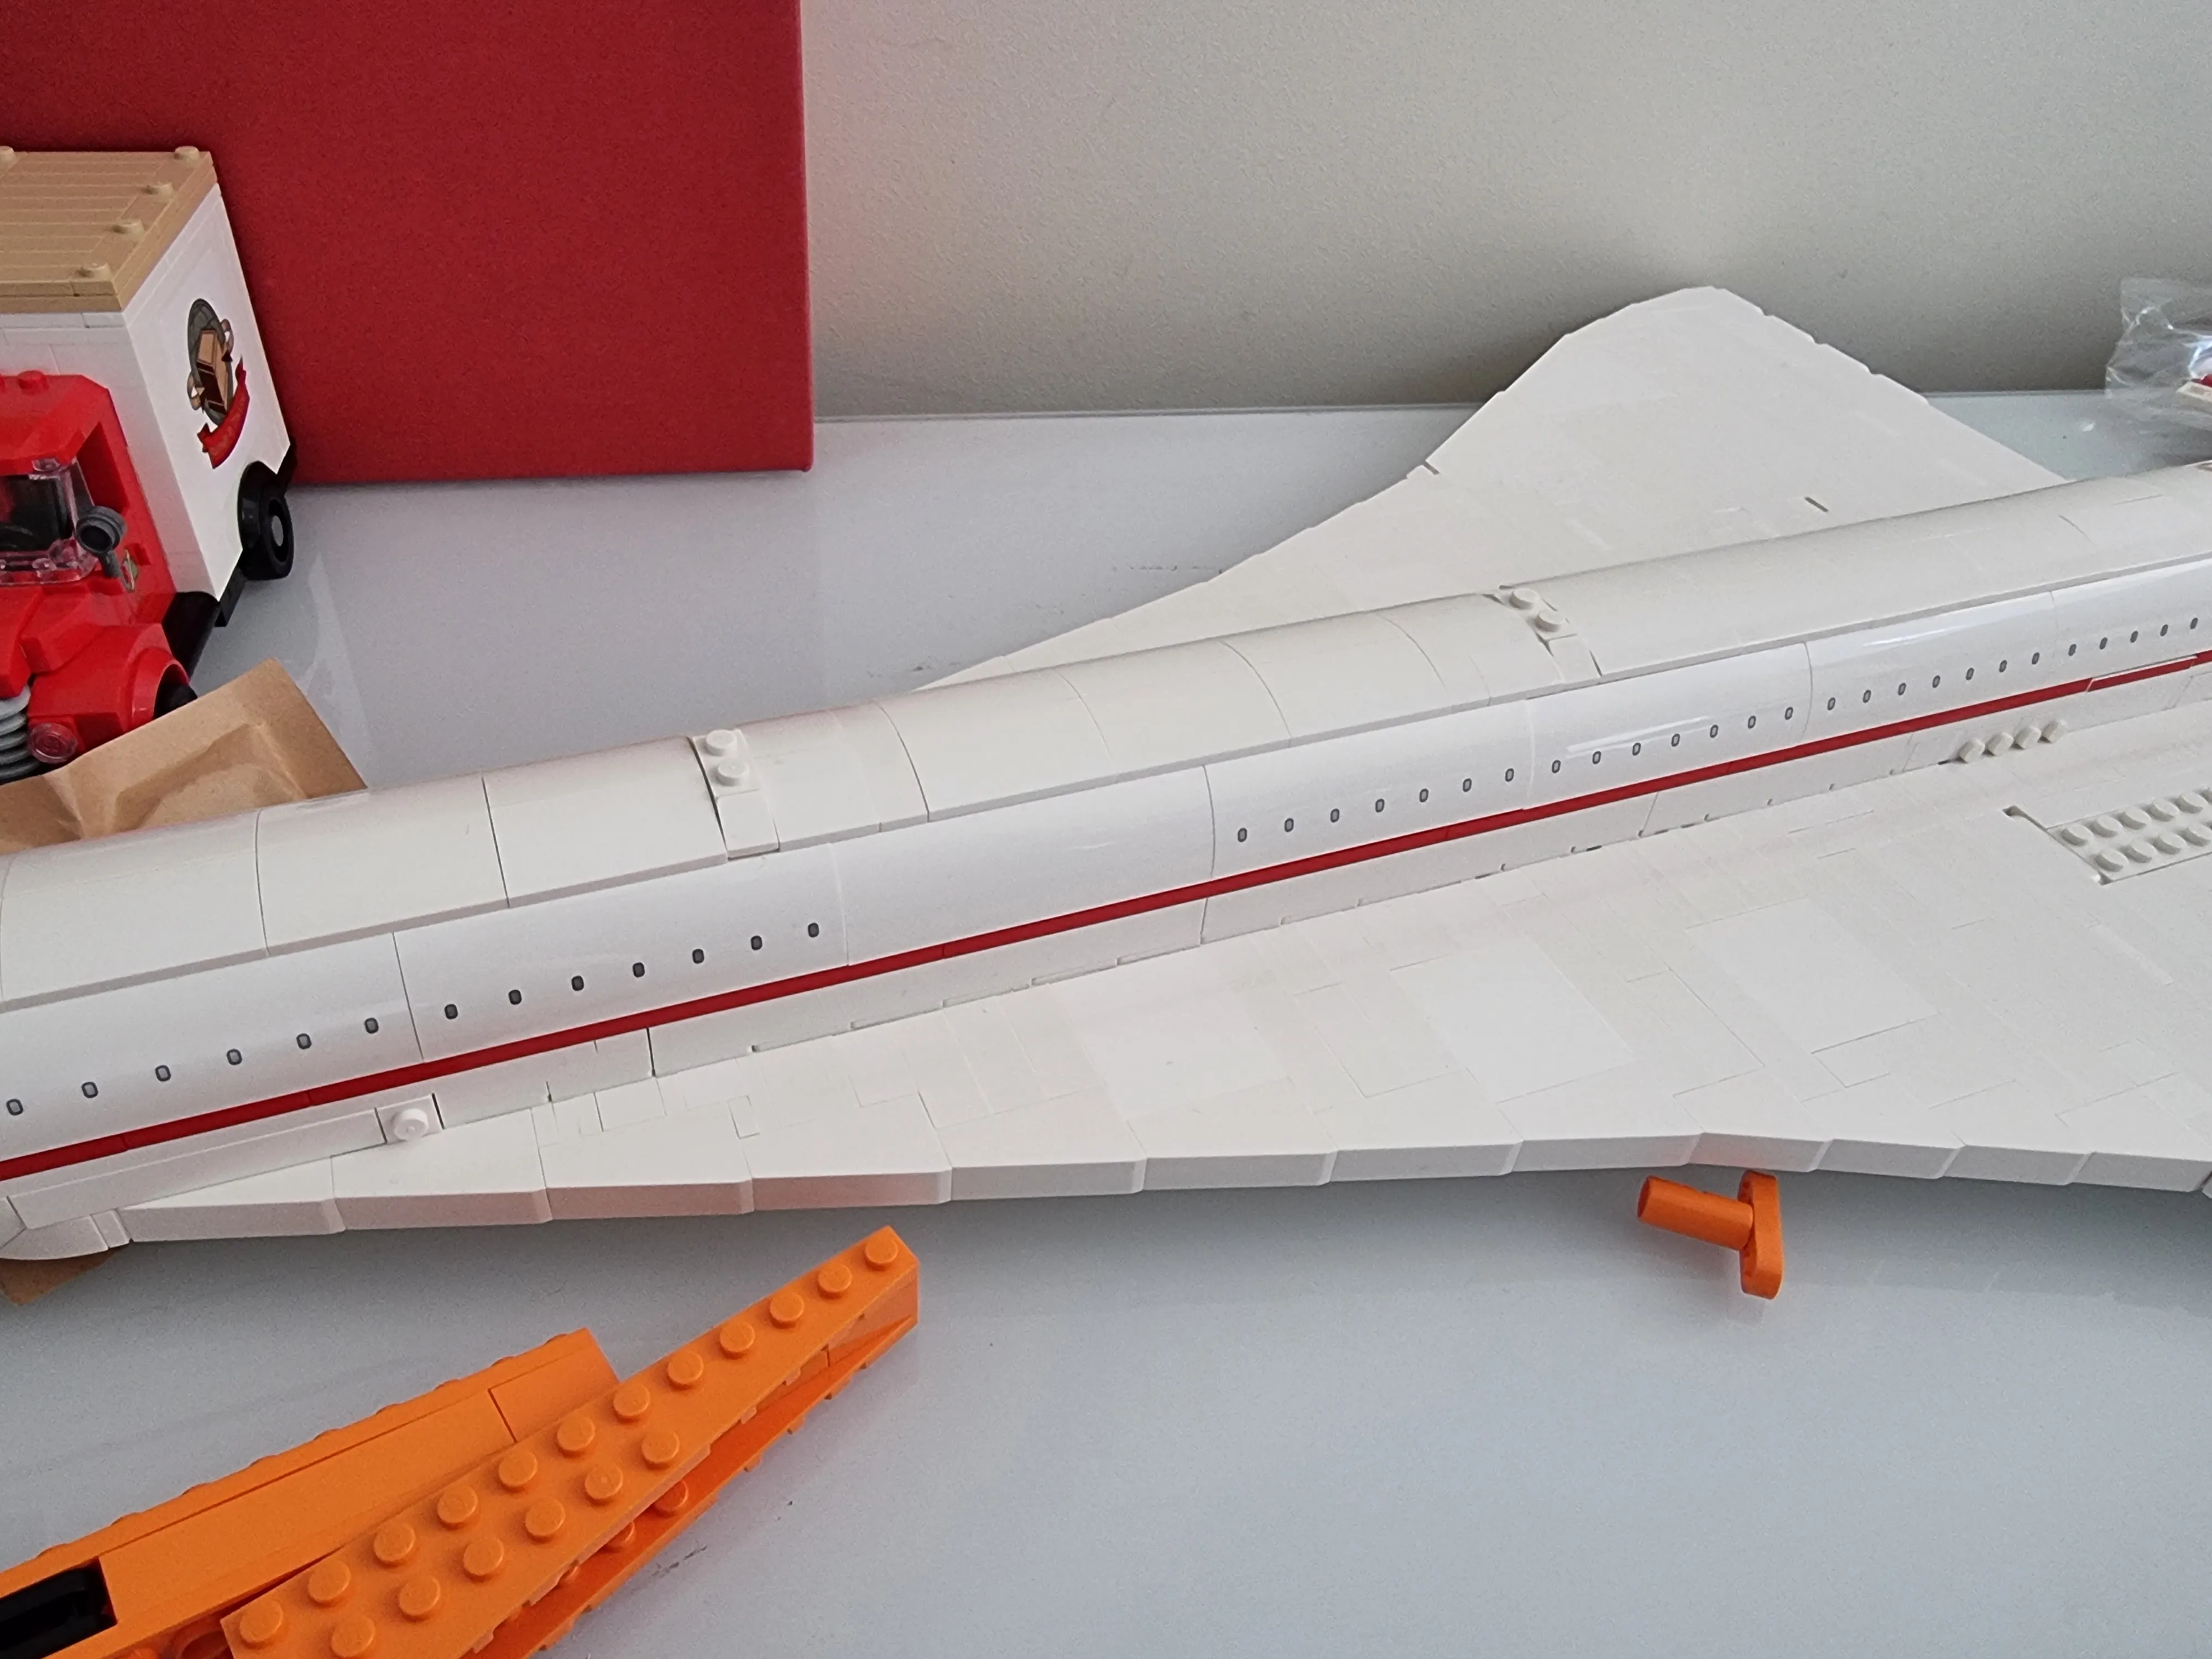
The curve of the delta wing is coming together quite nicely. Not a fan of the gaps where the slope piece was used but I’m sure the designers didn’t like that either. The delta wing is such a complex curve that I can’t blame them.
The shape of the wings really are coming together!

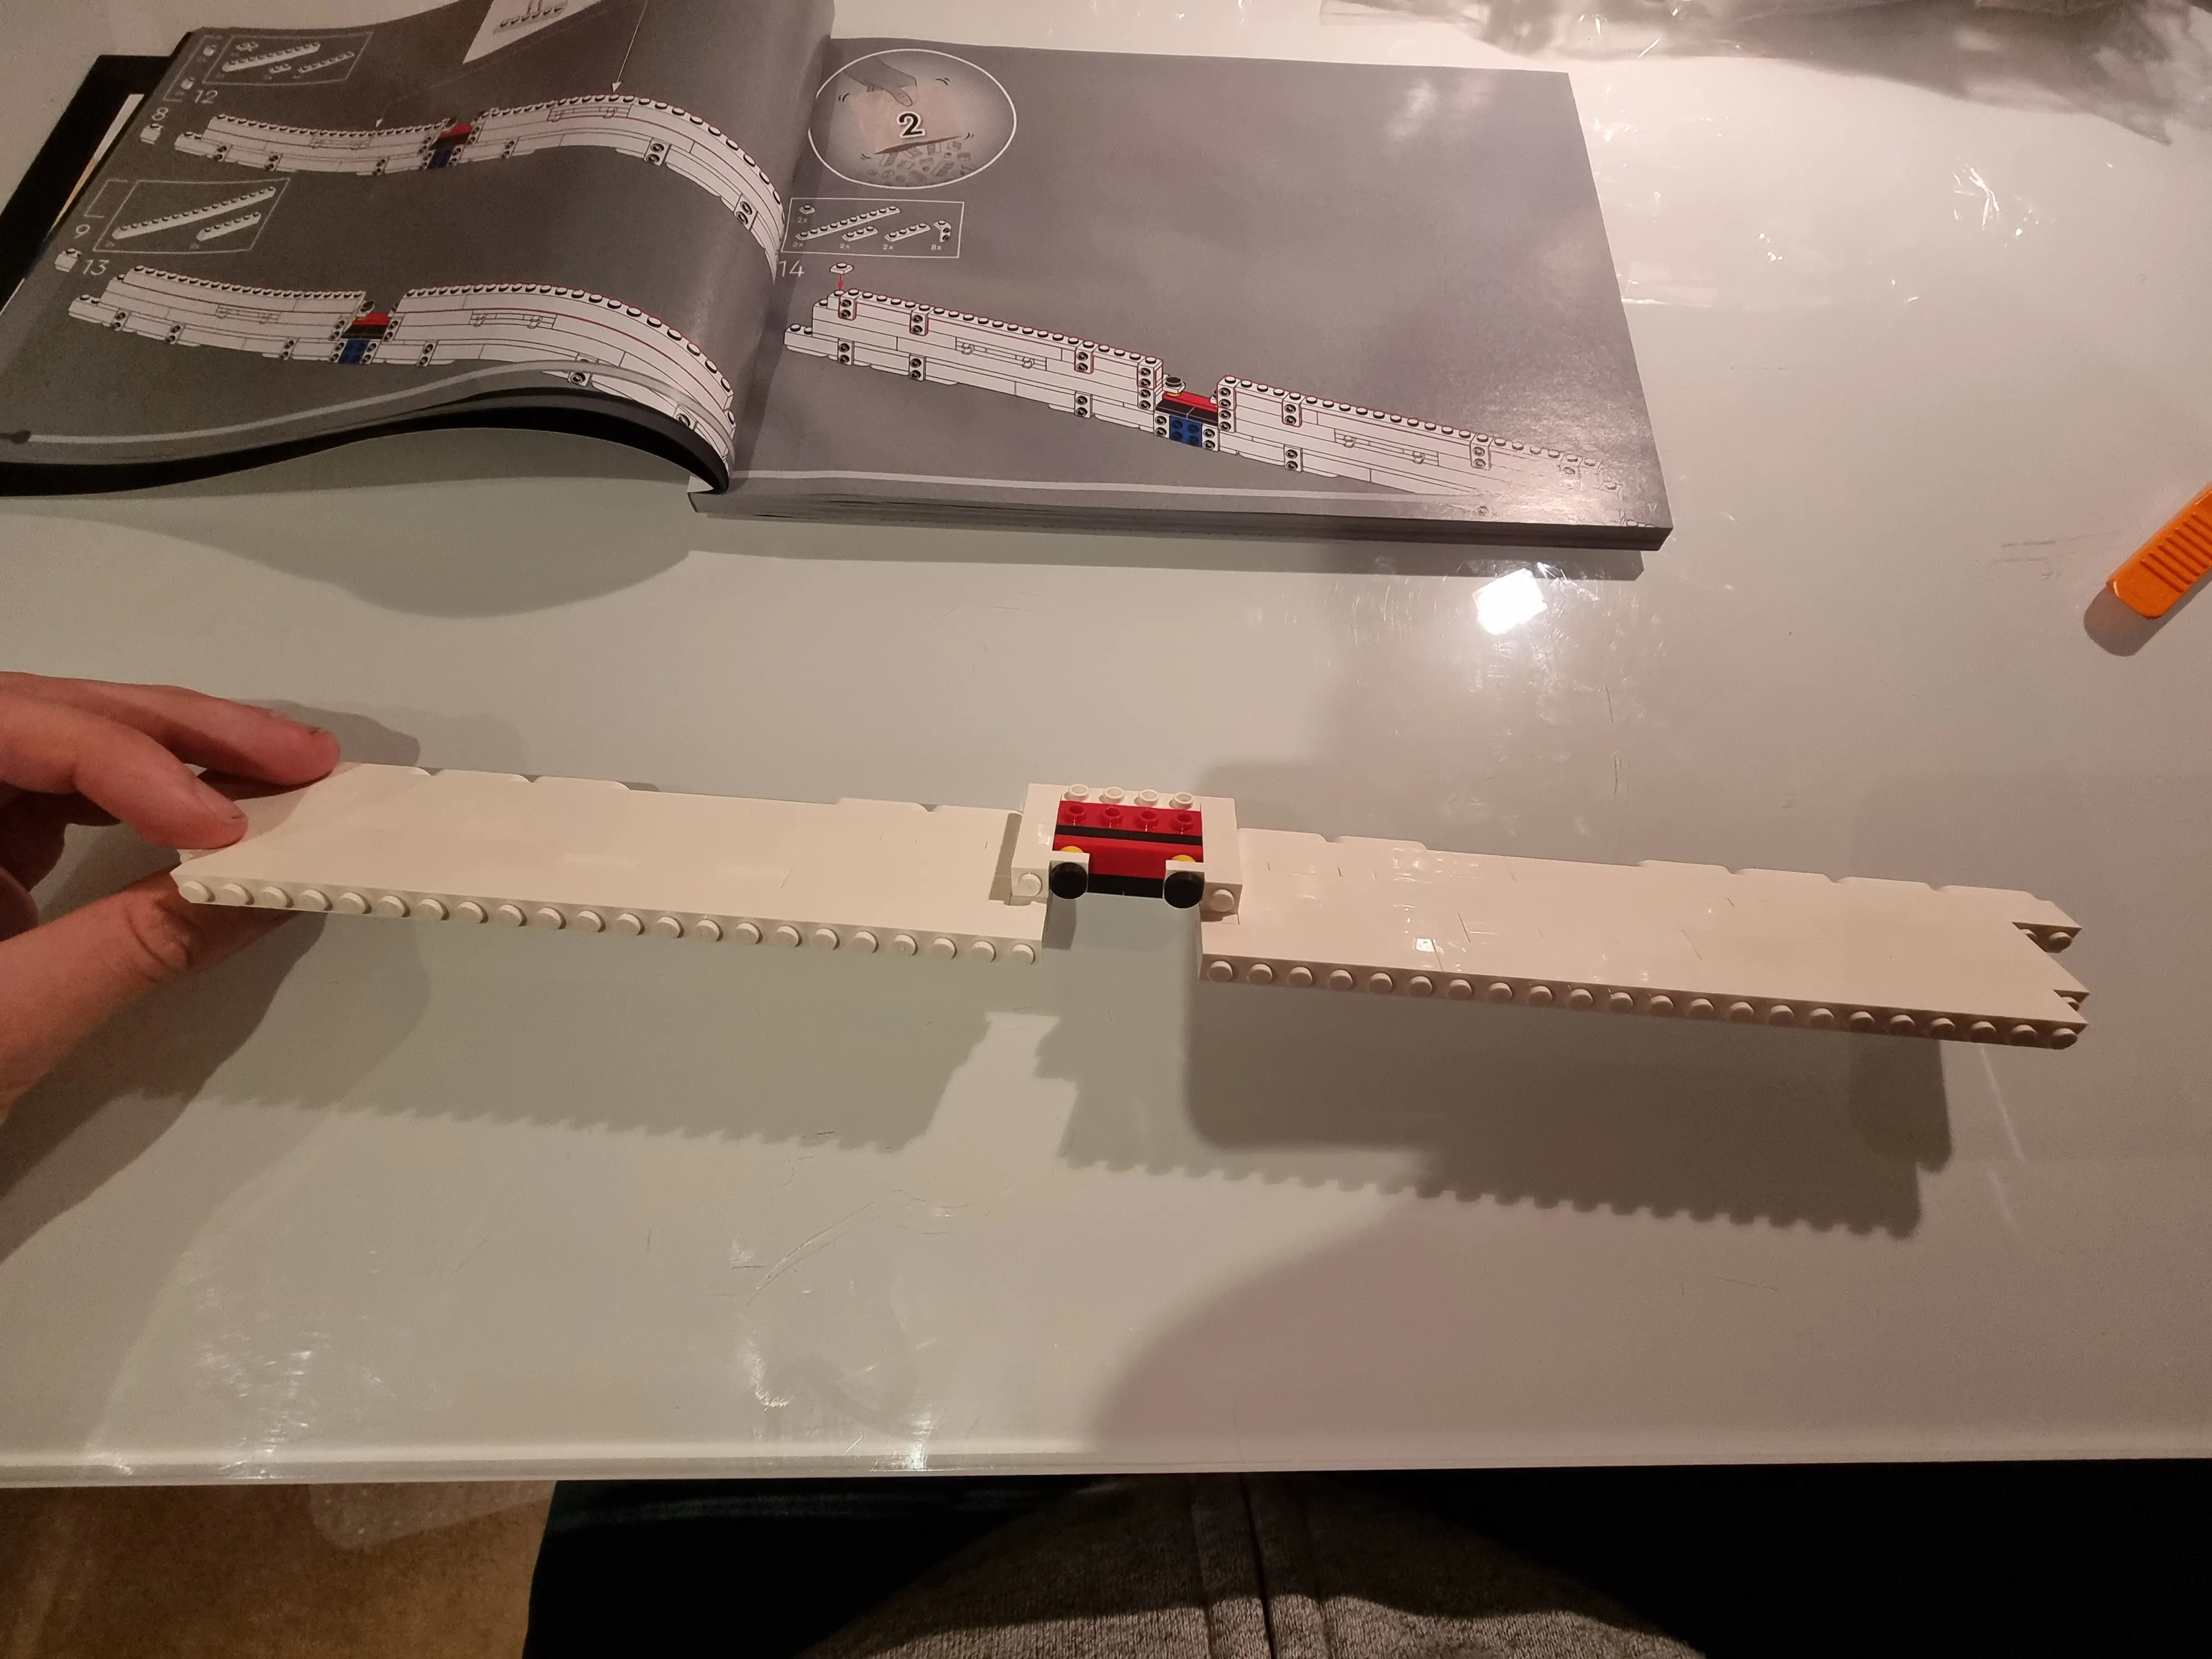
Bag 7
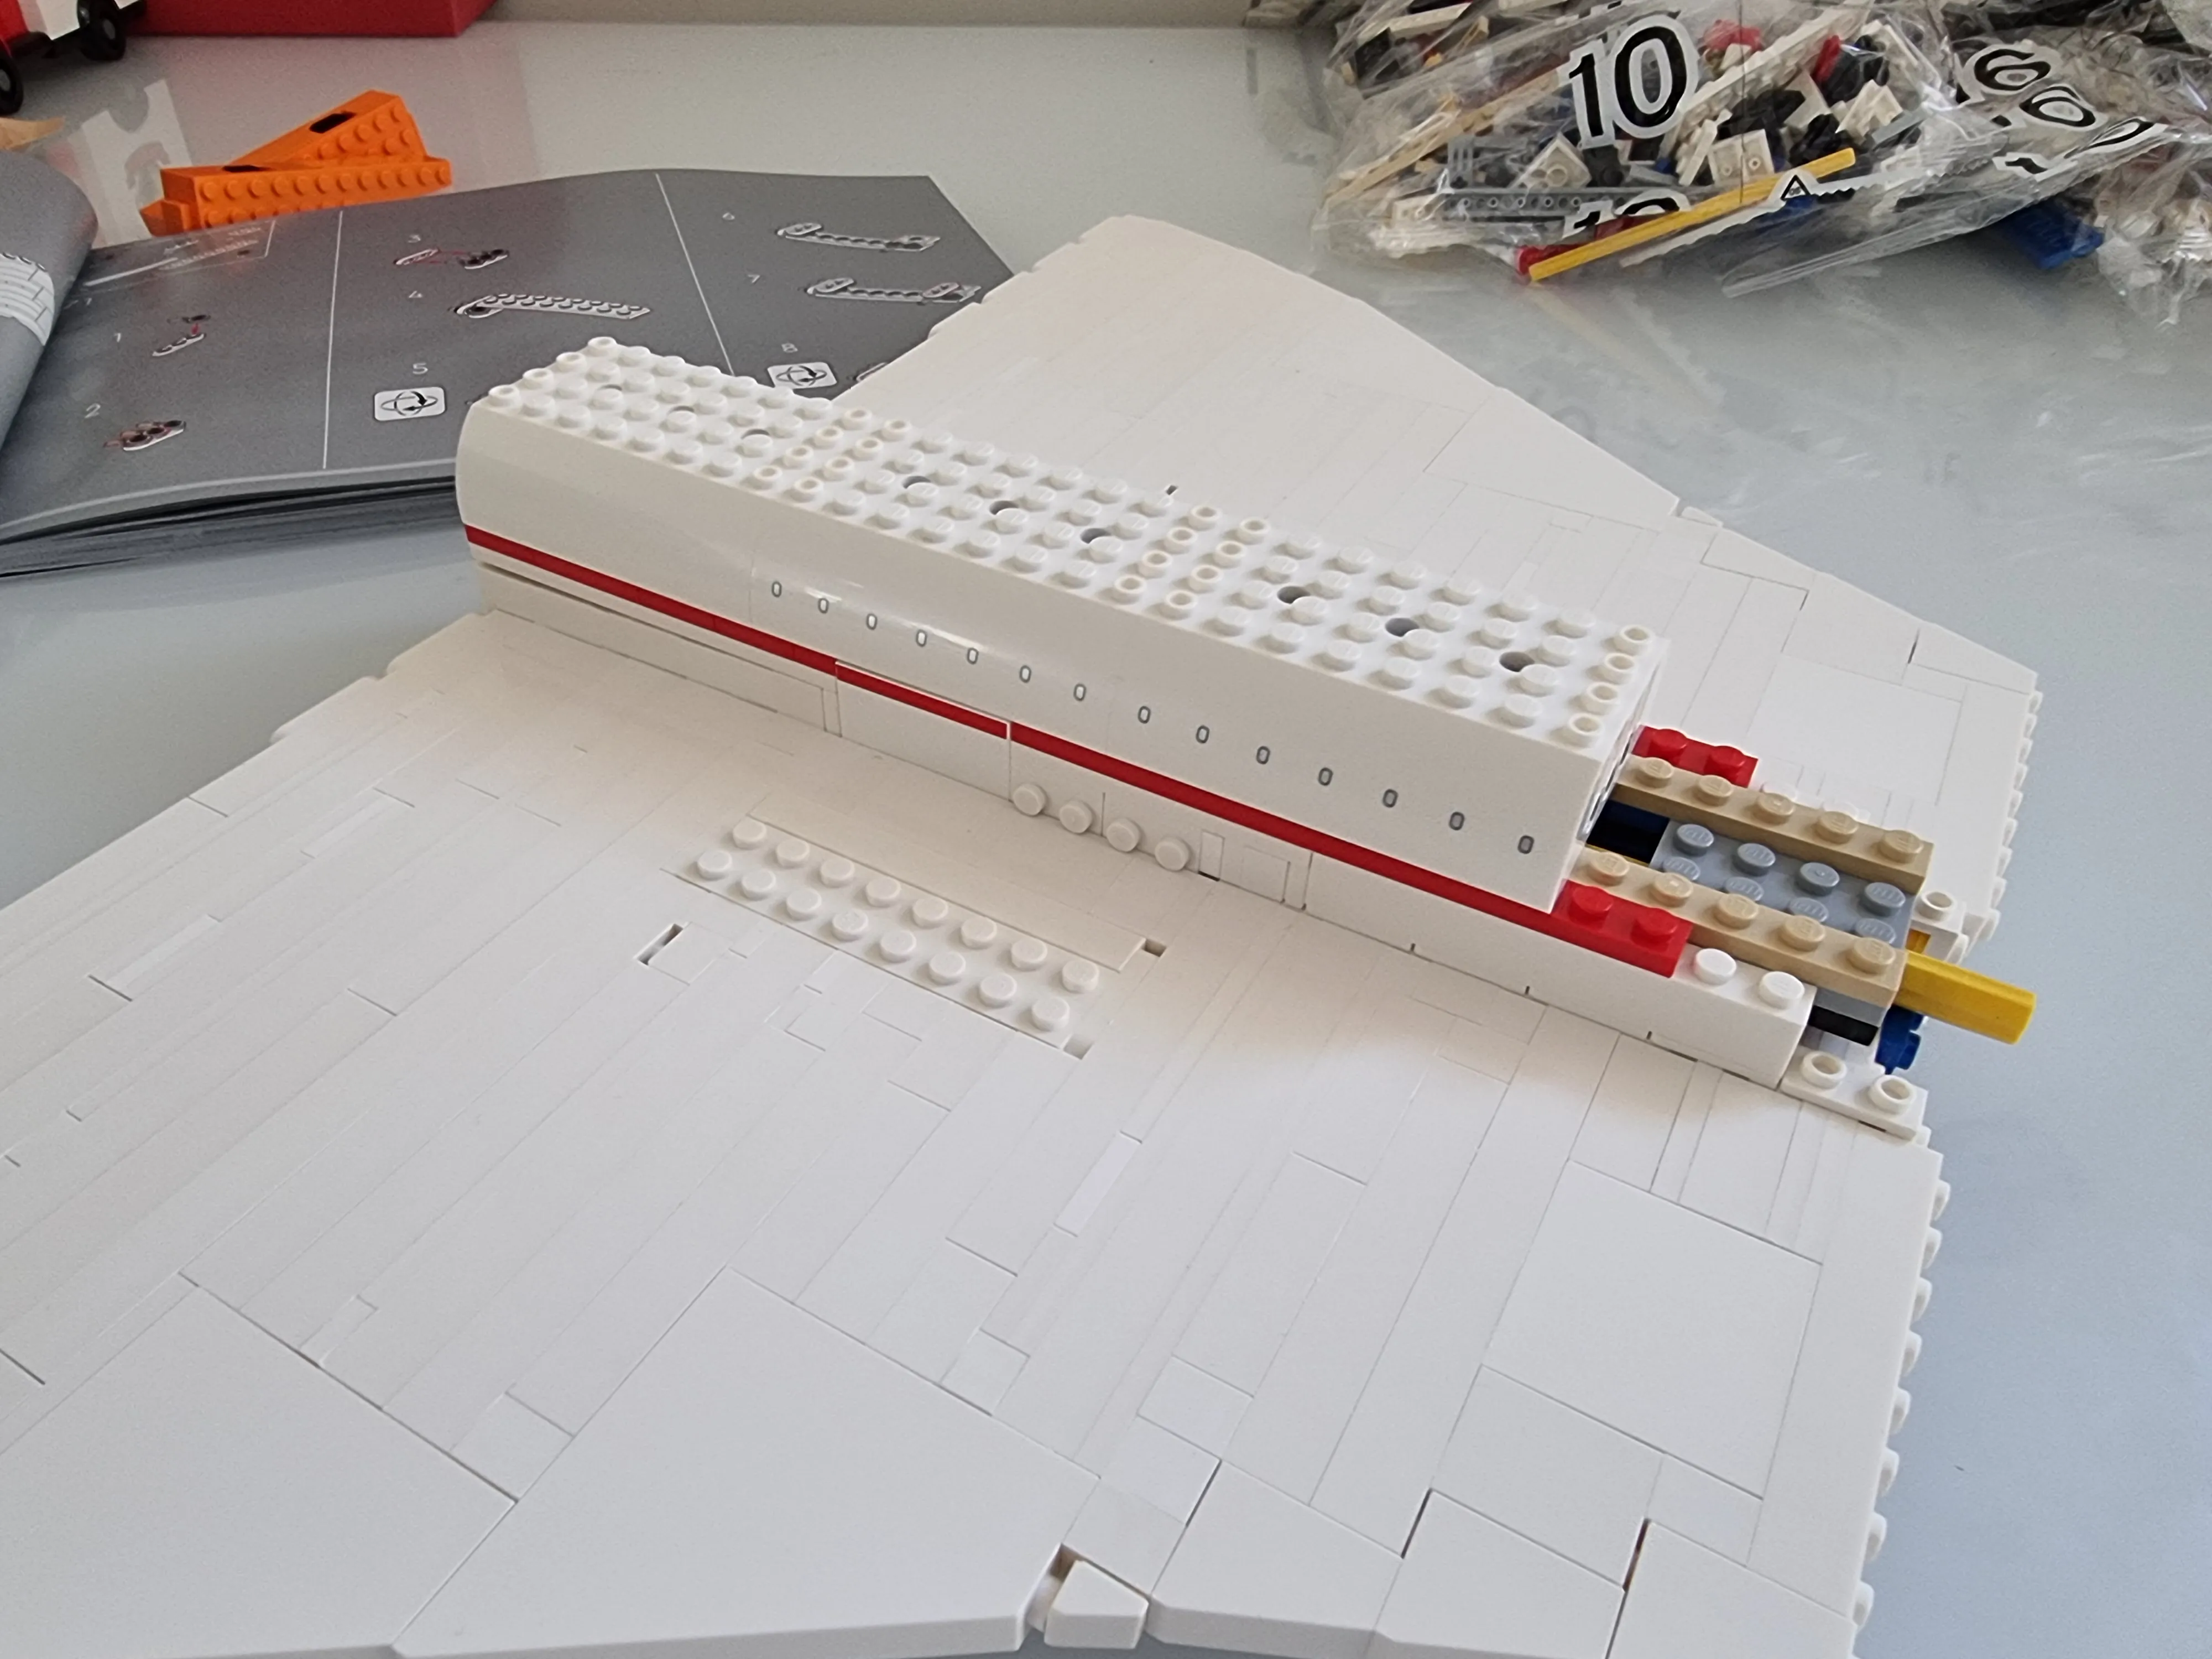
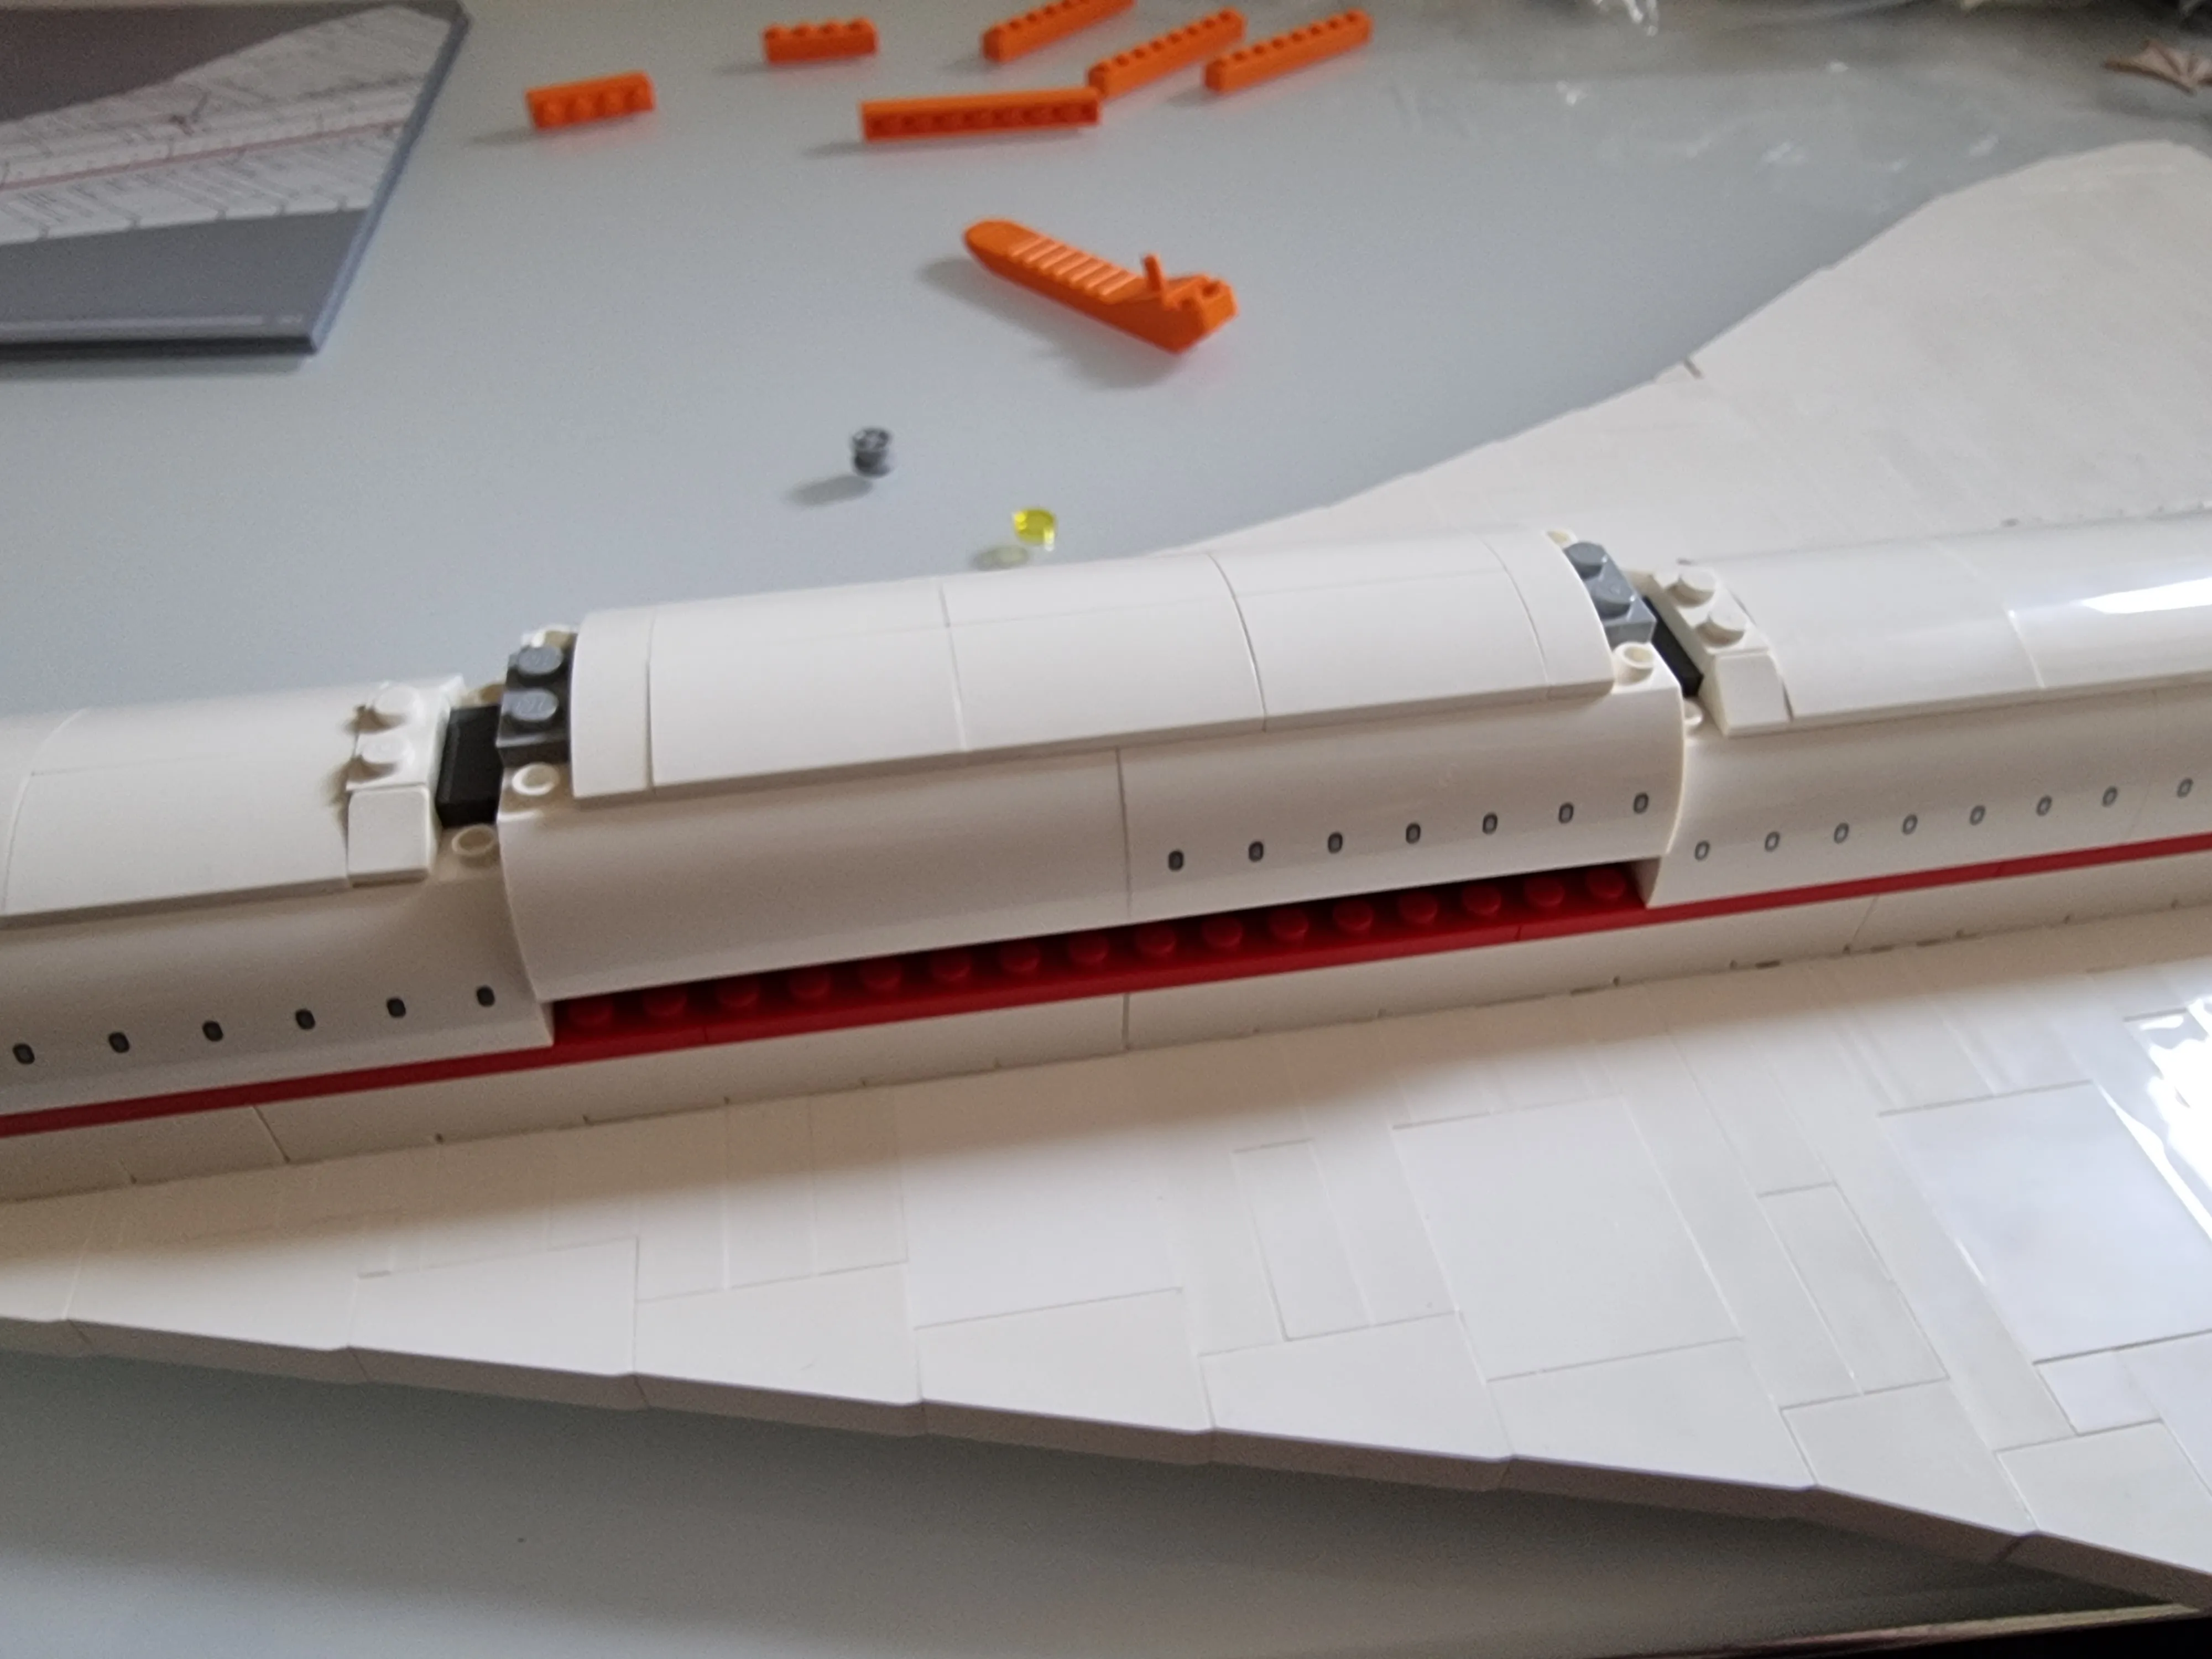
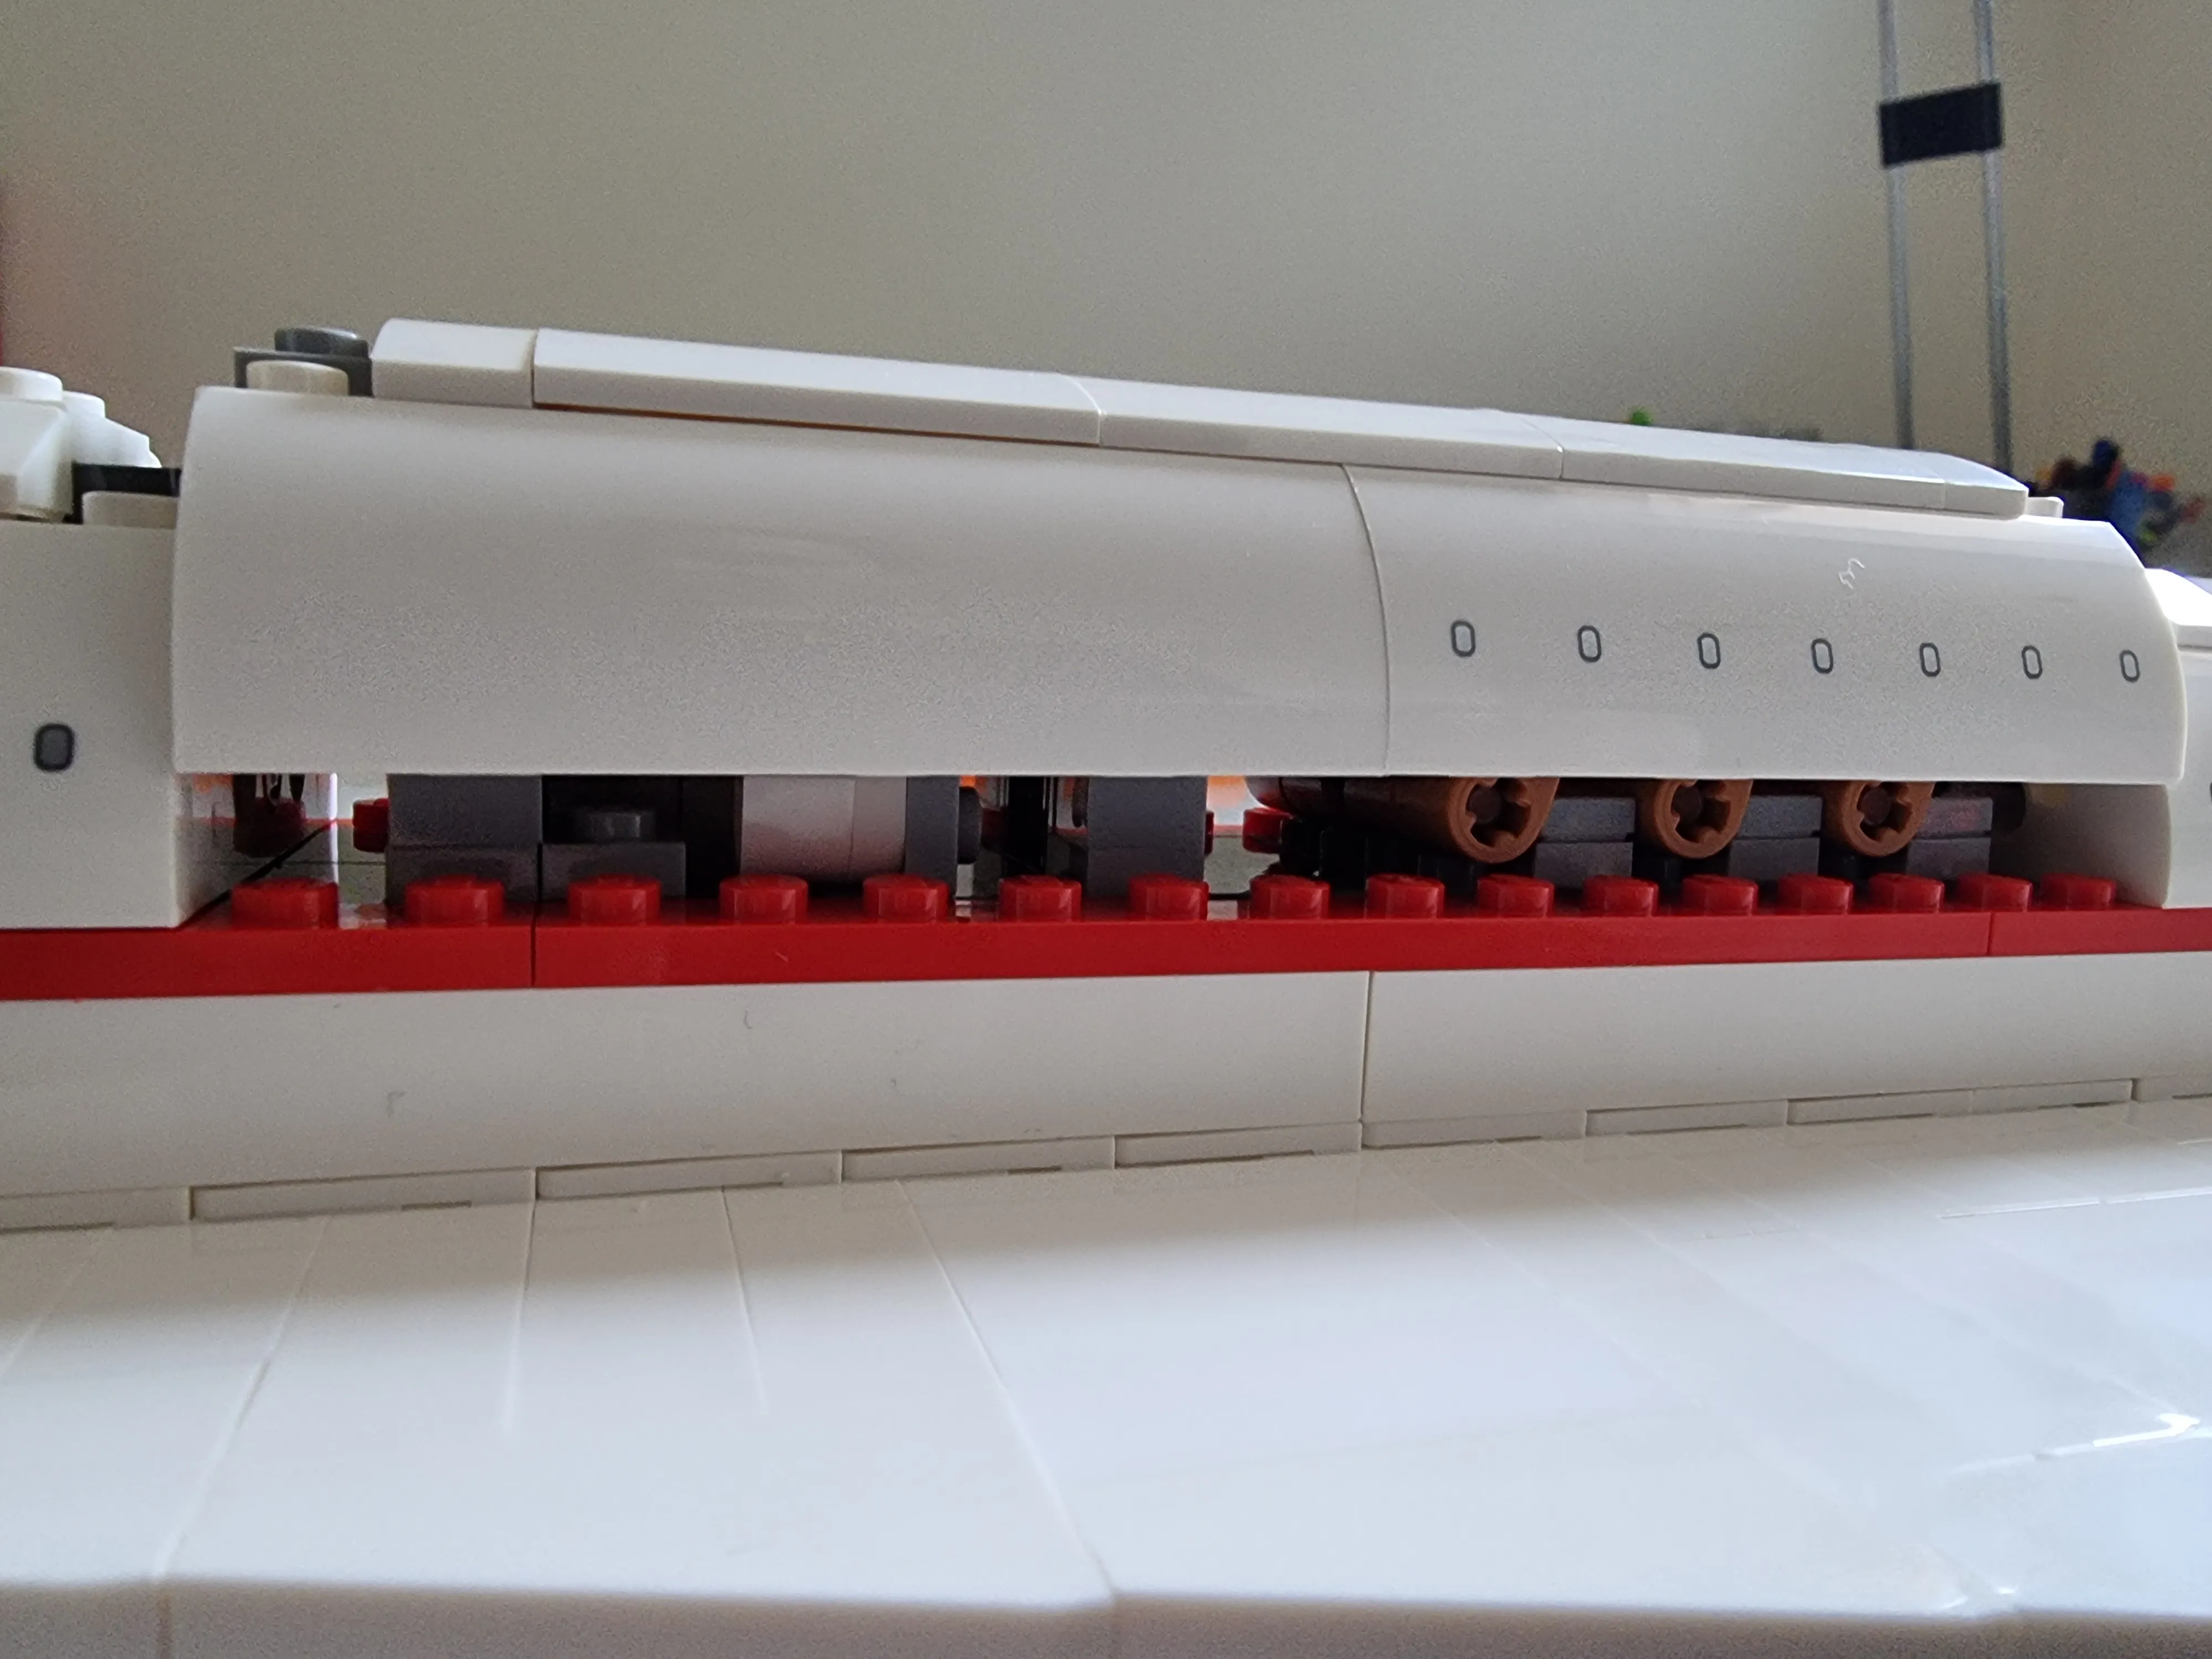
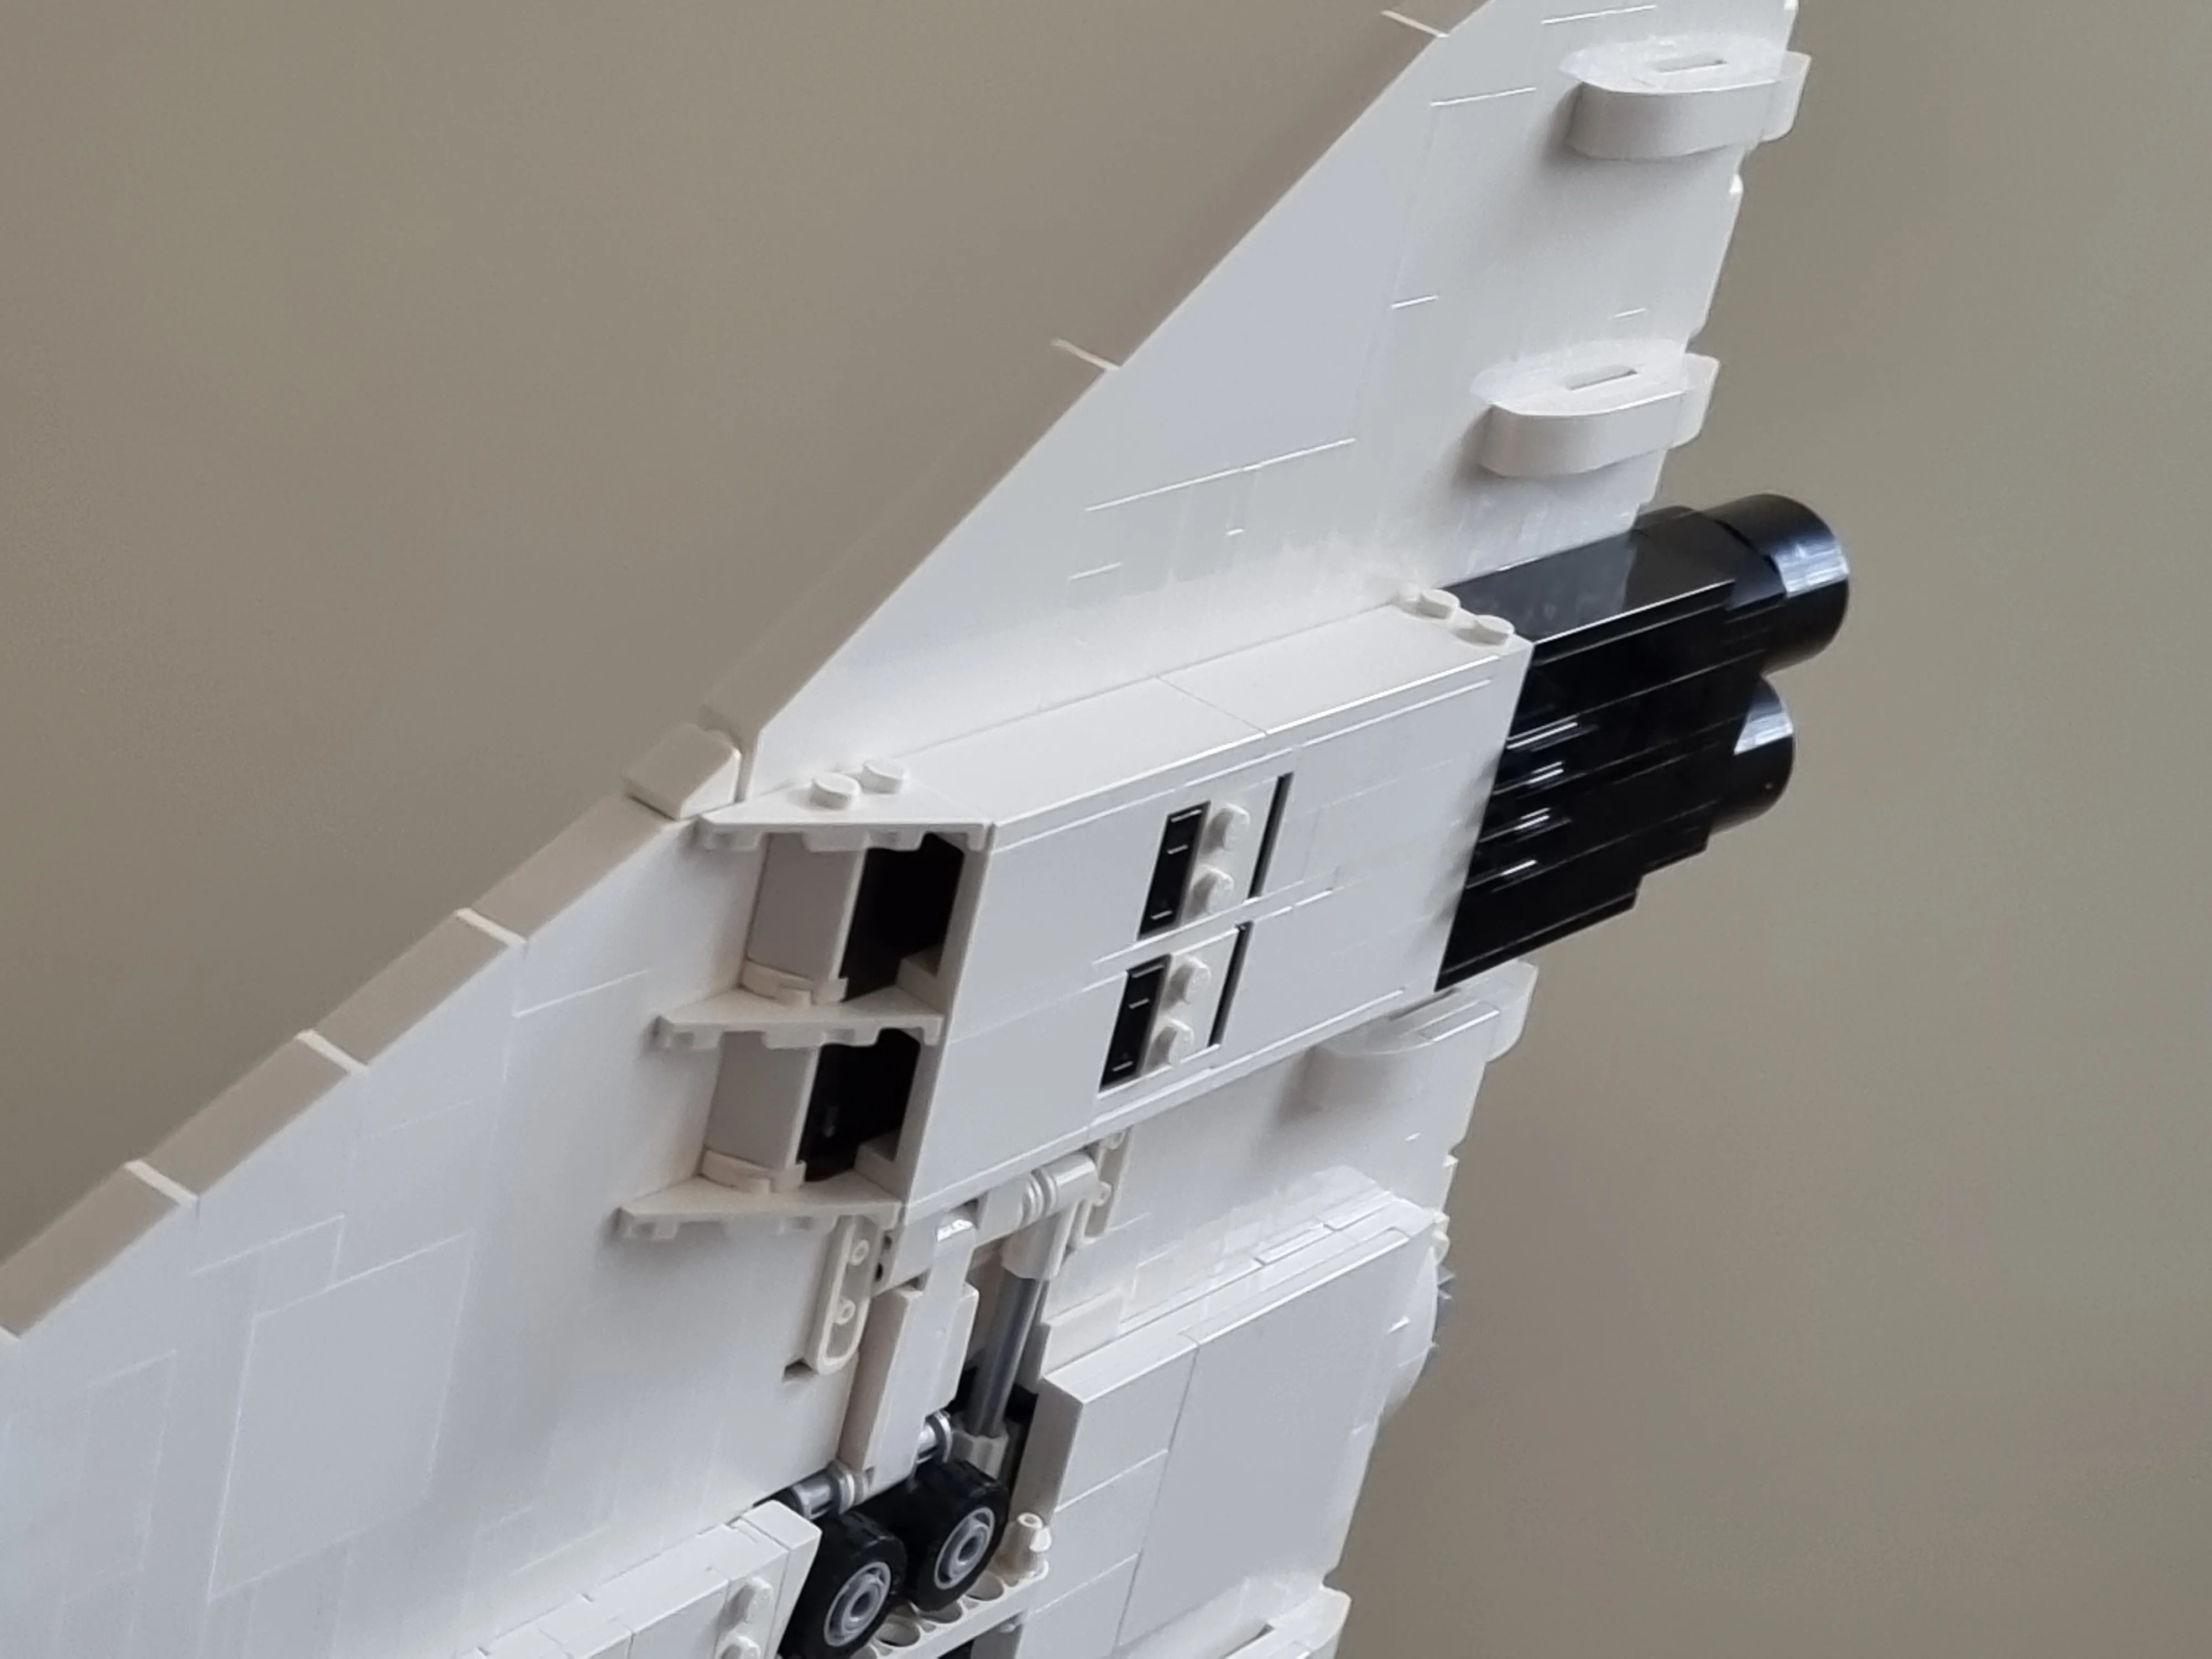
Look at these big boys. Actually doing the fuselage should be fun and make it really start to feel like a plane rather than a white slab.
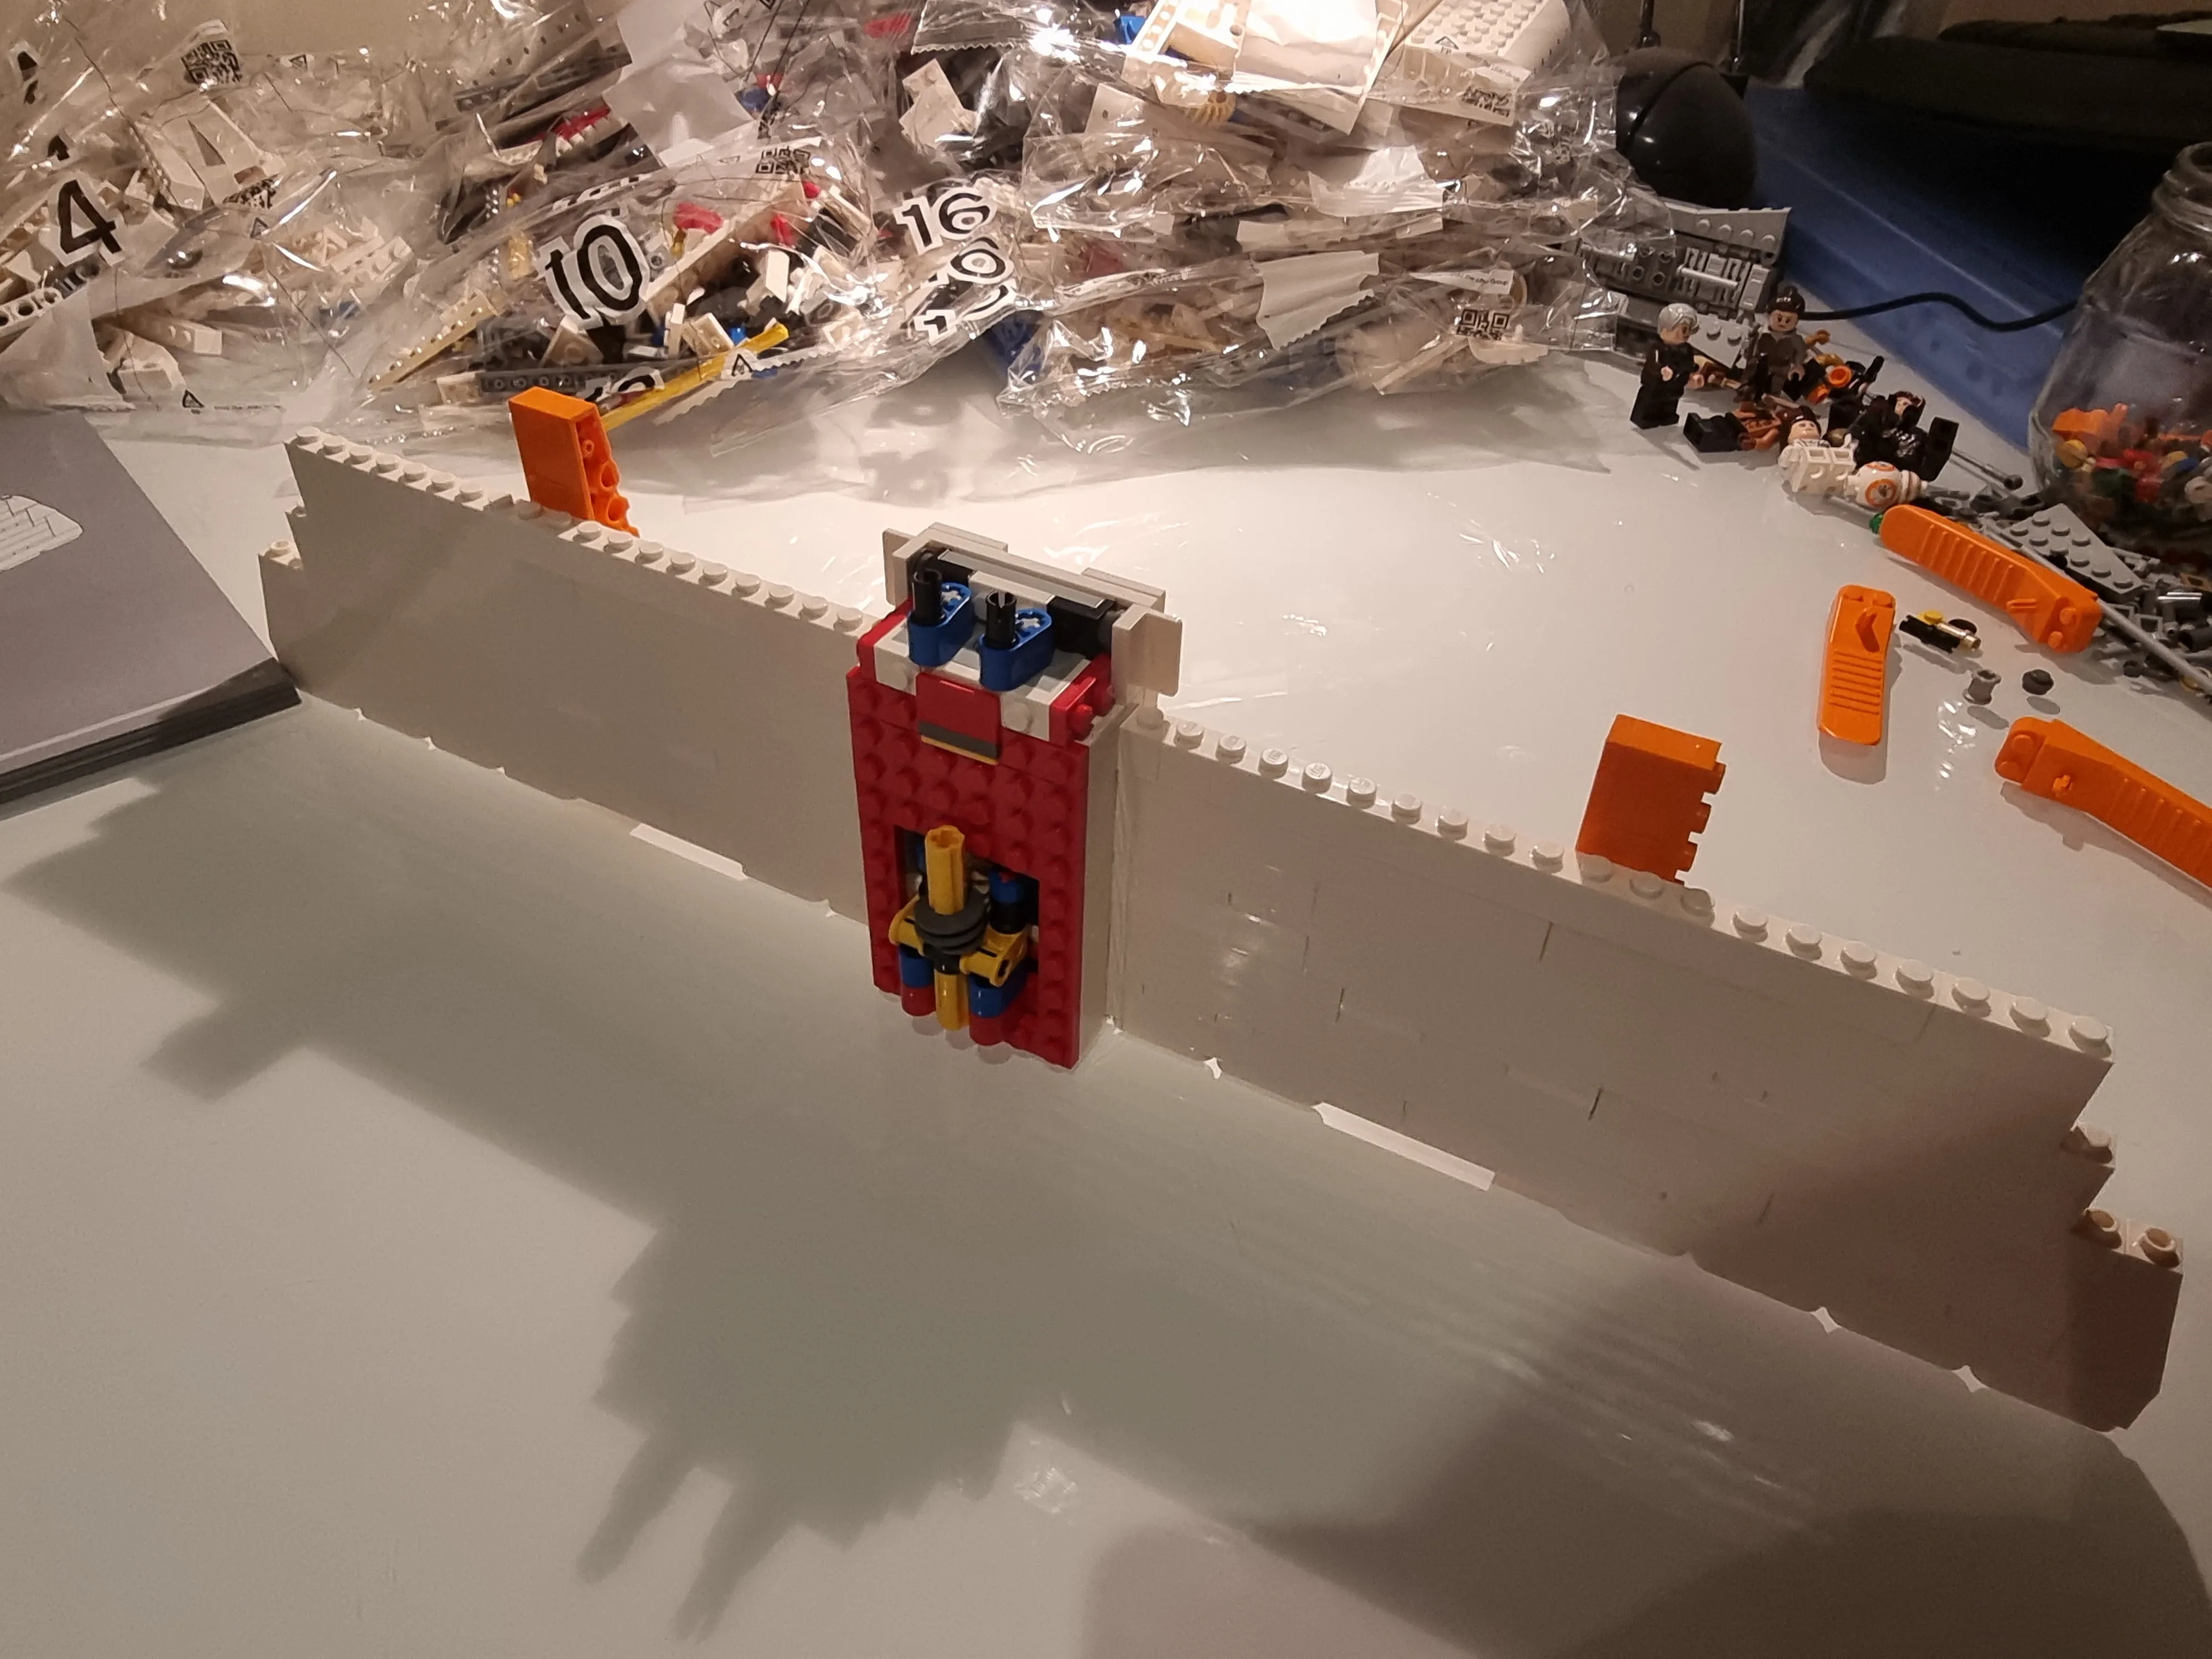
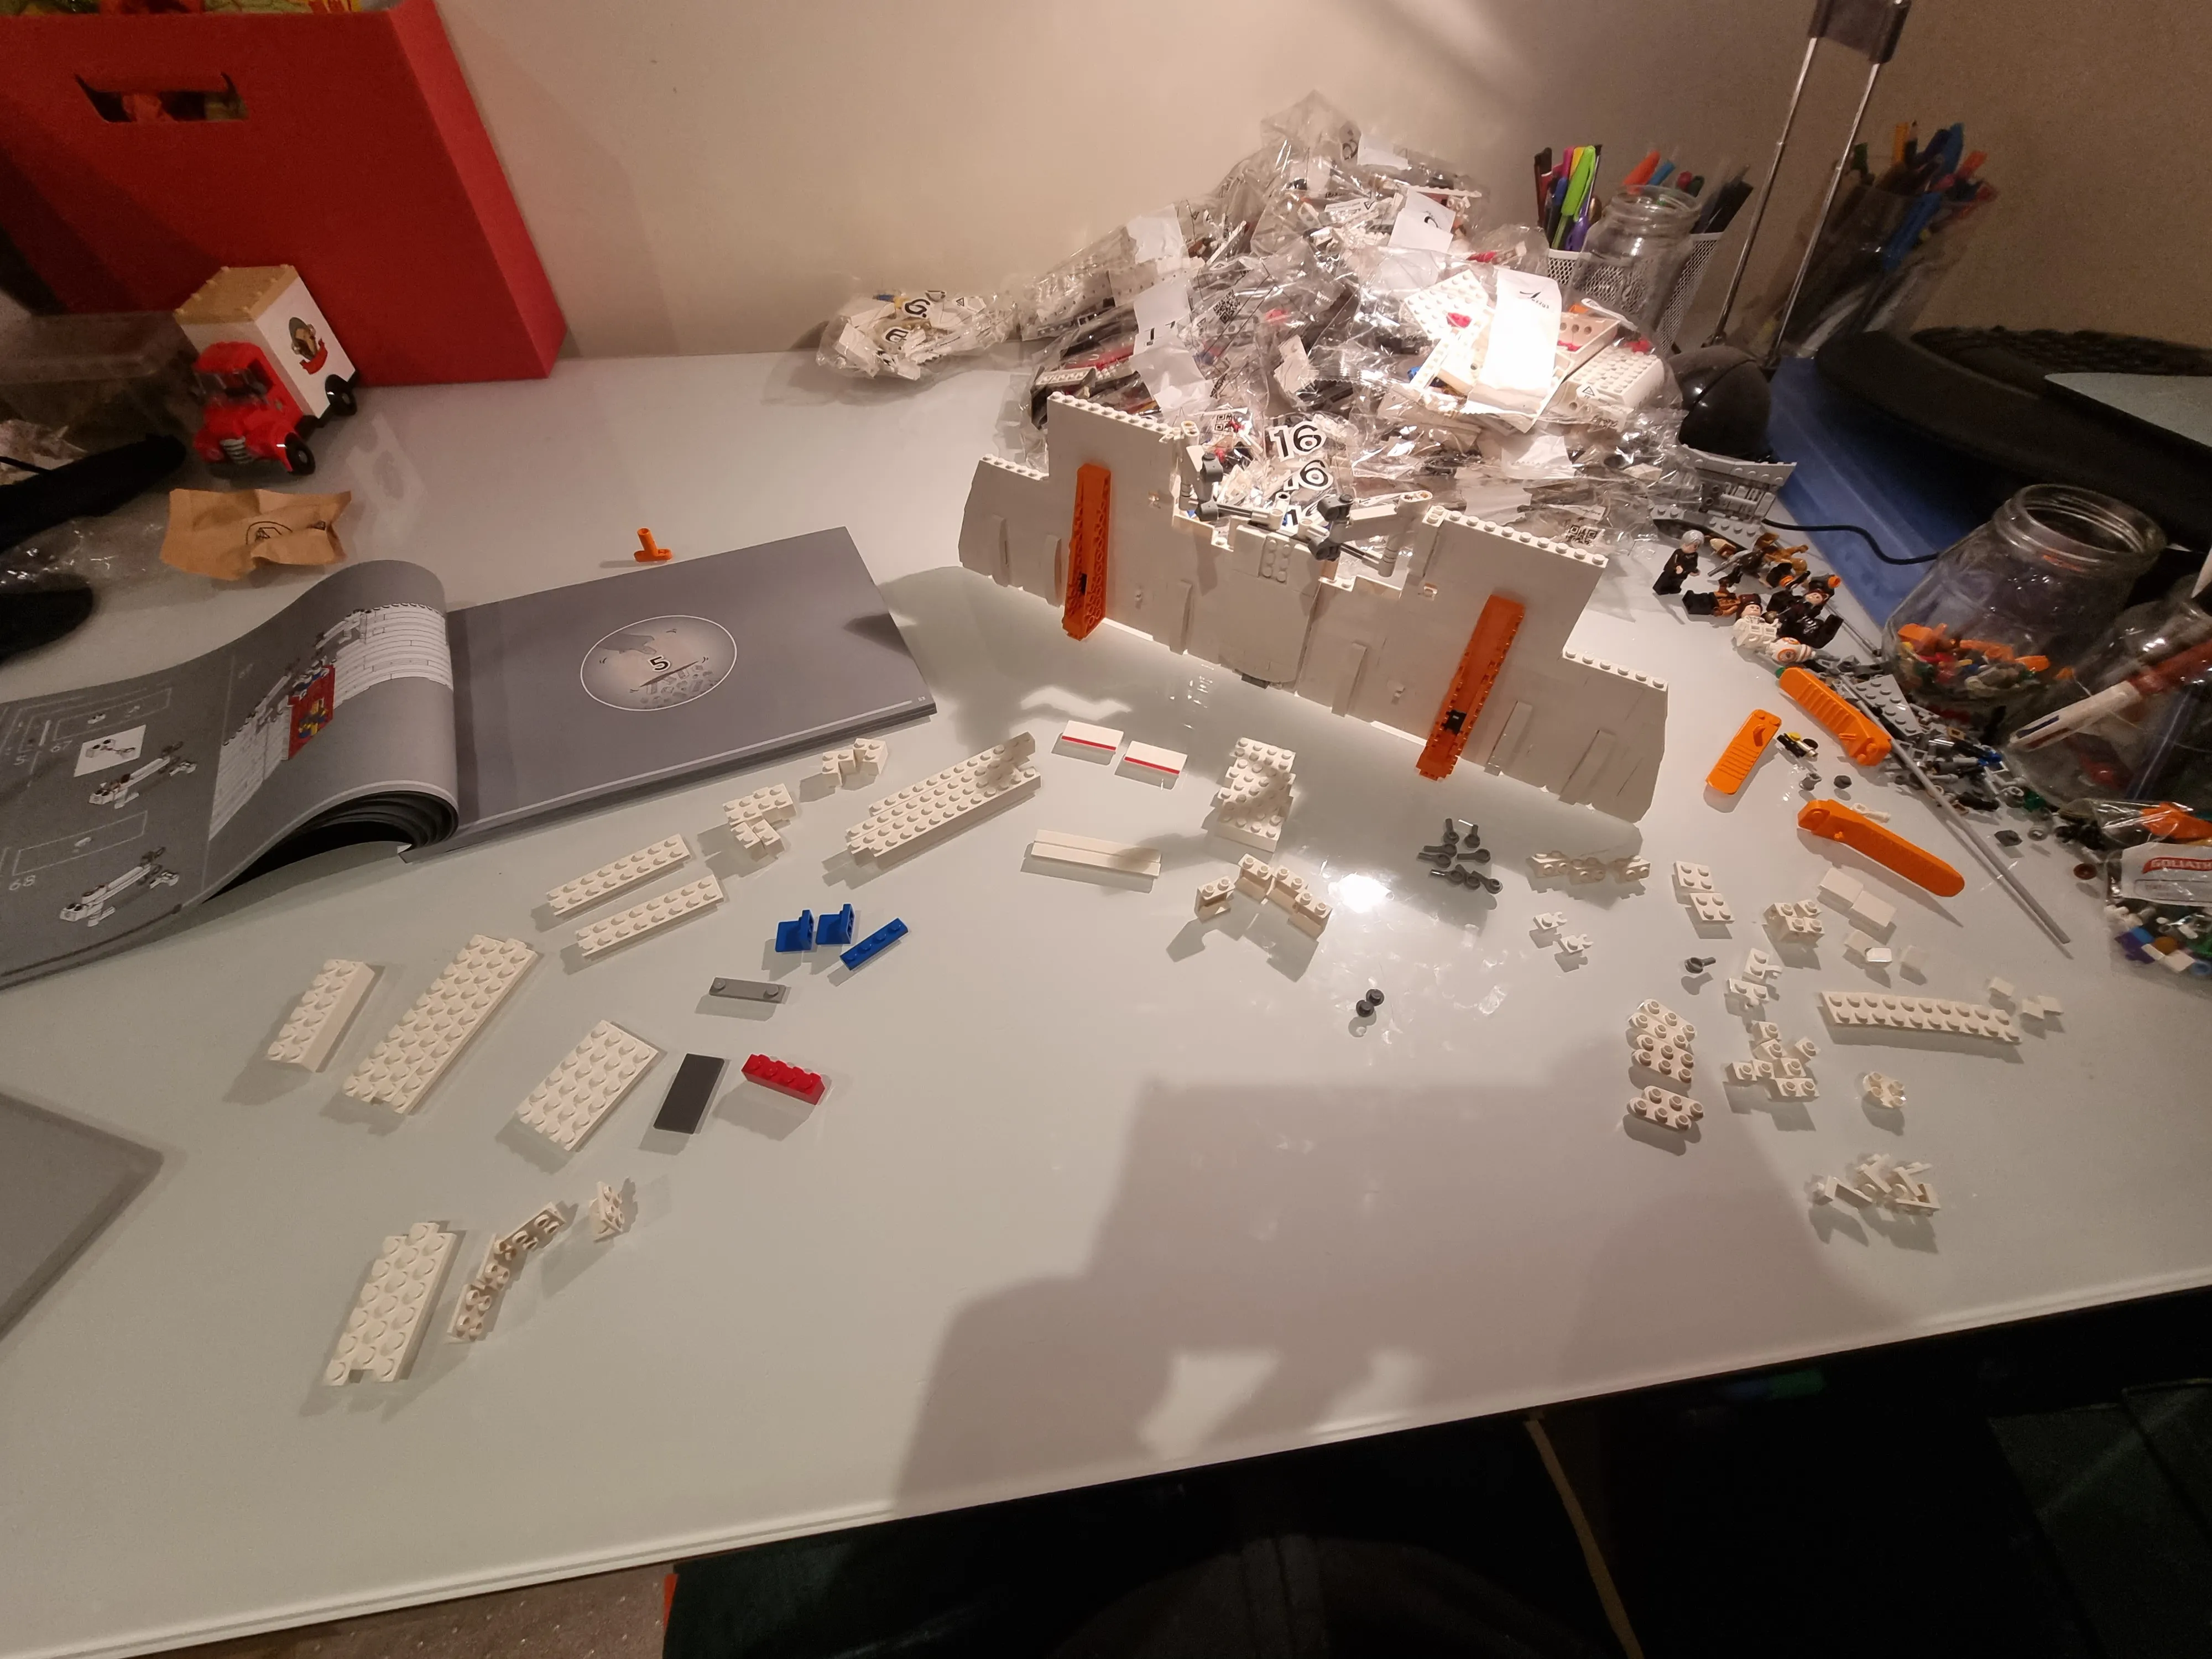
The supports are removed!! Maybe the build is stable enough from here on out?
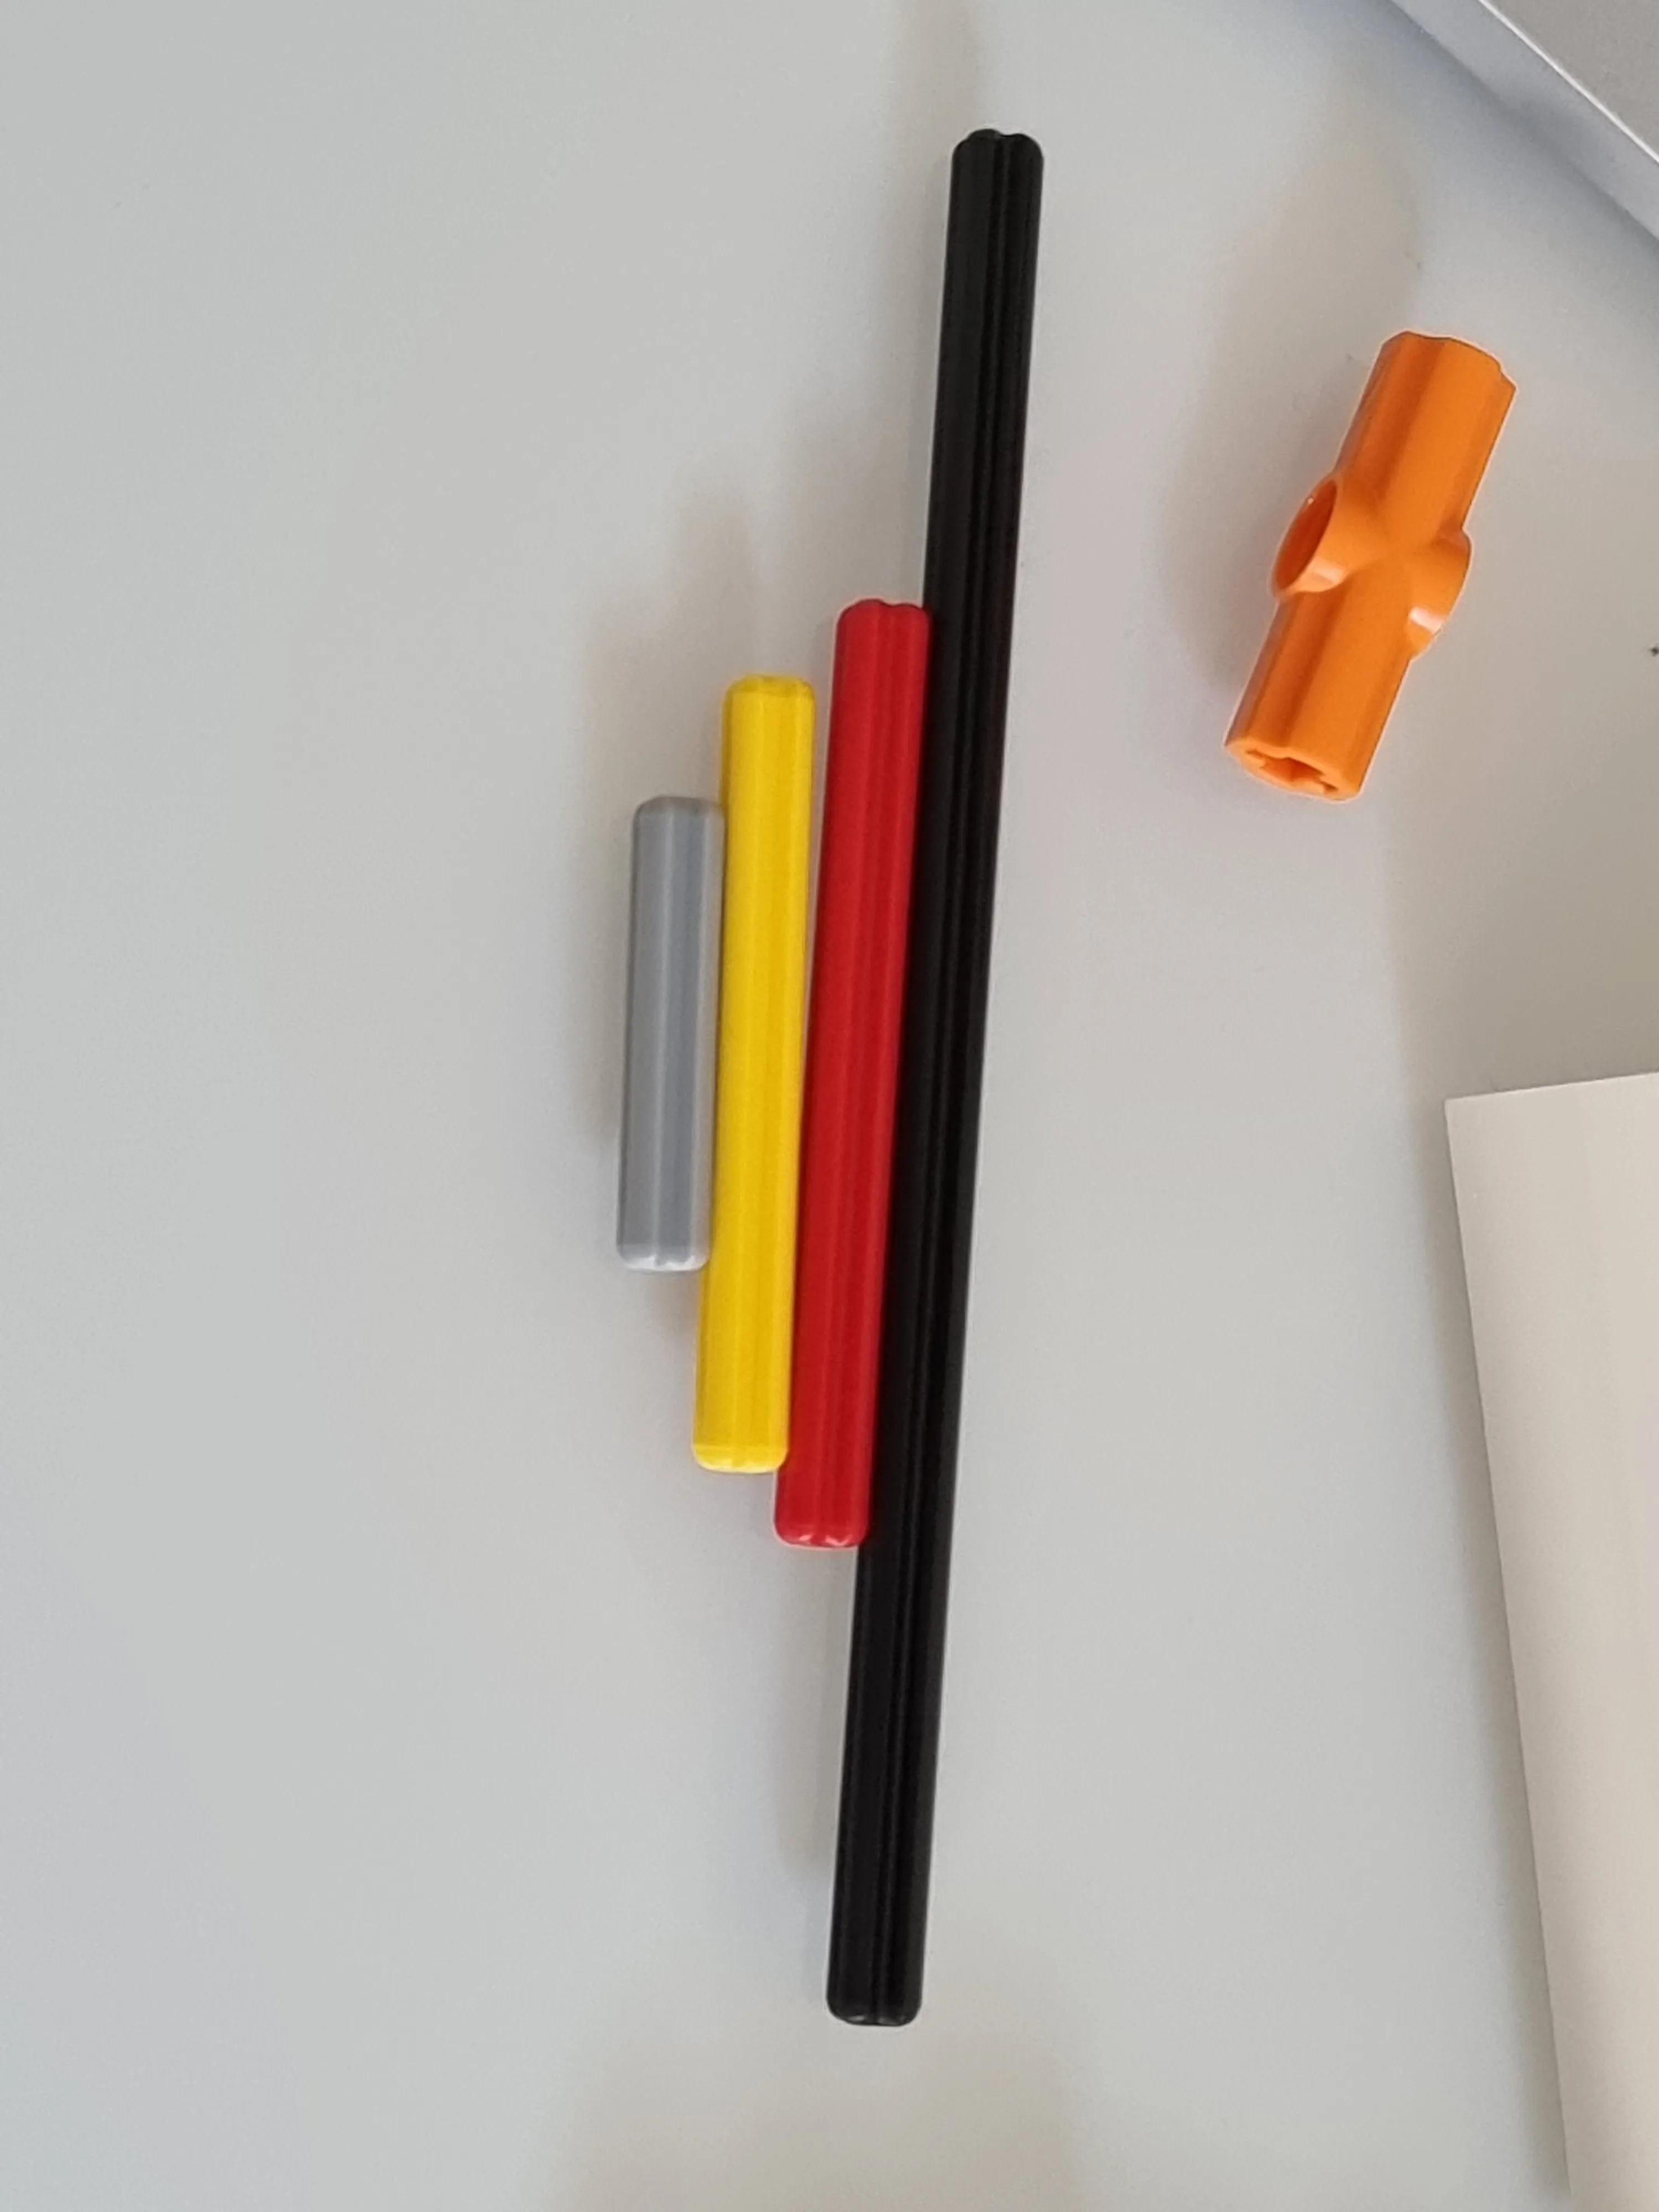
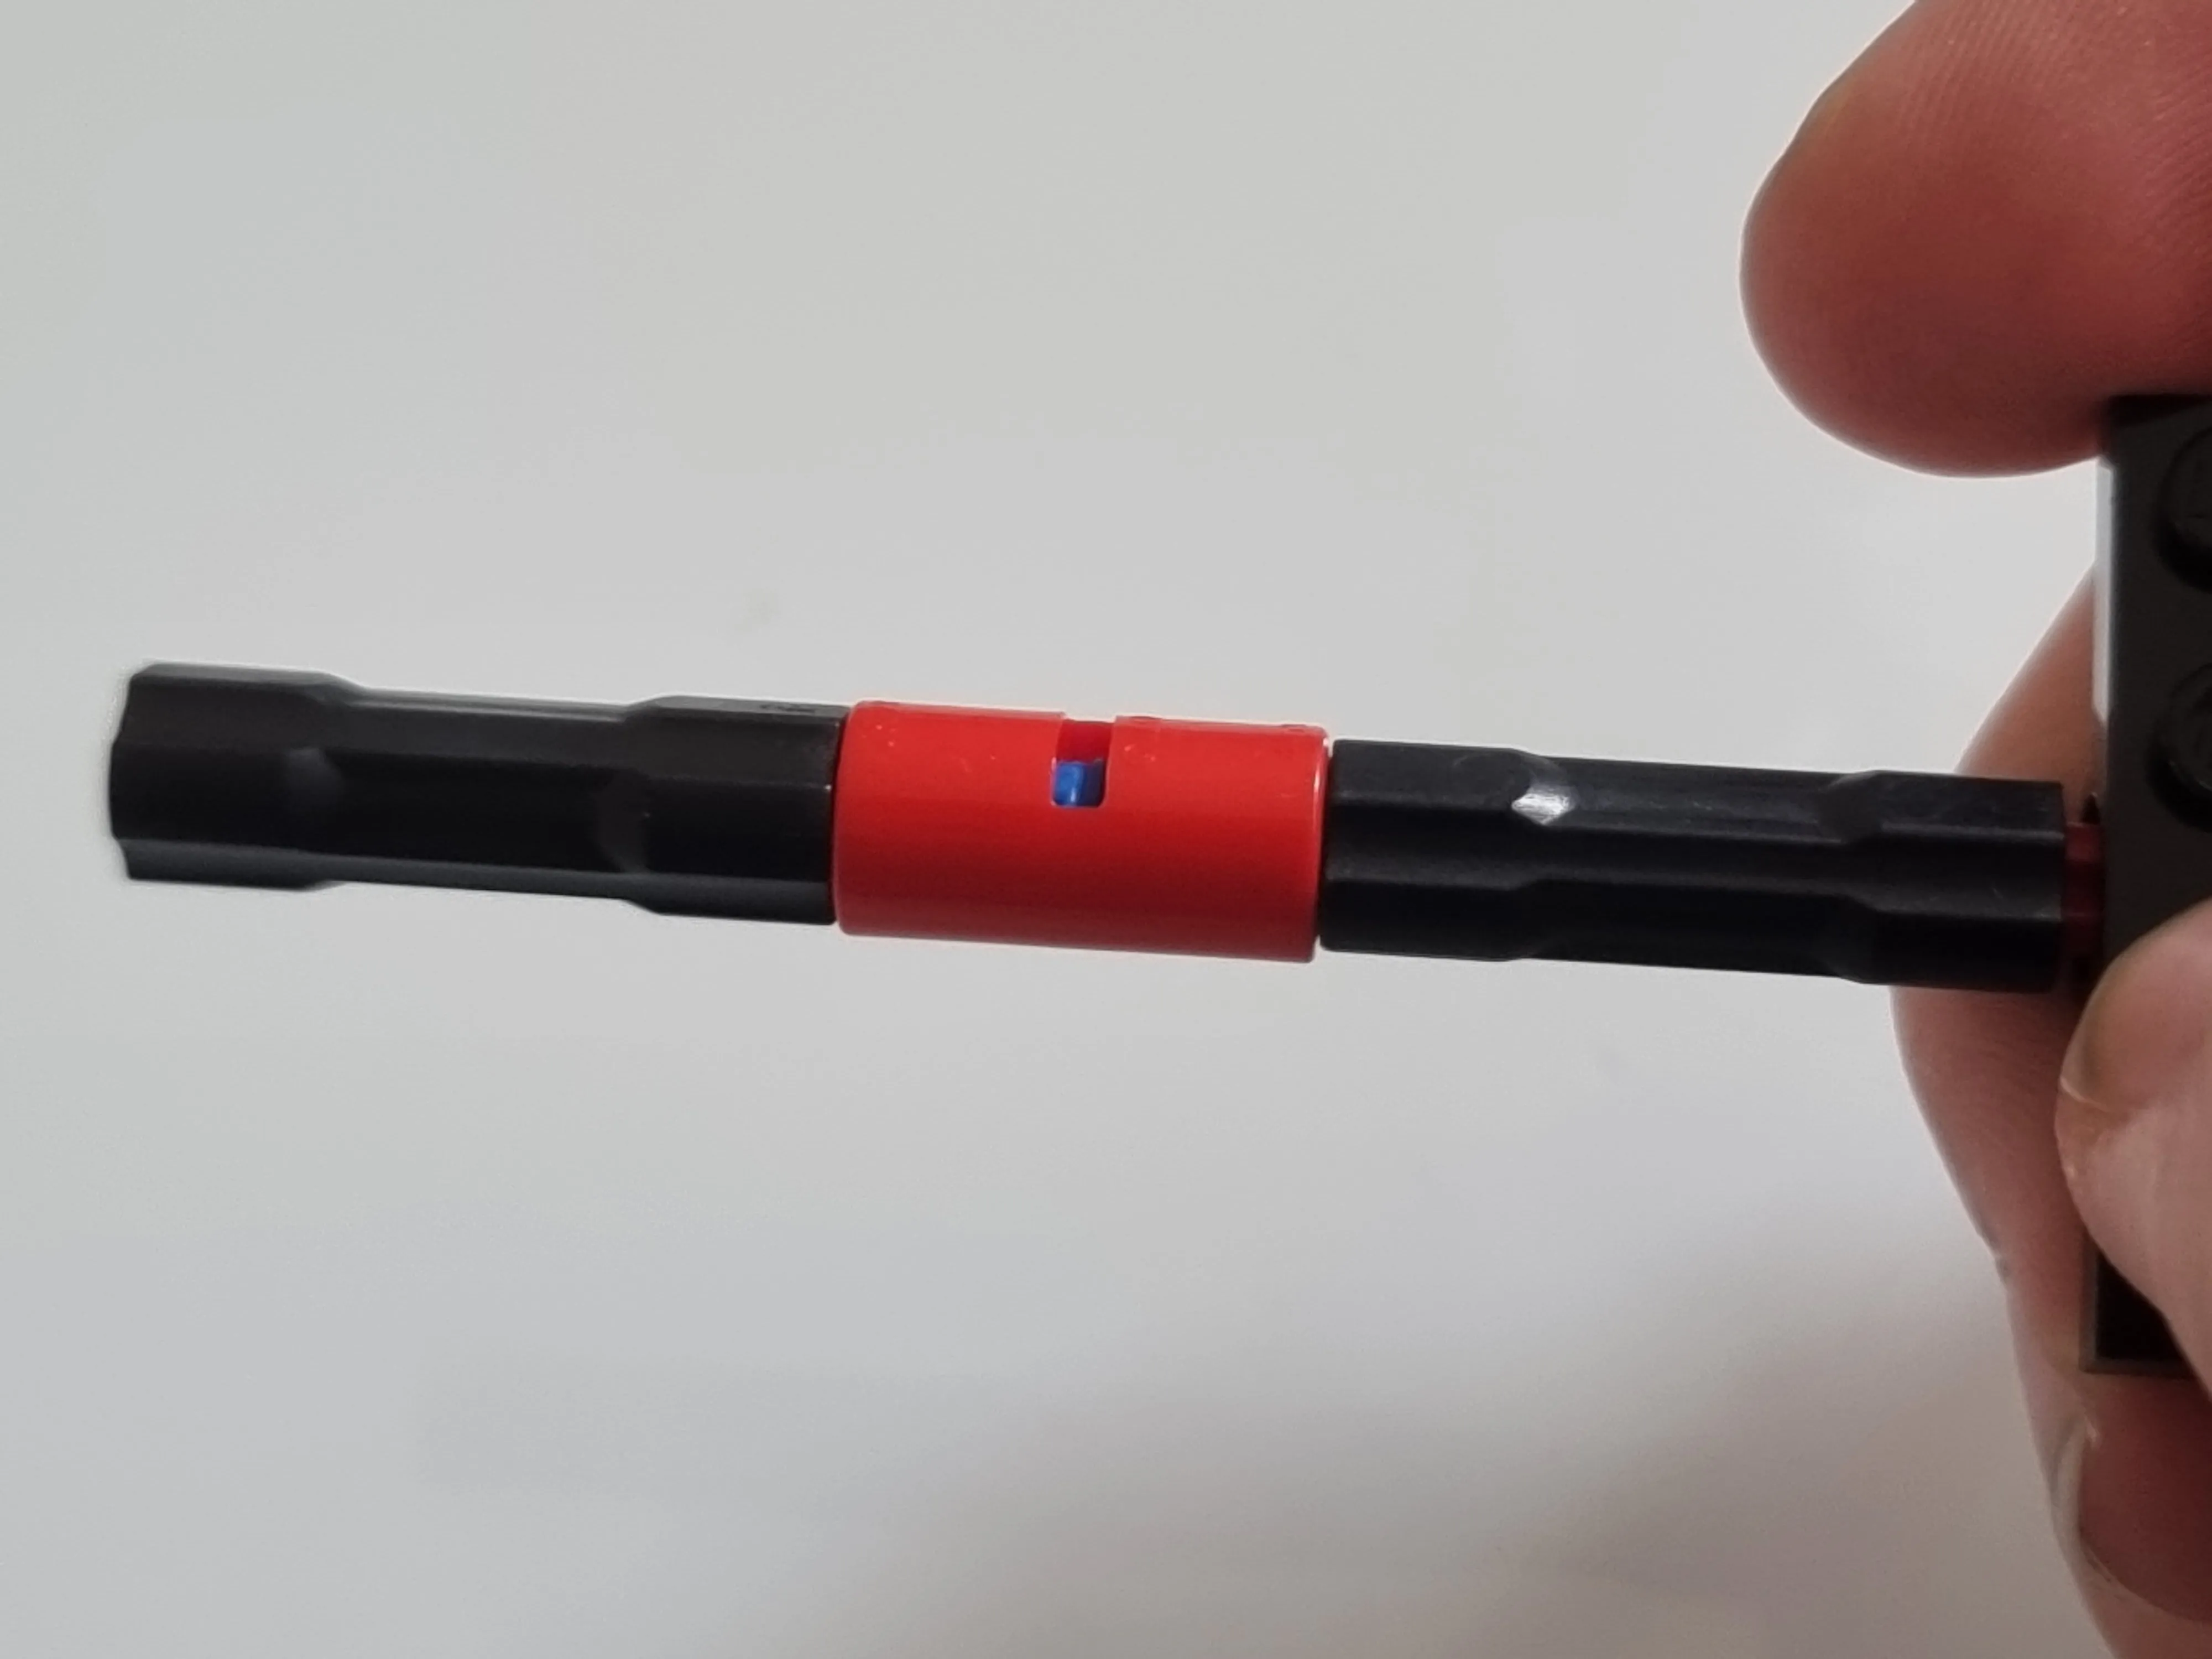
Forgot to mention about these axles and how they’re colour coded! So cute
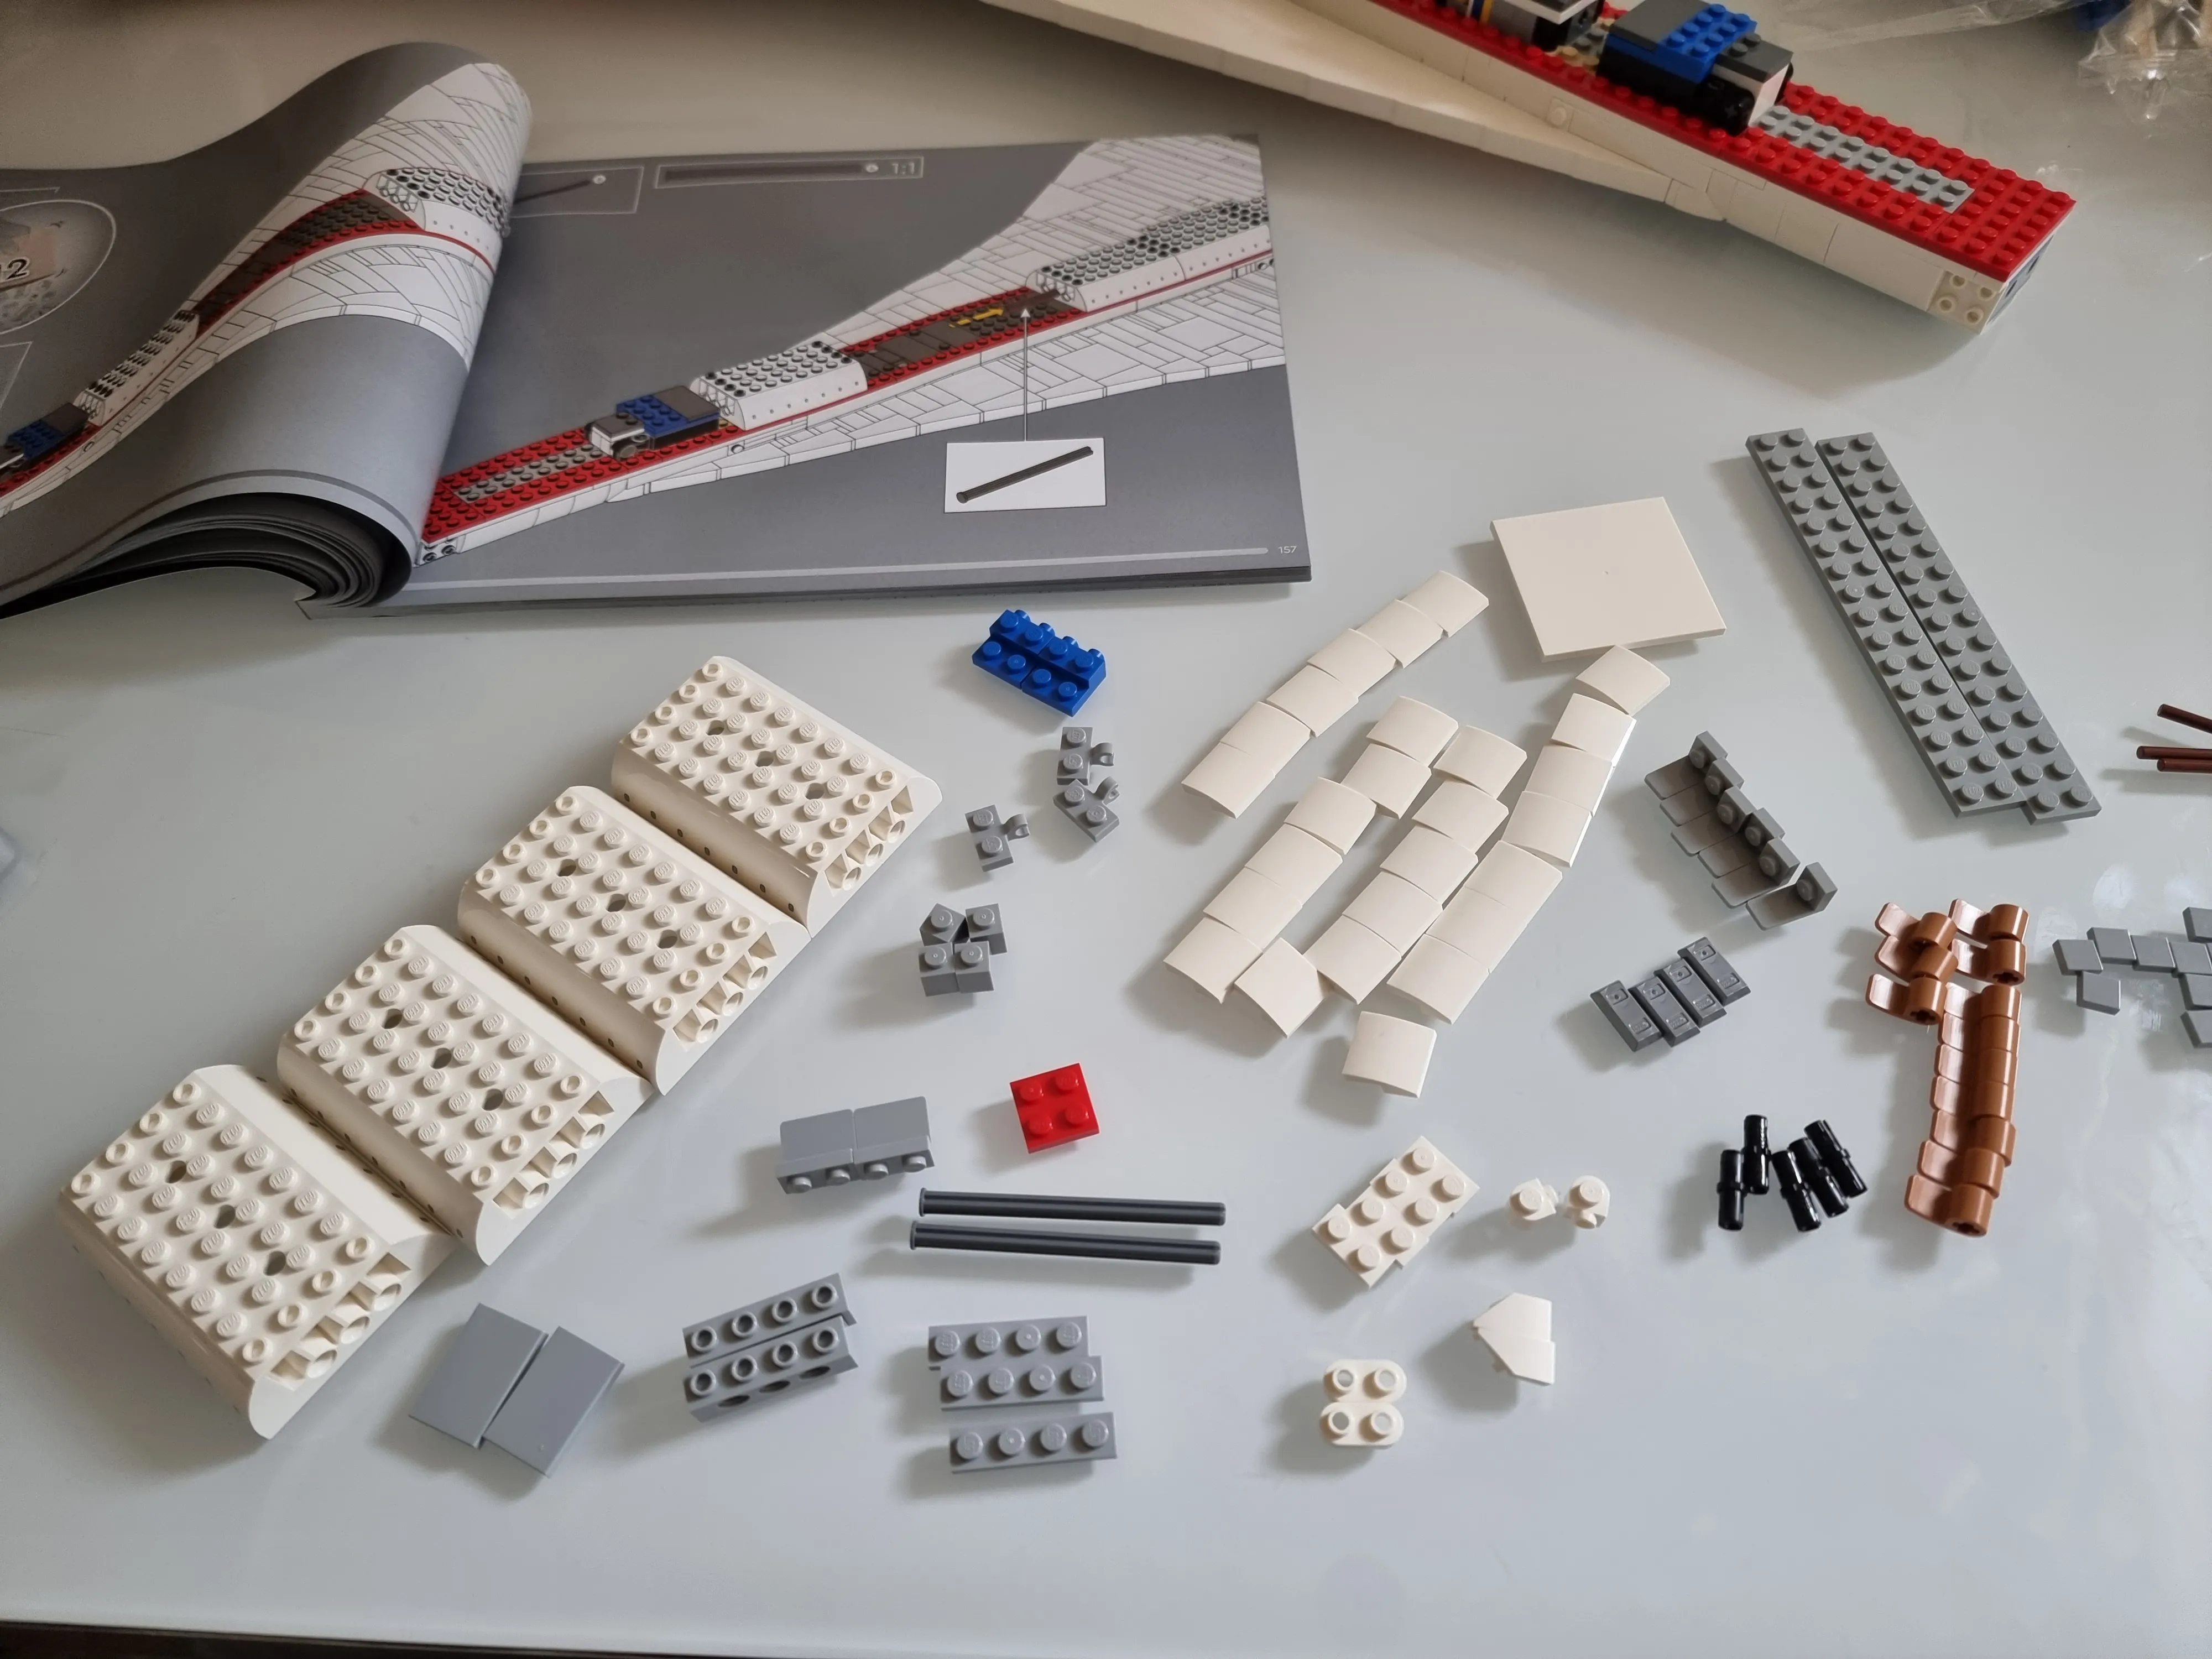
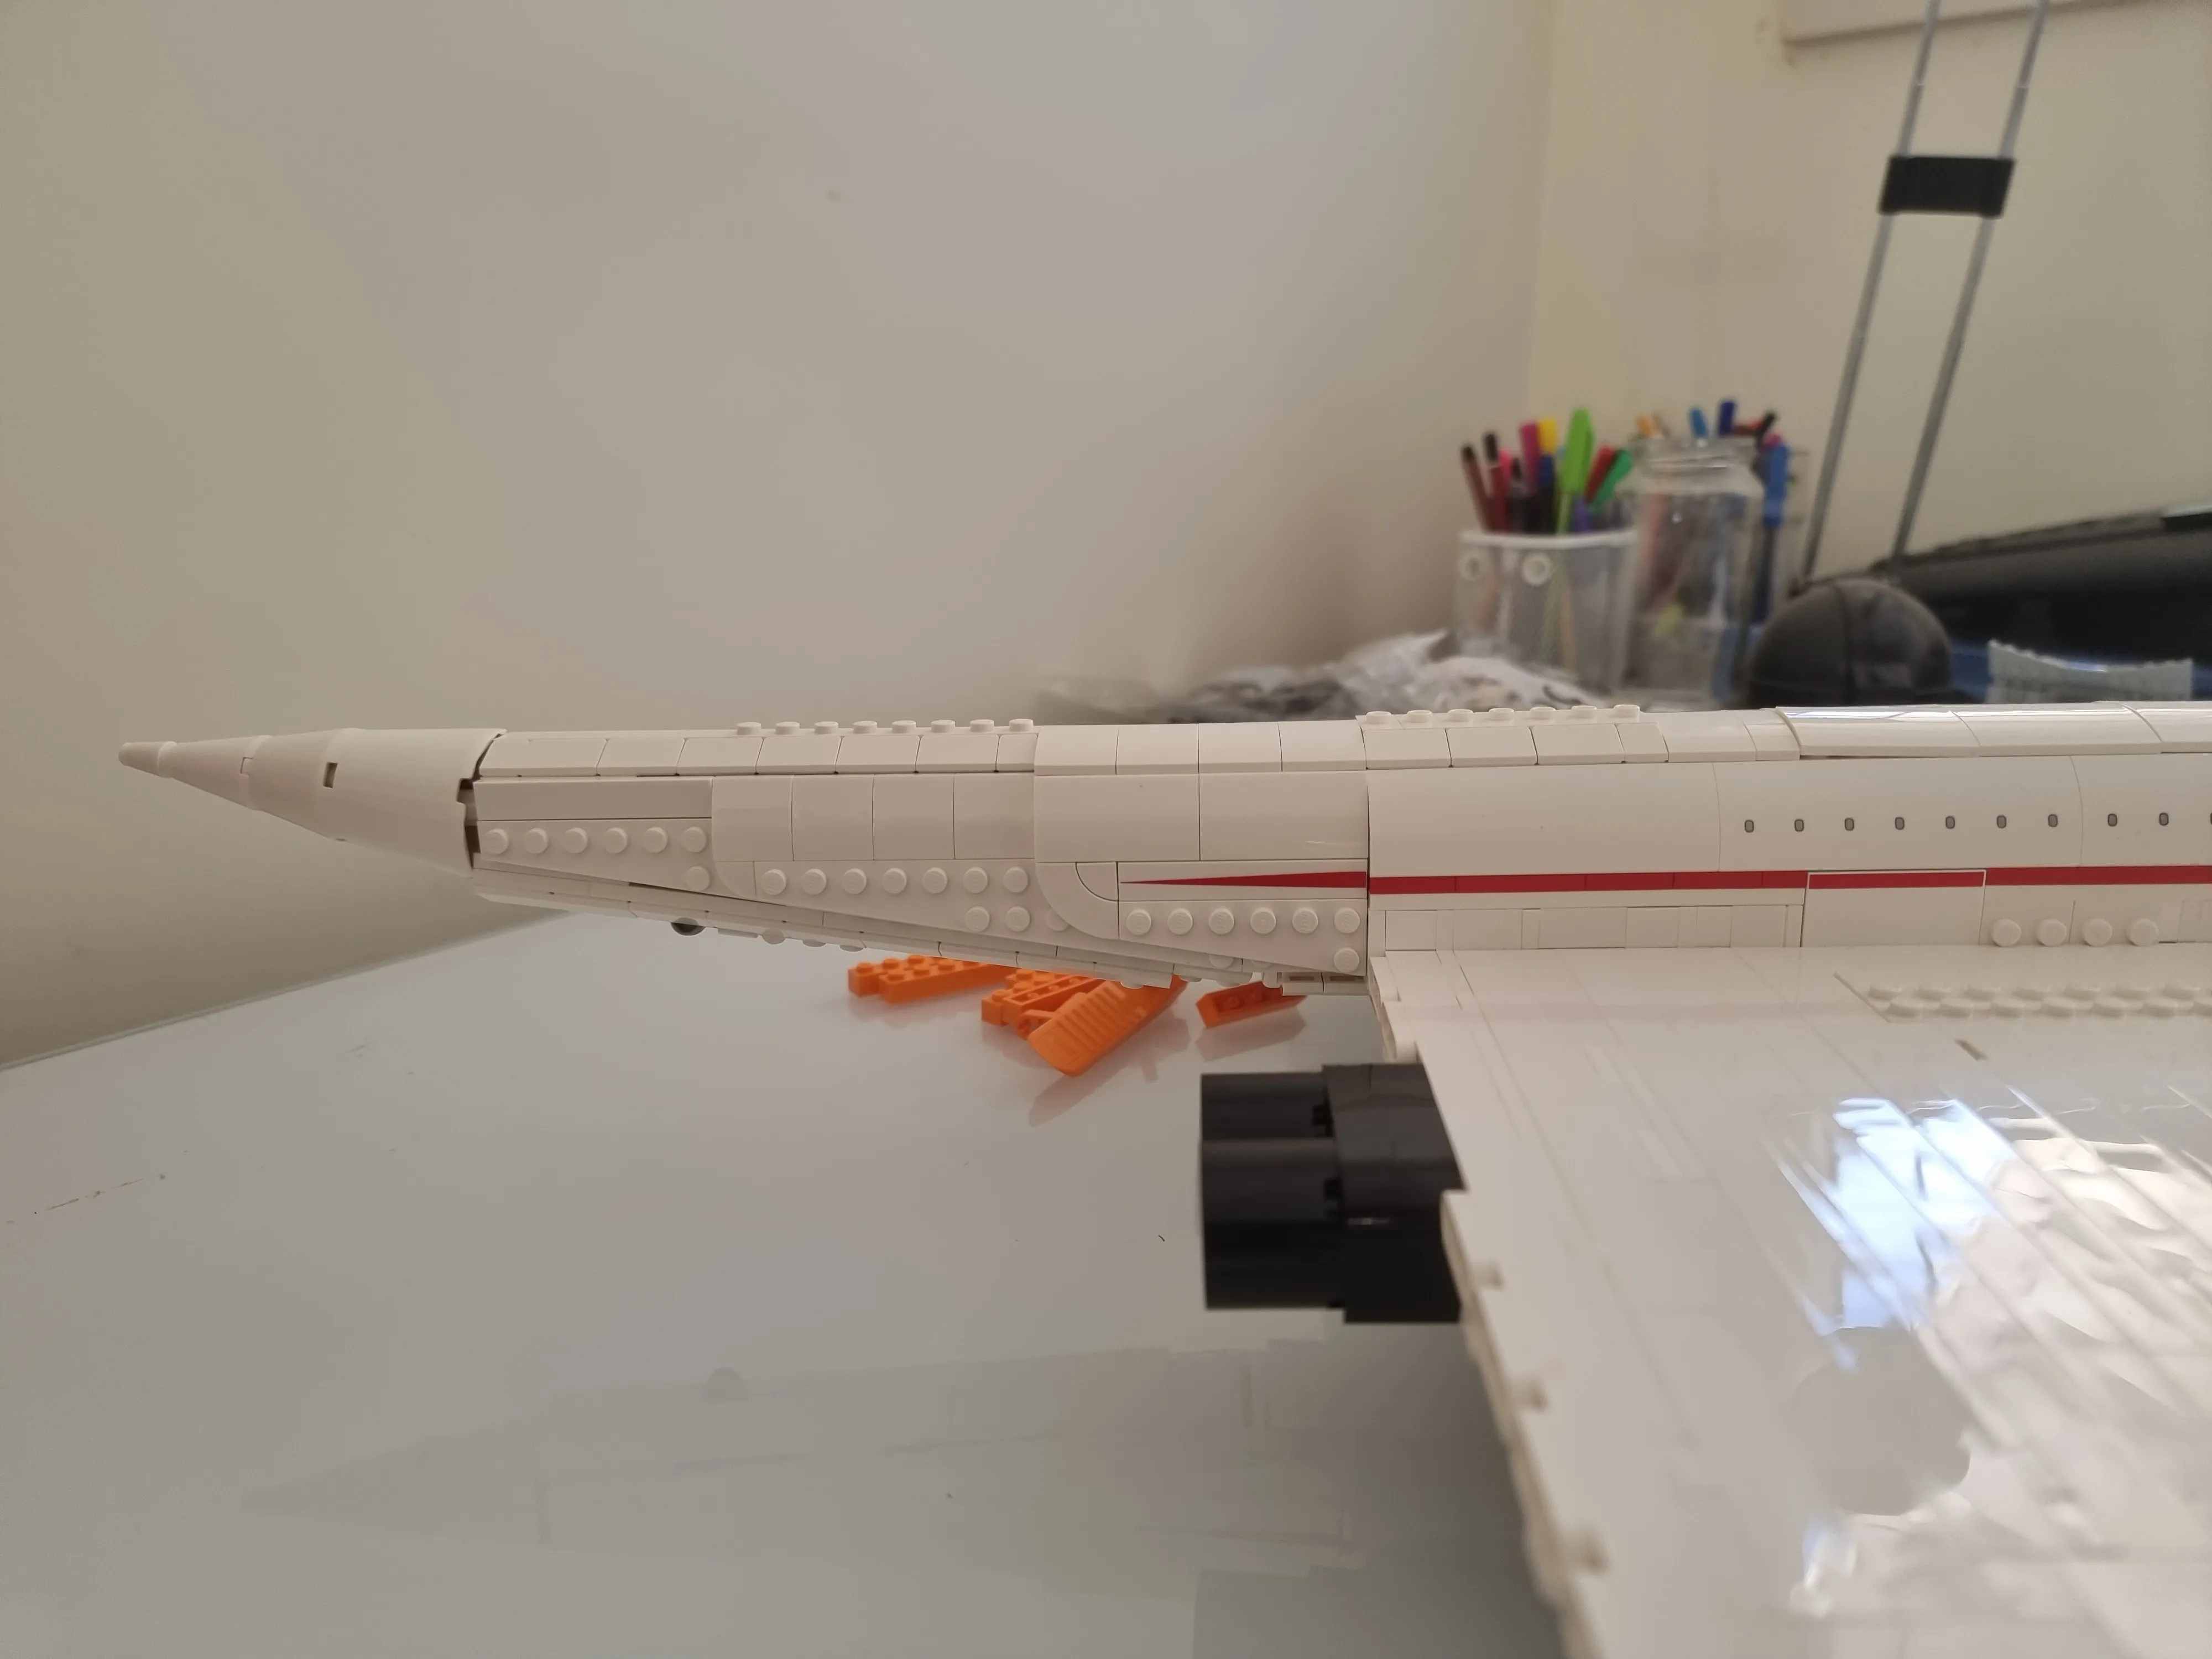
Well have I been through some fun. I finished the bag an noticed I had some small white “pins” (White Bar 2L with Stop Ring). I flicked back a few pages and found I forgot to add them to some round 1x1 bricks to secure them better. Too easy I thought. How wrong I was. The thing is the last step involves pushing in an axle to engage it with the landing gear system. That also completely locks the fuselage in place. Pulling apart the aircraft was a disaster and took a 3 second job into a 10 minute one. I only got one photo of the carnage but oh boy it was not fun to just place two small pins.
Third Day: 29-11-23
Really wish I could spend more time. But I get home from work at 5:30, decompress a bit and suddenly it’s dinner and then it’s 9pm and I only have 1 hour to work on it. When the weekend comes I’m sure I’ll get this done.
Bag 8
Stand chads we are so back.
I’m loving these little stands to support the build rather than doing things sideways or compromising the rest of the build.
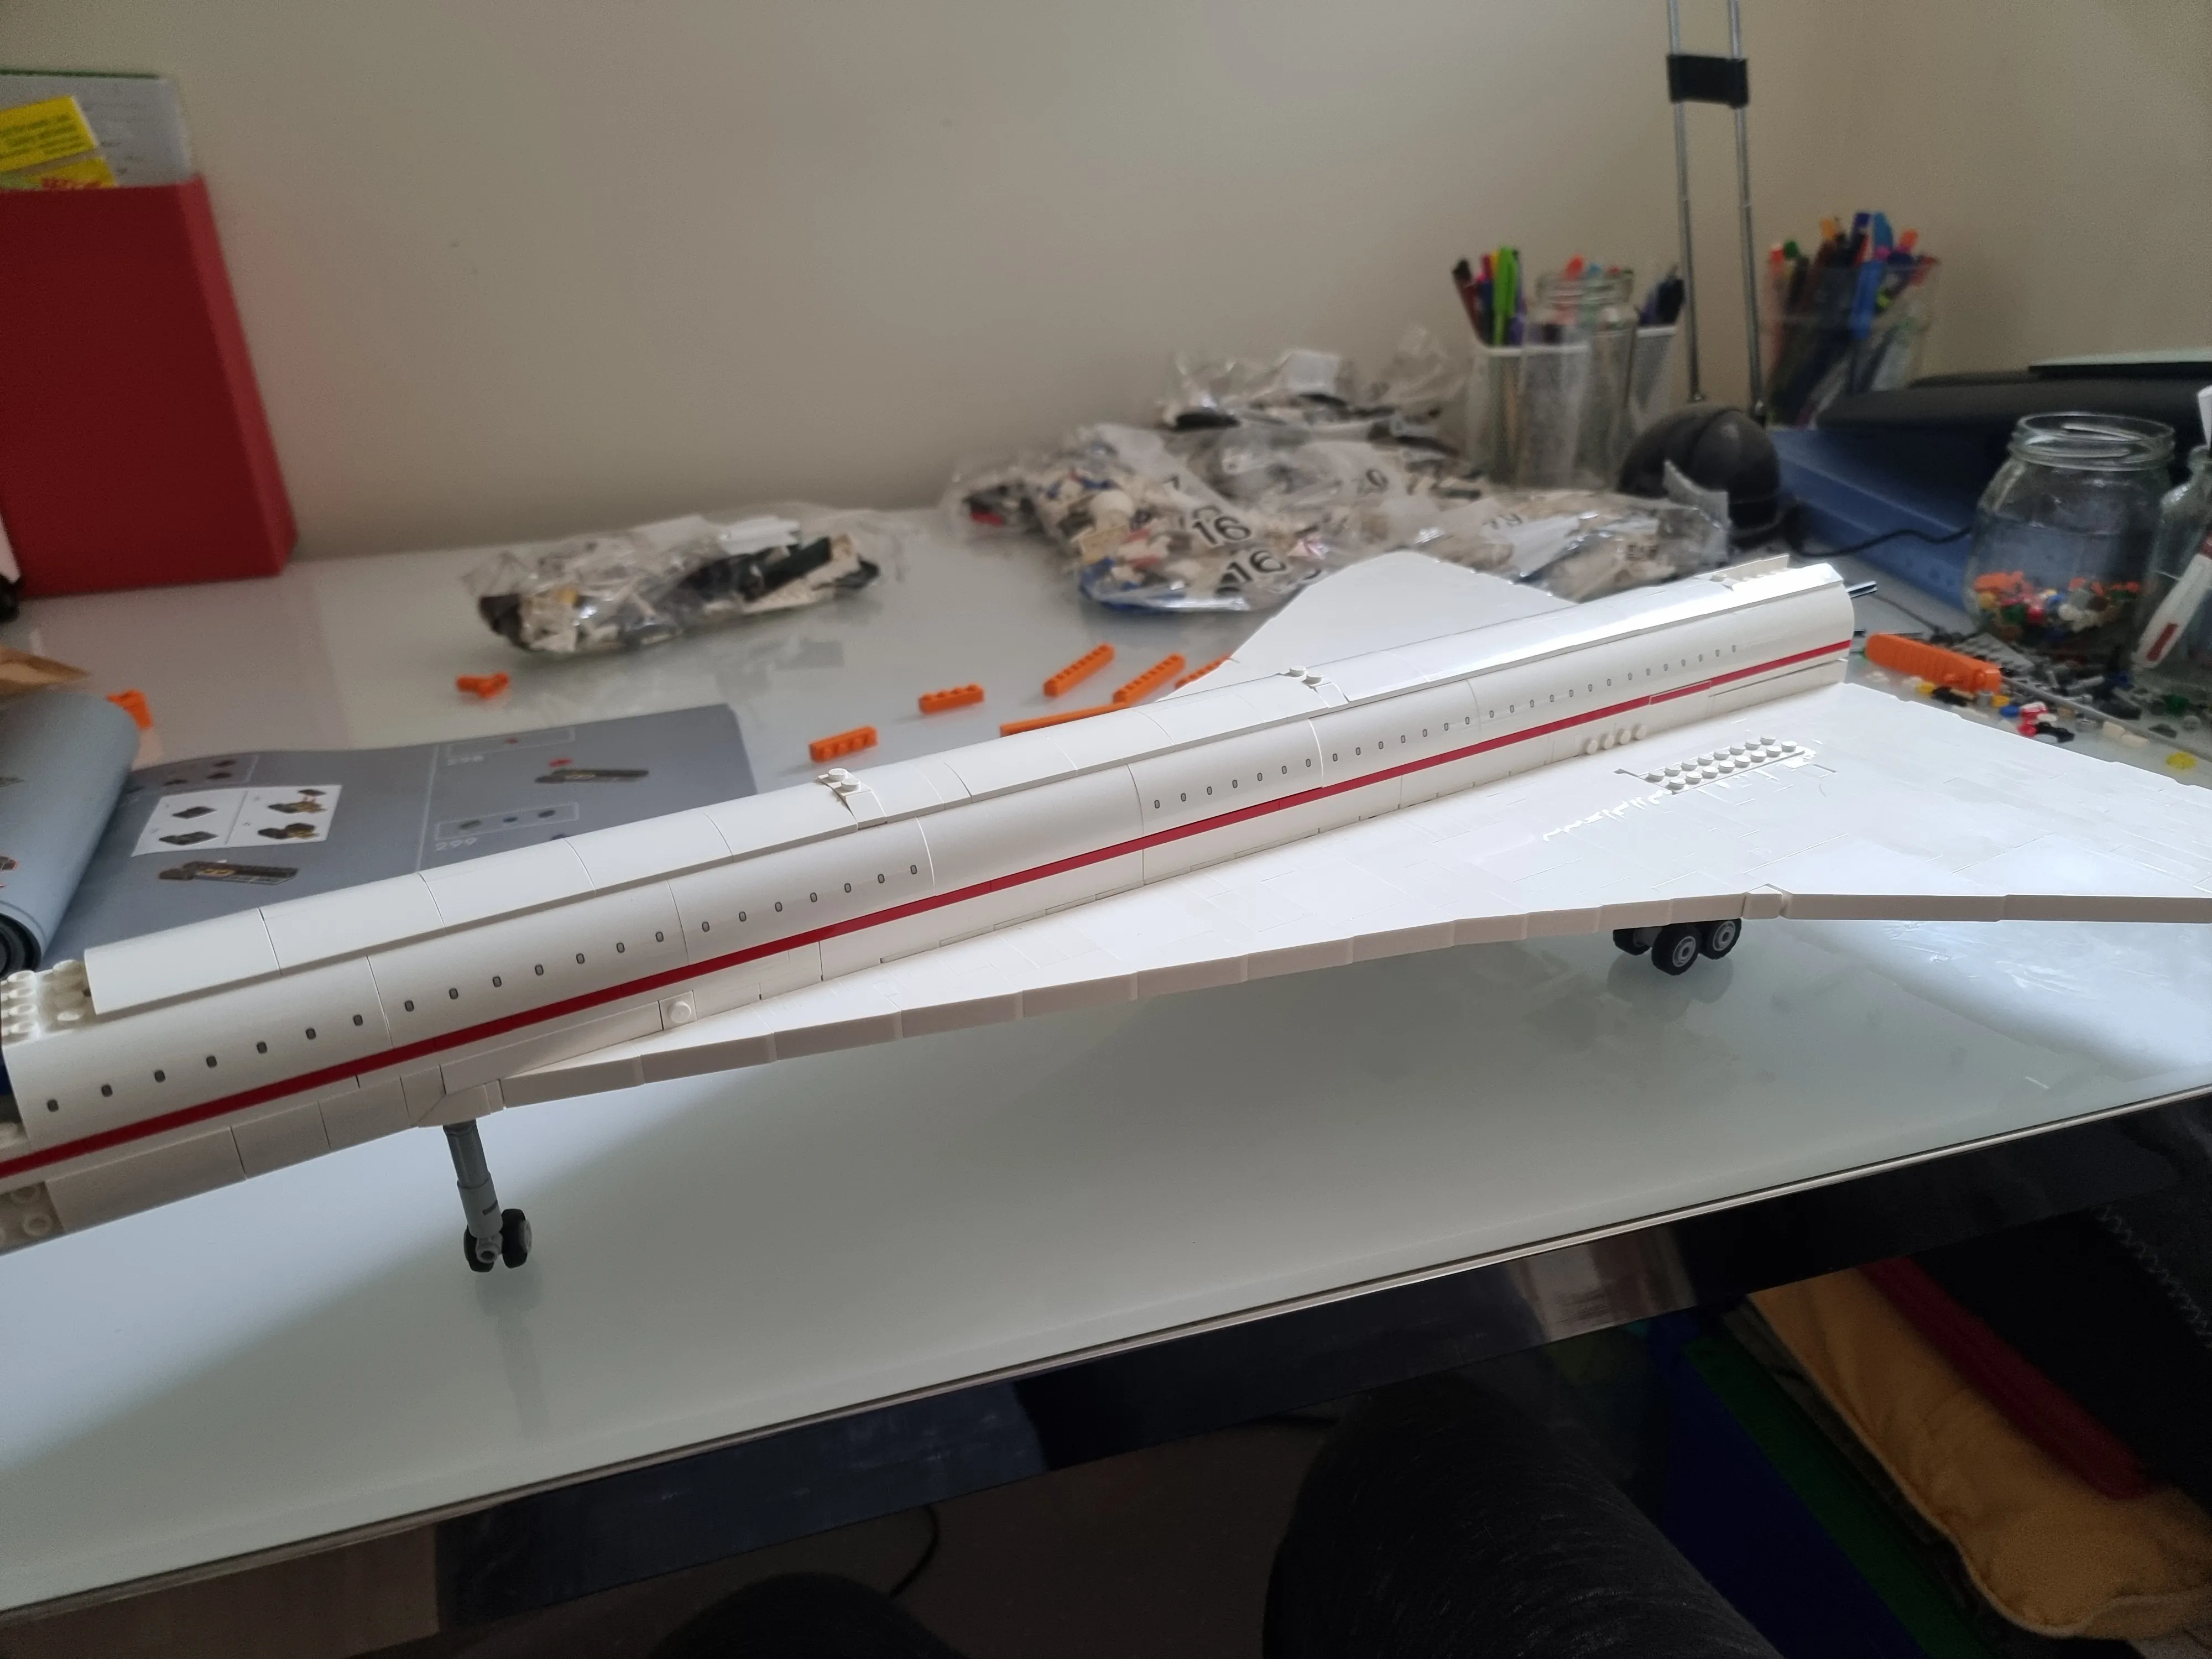
The build is starting to get a bit unweildly and it’s only gonna get bigger from here.
Fourth Day: 2-12-23
Bag 9
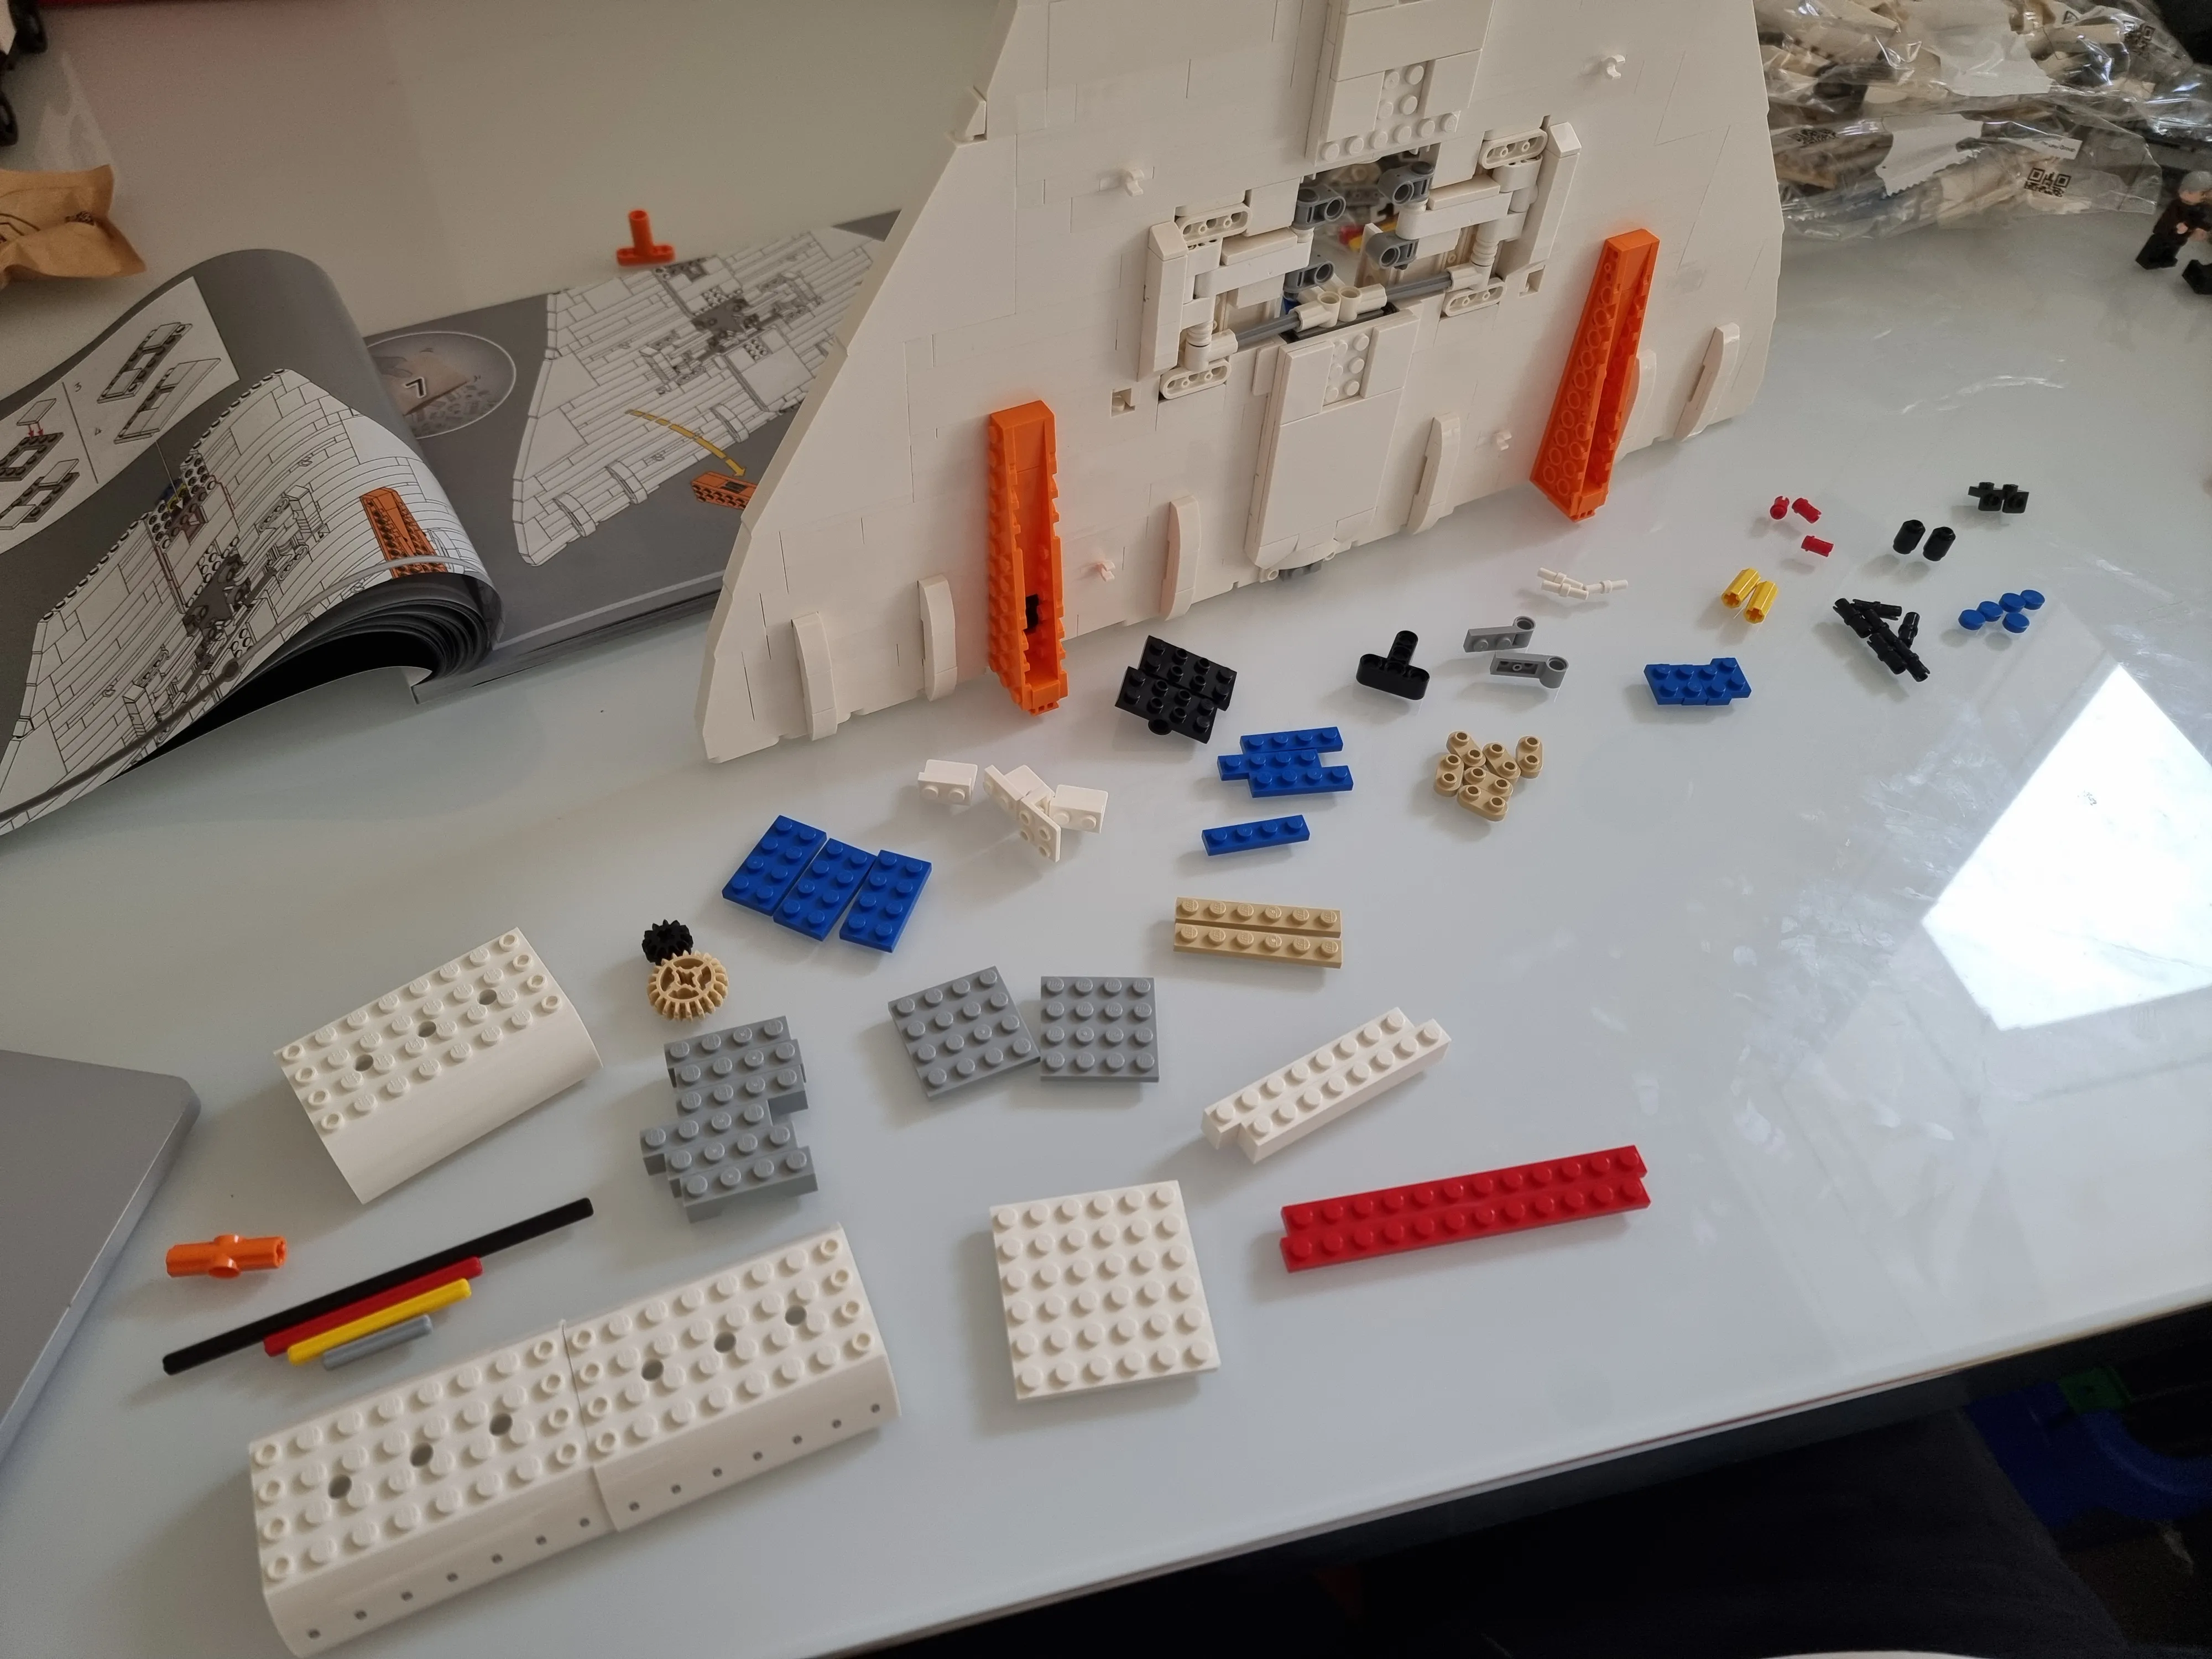
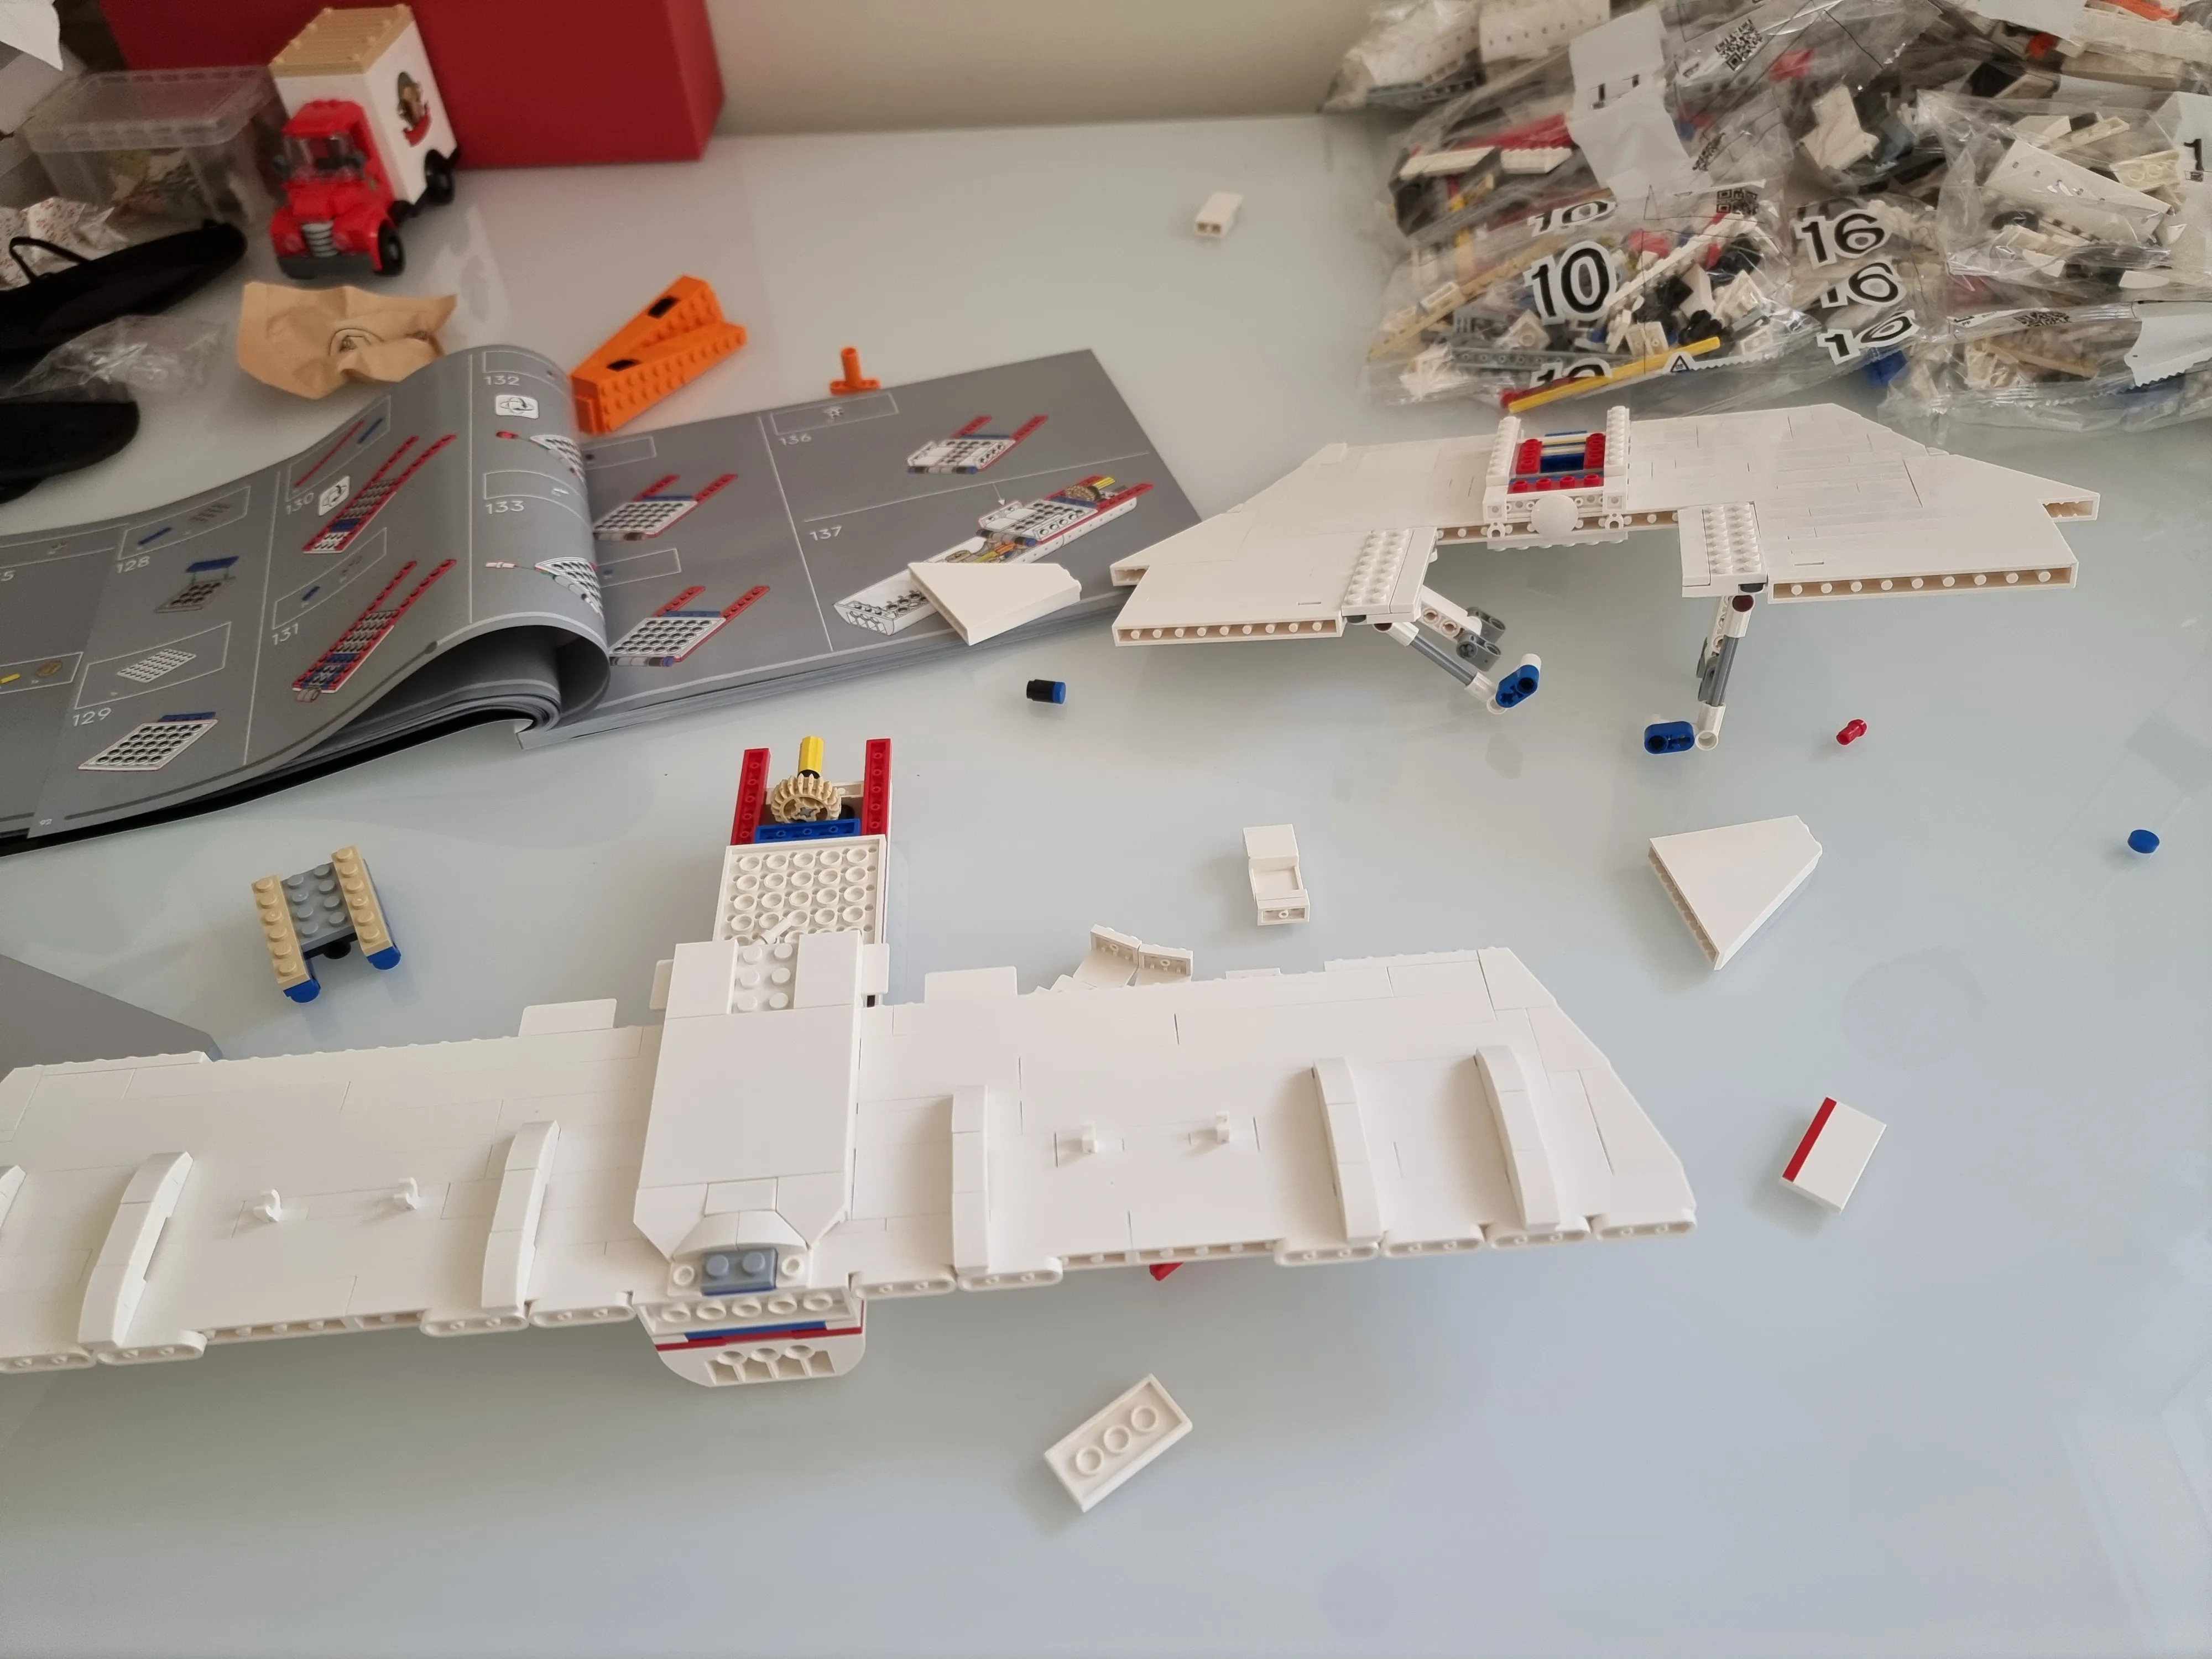
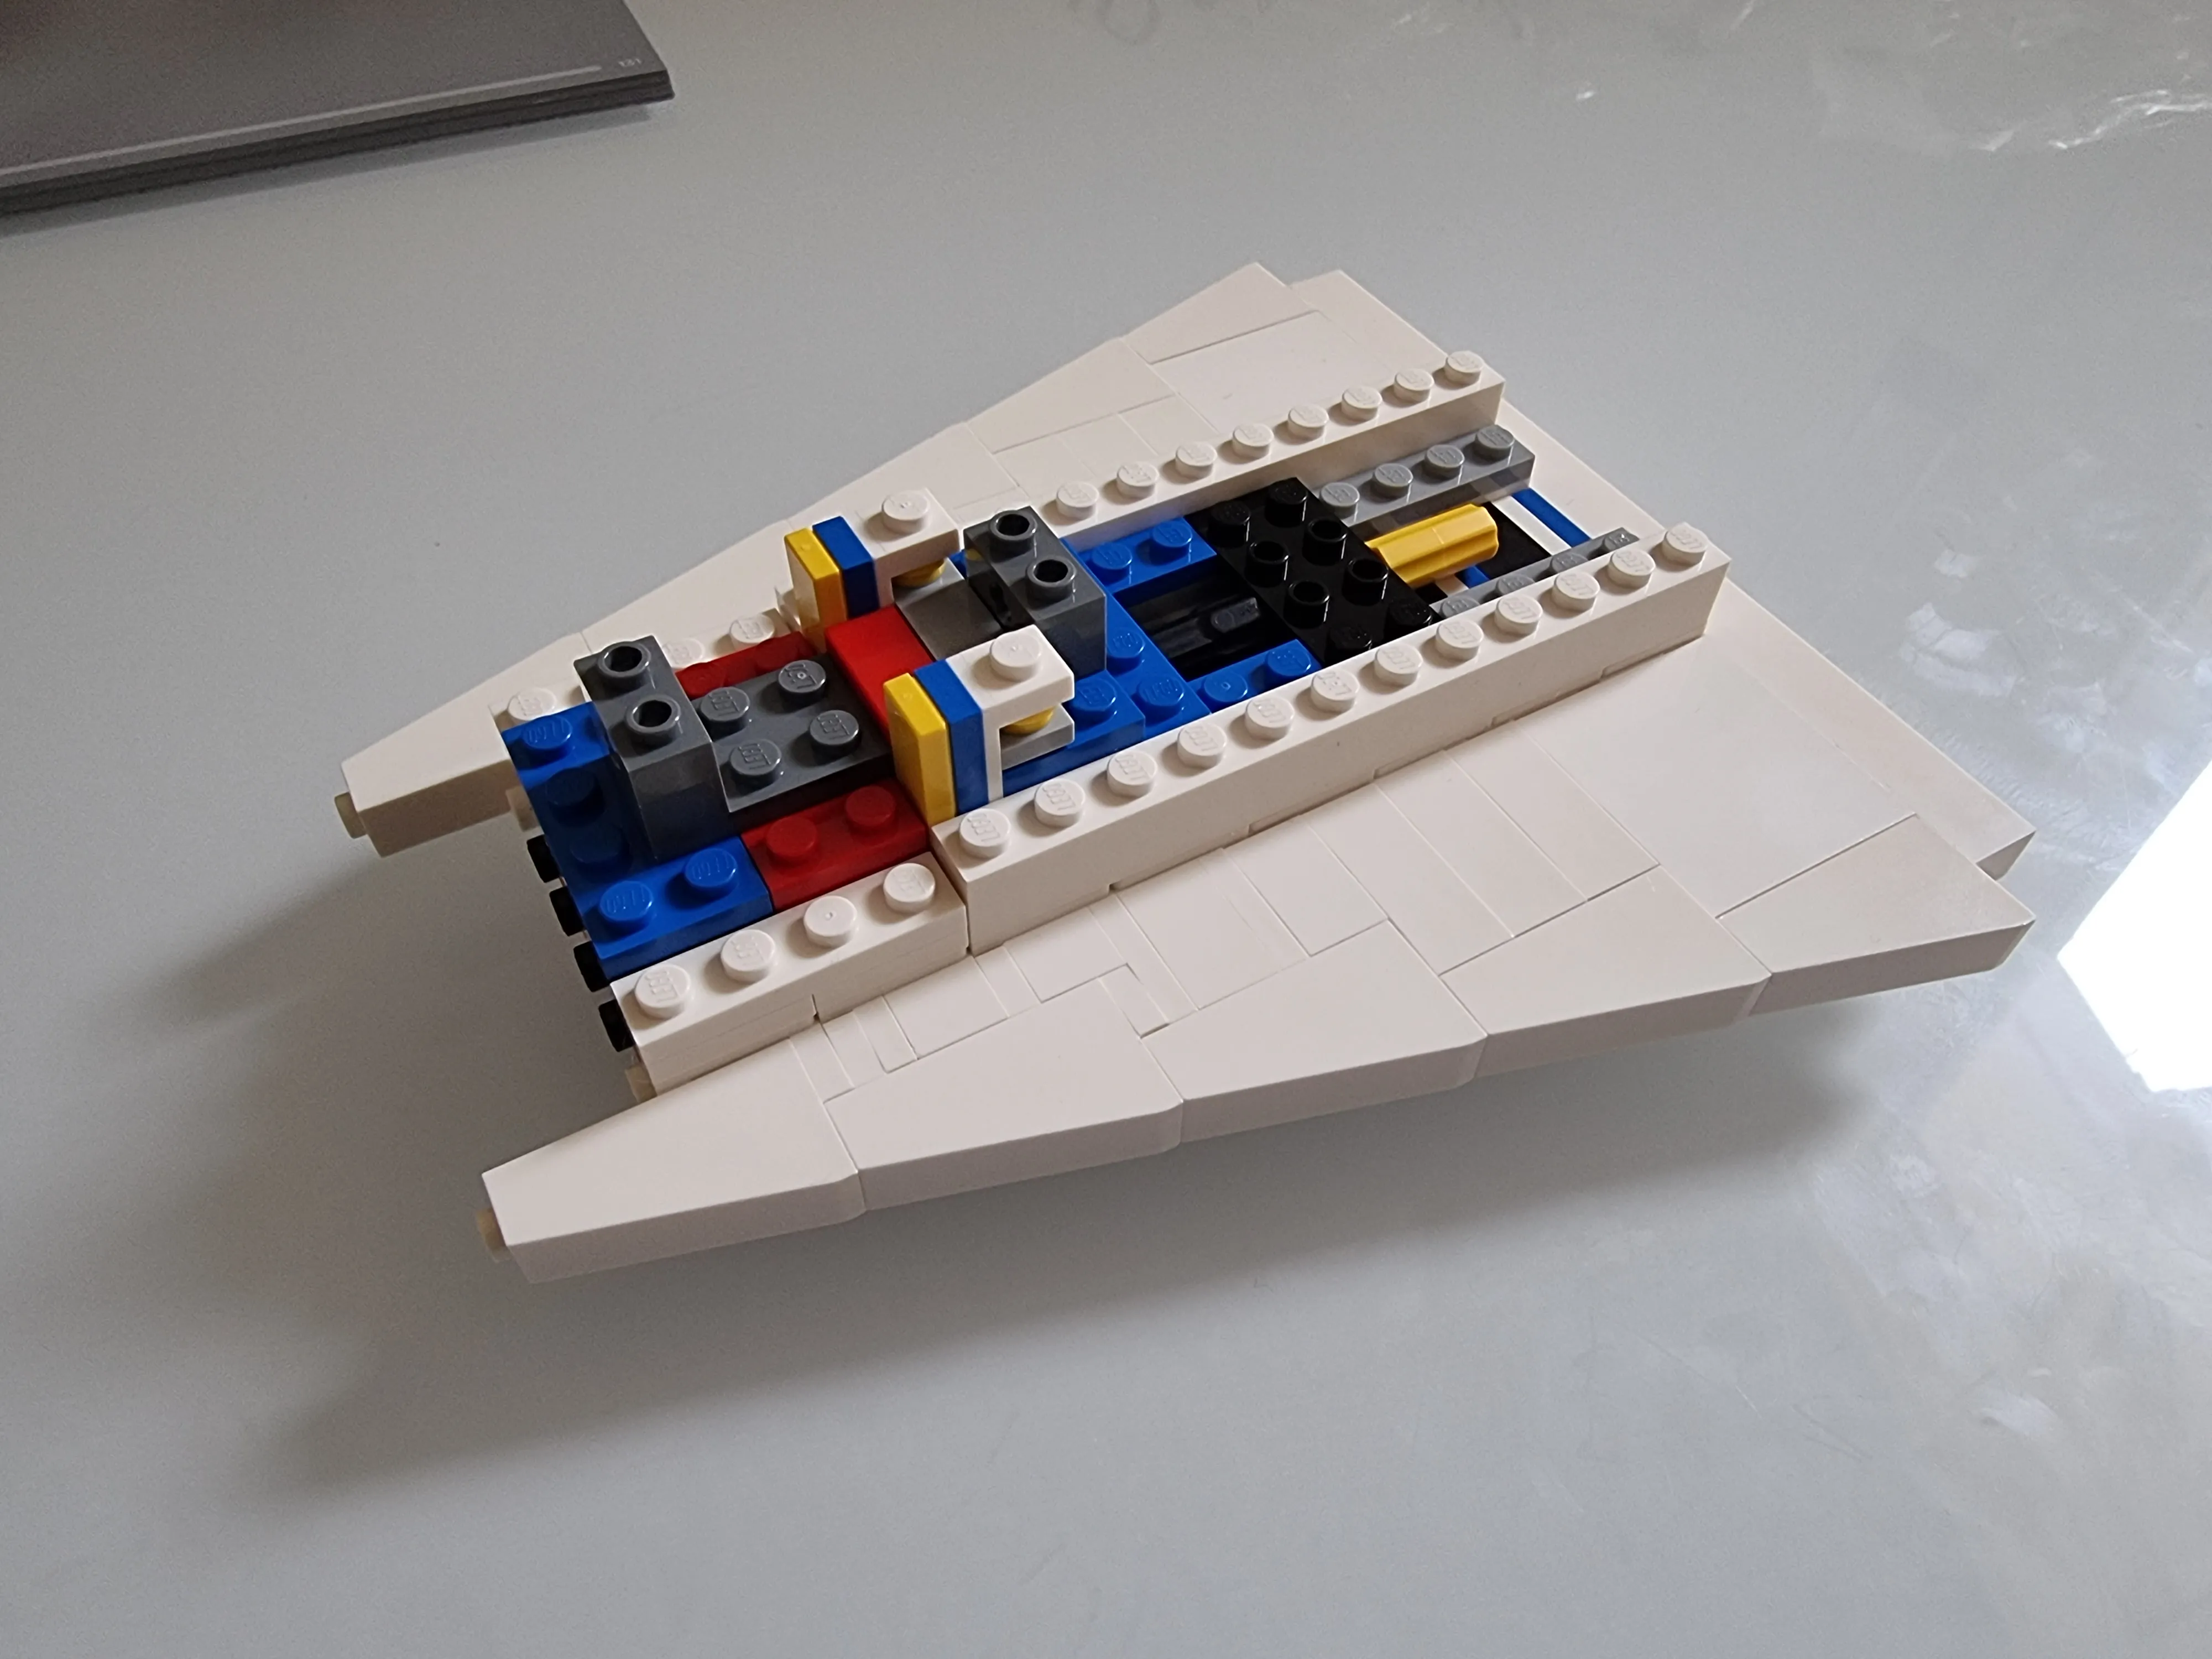
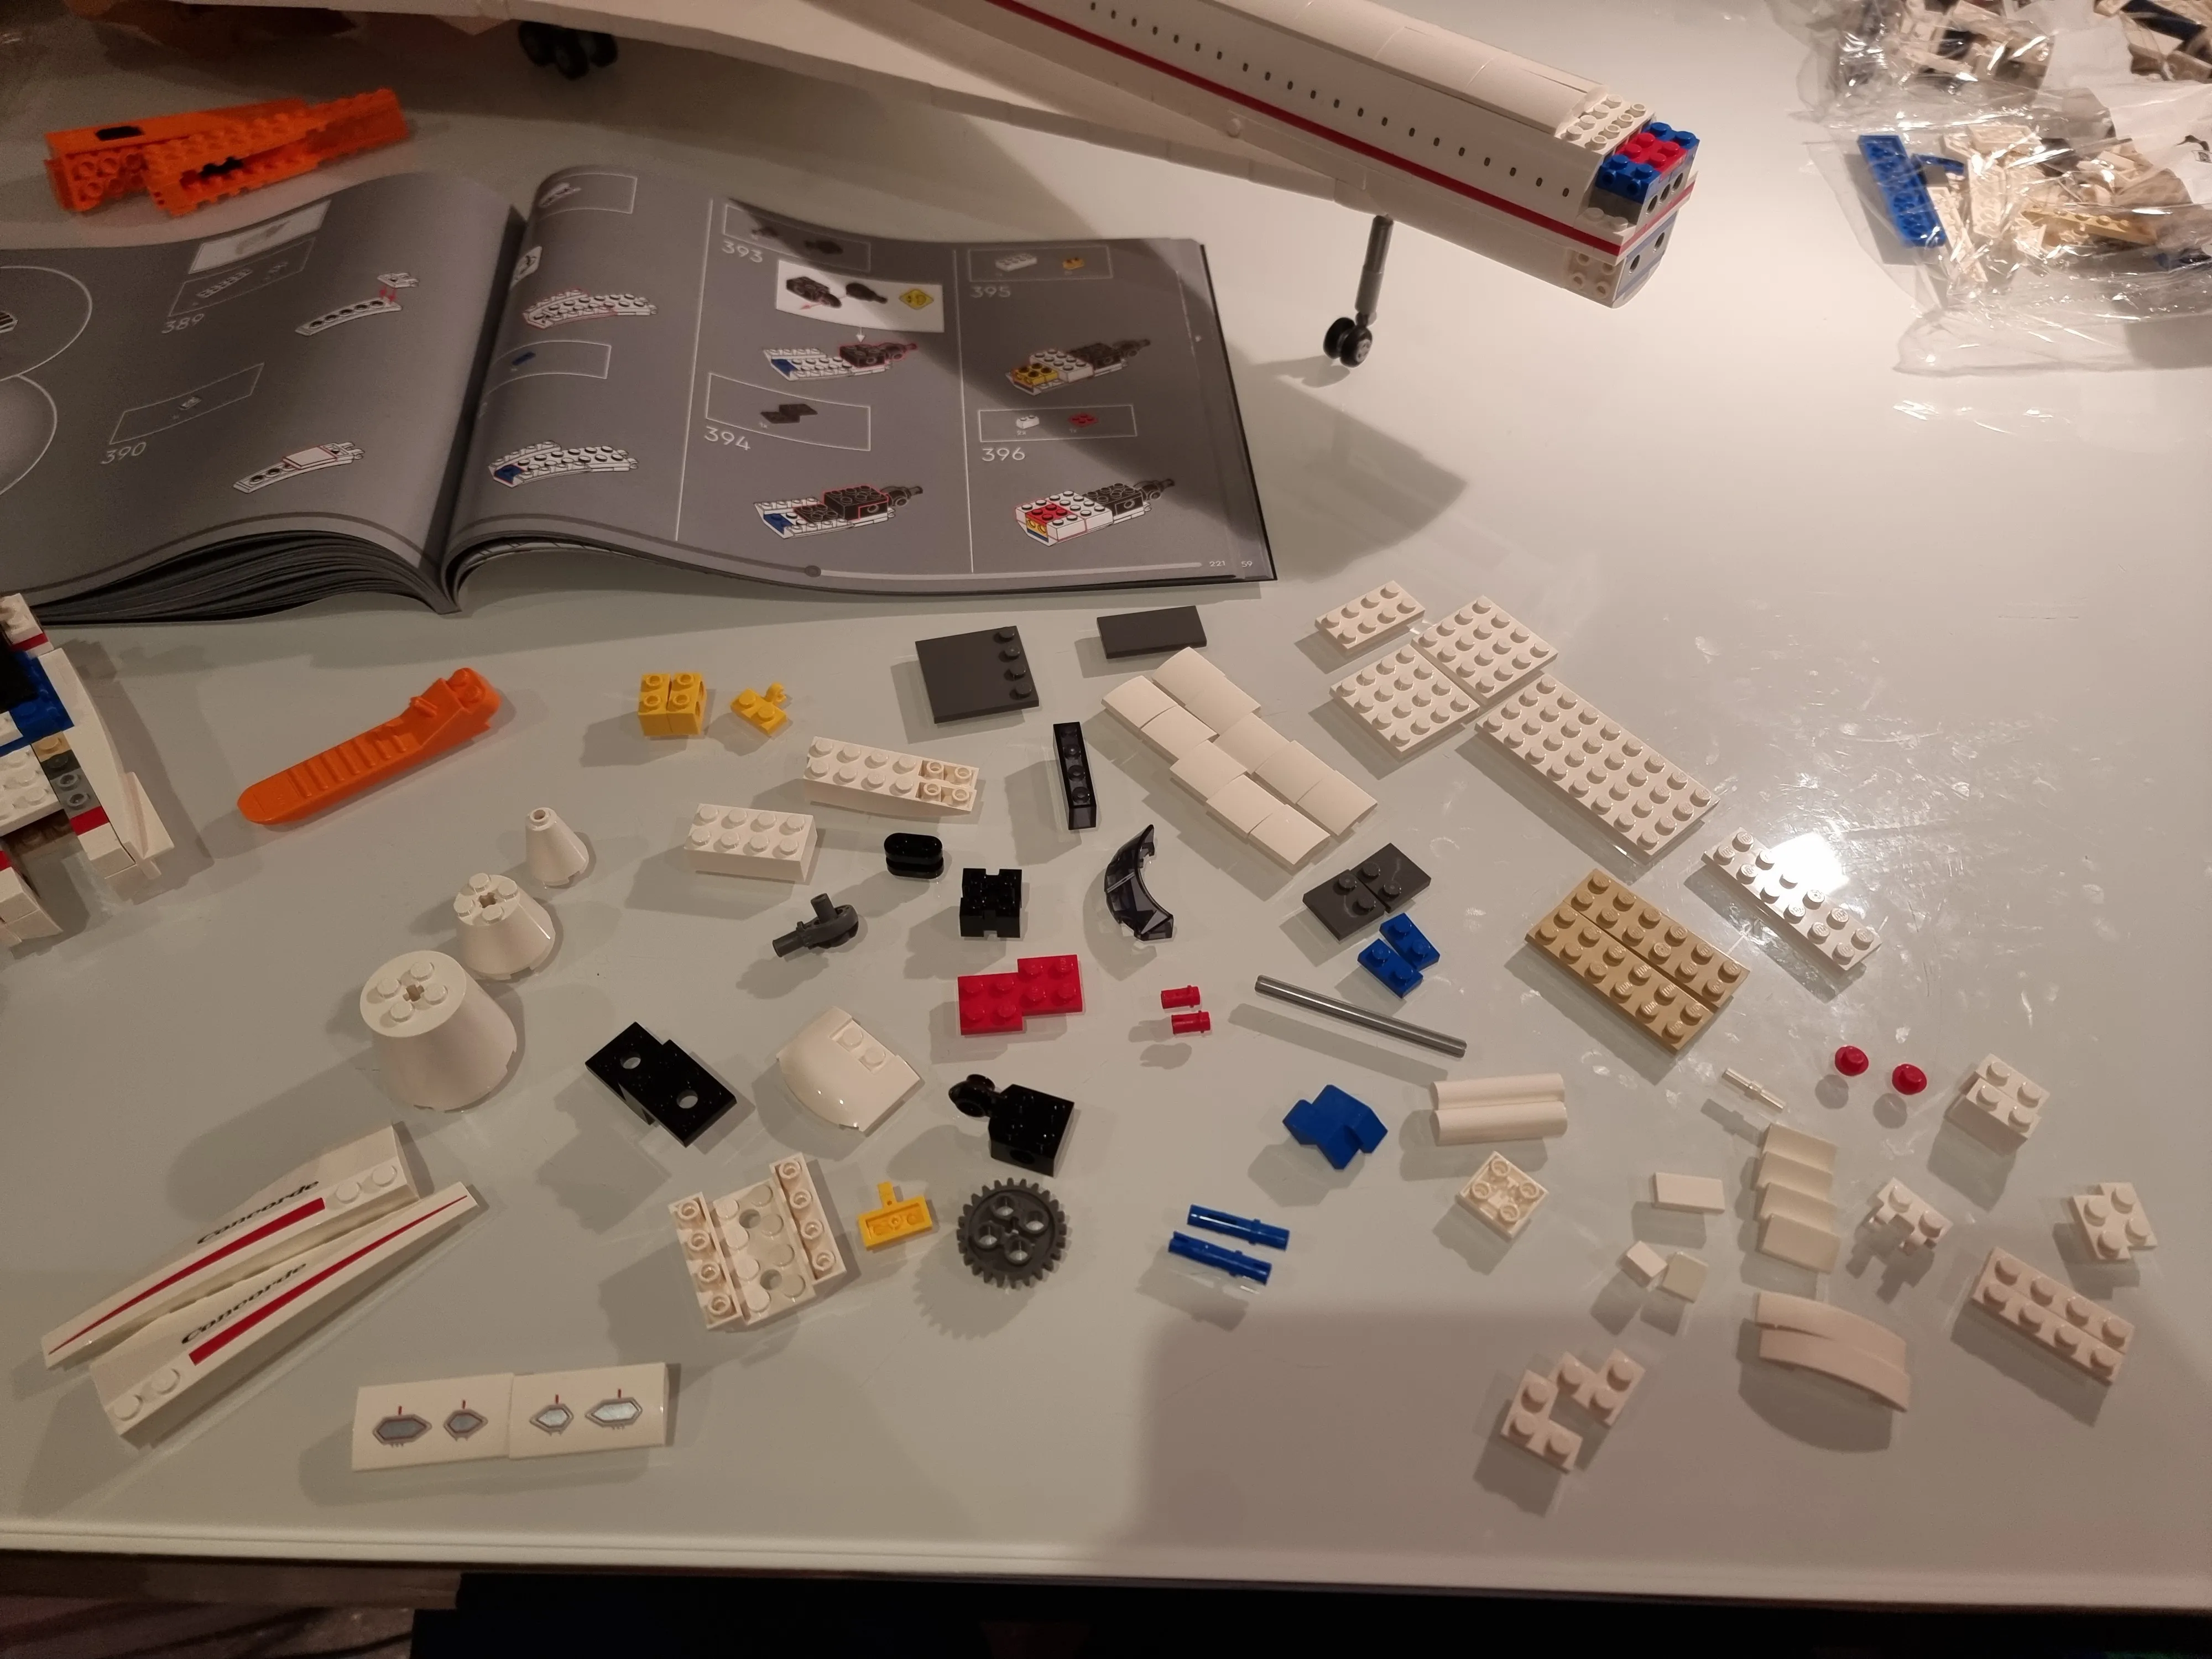
I can already see a bunch of orange plates which means more building help! Also looks like we’re building the foward half (minus the tip) of the fuselage which means we’ll be getting almost the full length of the plane.
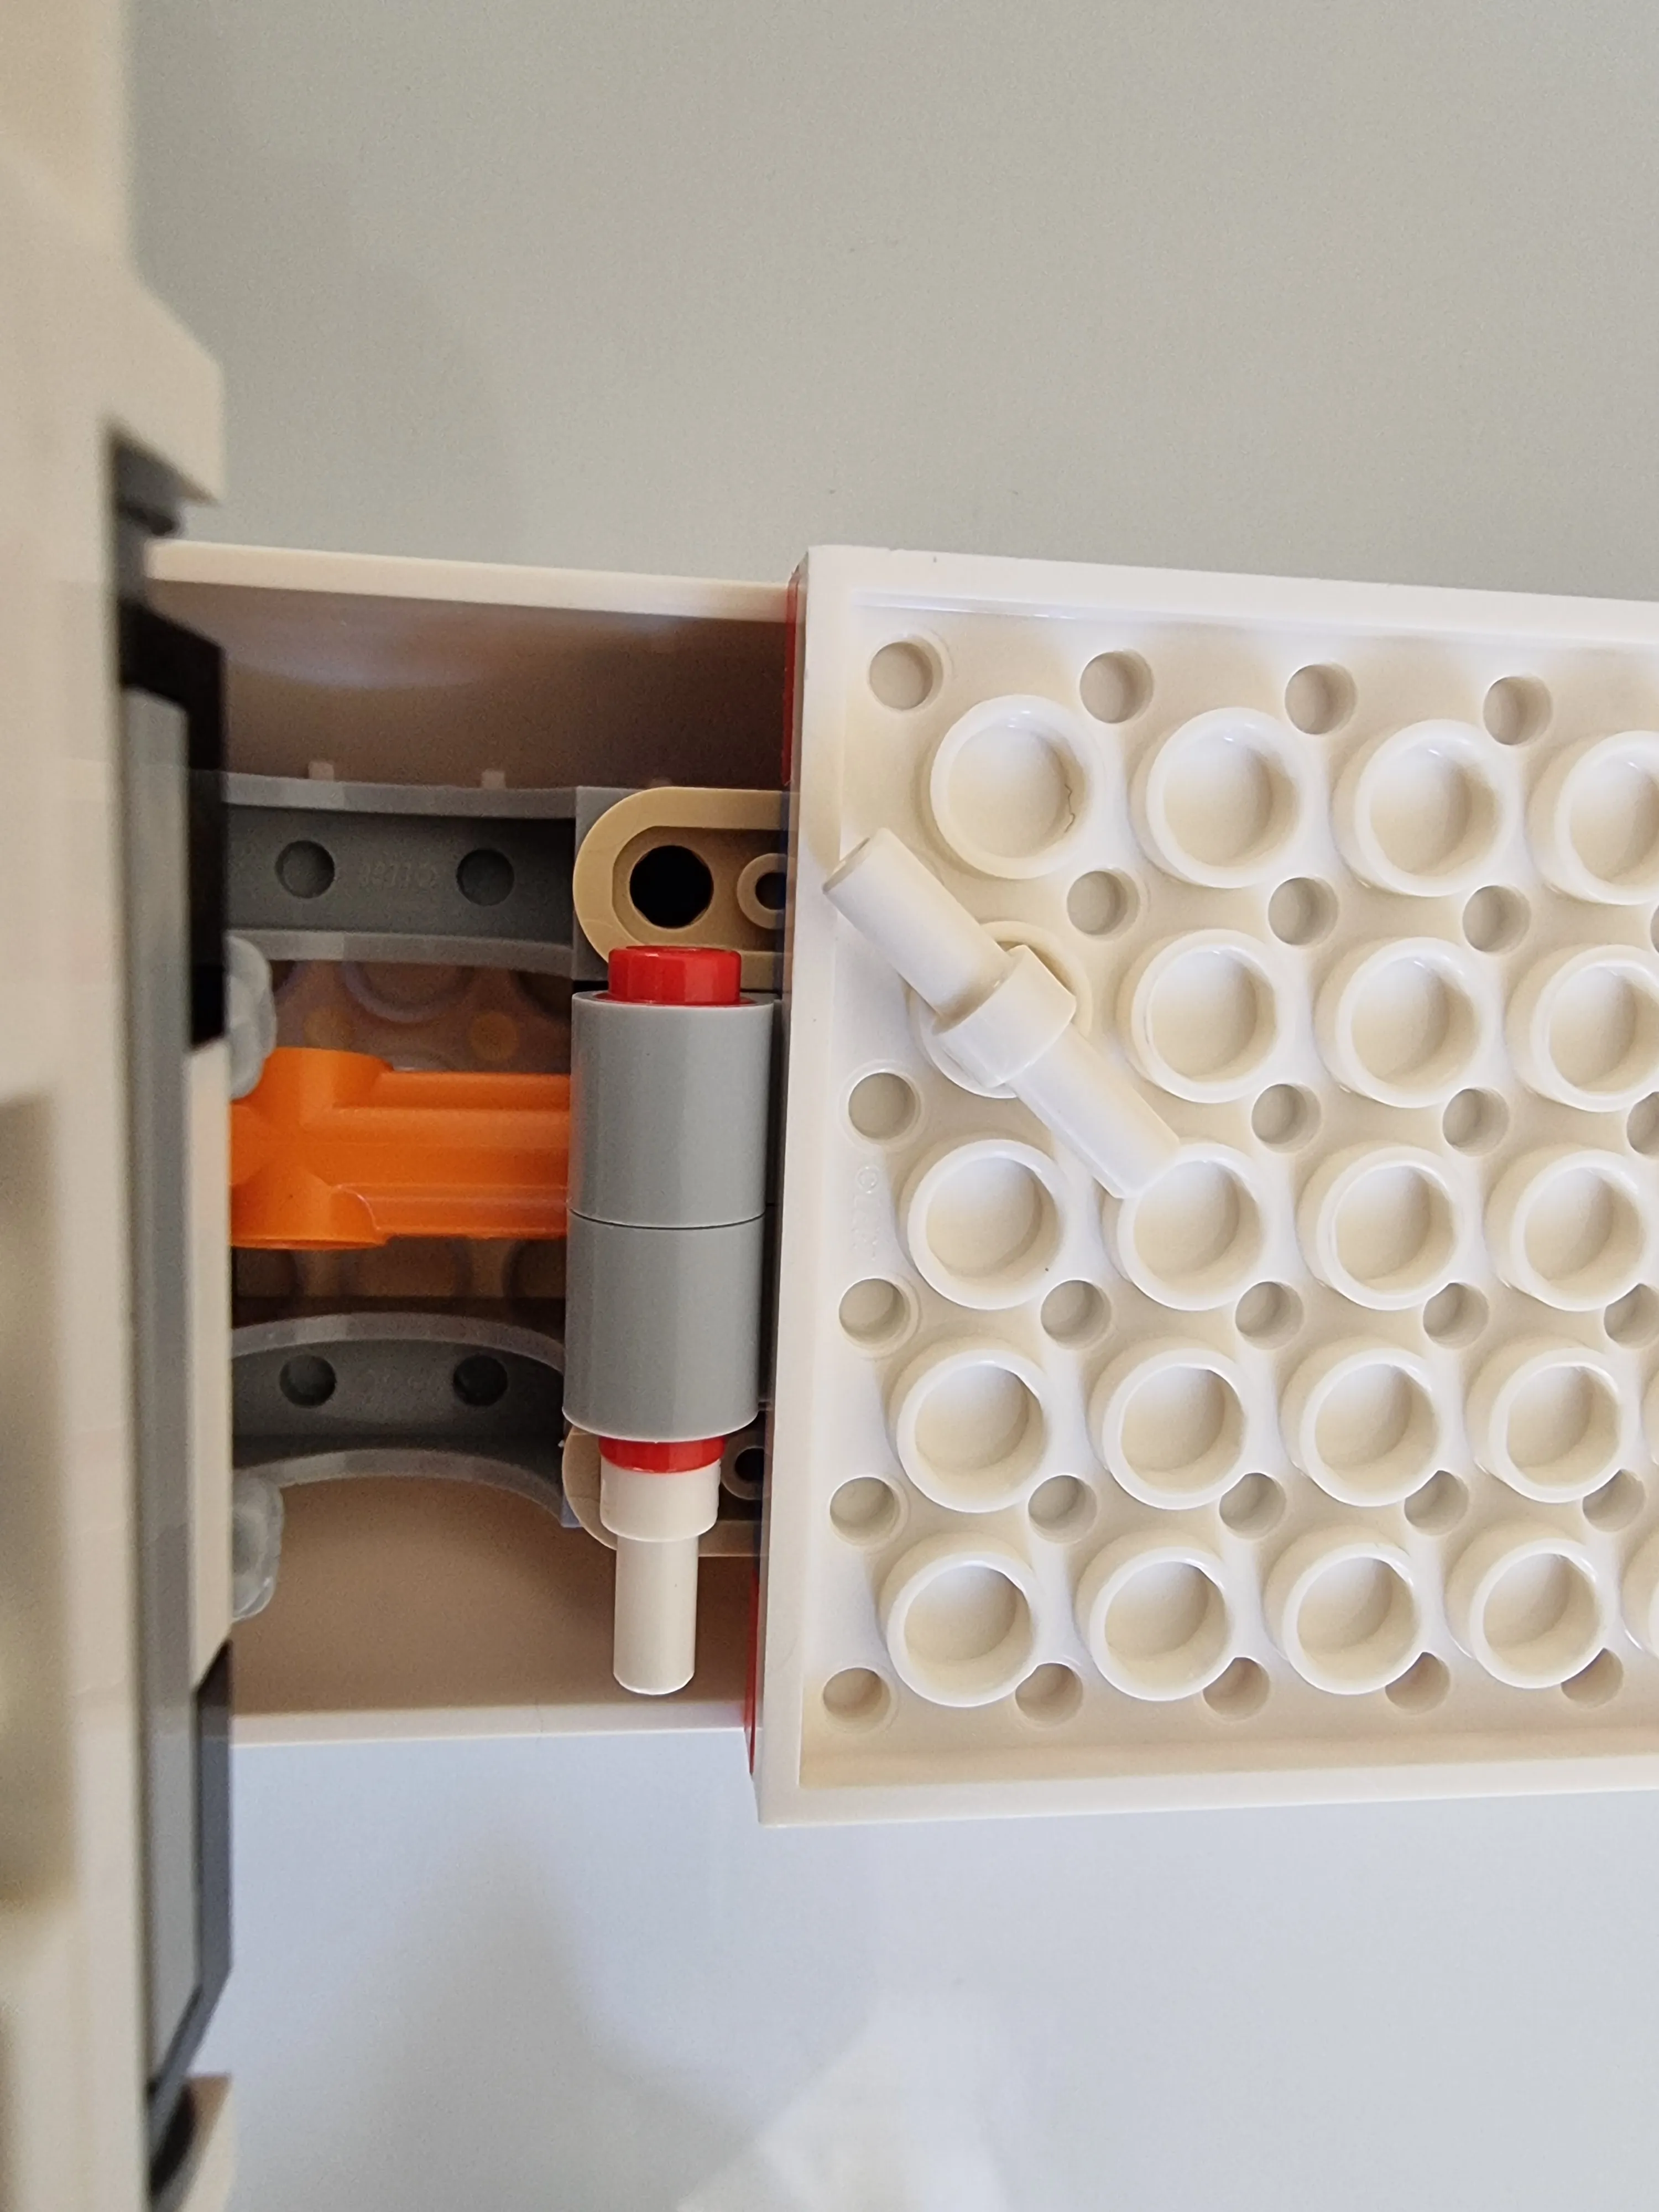
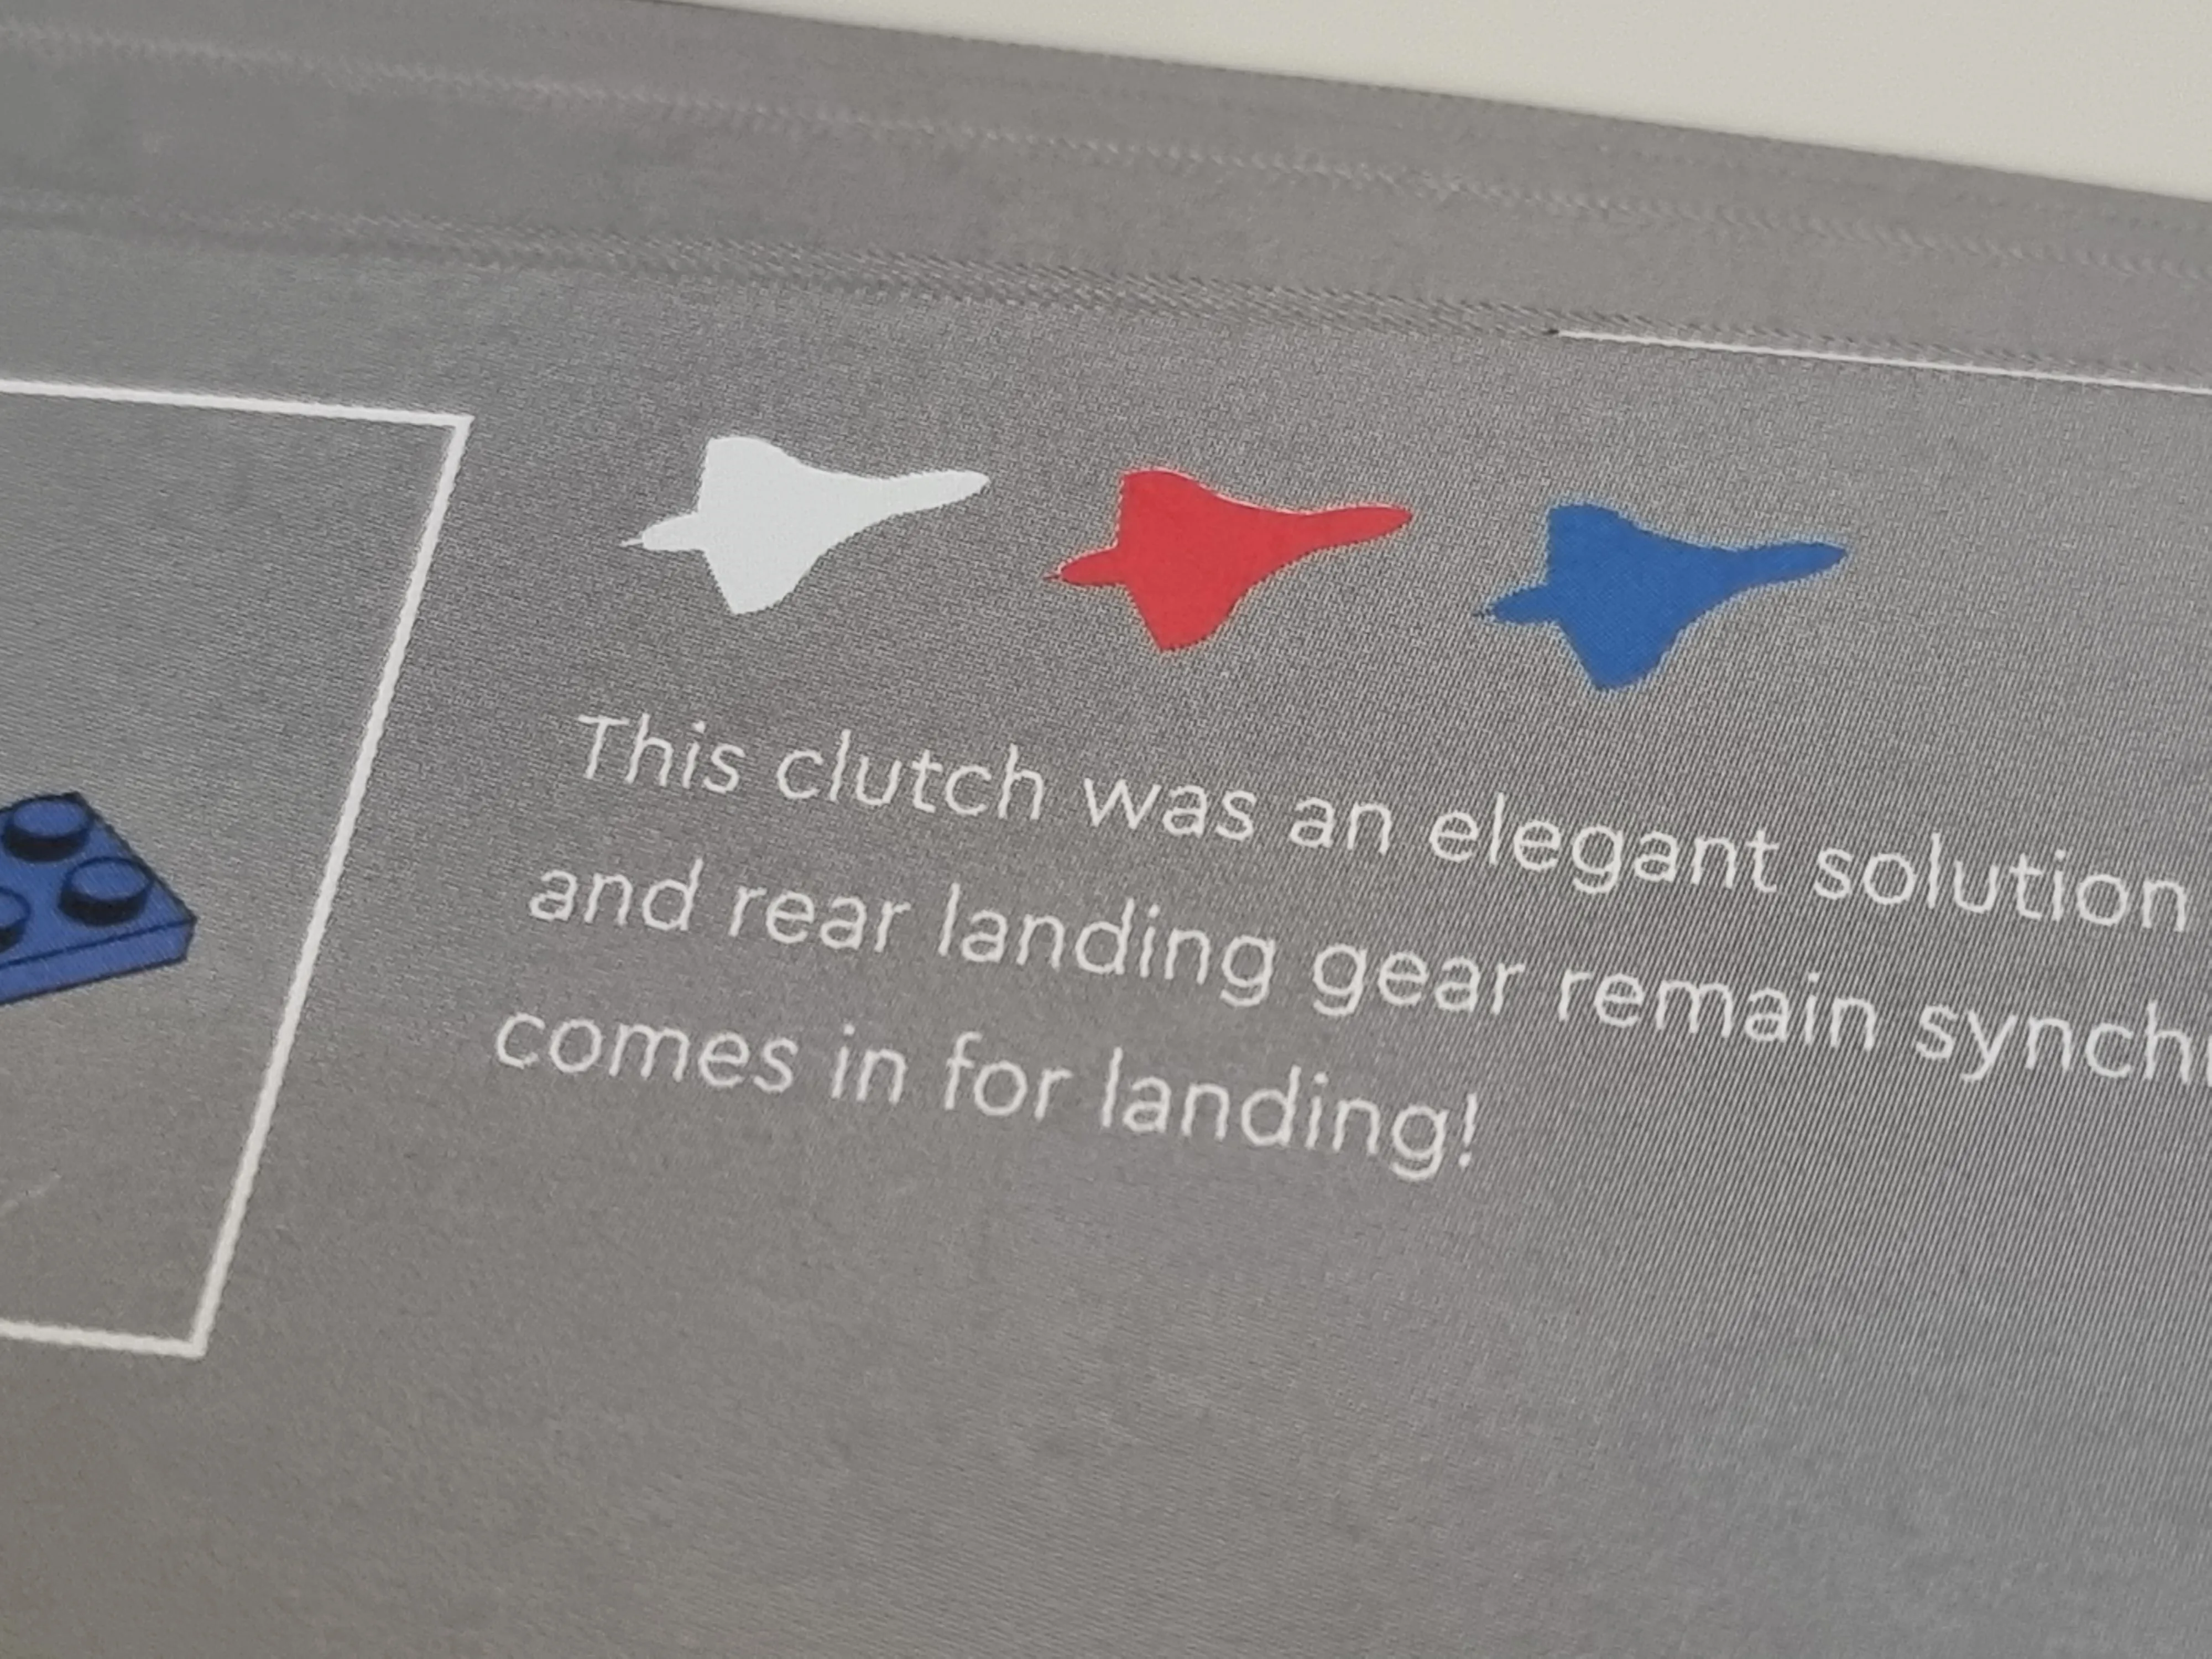
This is a really interesting “clutch” mechanism. Using the friction between the round pins in this pin connector the axle can still spin but if one side is bound up it will overcome the friction and still let the other side move. Super simple with just a handful or parts as well.
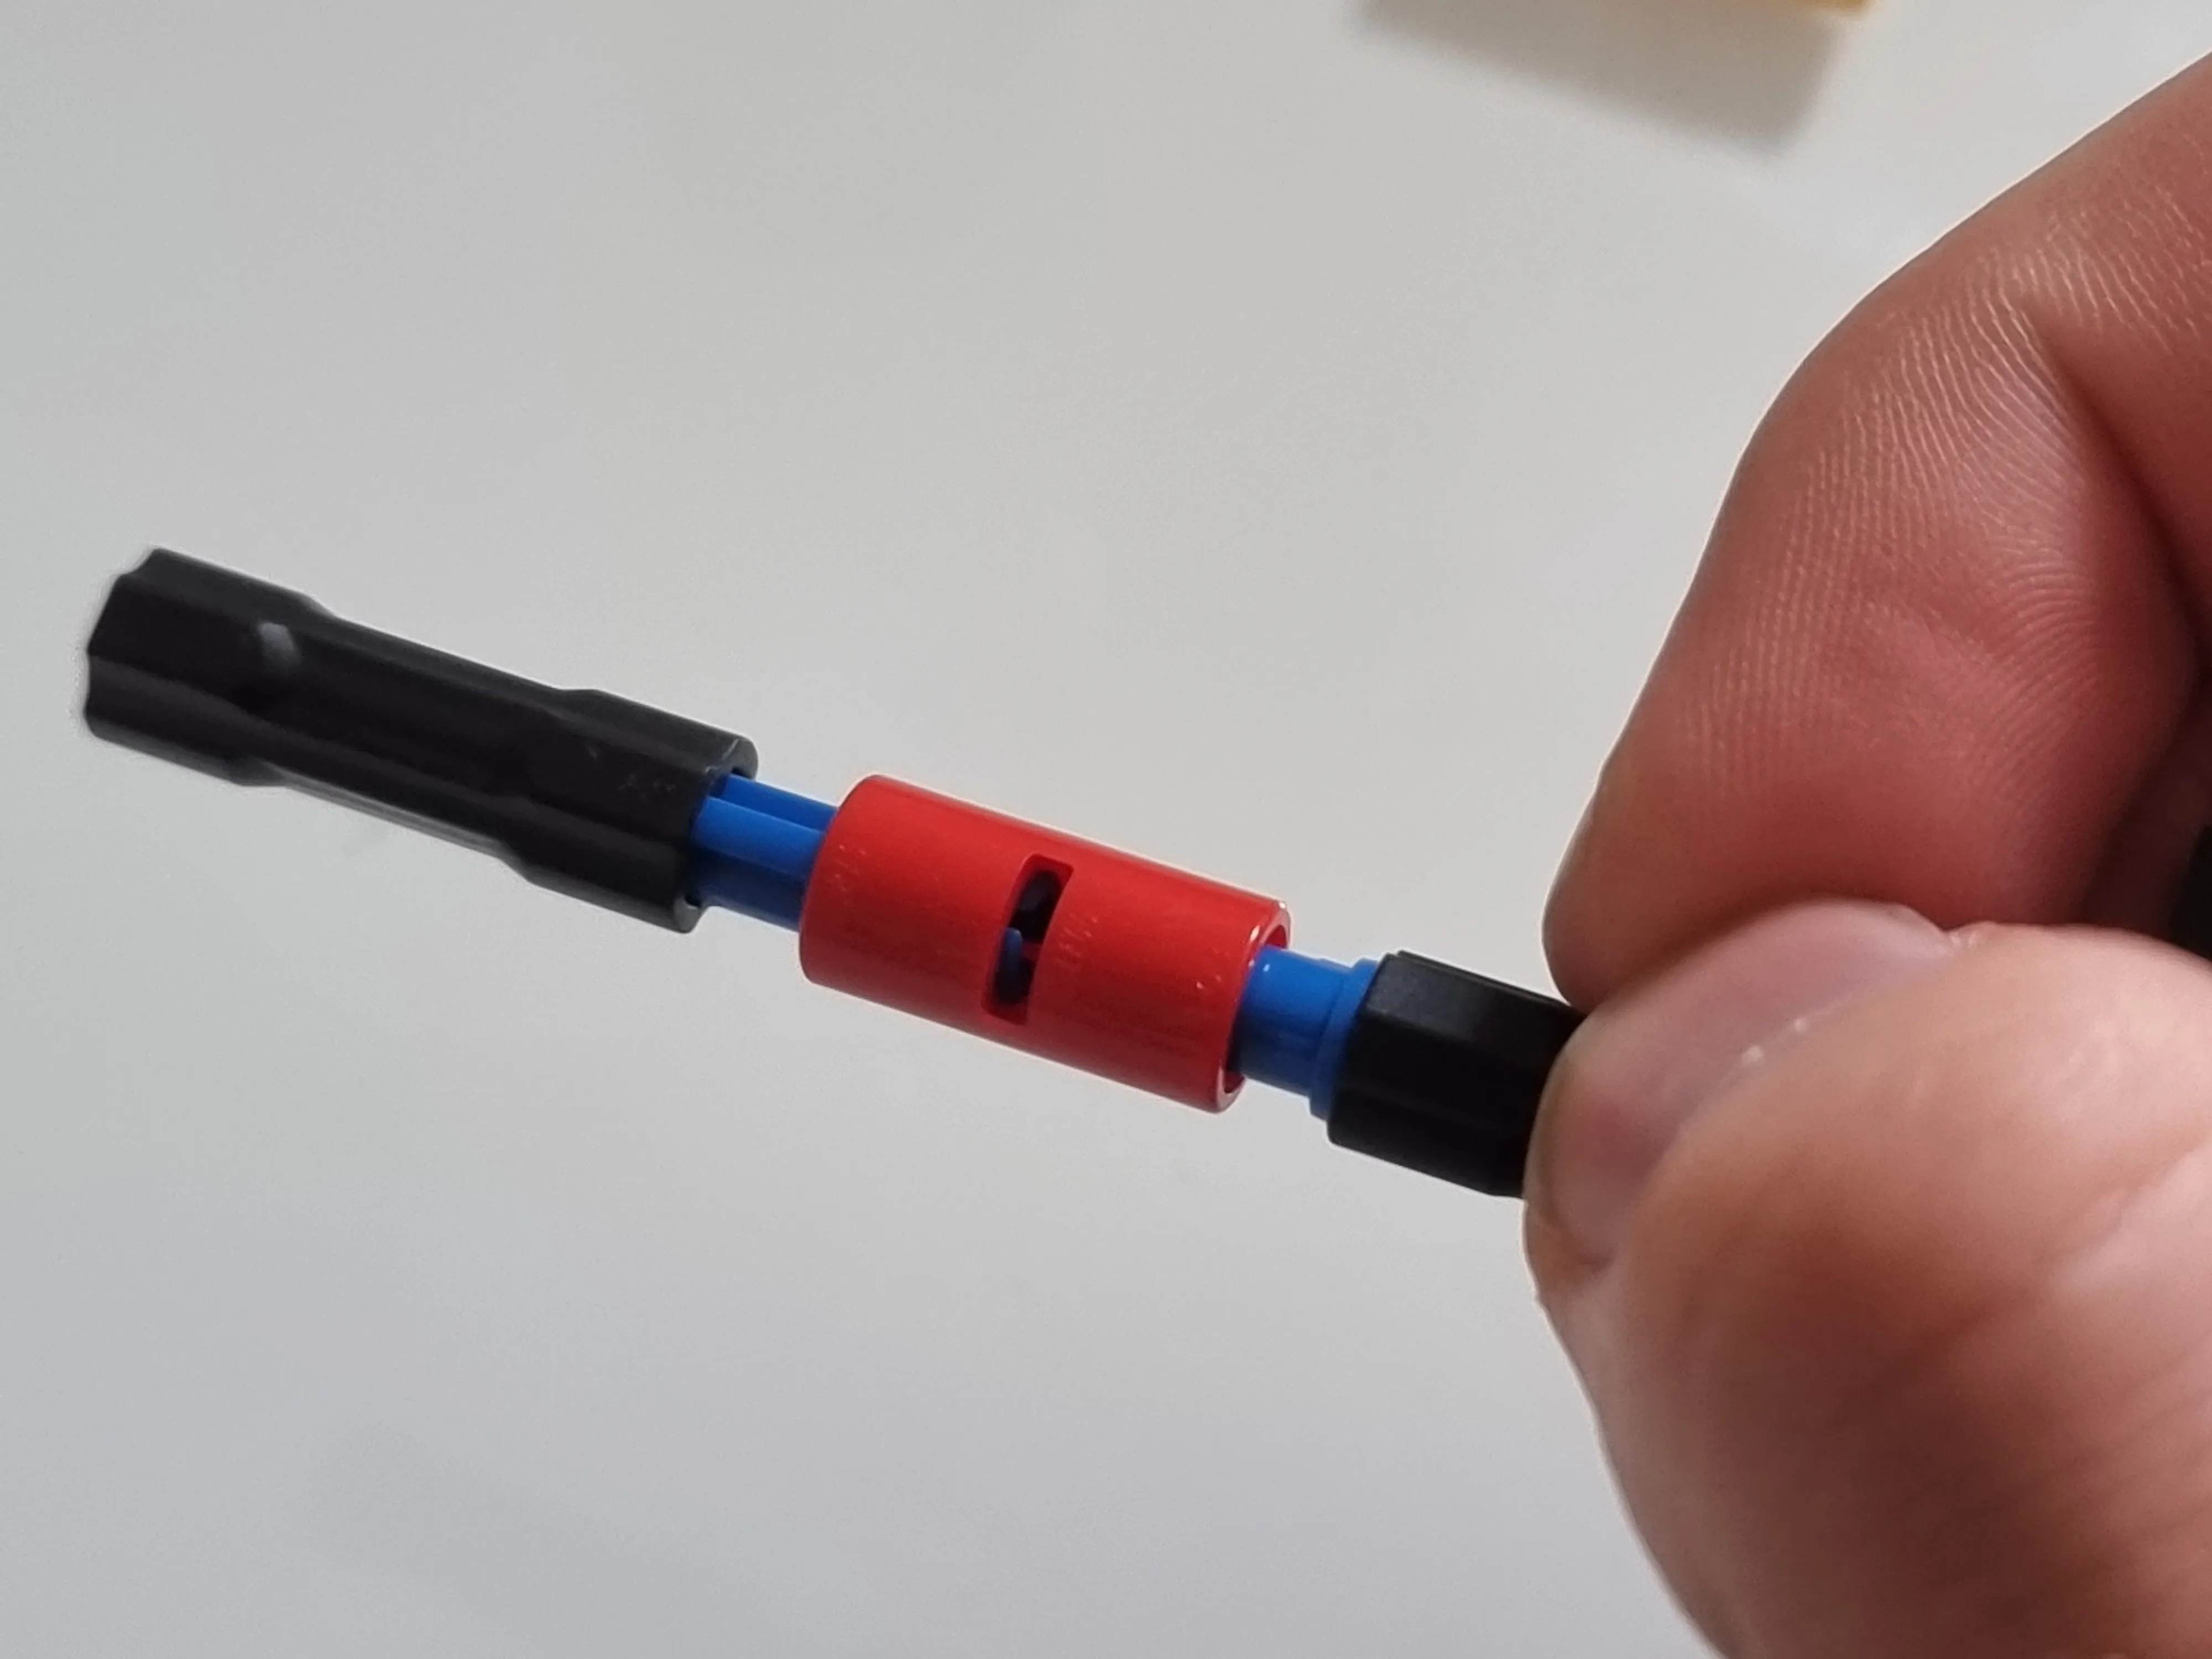
Update: They called it a clutch too!
Bag 10
Not many pieces in this bag. Should just be a good solid chunk.
Really was a good chunk connecting the two halves.
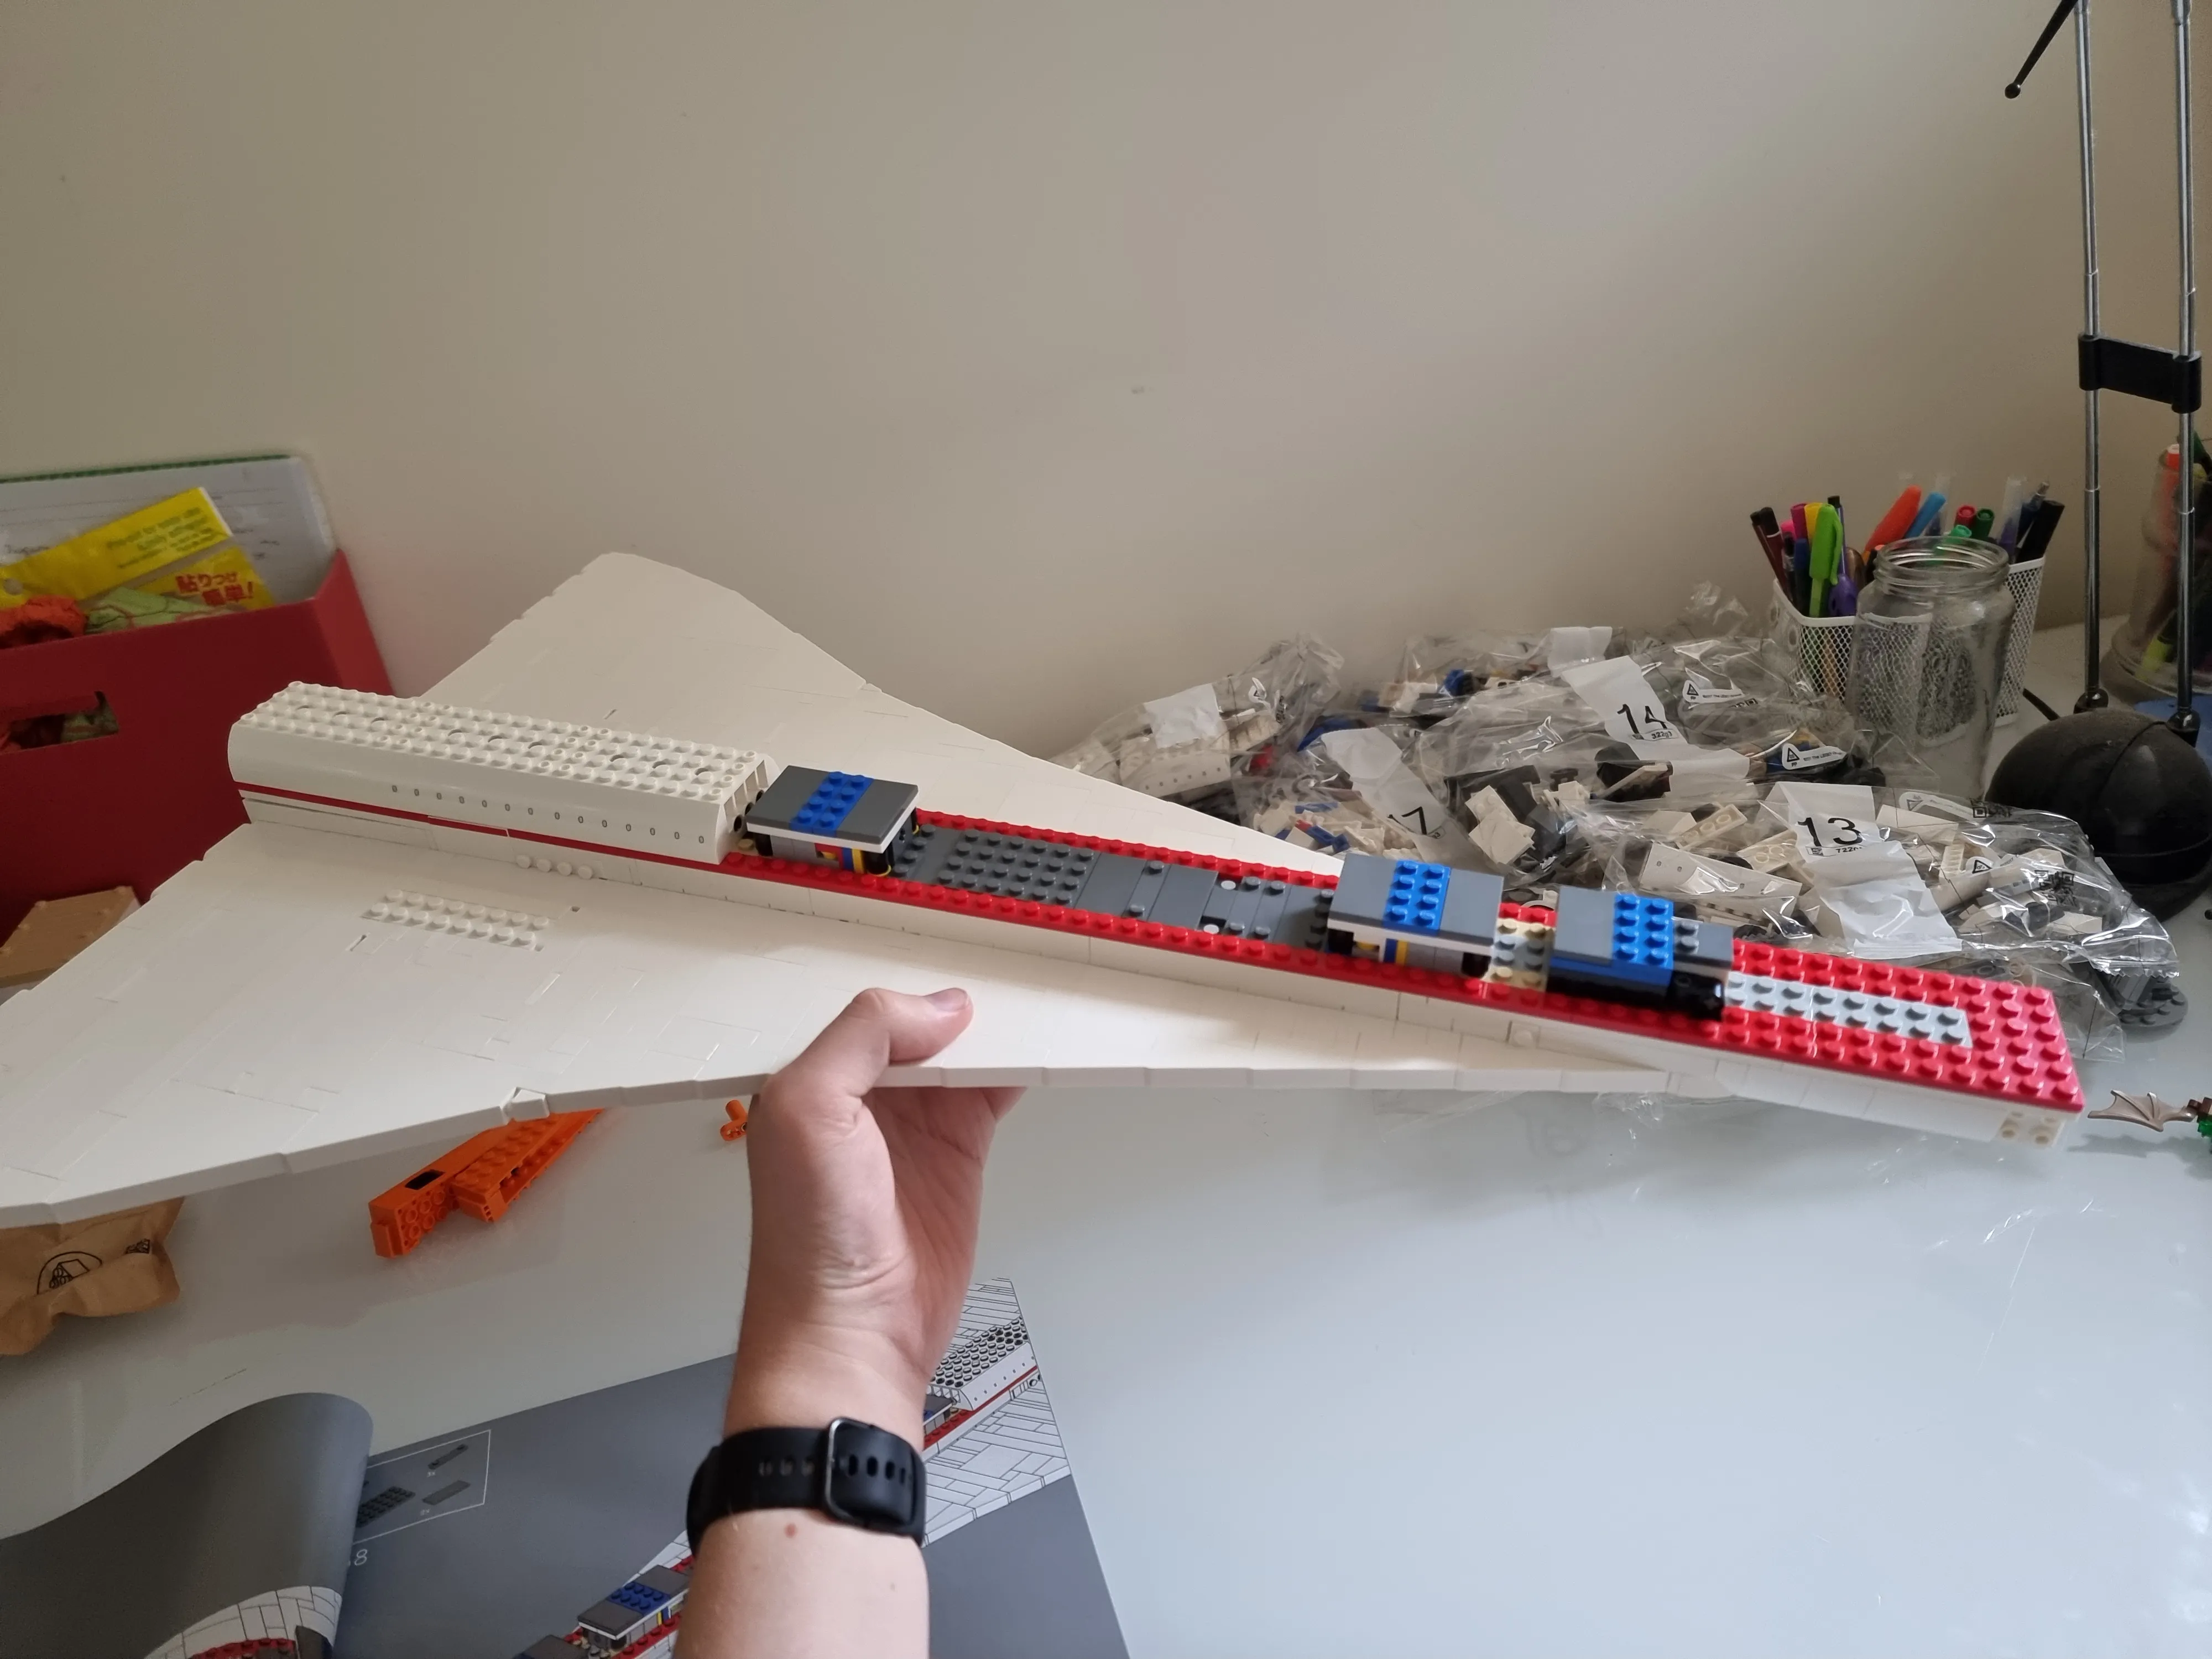
Now it’s starting to become unweildly.
Bag 11
Looks like we’re doing the cabin!

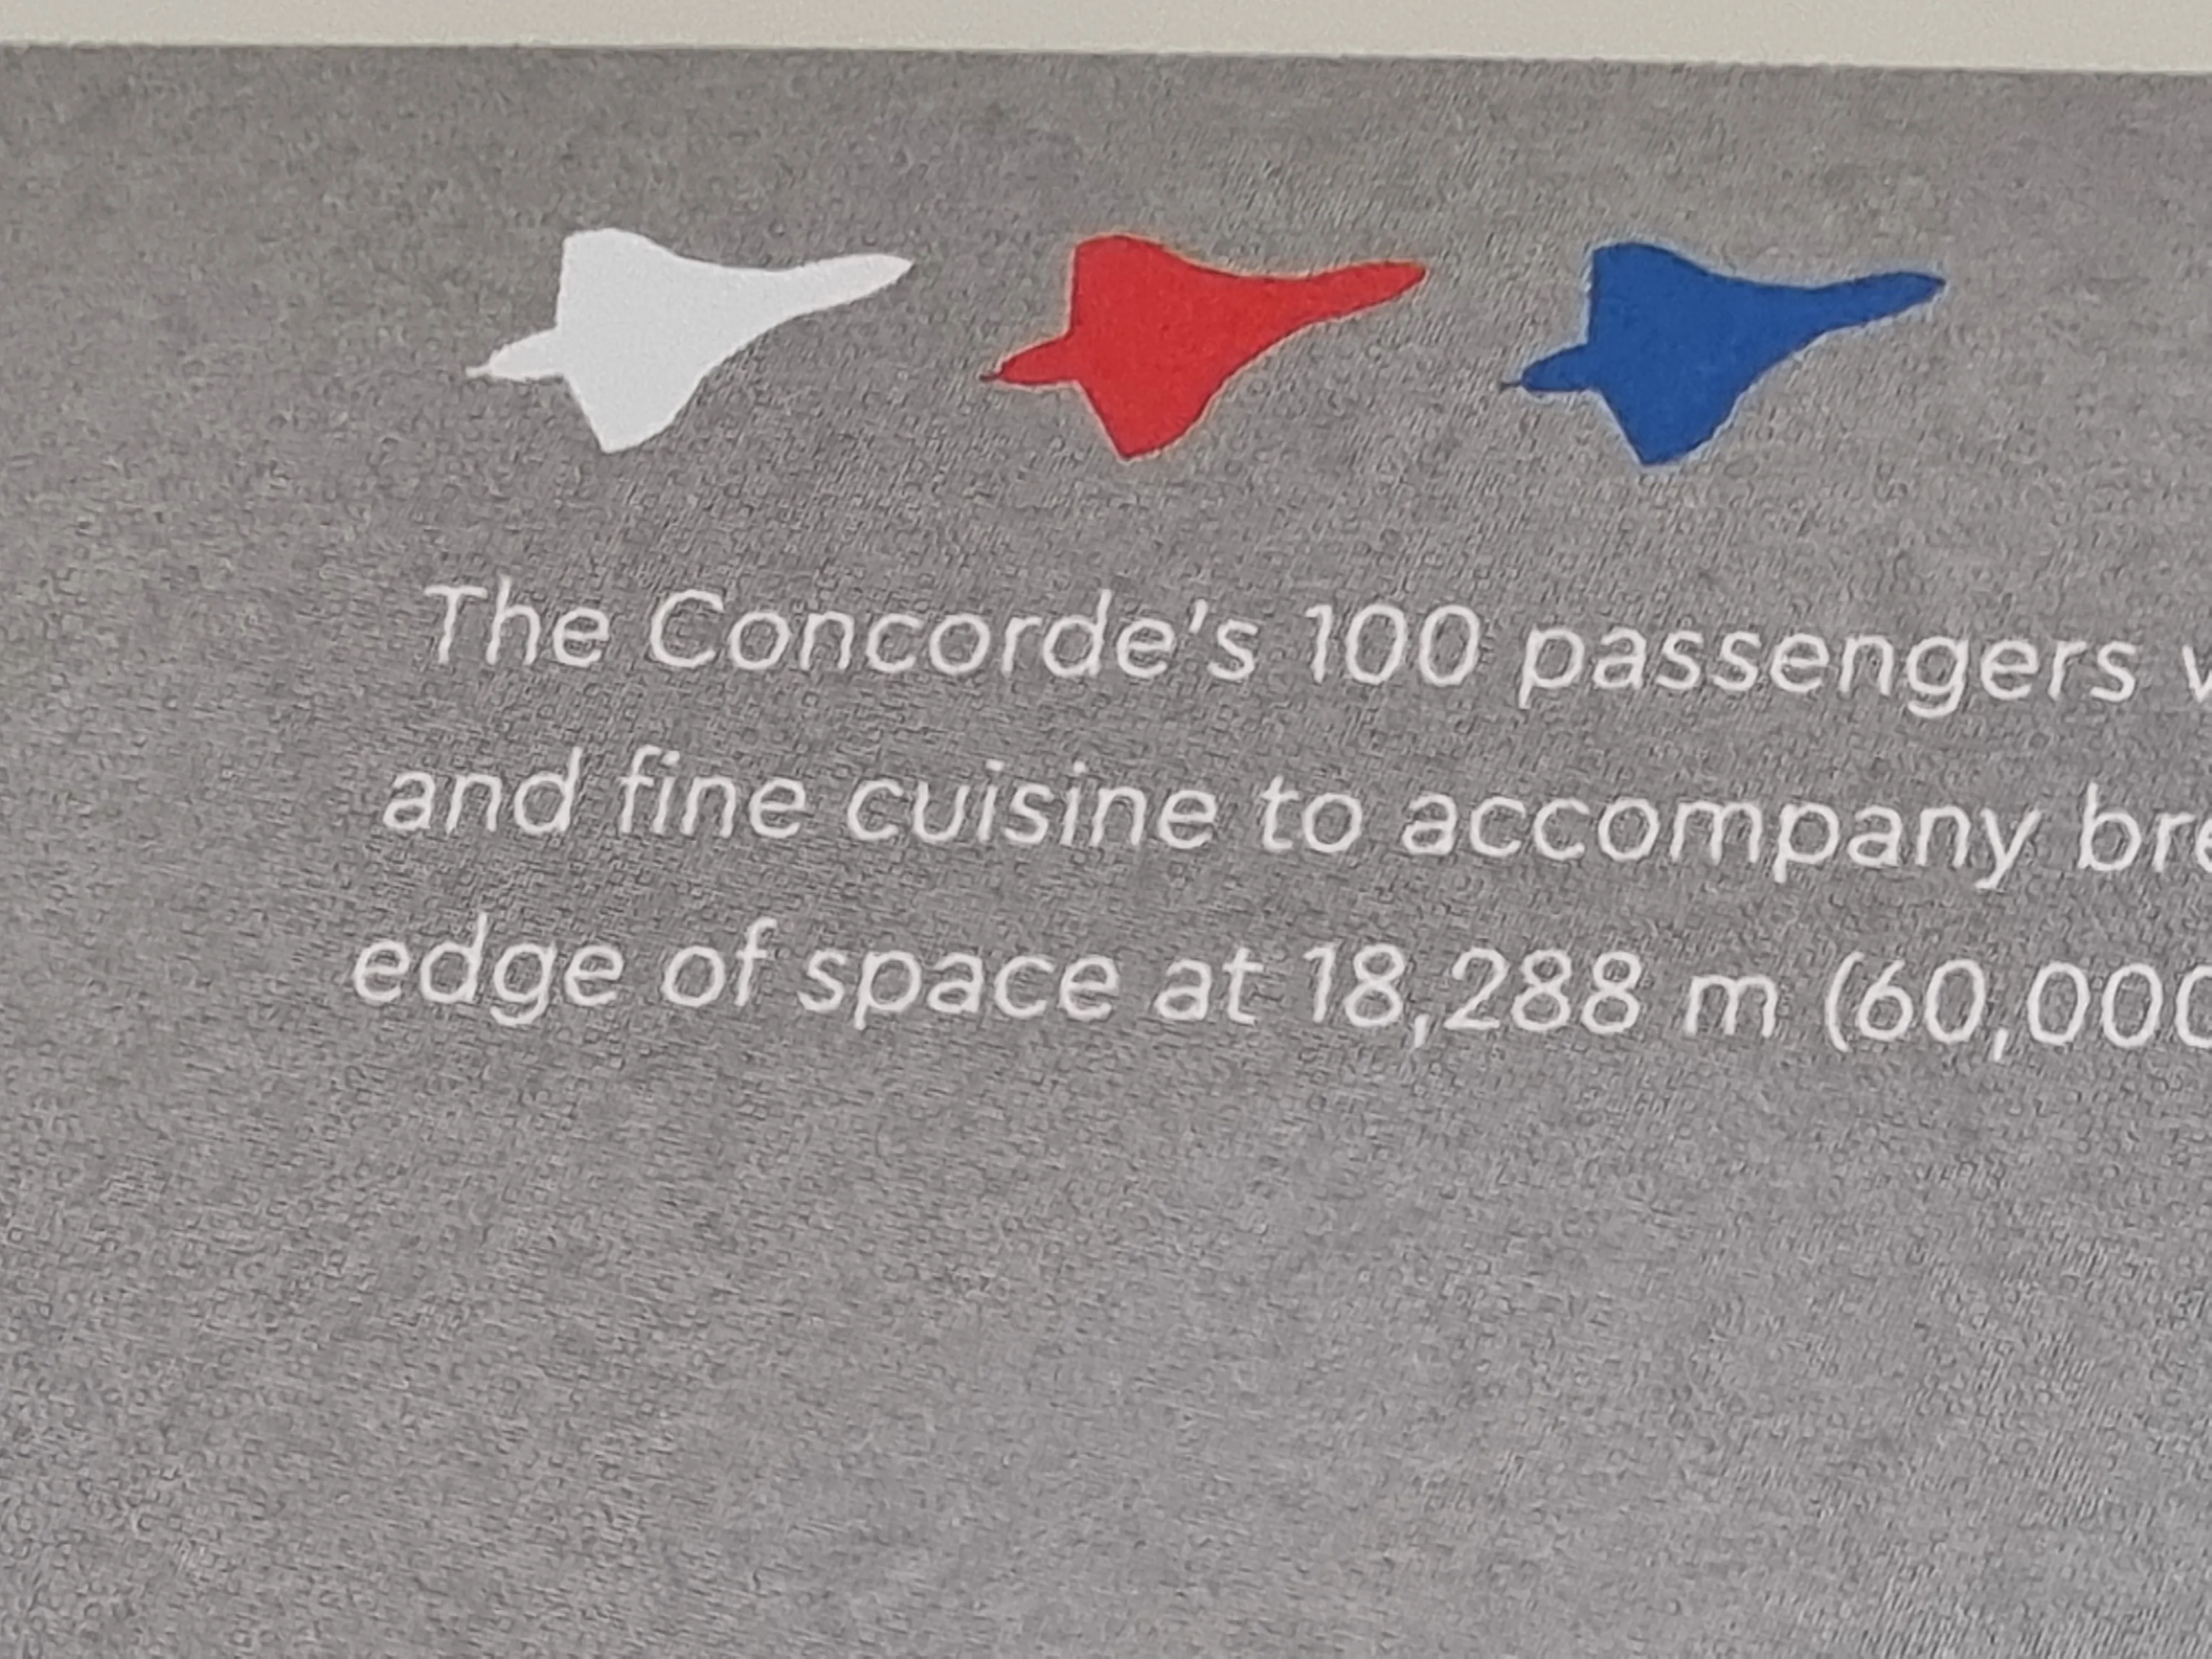
The instruction booklet says that the passenger’s flew at the edge of space. While 60,000ft is pretty much twice as high as a normal passenger jet, it’s only 18.2 km up and space really starts at 100km. So unless 18.2% to space is considered the edge, it’s a pretty big edge.
Bag 12
These long pins look so funny.
So lego is so precise that I actually can’t fit this in right now. Have to twist it in and hope I don’t break anything
Bag 13
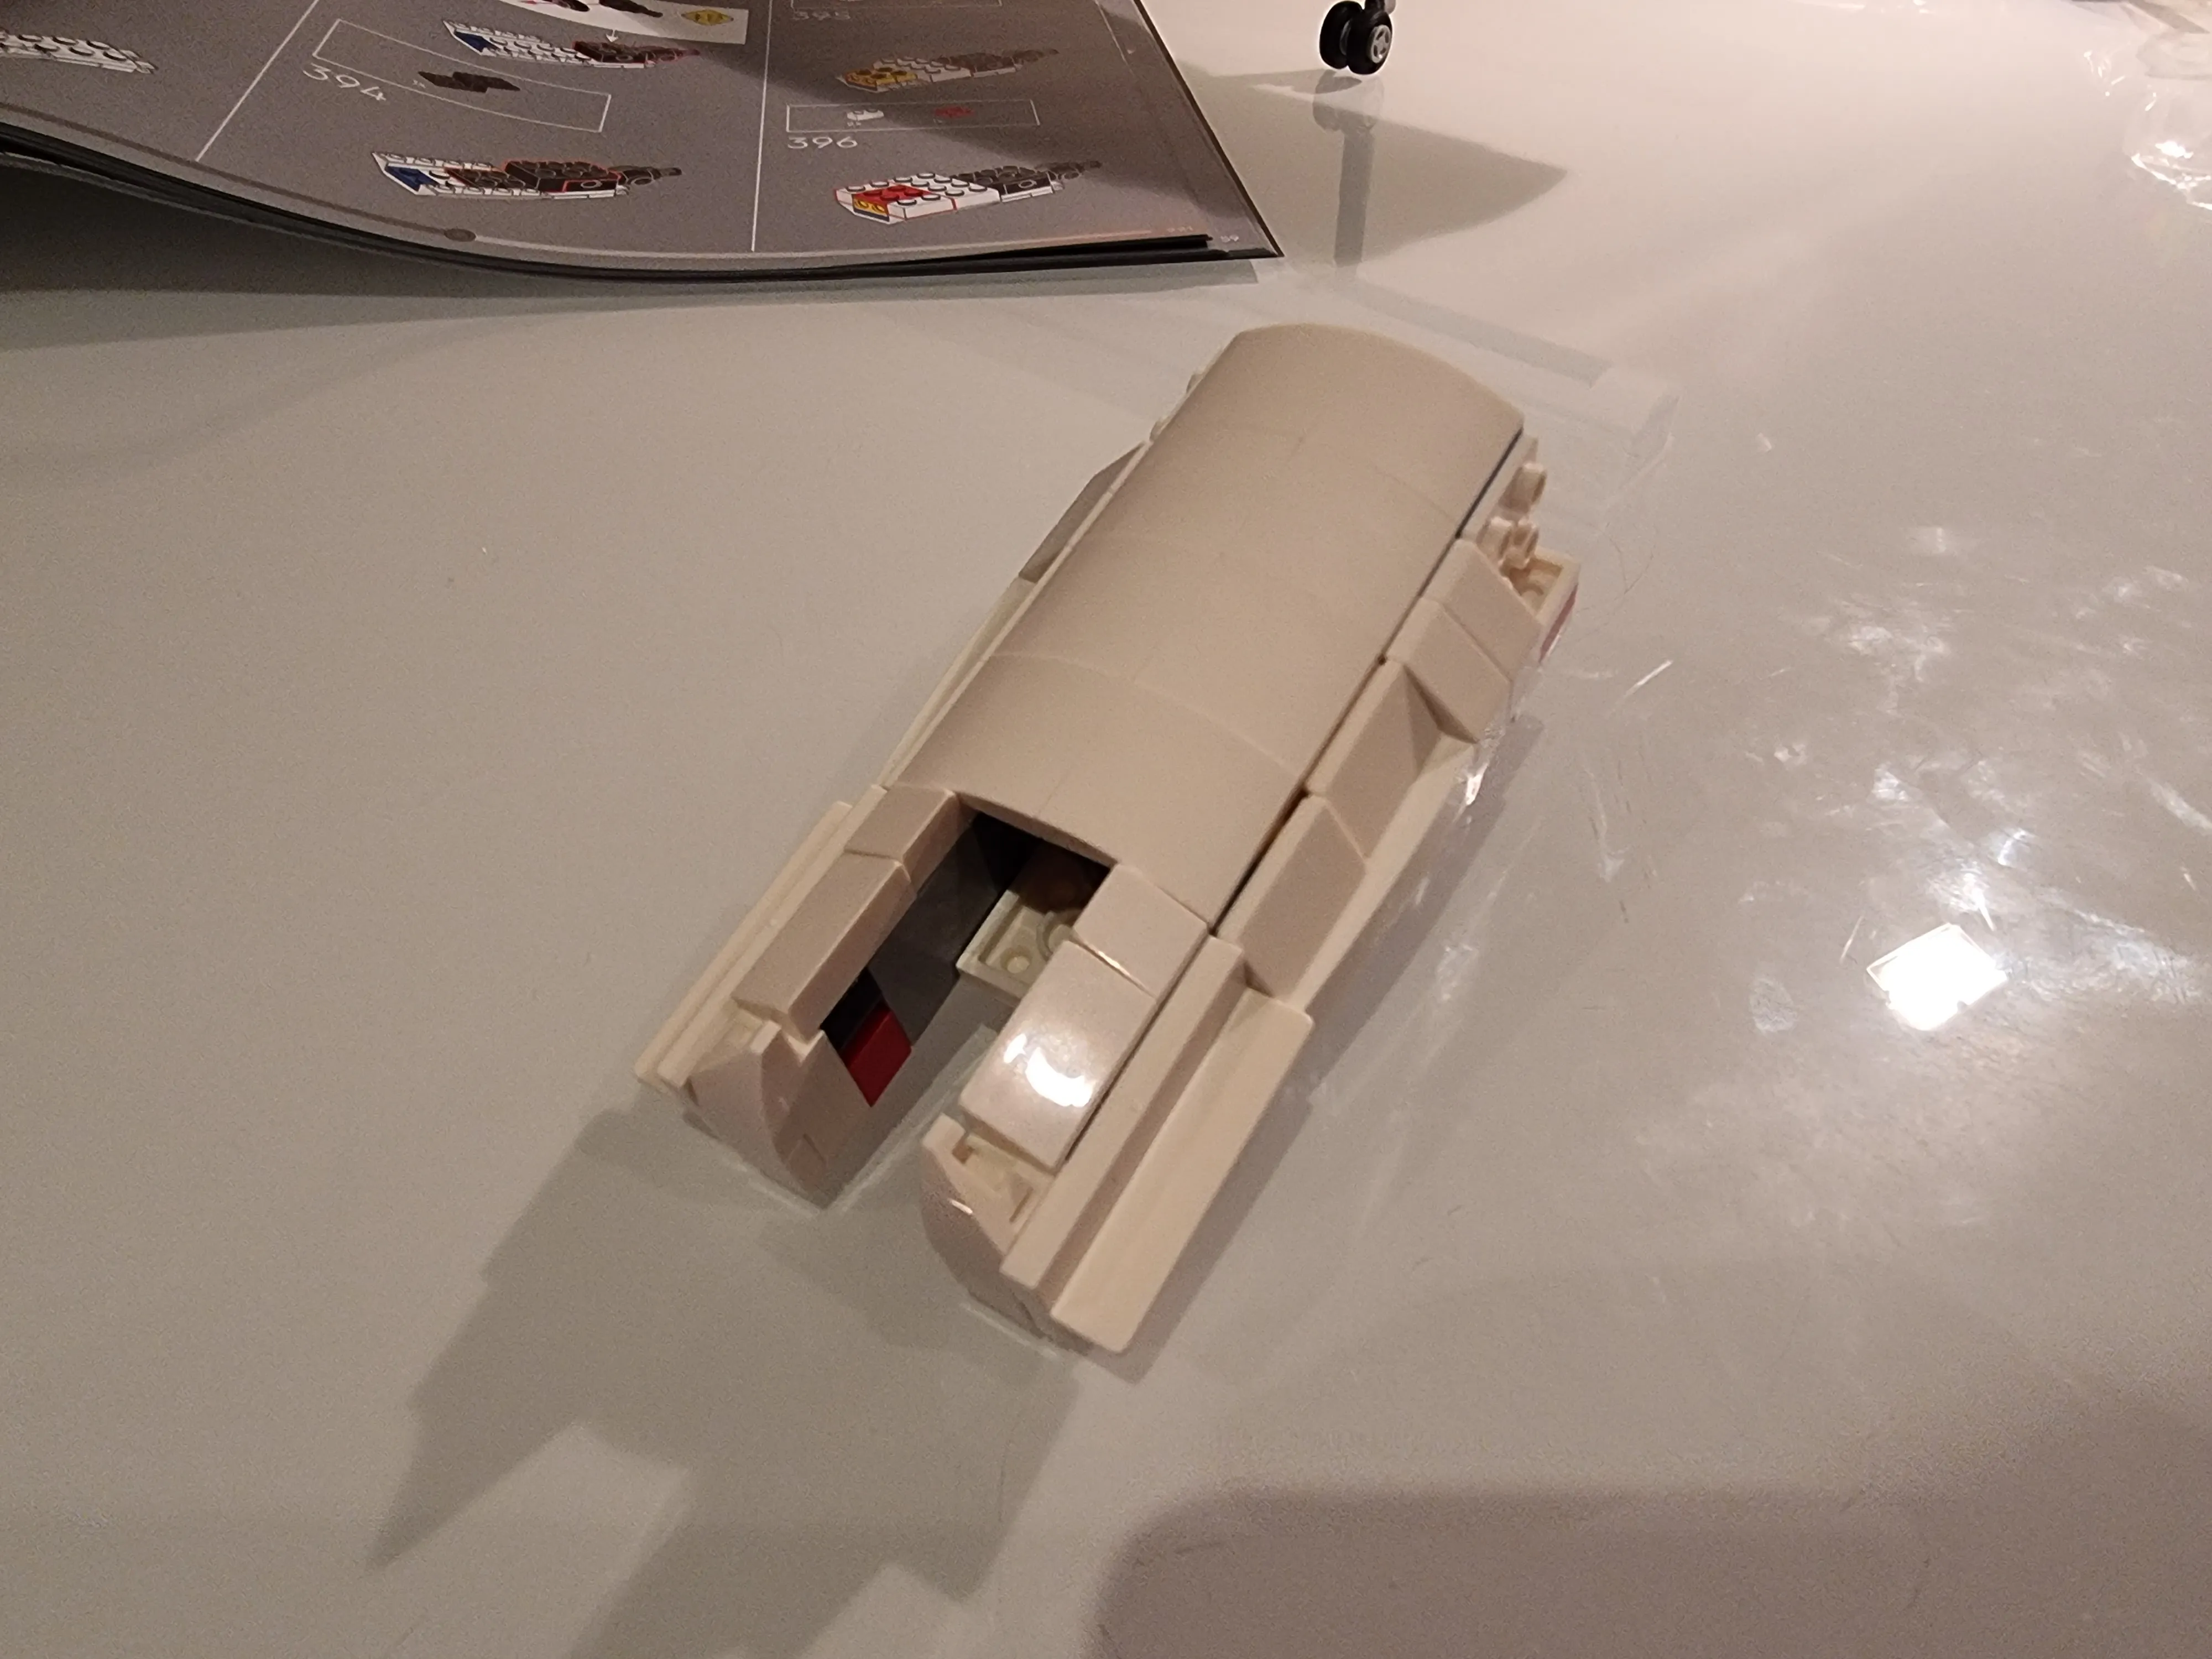
A very sleek piece of kit.
Fifth day: 3-12-23
Bag 14
Bag 15
Bag 16
Finally the “mystery” piece comes into action. (The instructions have told me what the piece is but I’m having fun ok)
Ooooooooh it’s time!!!
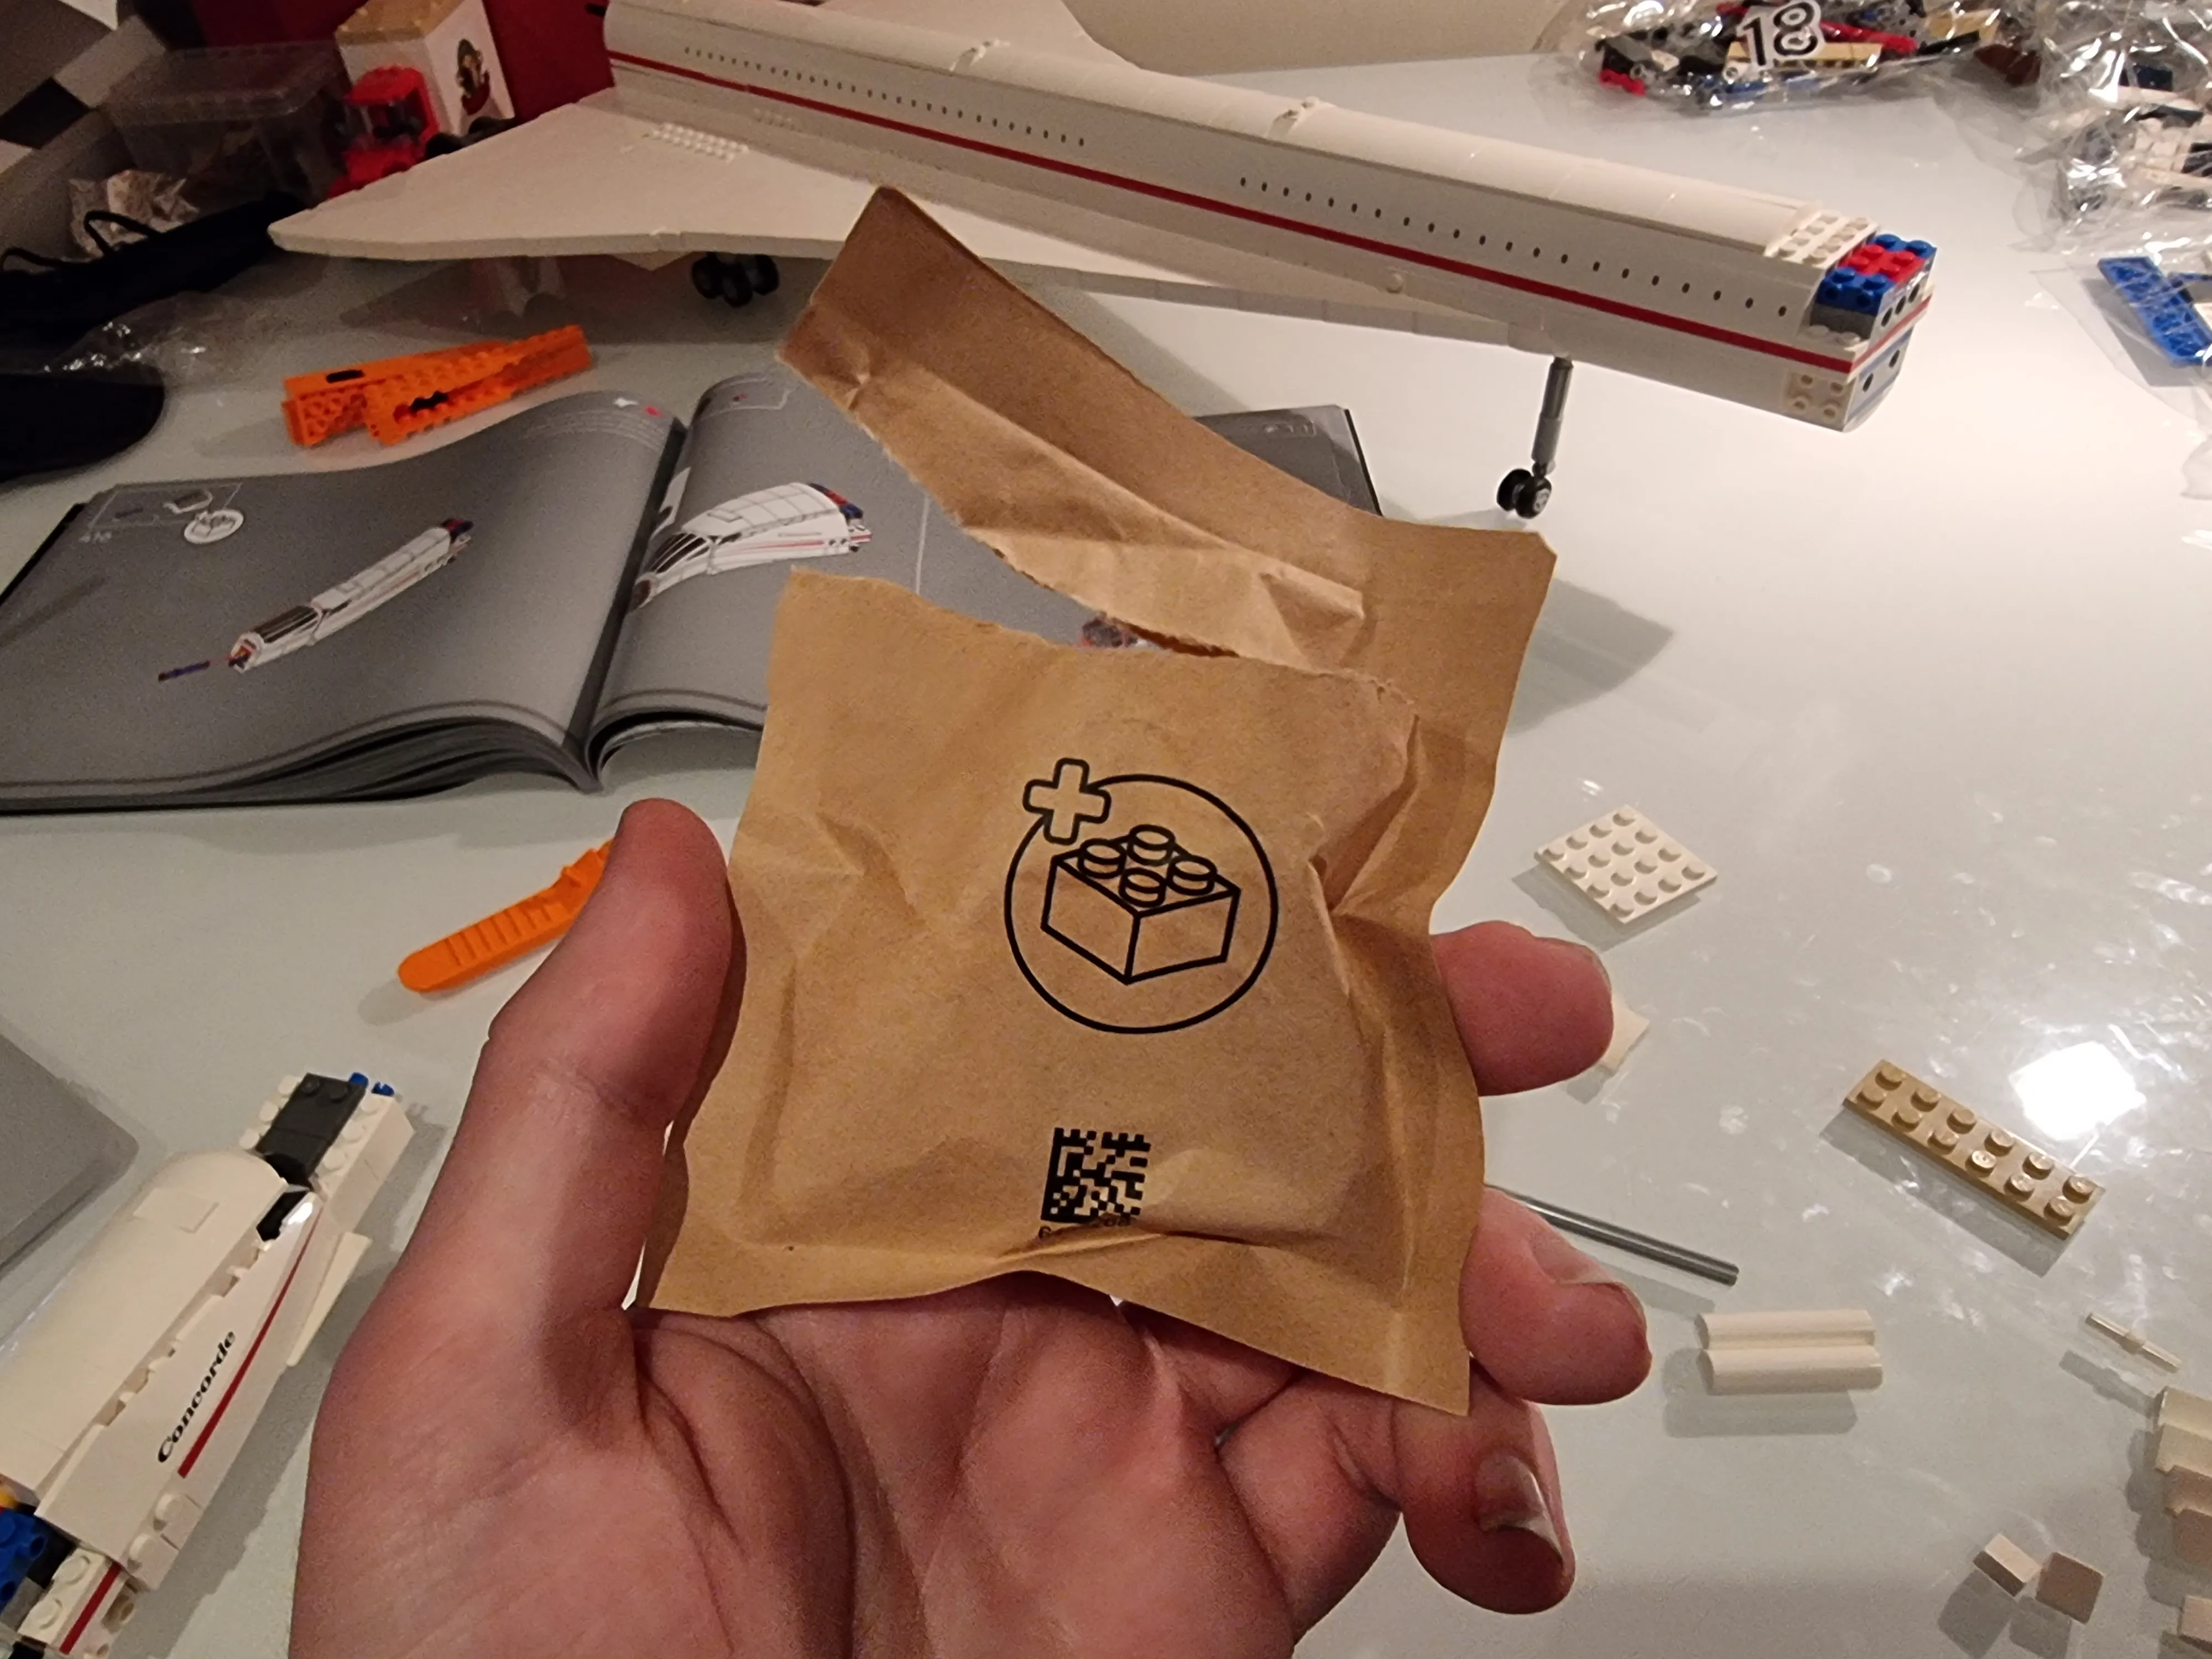
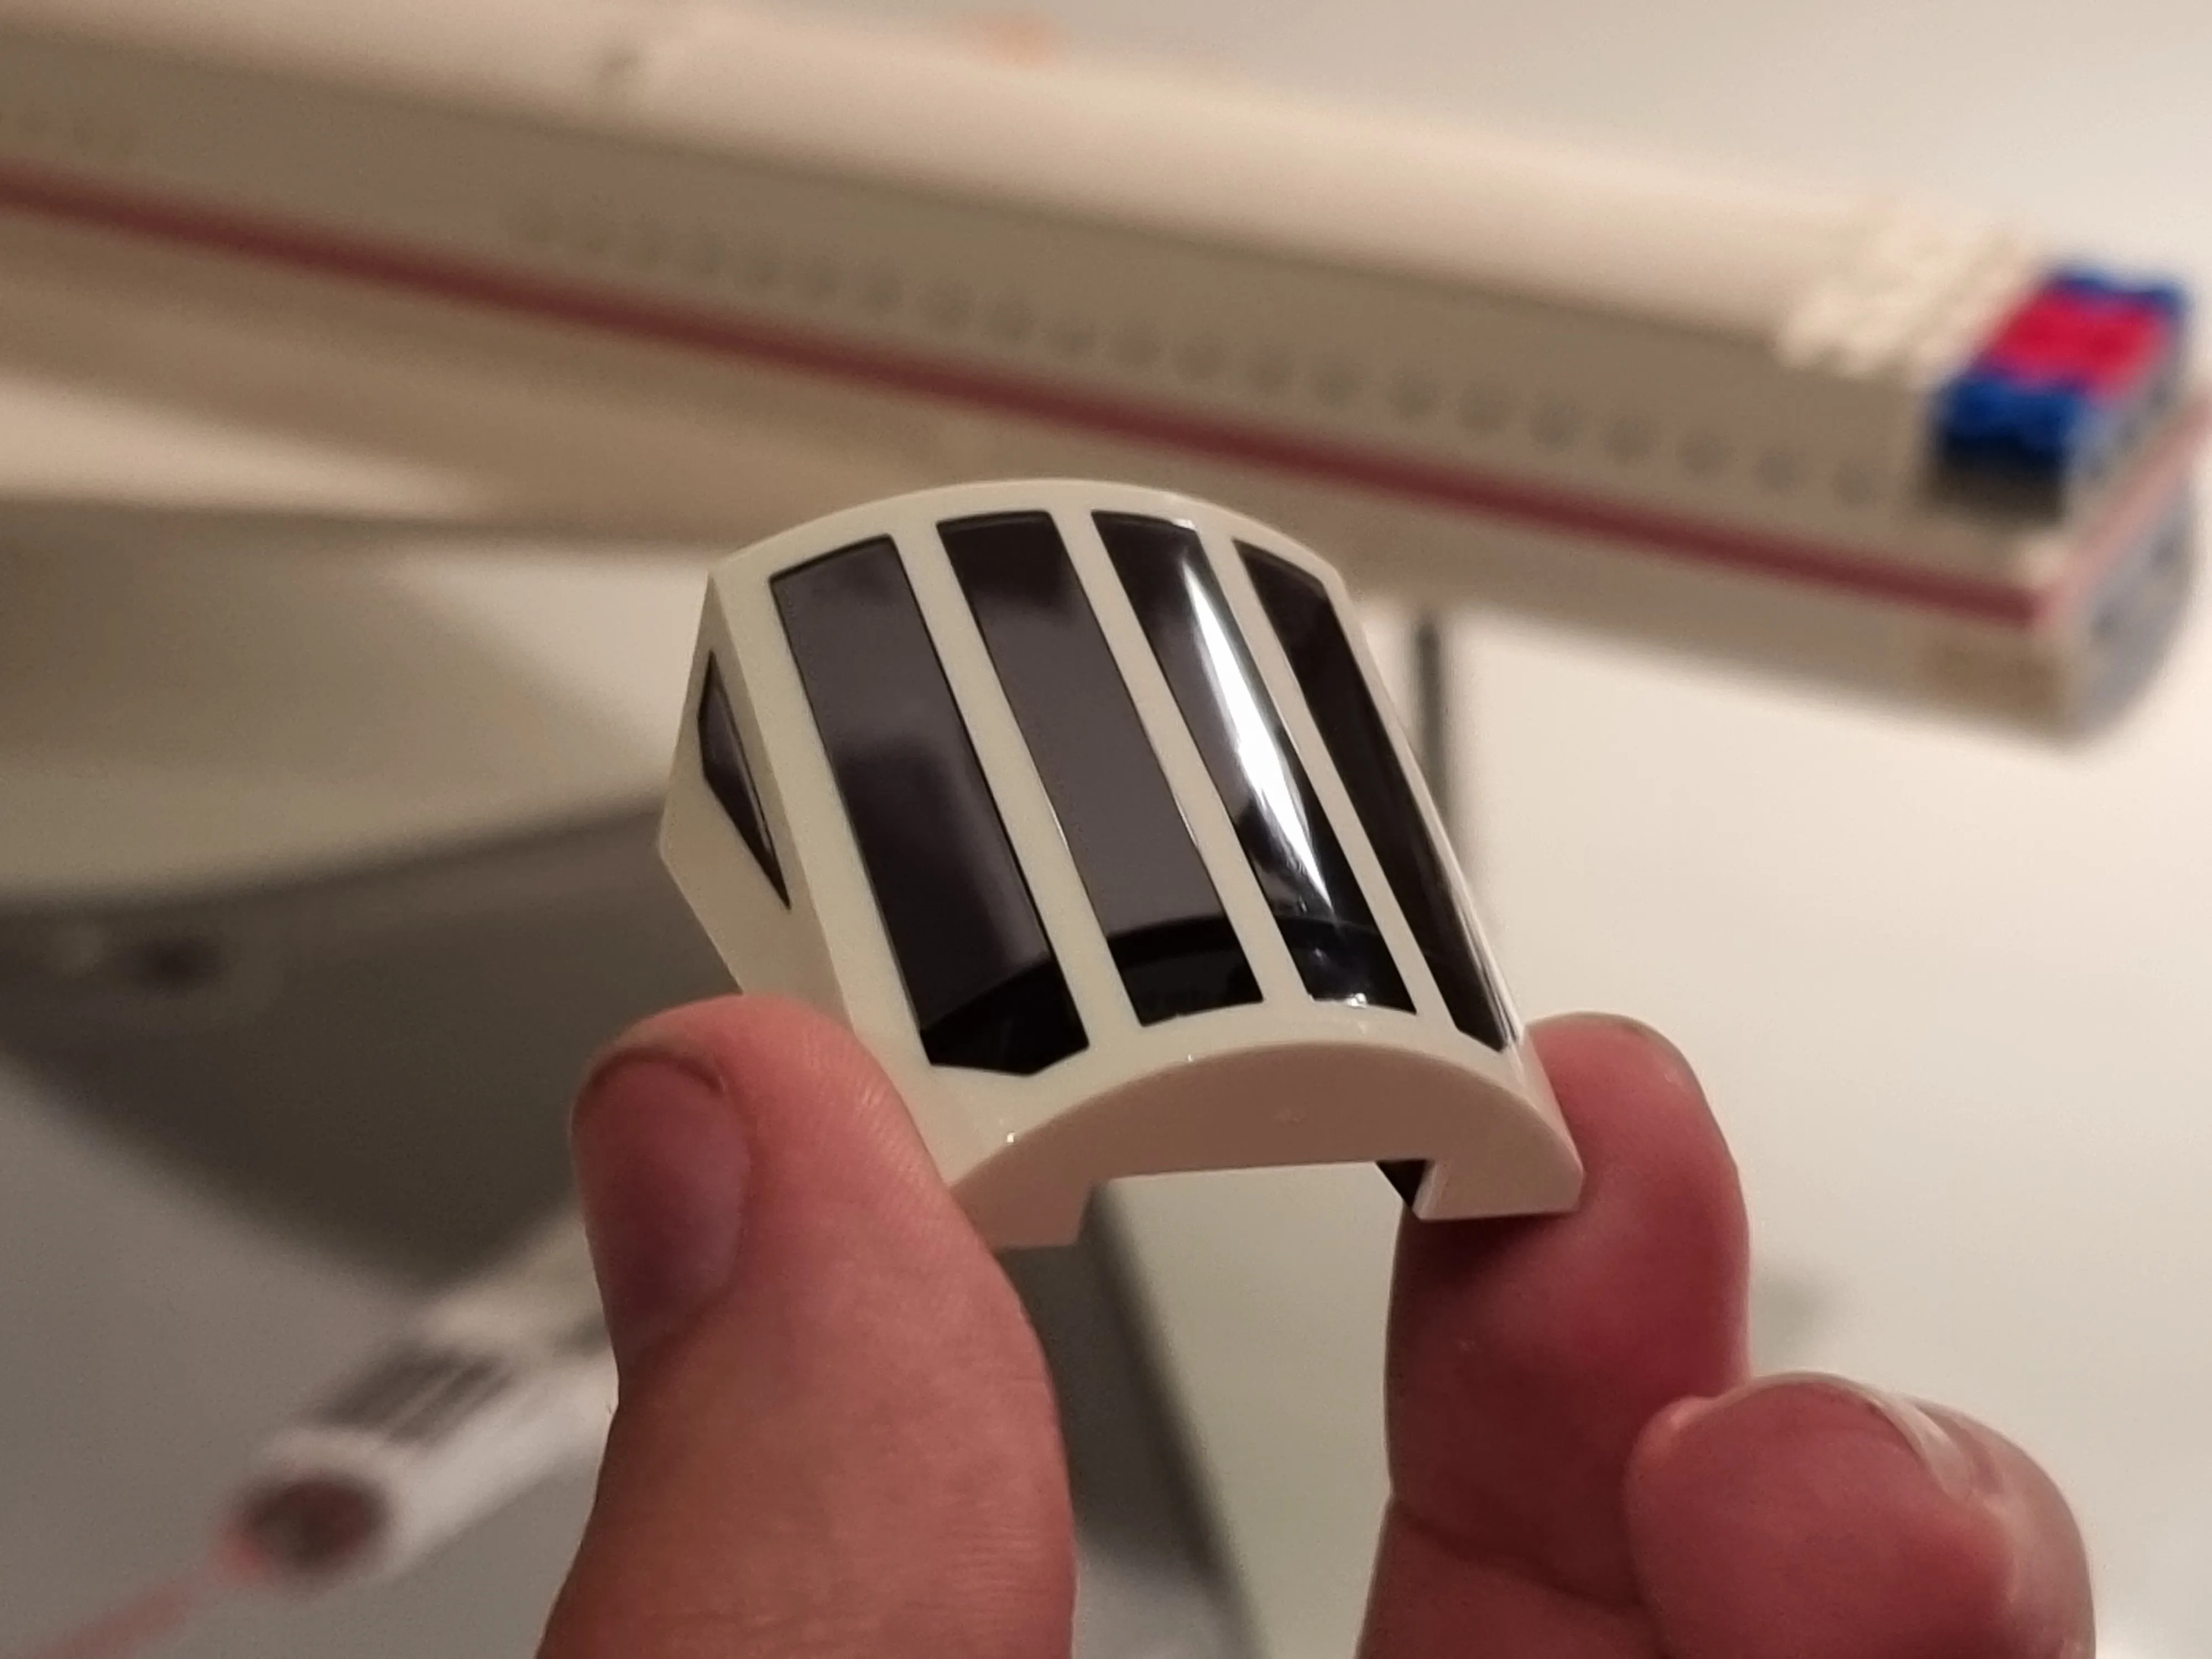
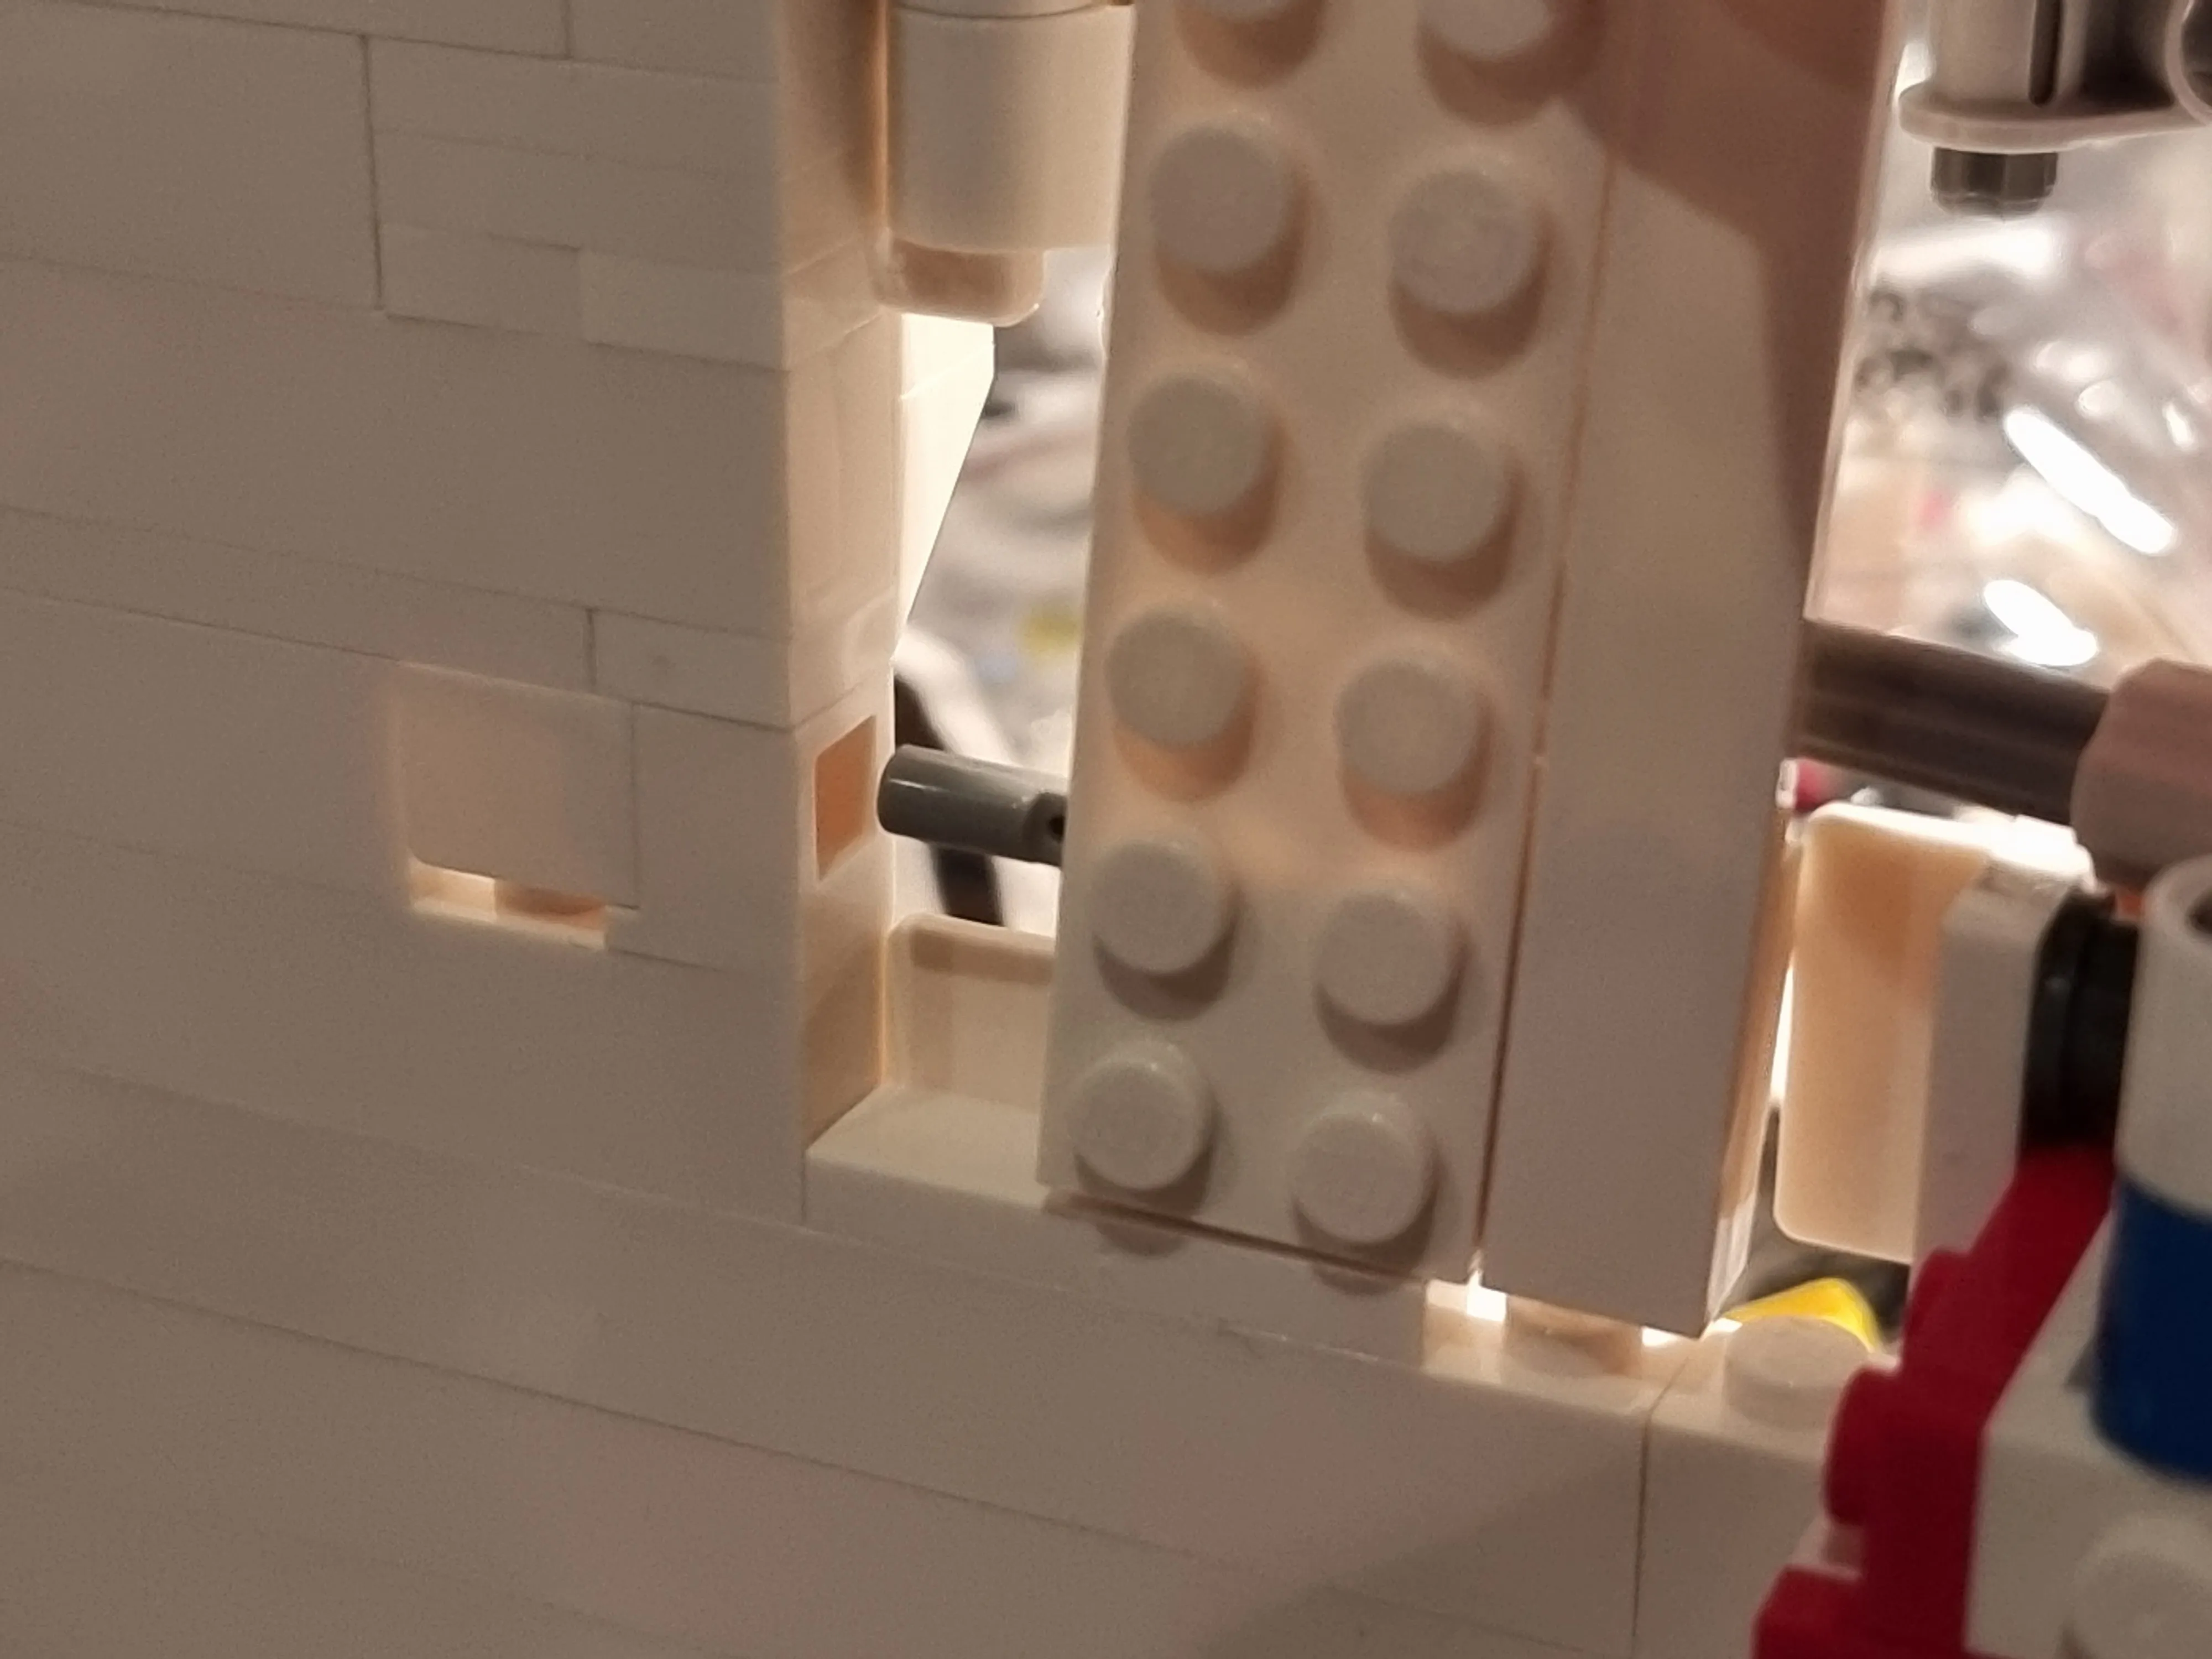
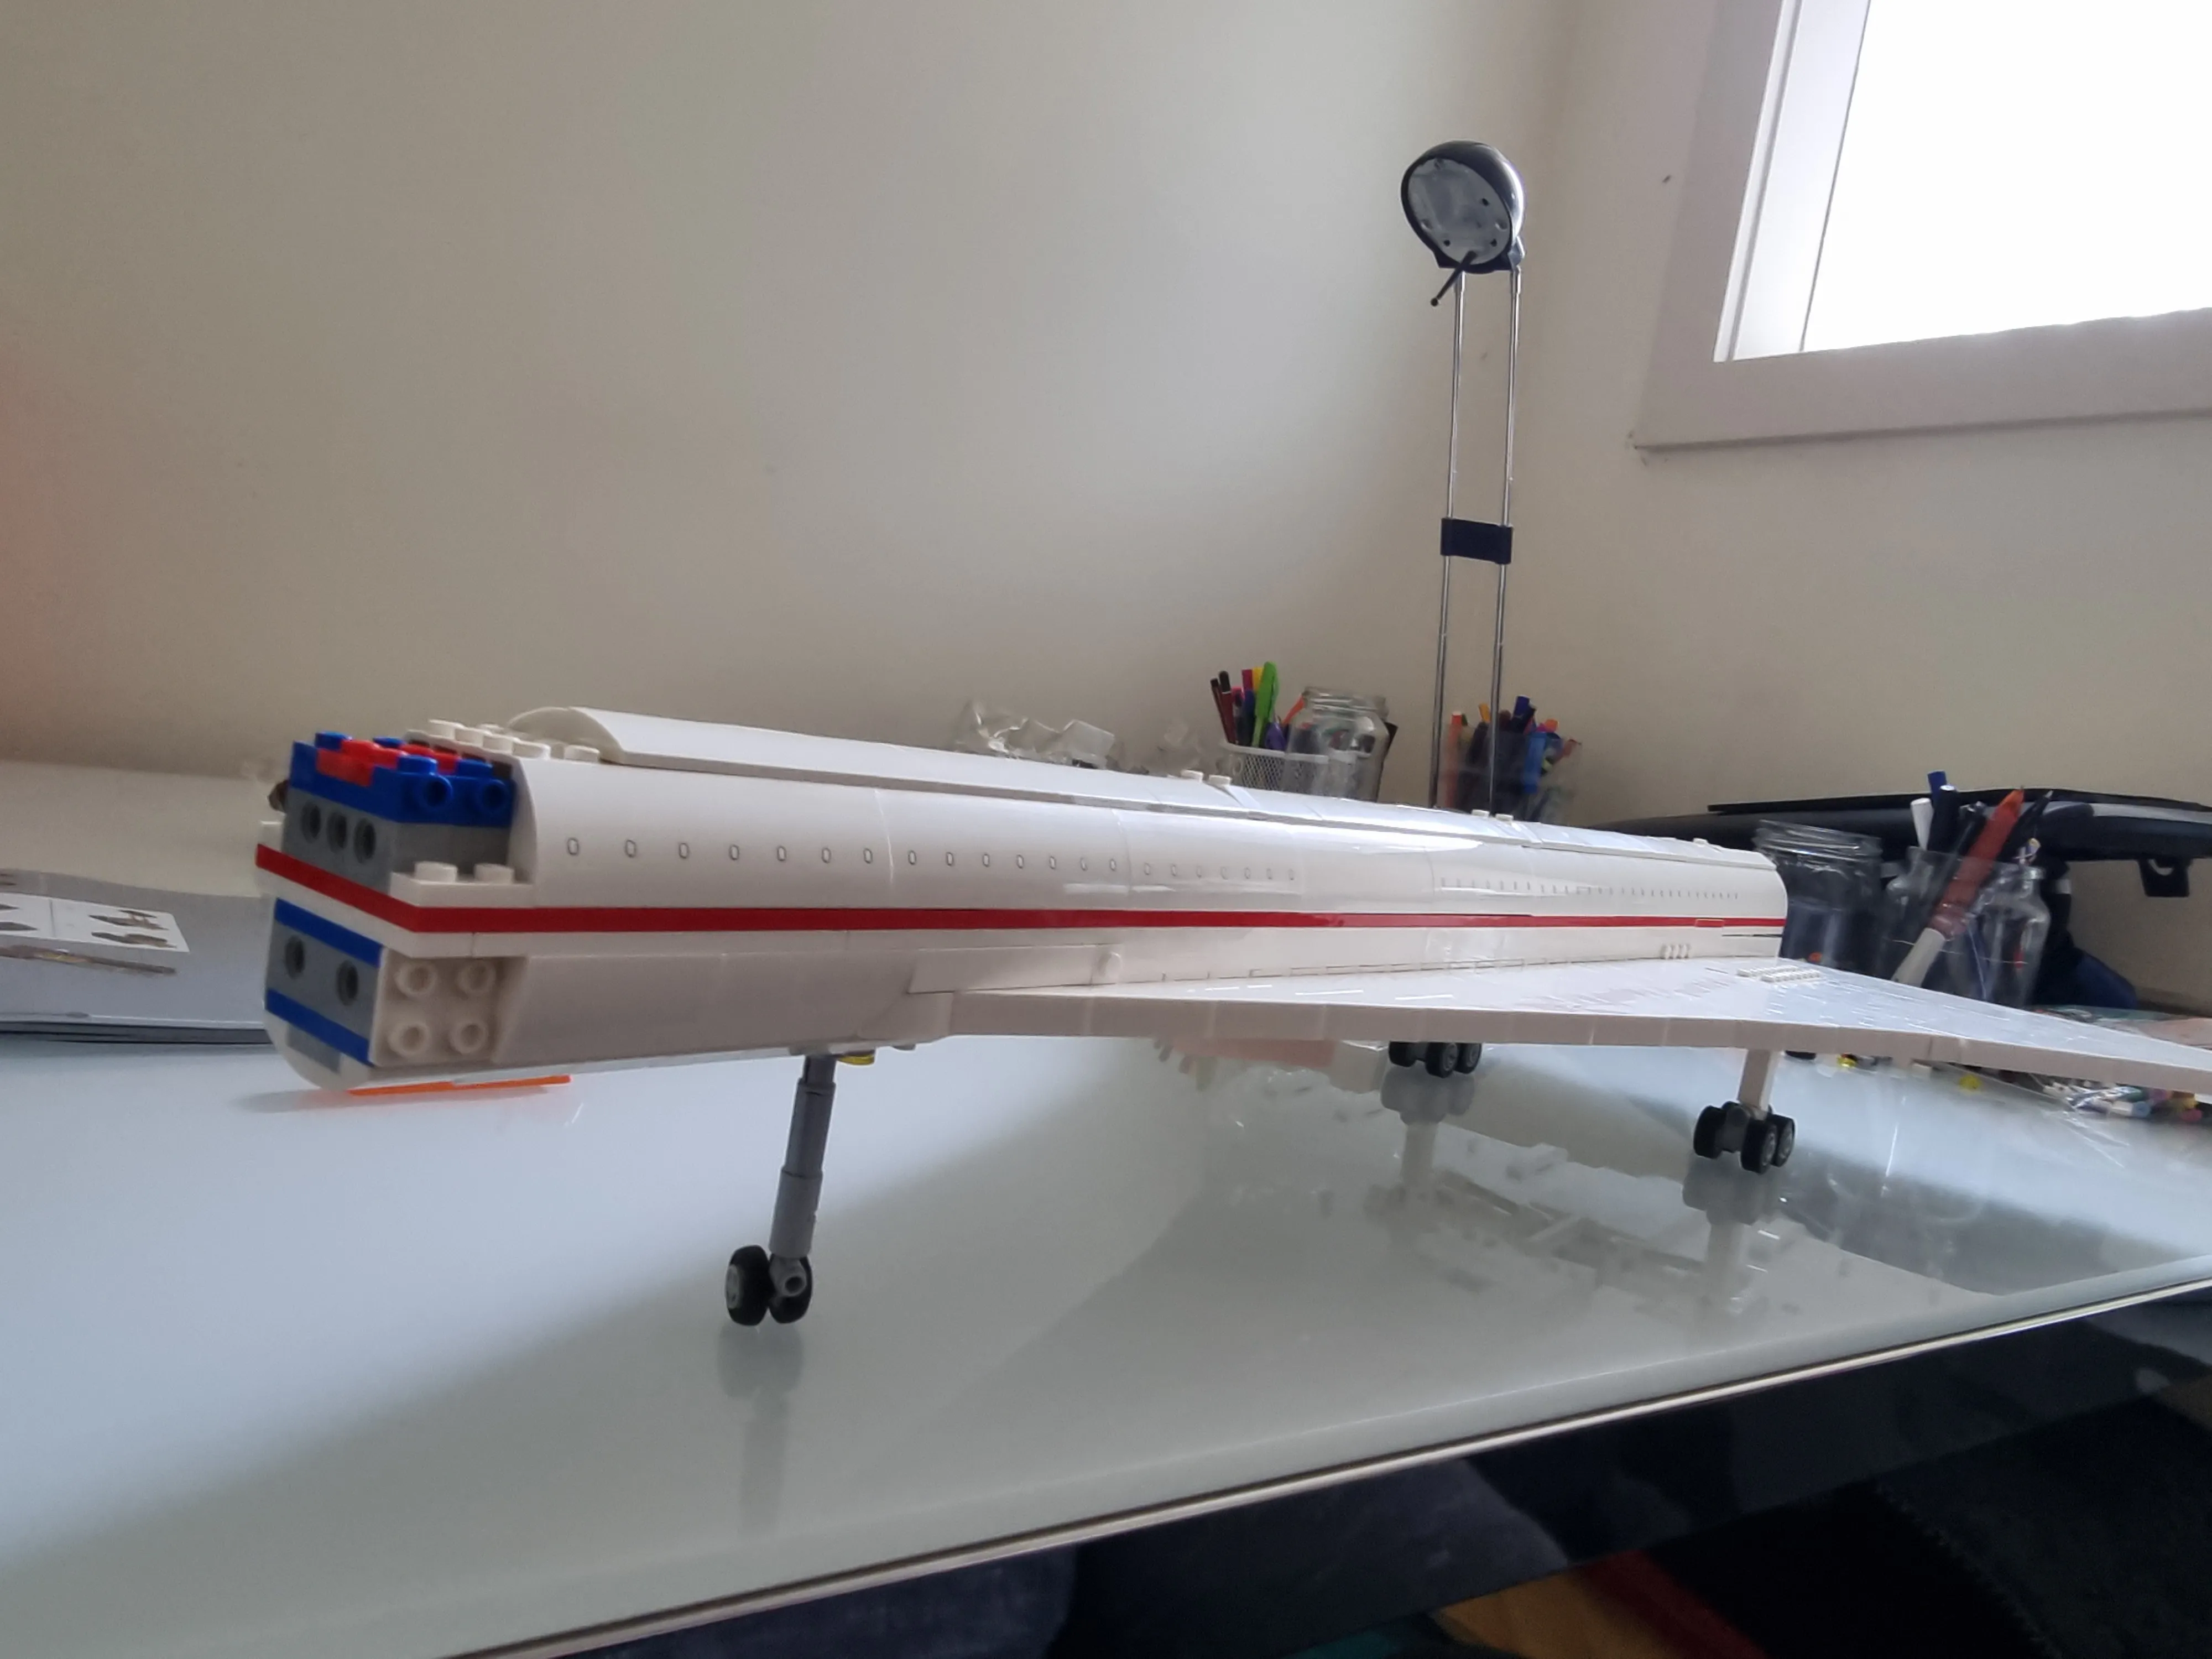
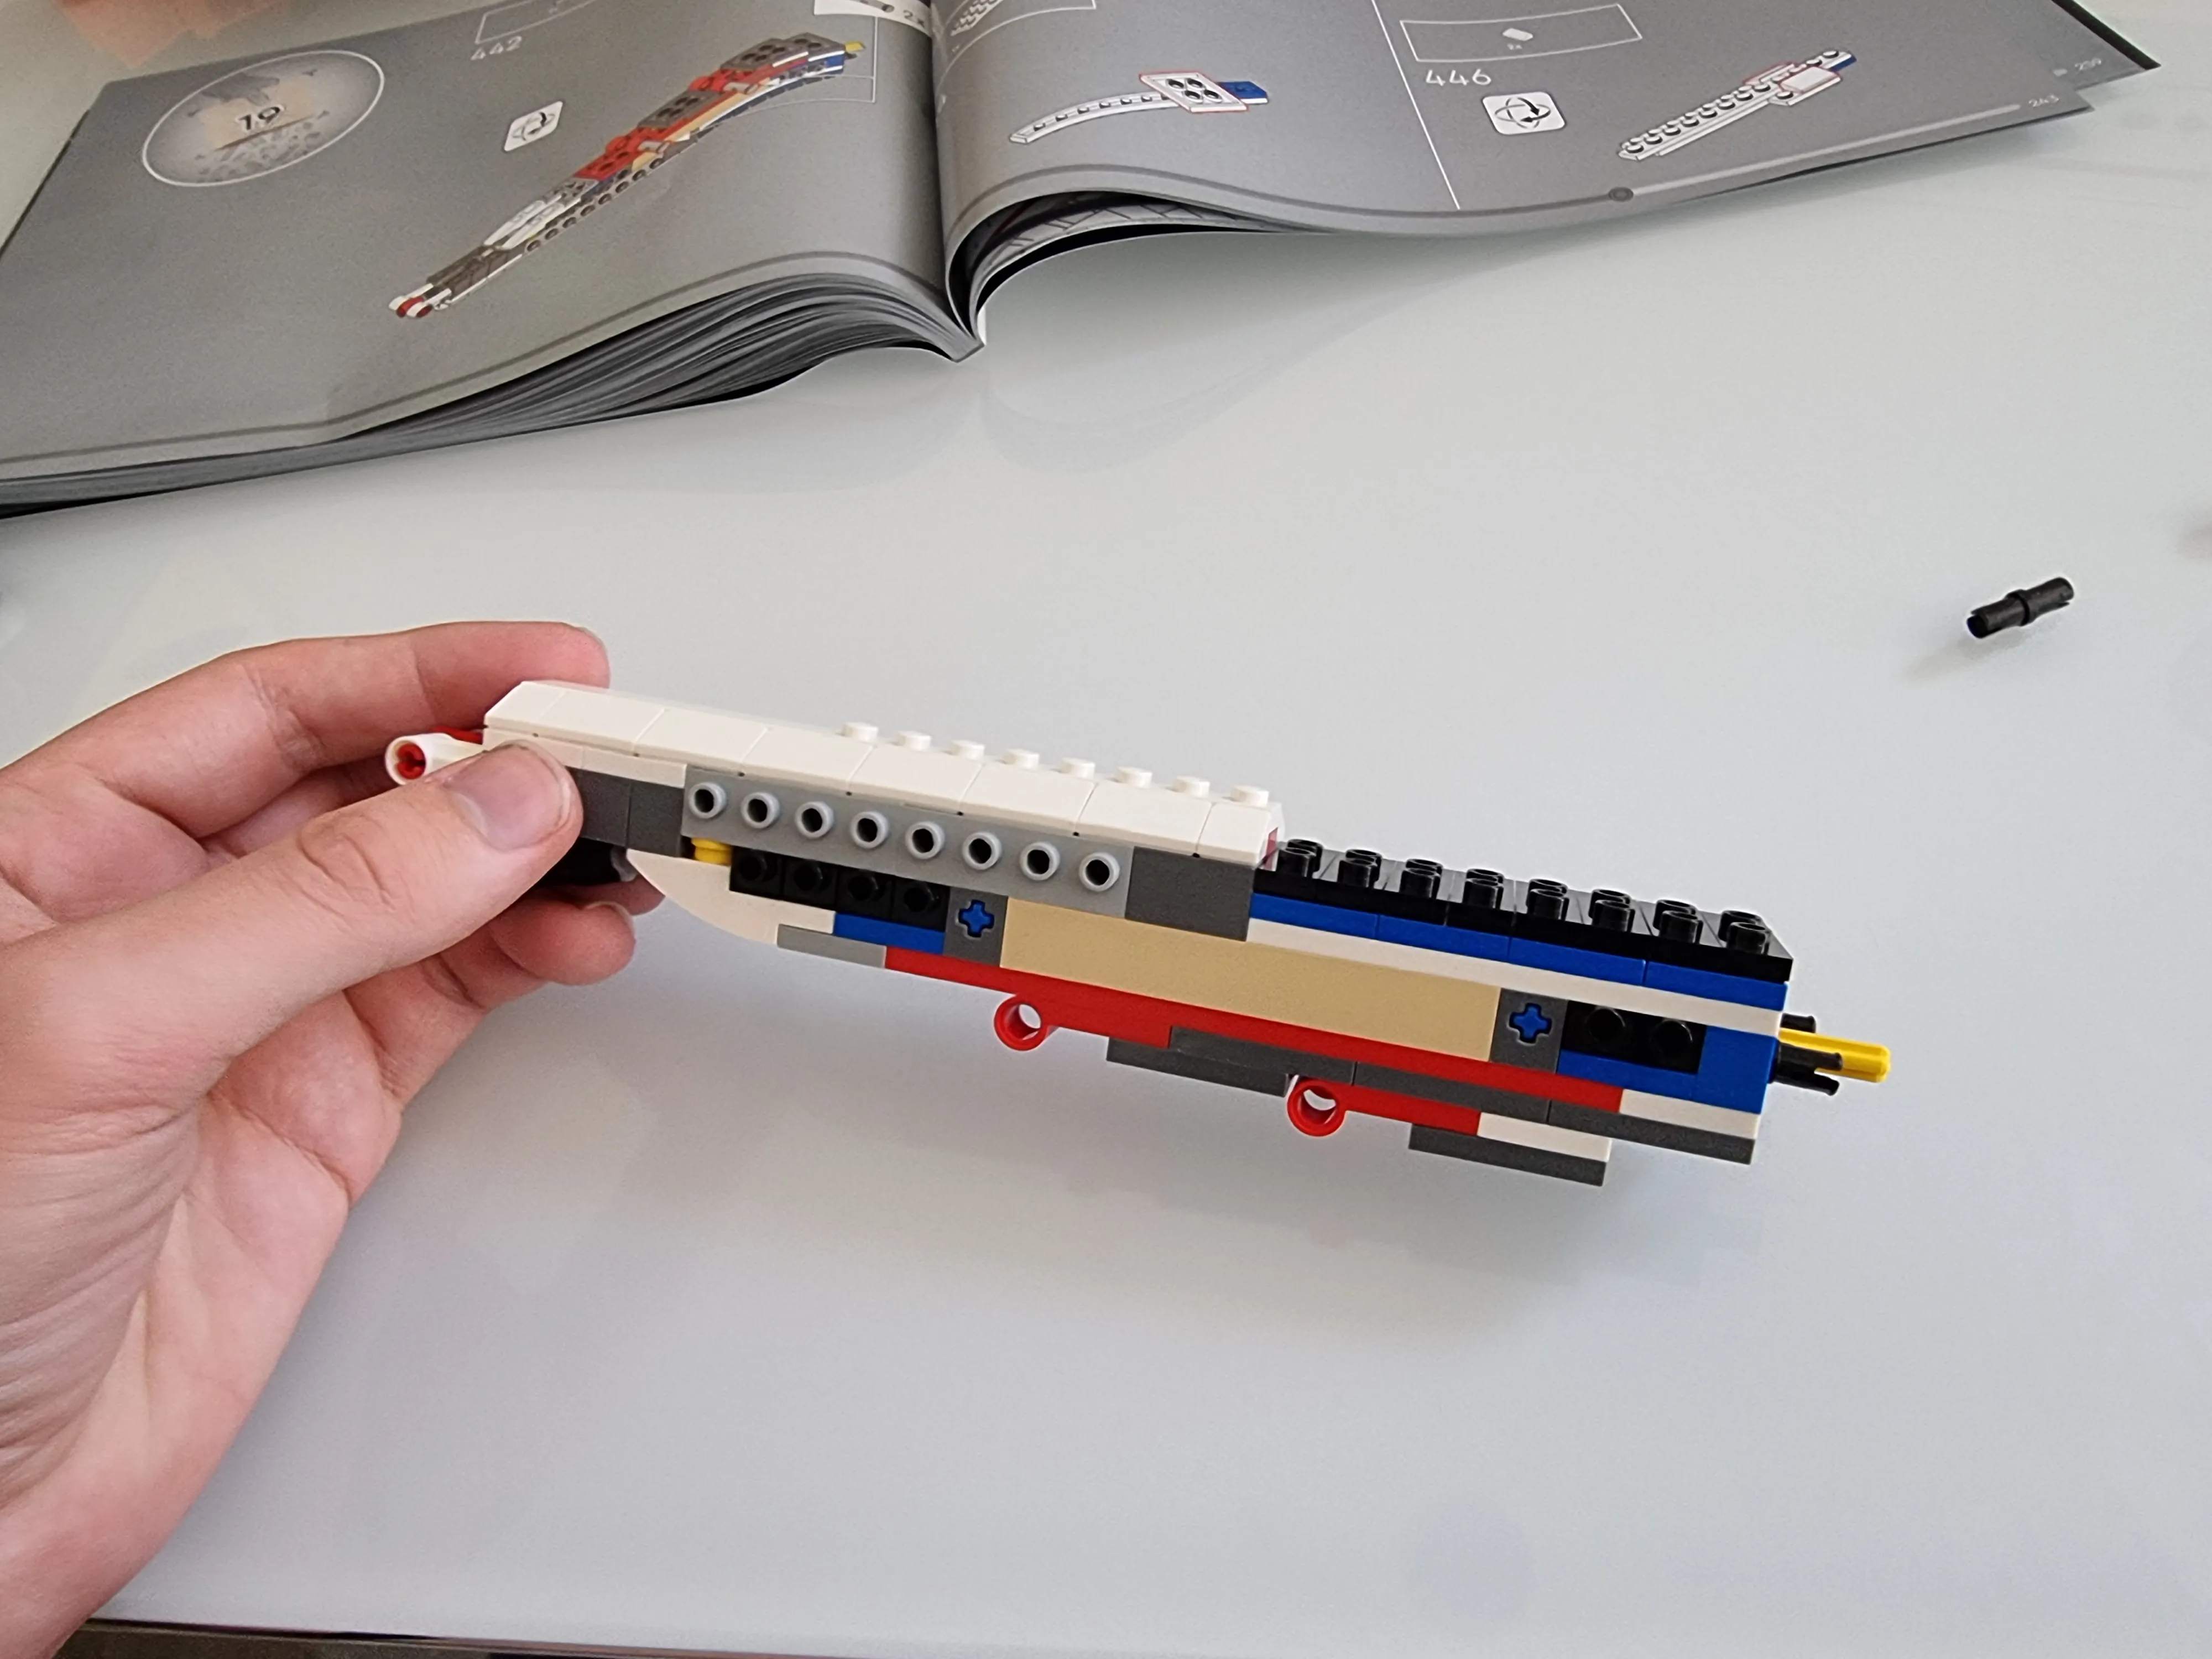
It’s the visor!!!!
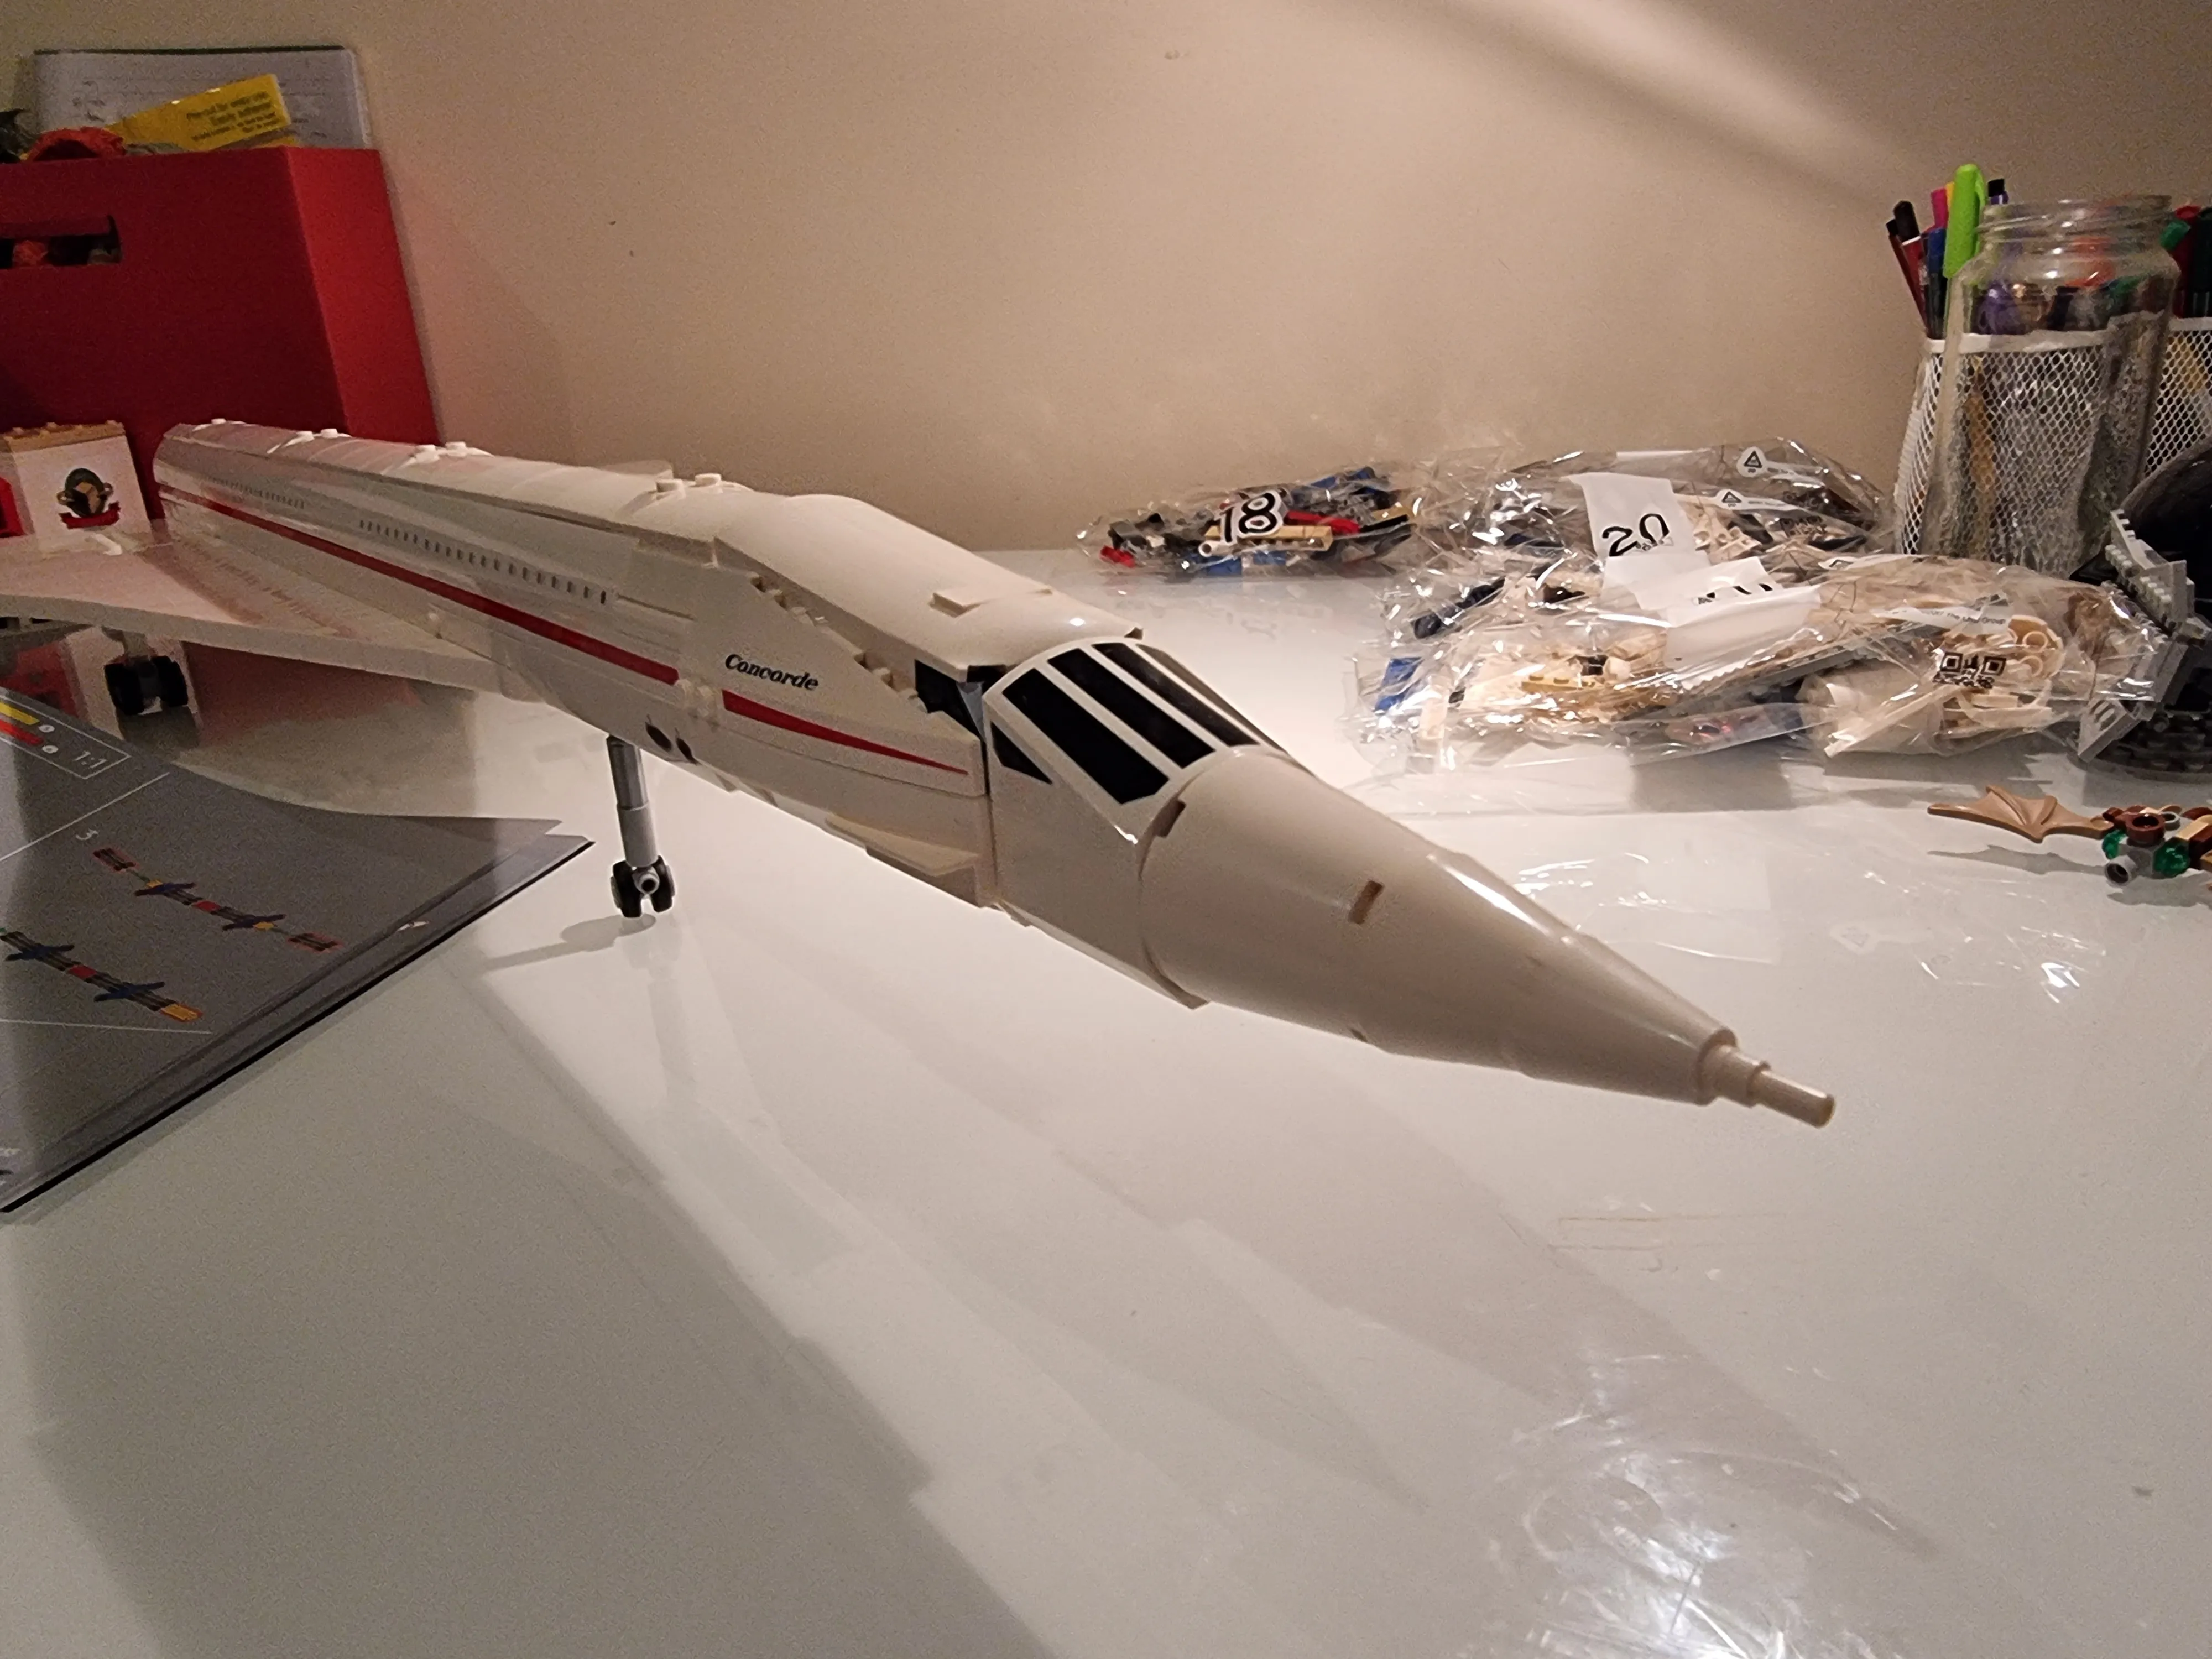
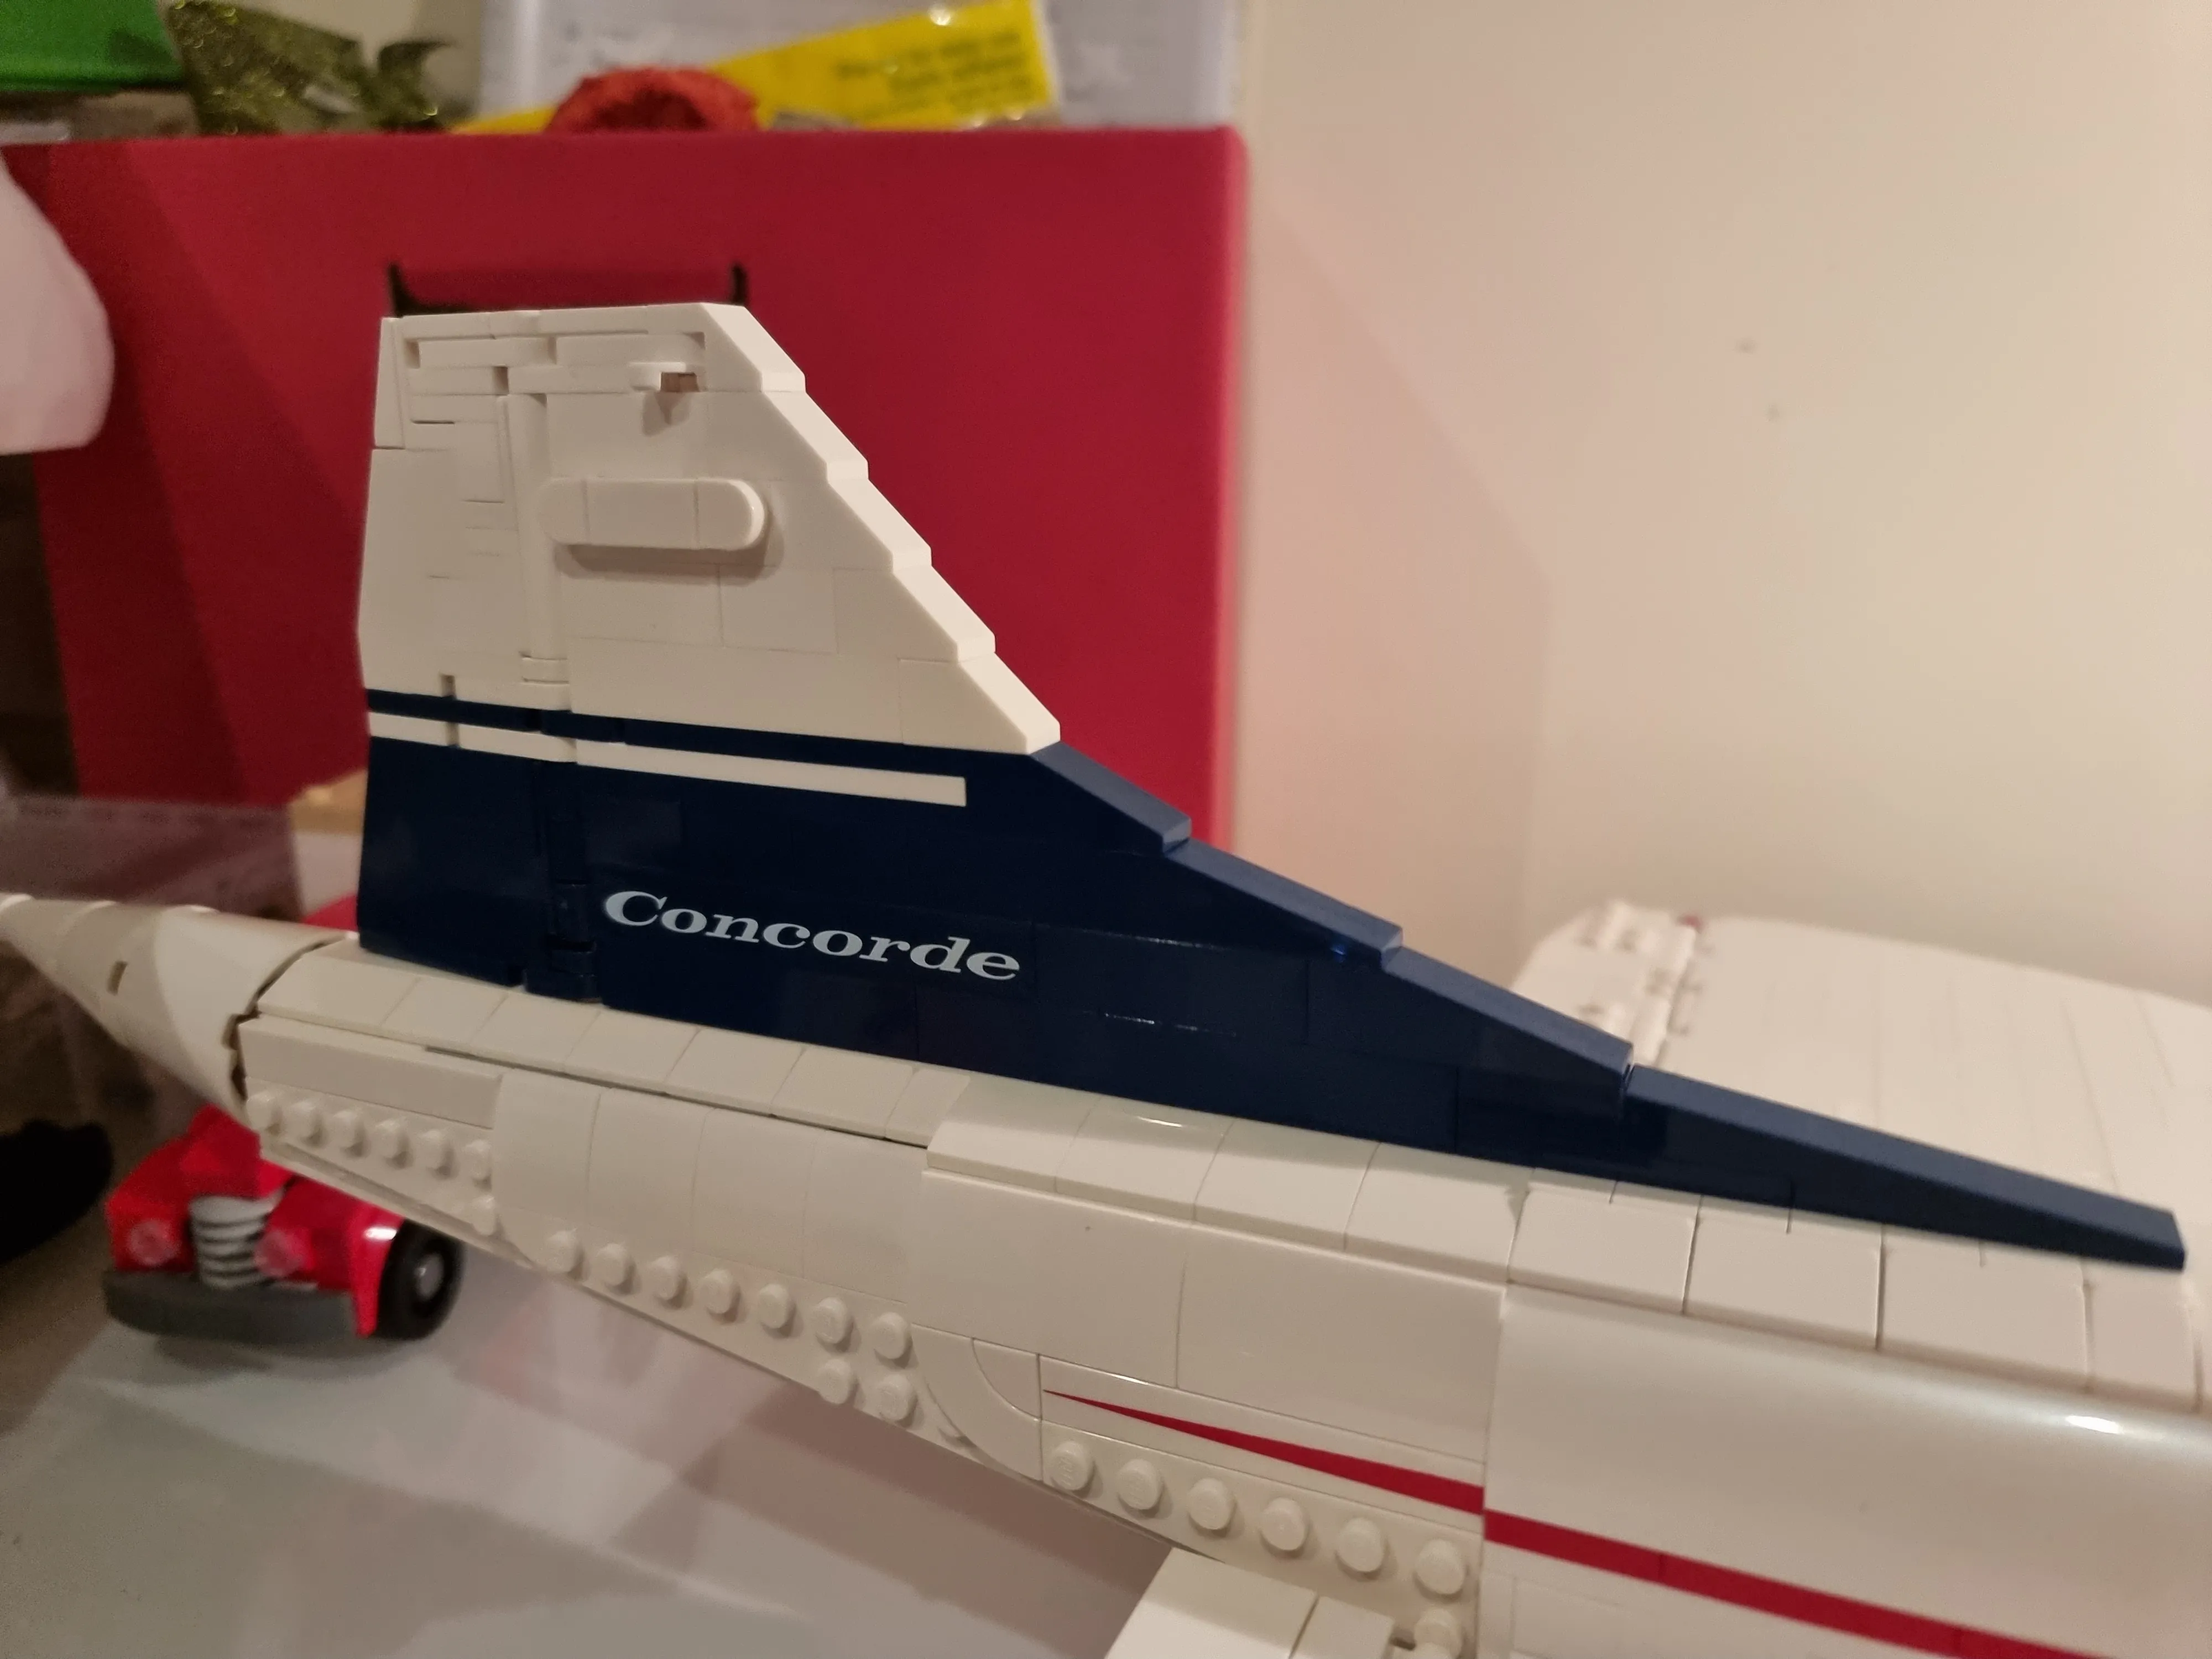
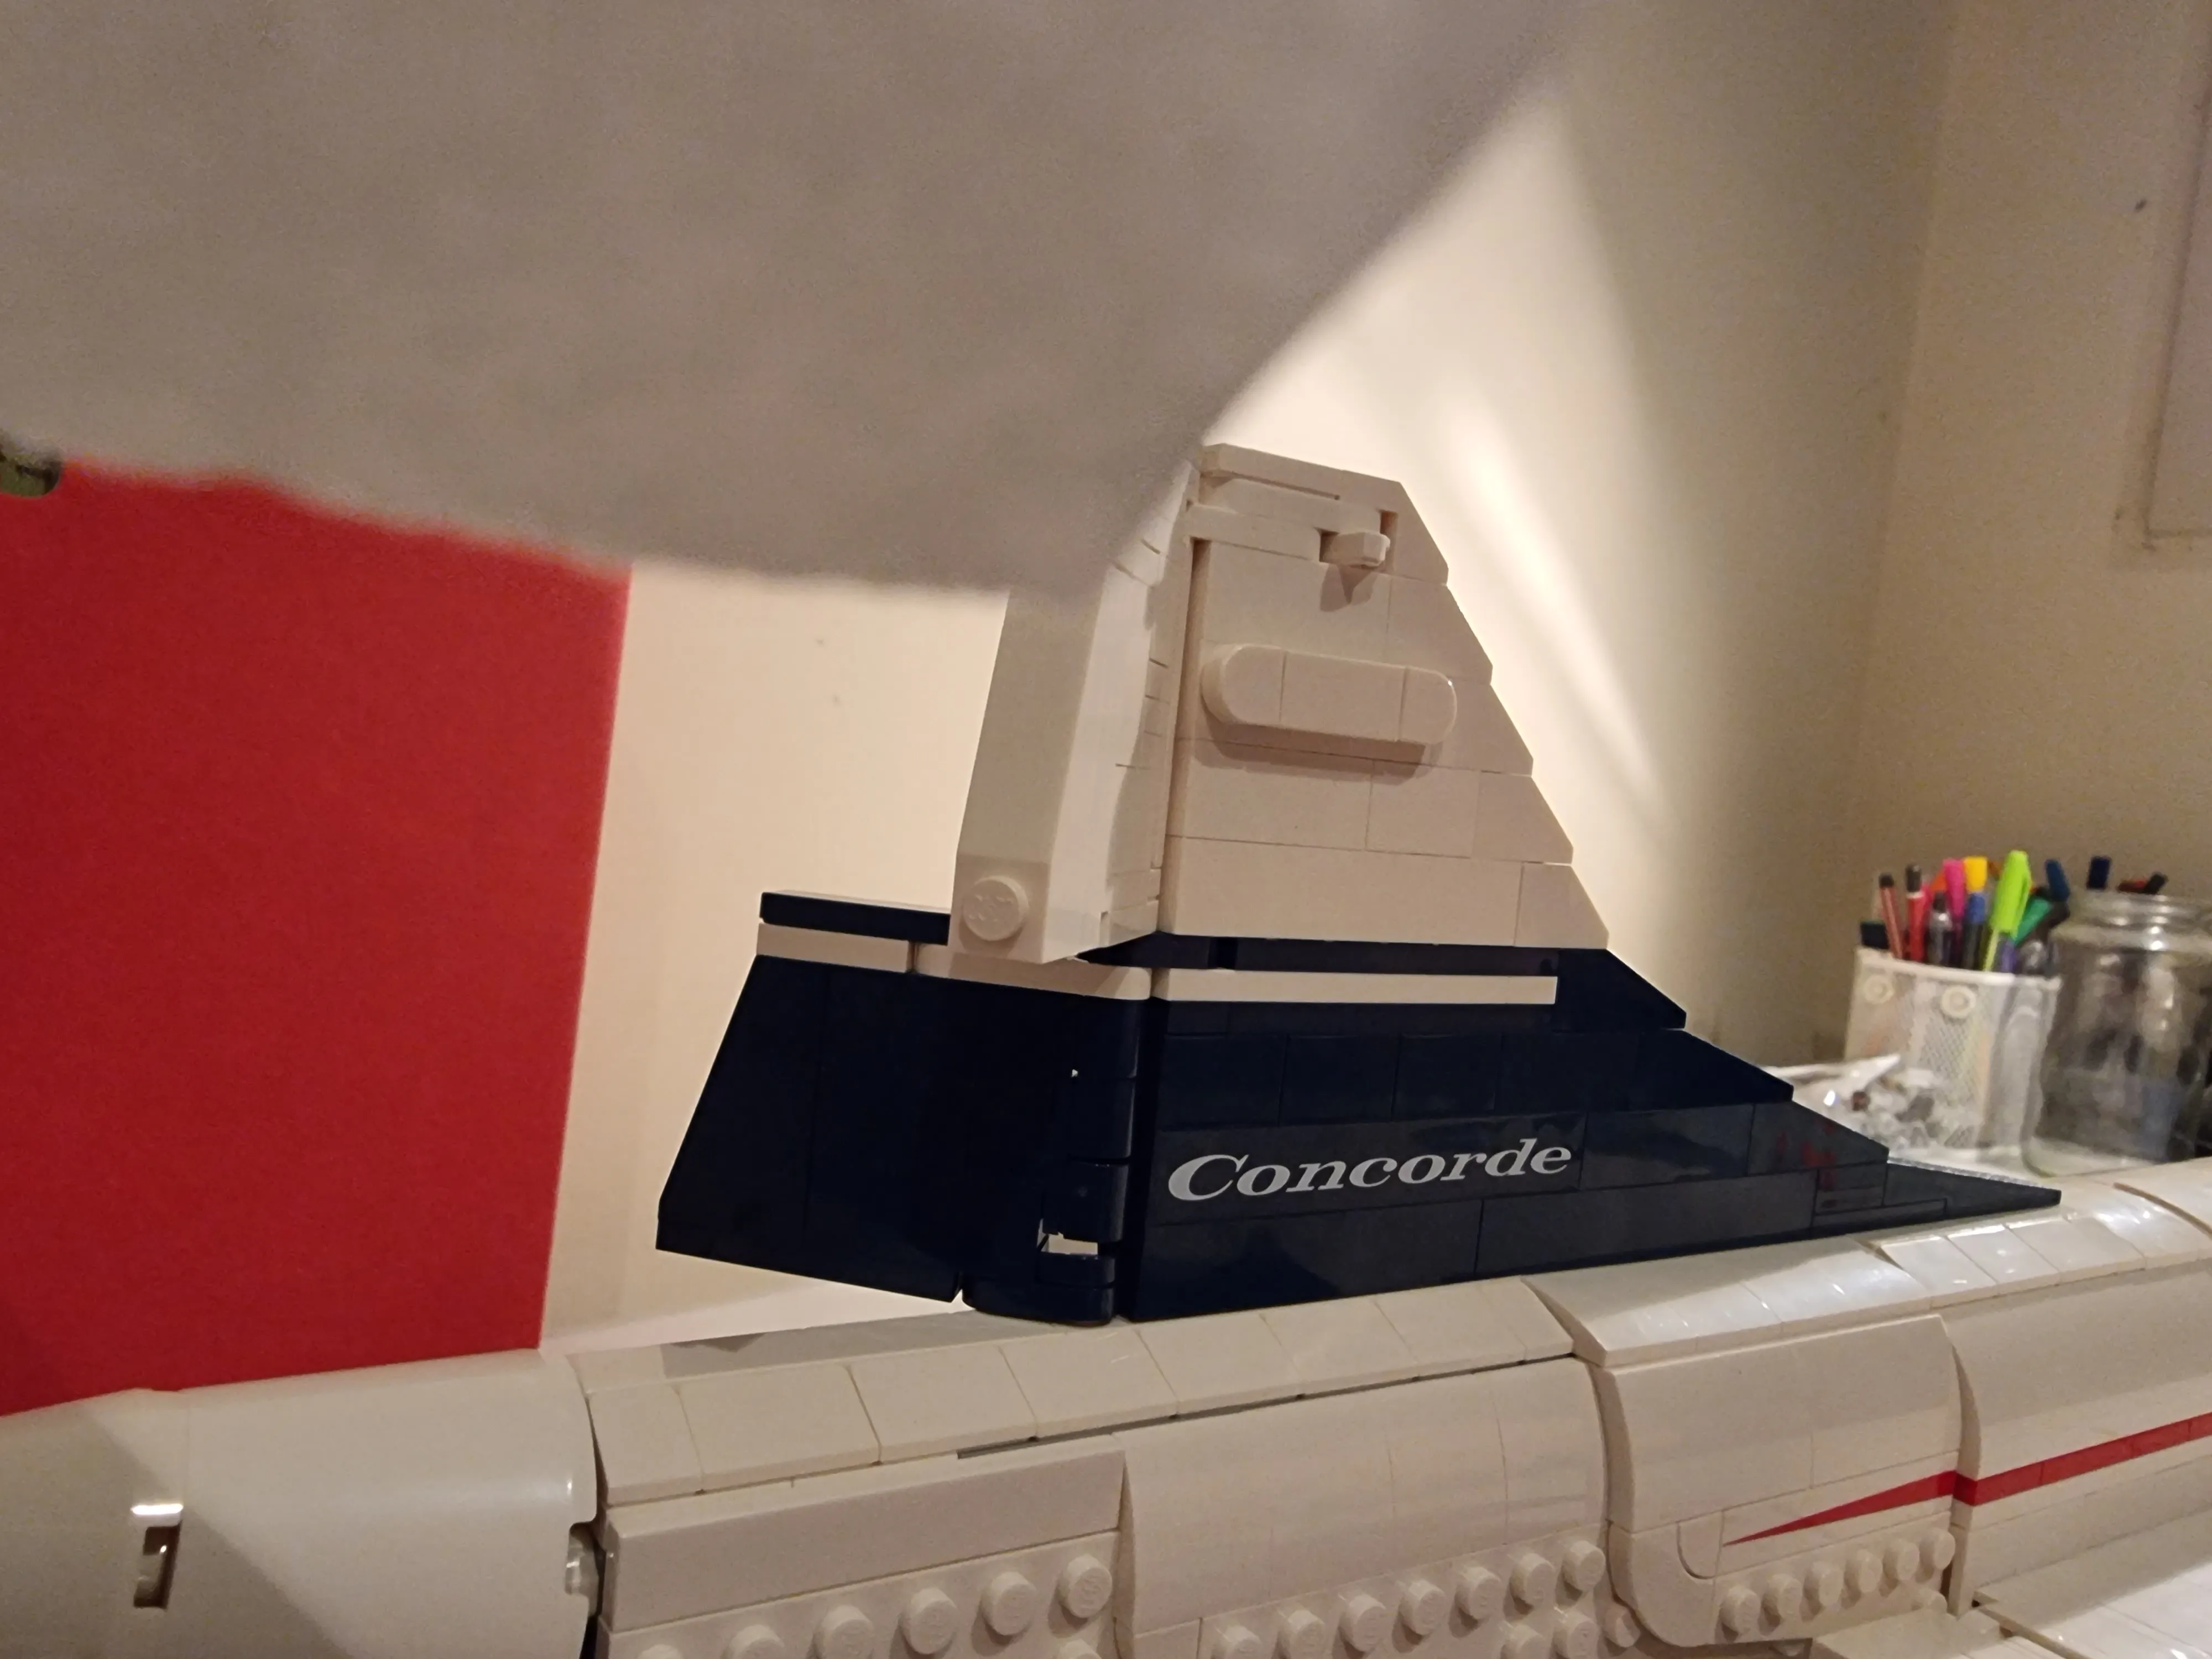
And the droop snoot is done. A lot of interesting build techniques to get the angles right and everything. I do have one annoyance, and that is with the name “droop snoot”. I remember watching the Vox Concorde video and being intrigued when the custodian in the video called it a “droop snoot”. I was a big fan of the Concorde and had never heard it be called that, instead it’s normally called the droop nose. After that video everyone called it the droop snoot. So I’ve done a very quick bit of research and done a Google search for the droop snoot before that video was released.
Search: concorde "droop snoot" before:2016-07-18
Results: 318
Search: concorde "droop nose" before:2016-07-18
Results: 622
It seems like droop nose is the more correct term. As is the Wikipedia page for it.
Removing the before date qualifier though does show that droop nose is now the more common name, which makes me happy.
Search: concorde "droop snoot"
Results: 9,460
Search: concorde "droop nose"
Results: 14,400

Bag 17

Sixth day: 4-12-23
Hopefully I can finish it today.
Bag 18
Love me a universal joint. Just so simple and clever.
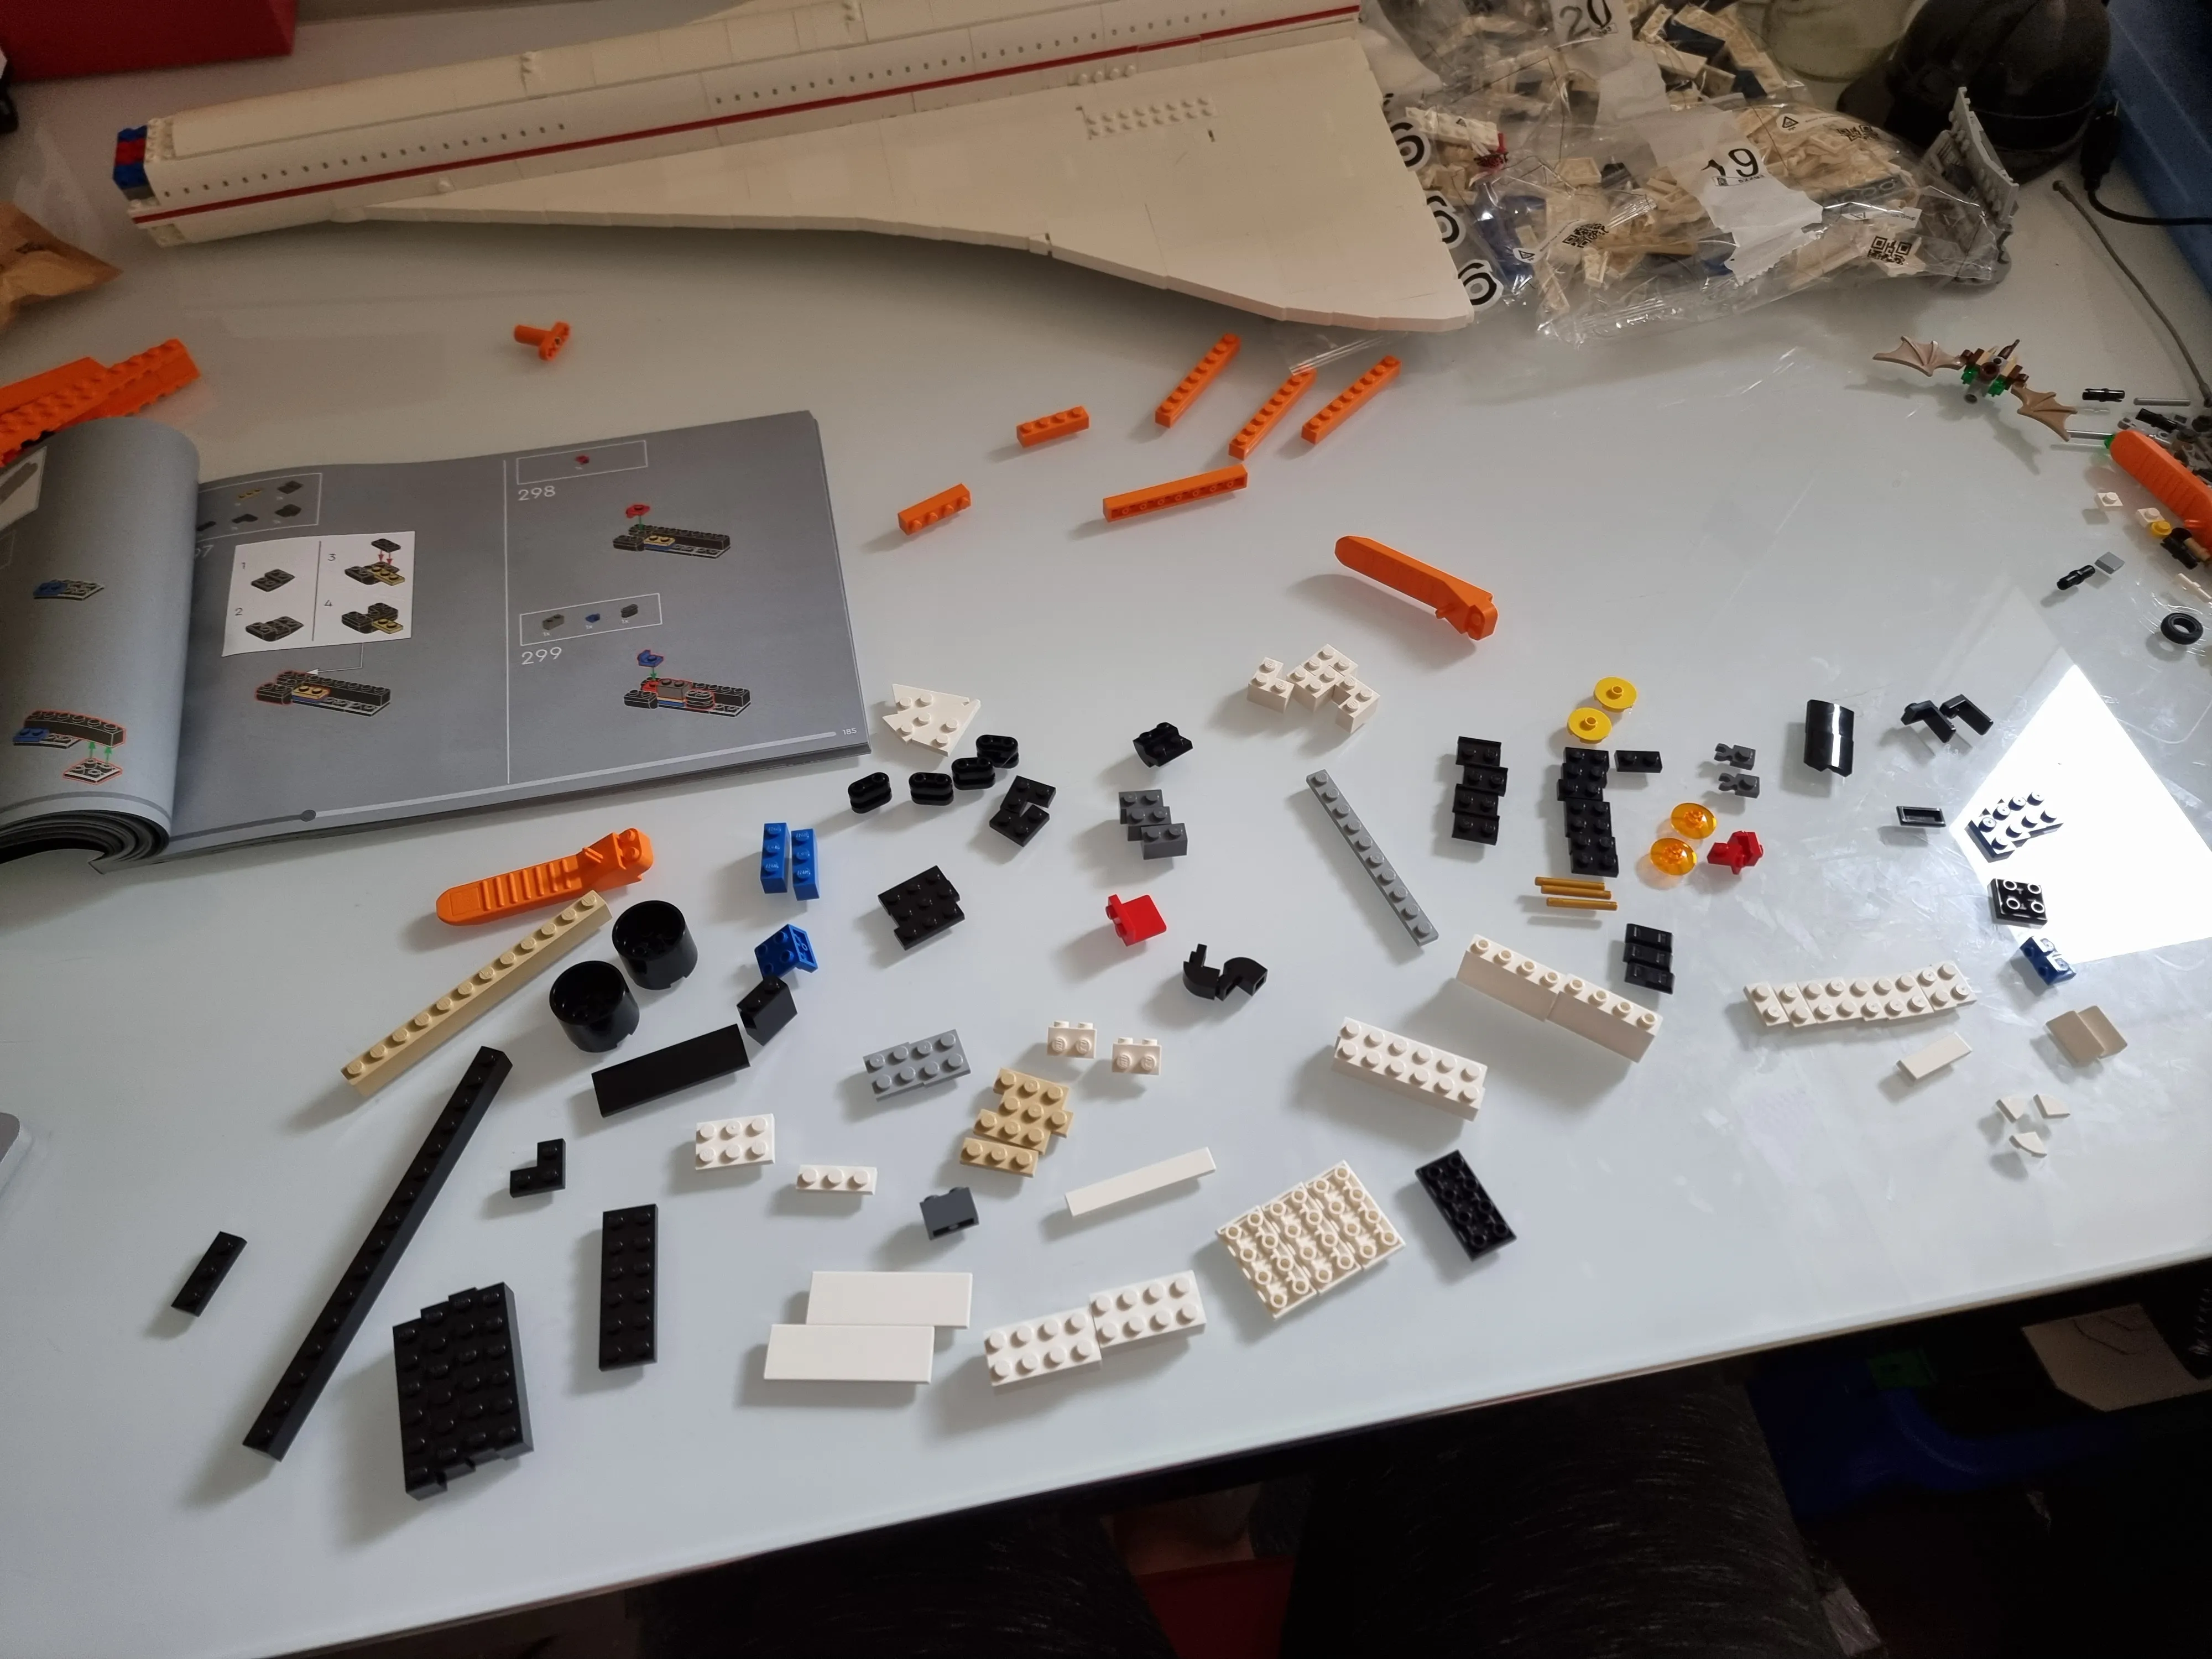
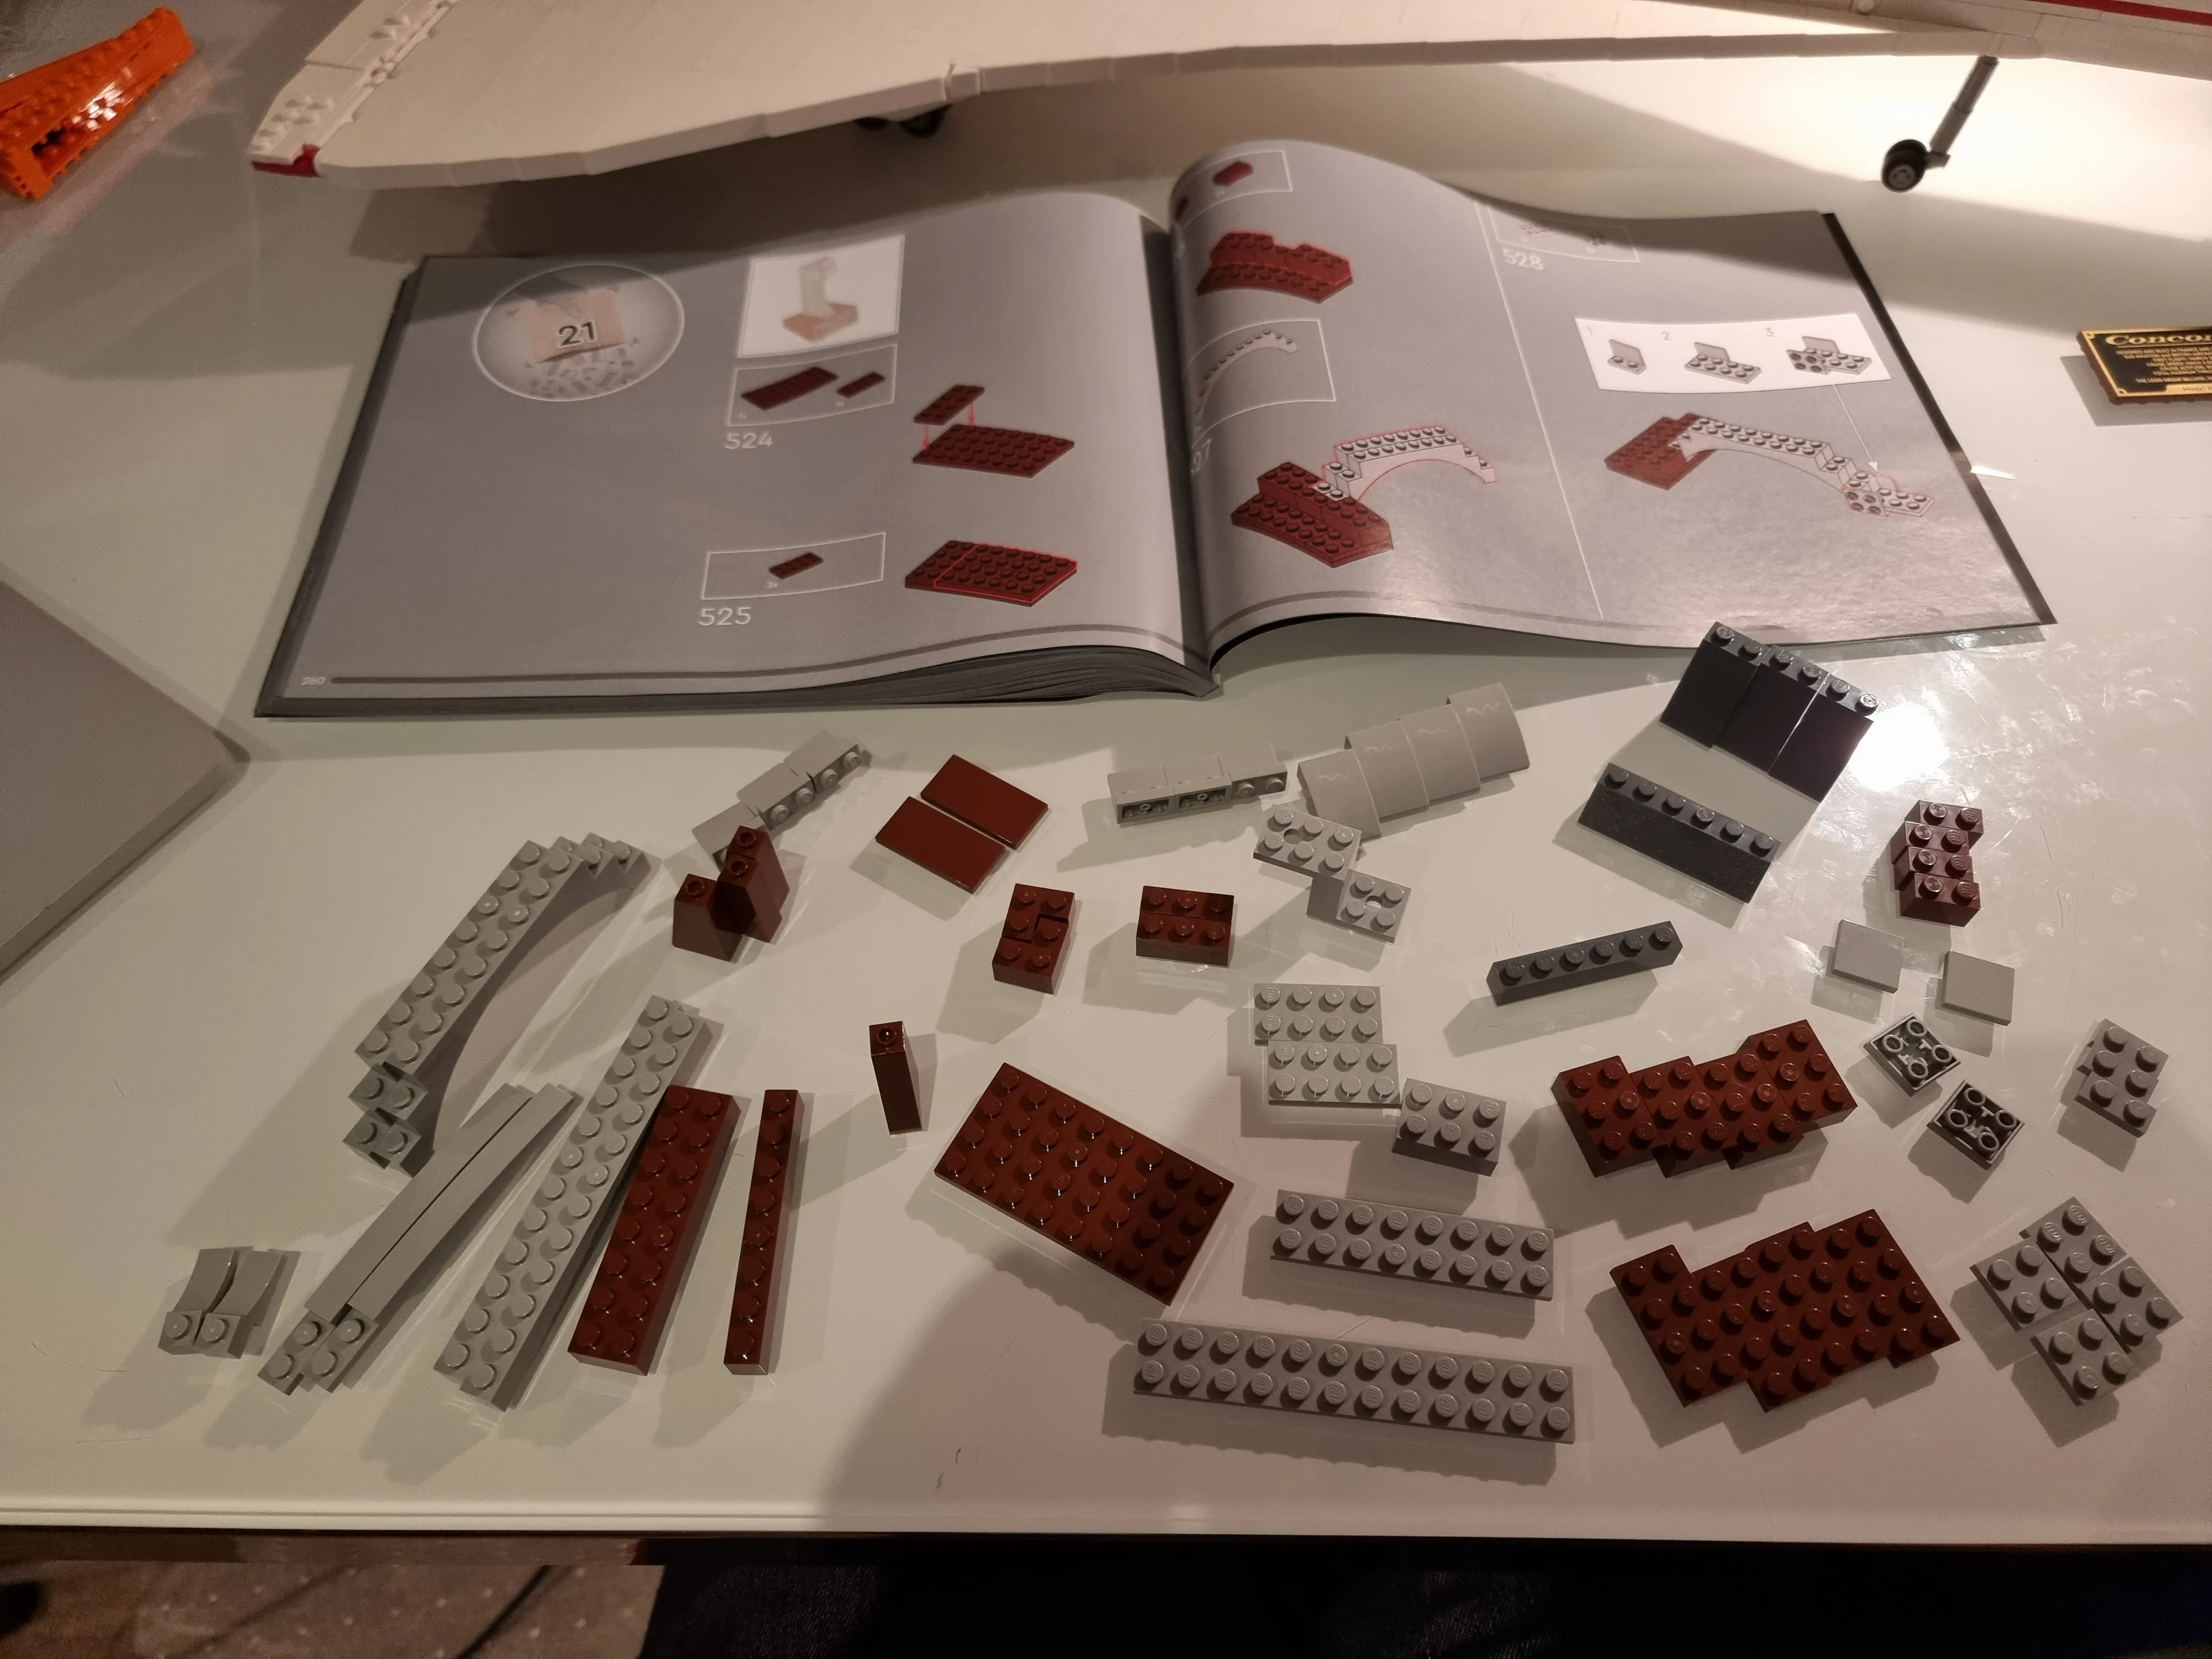
Bag 19
Damn this looks like quite a few parts for a bag. I’ve been spoilt with the other bags being so light on parts.
I’m uhh… really sorry bud.
Let’s ummm… what’s you’re favourite colour?
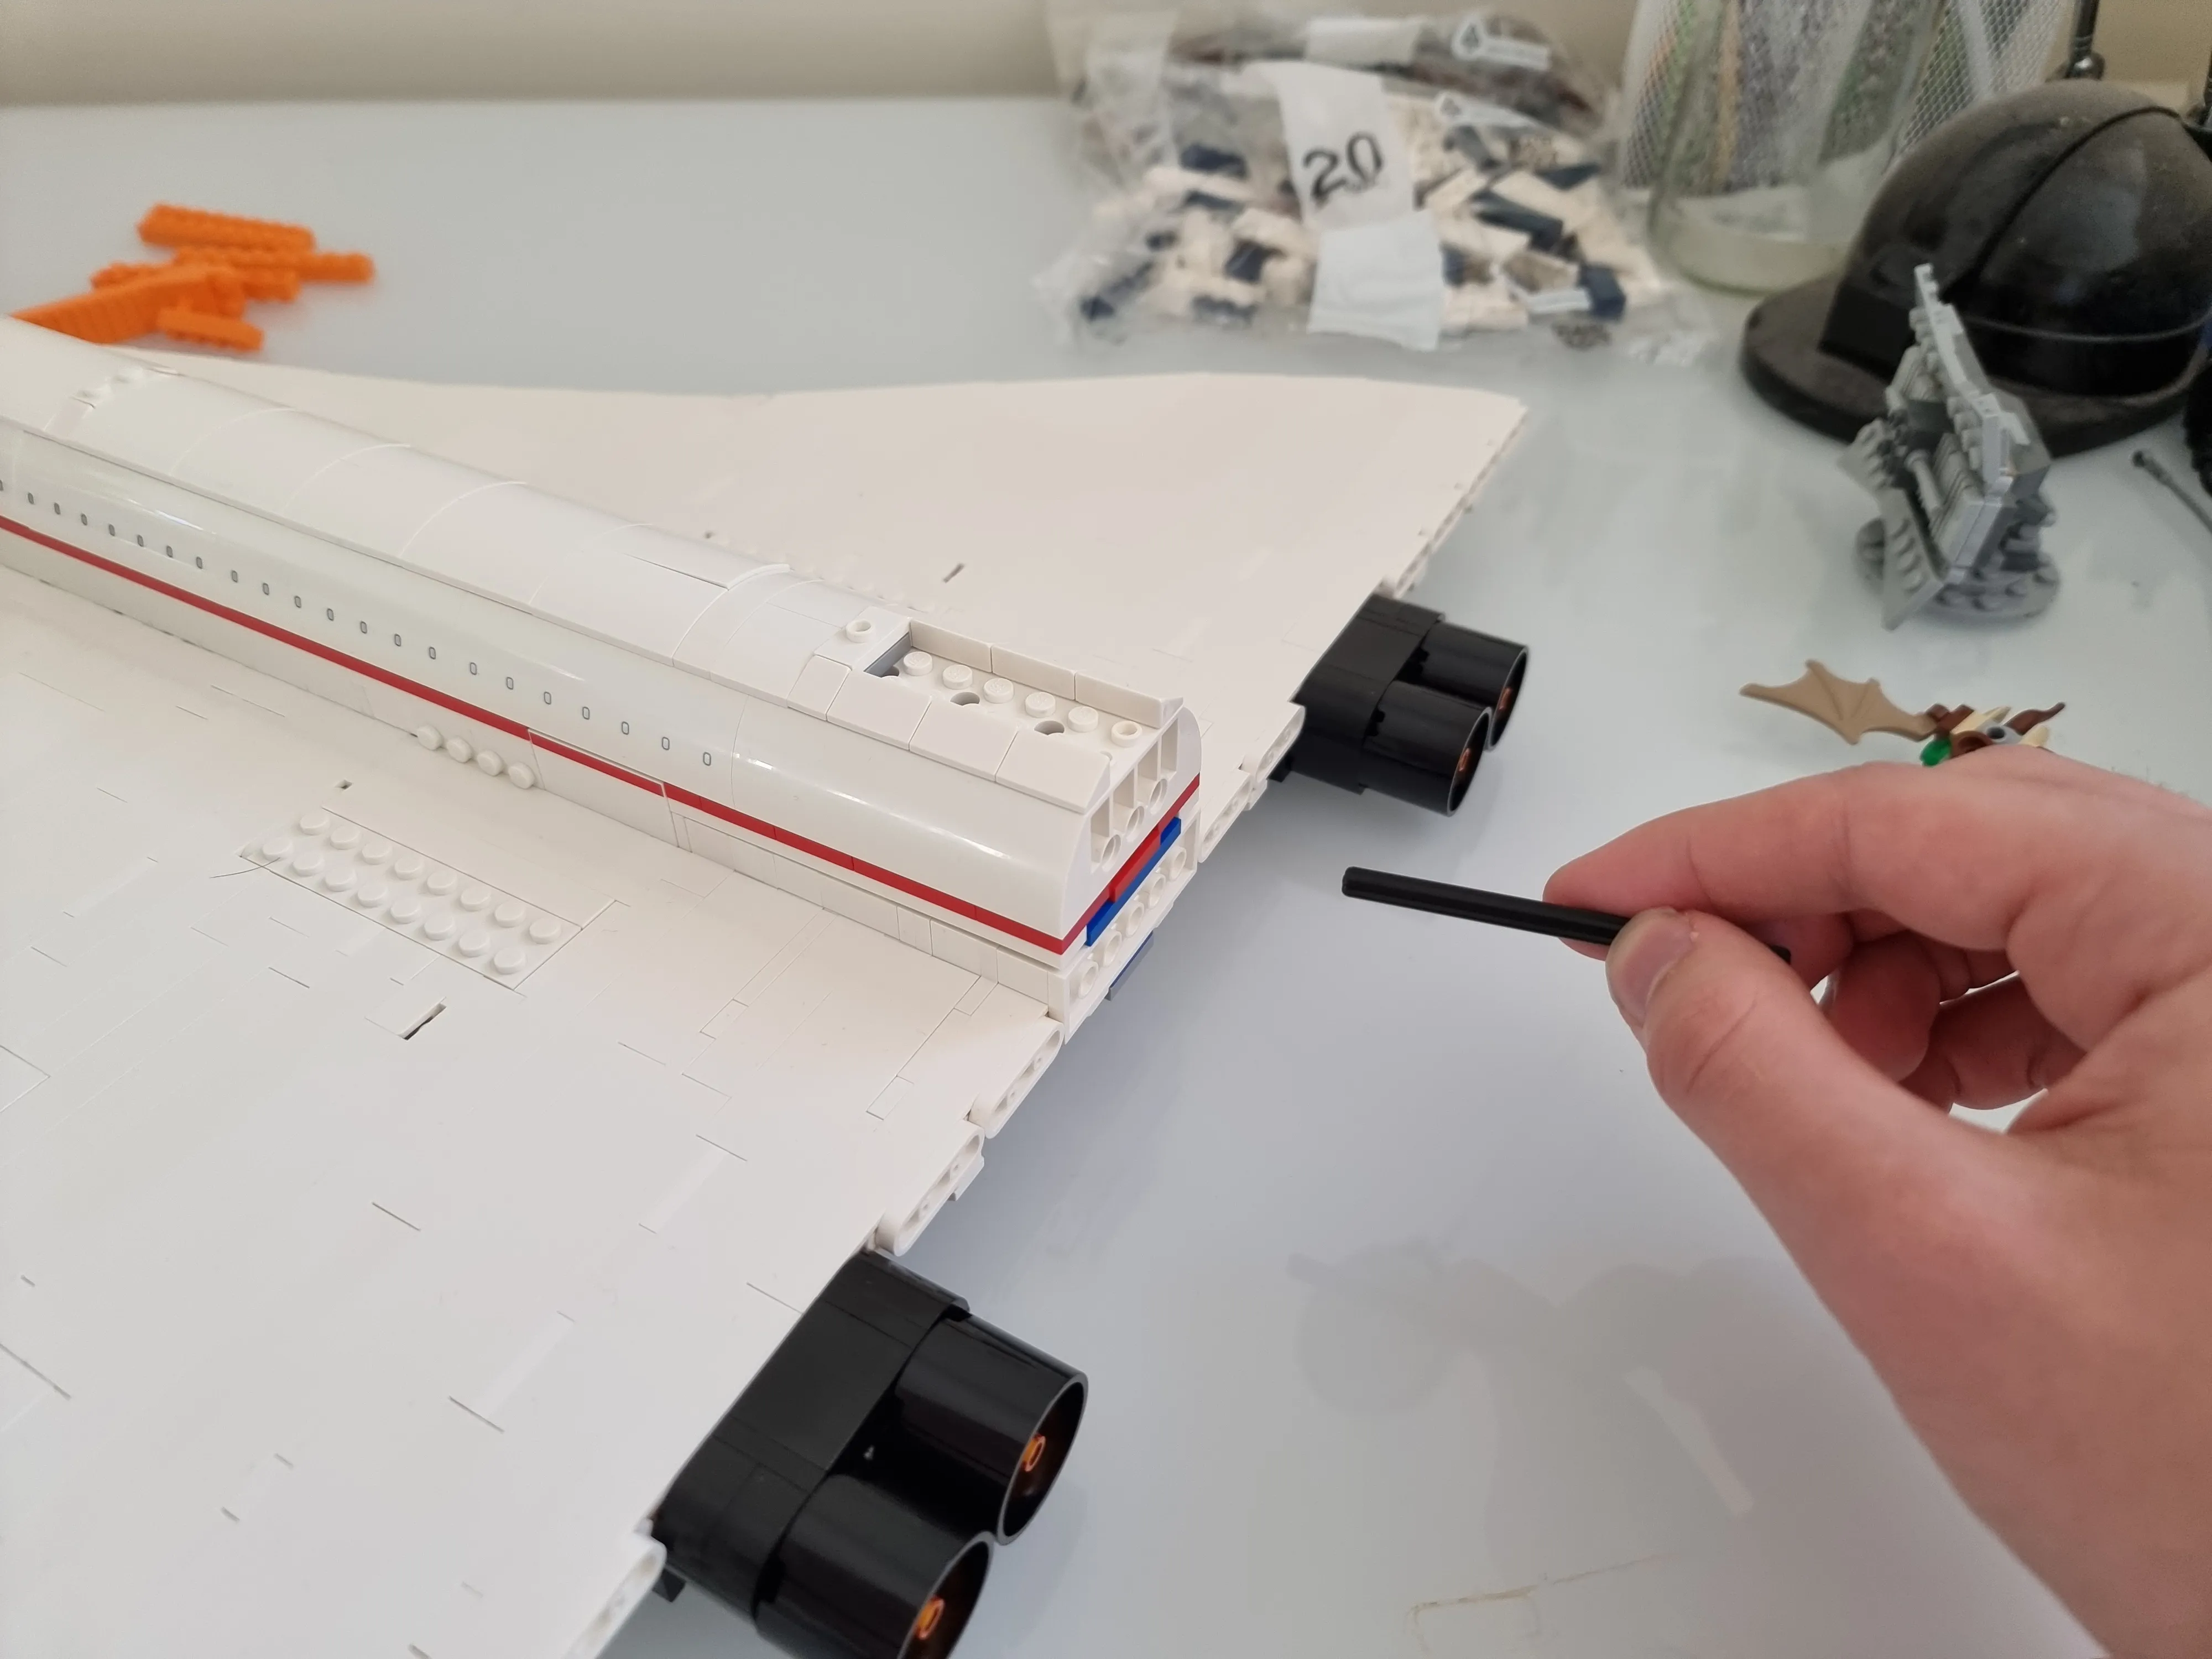
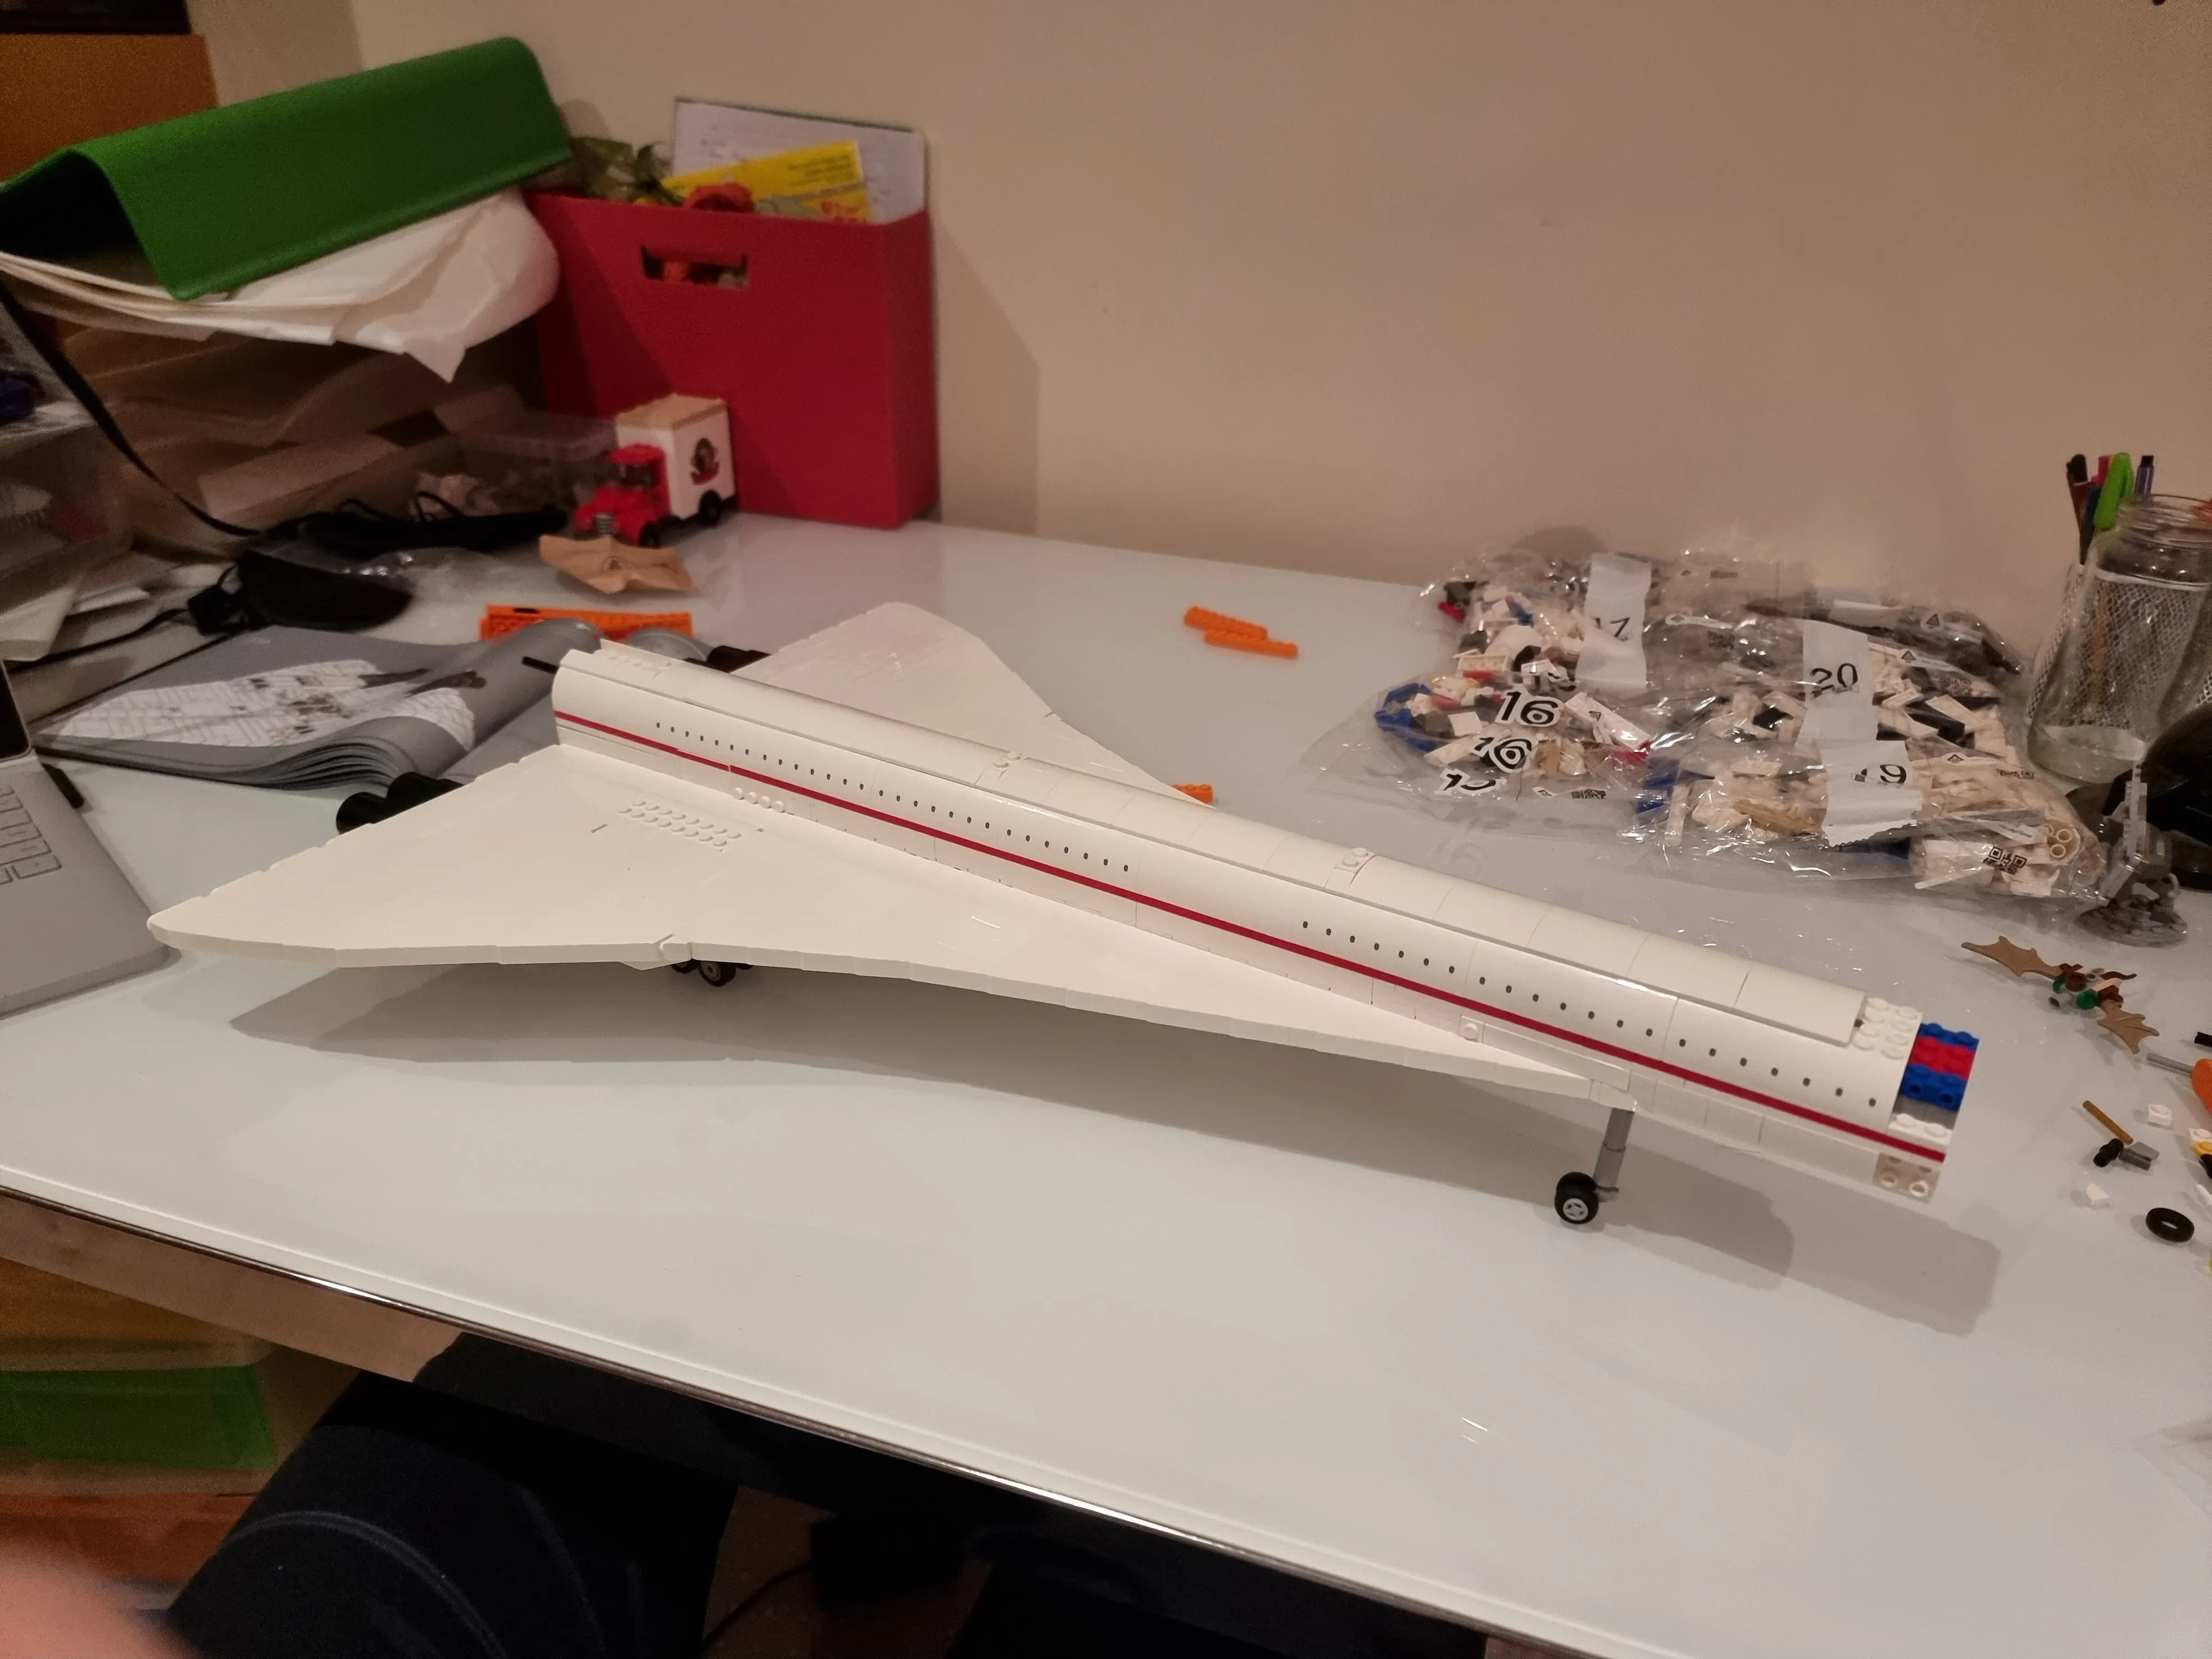
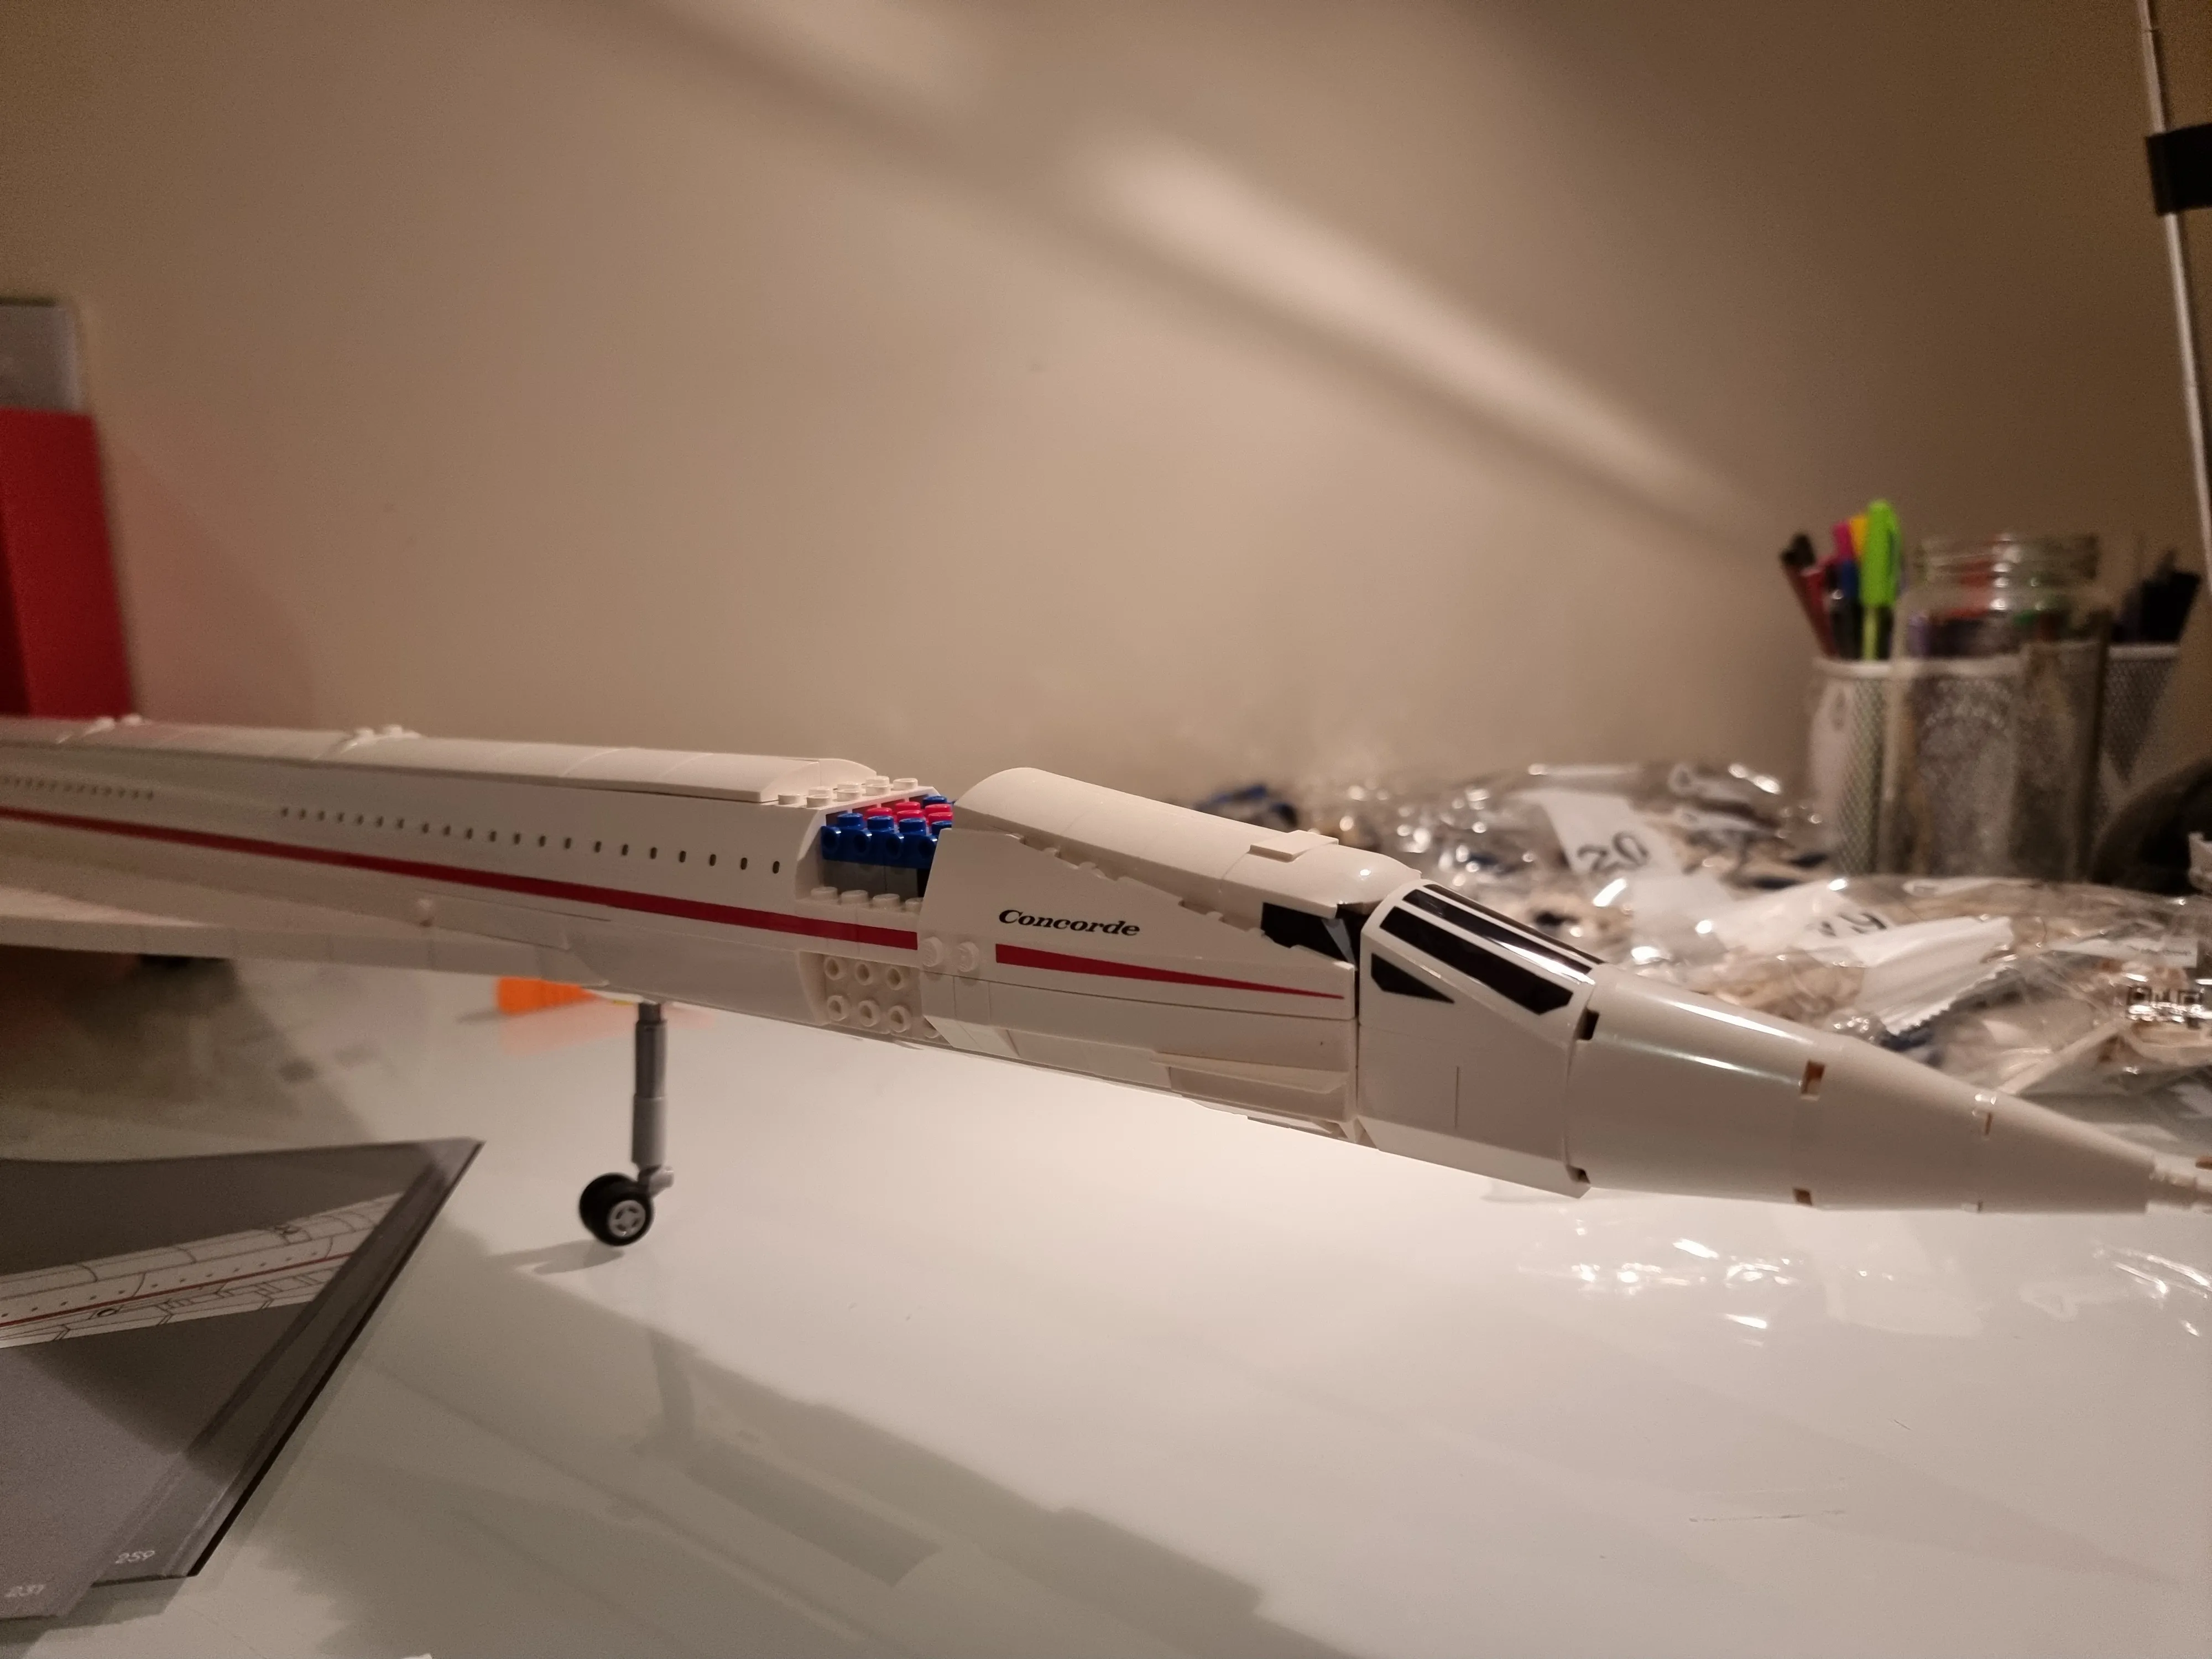
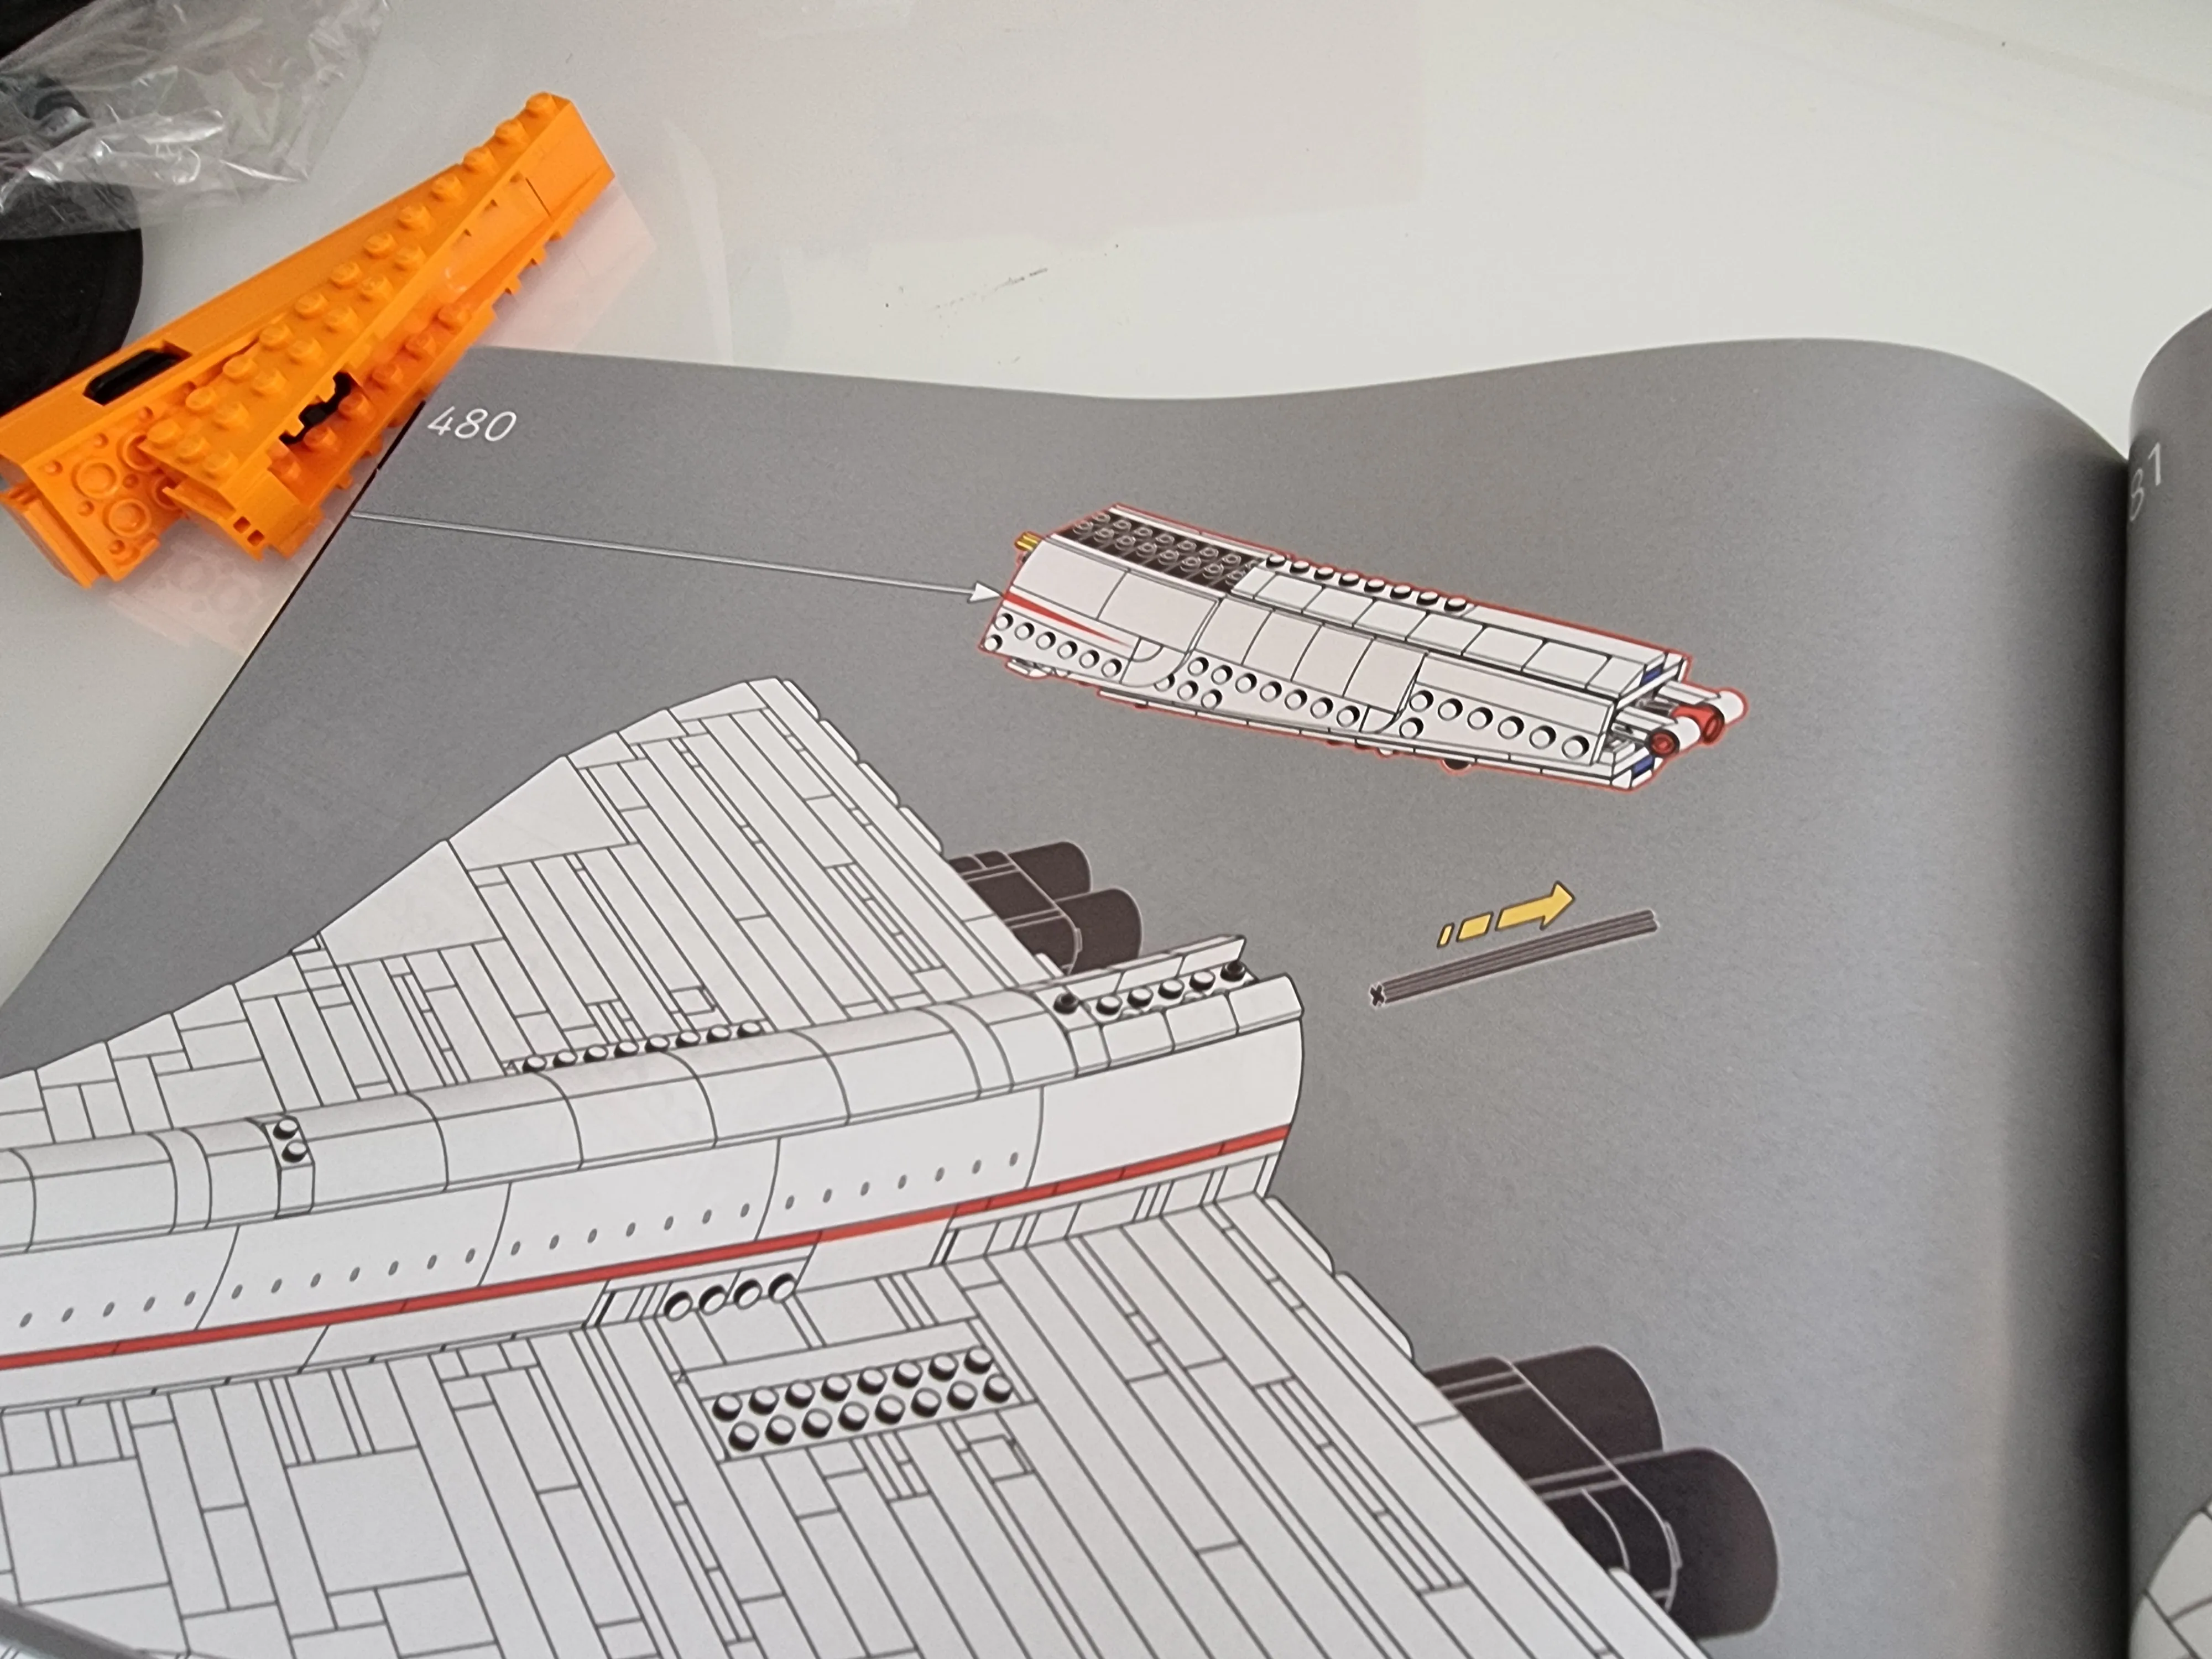
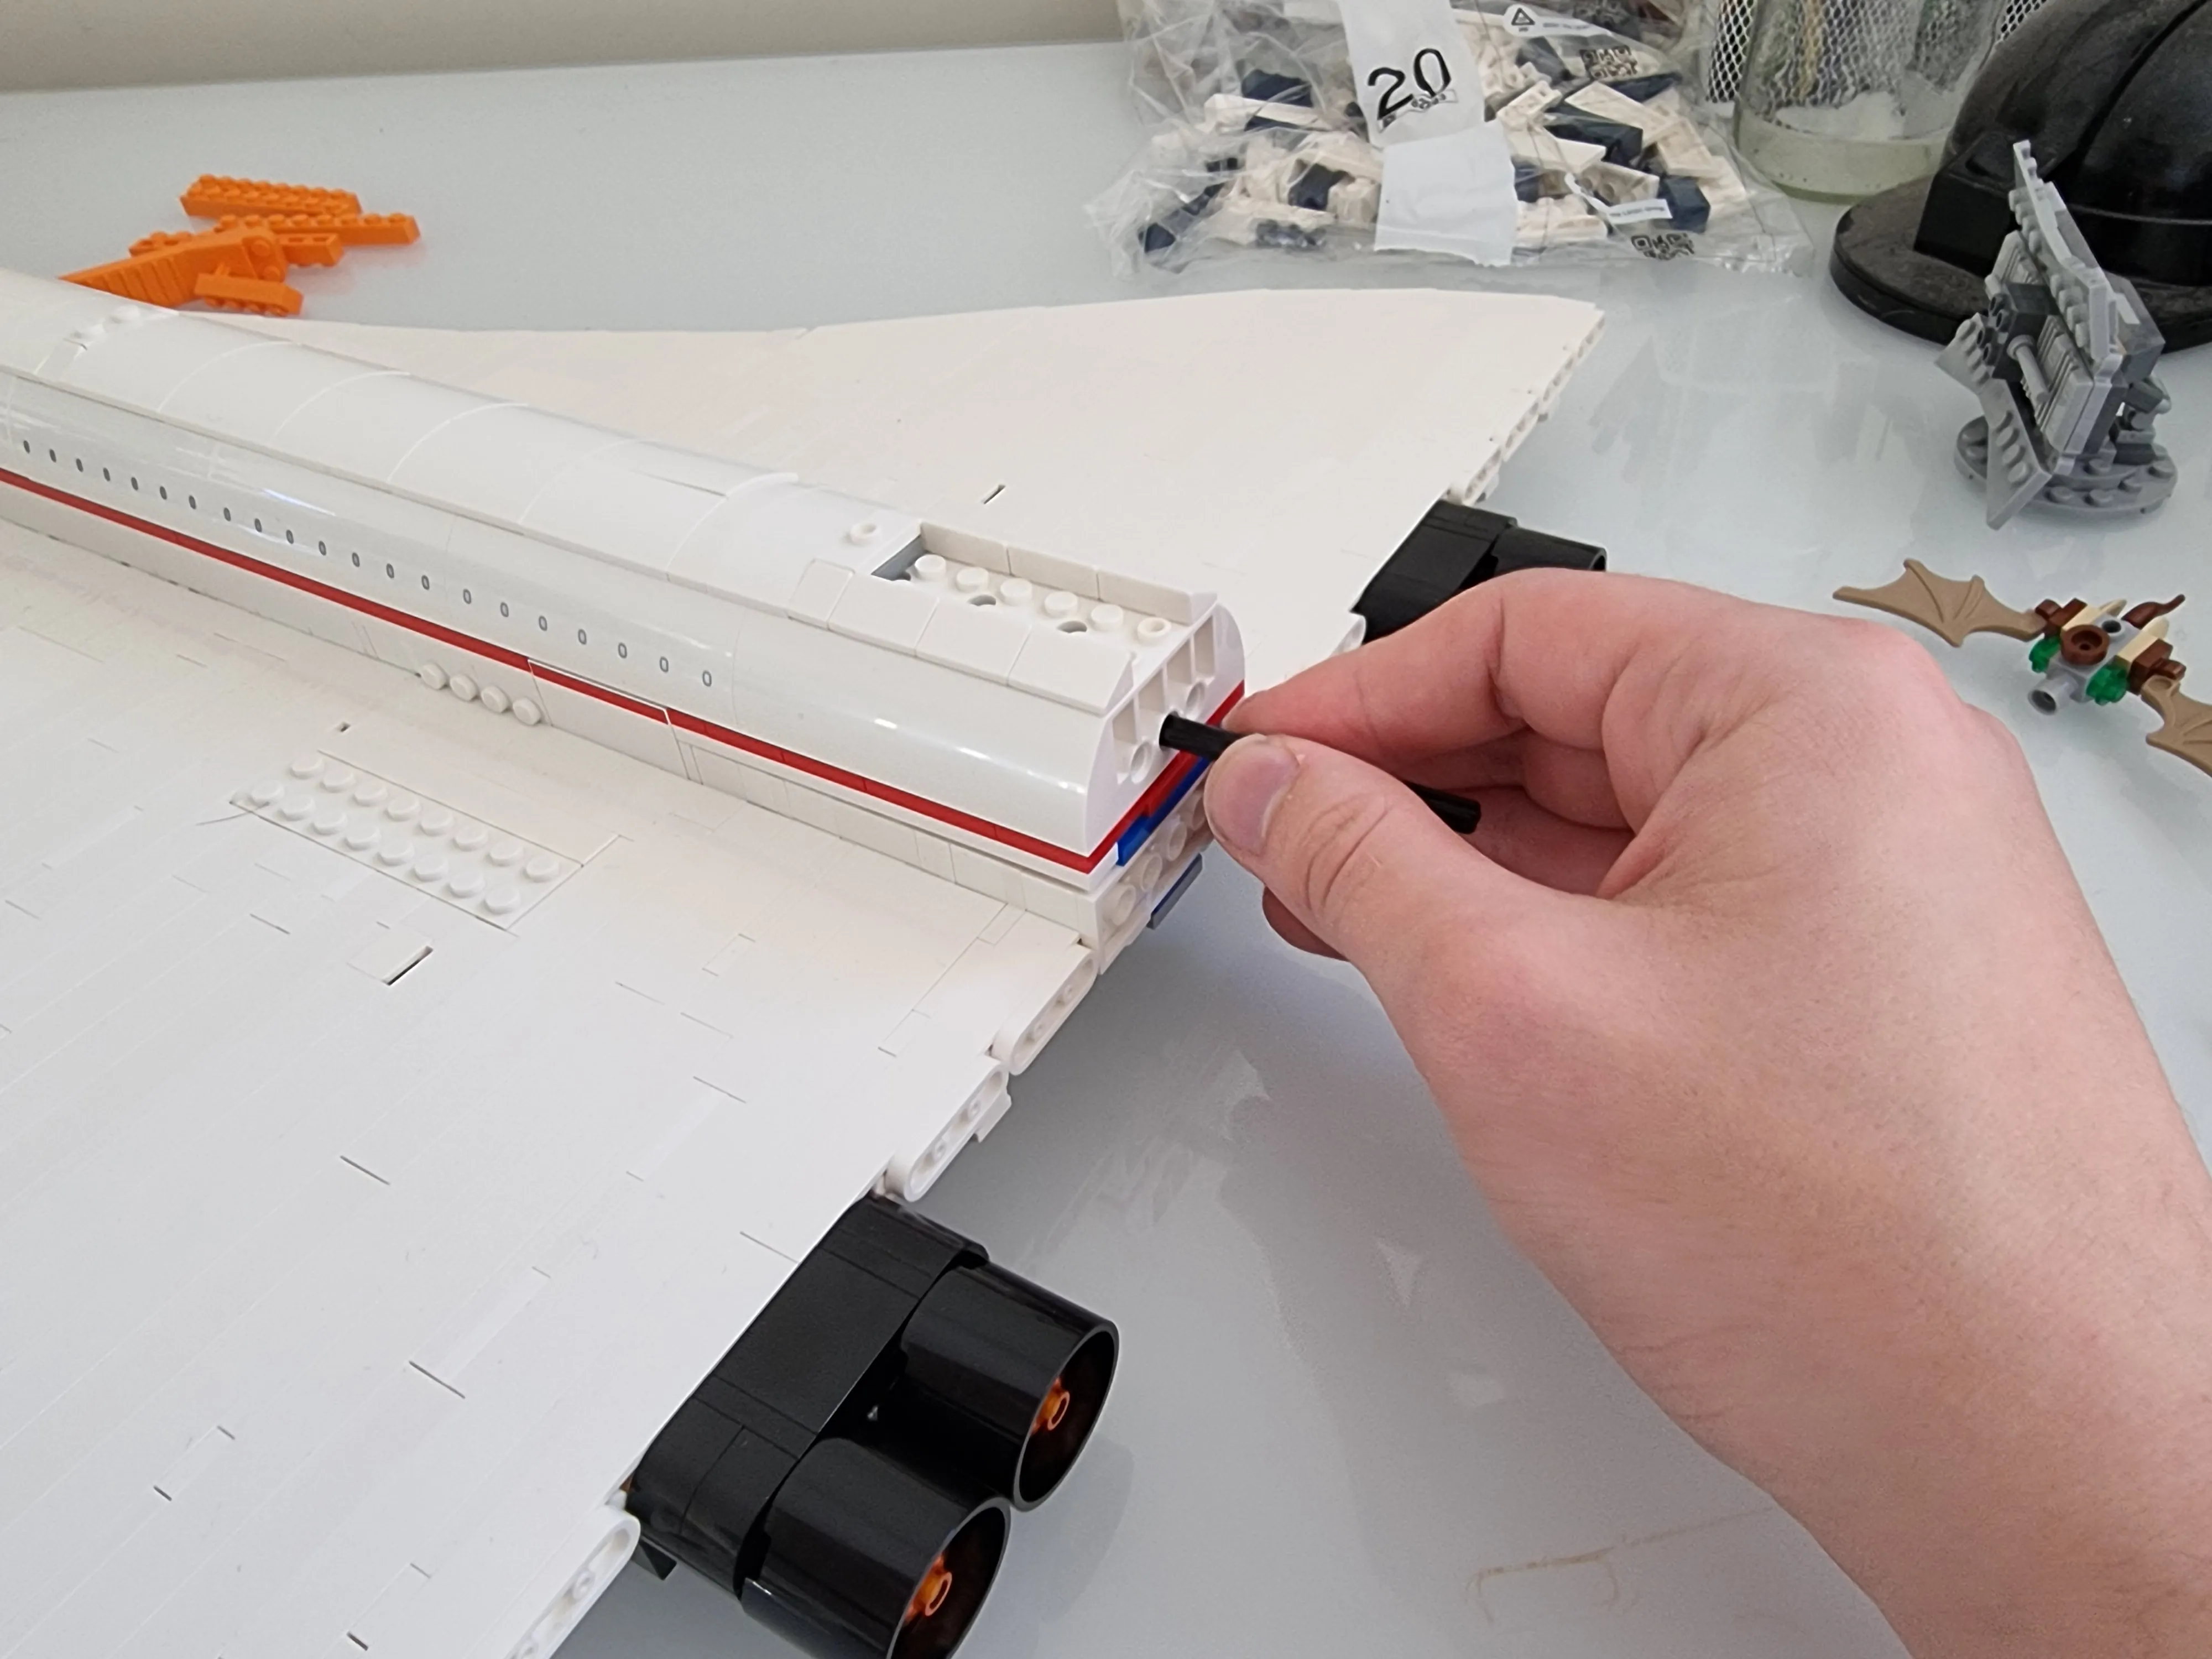
That tail is a lot longer than I thought! I was also having an issue with the nose gear which wasn’t properly extending. It would mostly extend but be very easy to knock back to a half extended state. I thought that this was a flaw with the design and it was more a static model but was disappointed since Lego sets, even the big adult ones, have some element of play still attached. Thanfully it was just because manipulating the gears with just the axle was difficult and didn’t get enough torque on it. With the tail on it’s much easier.
Bag 20

Bag 21
Completed!
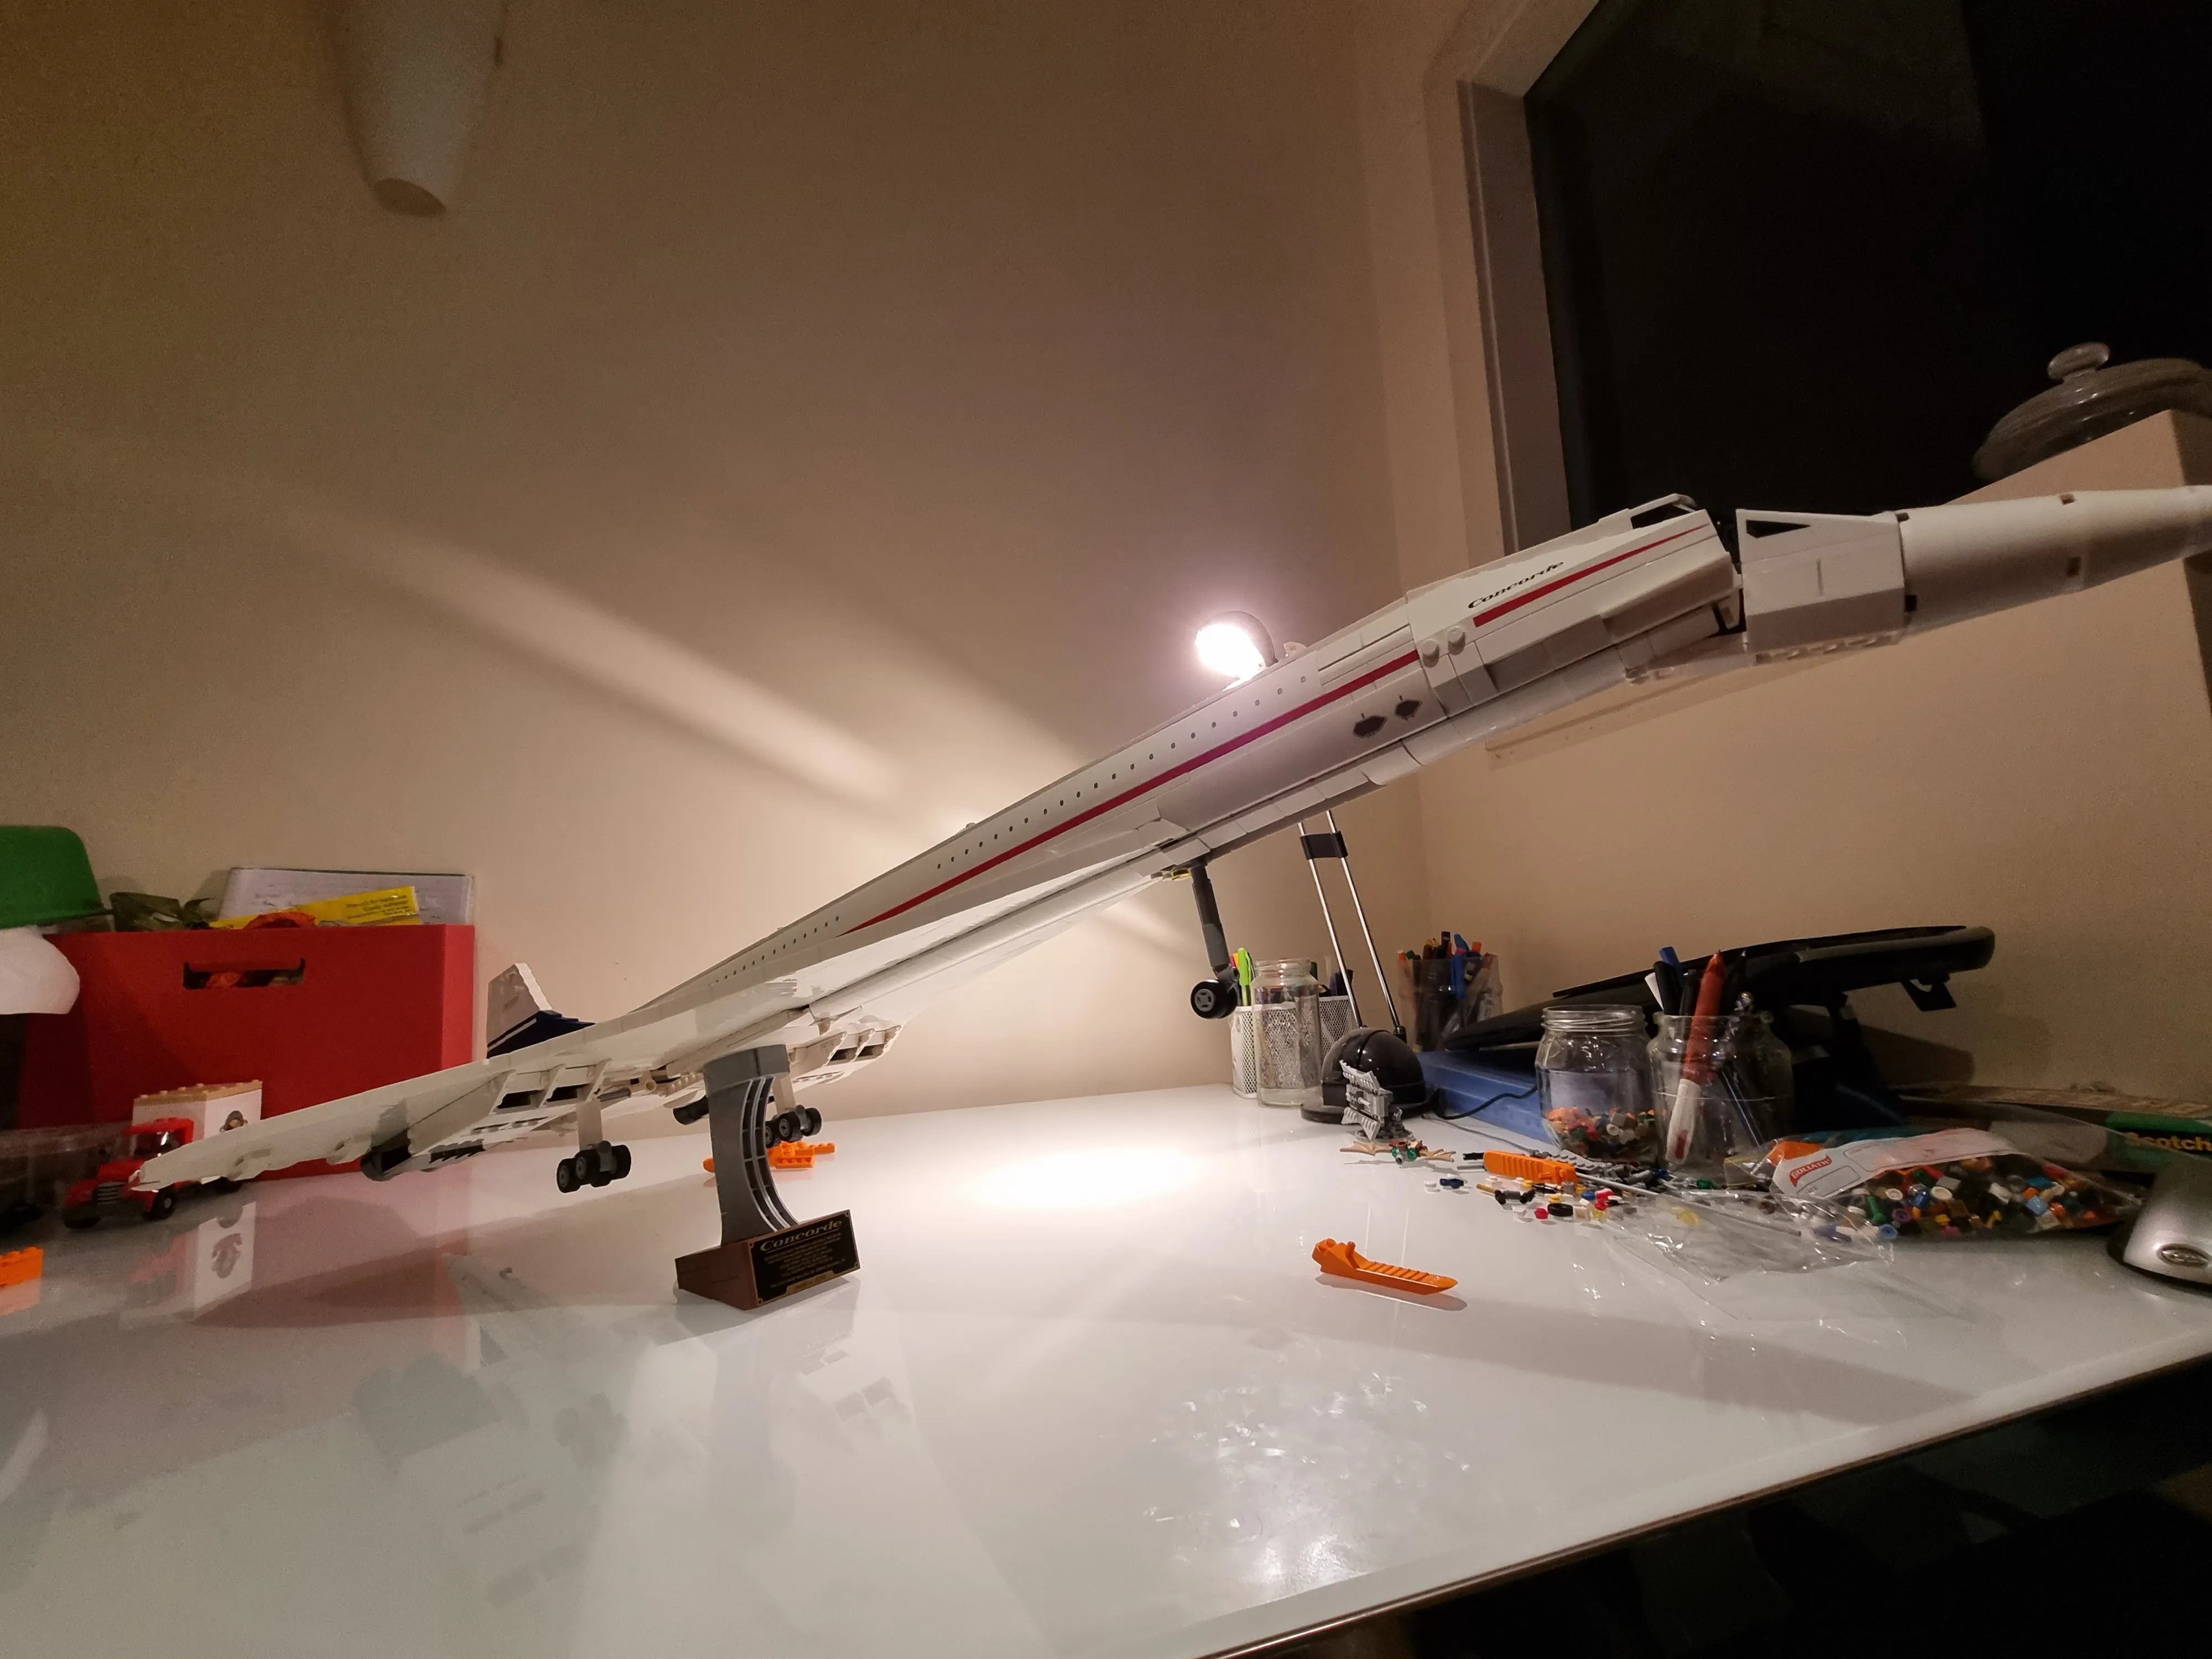
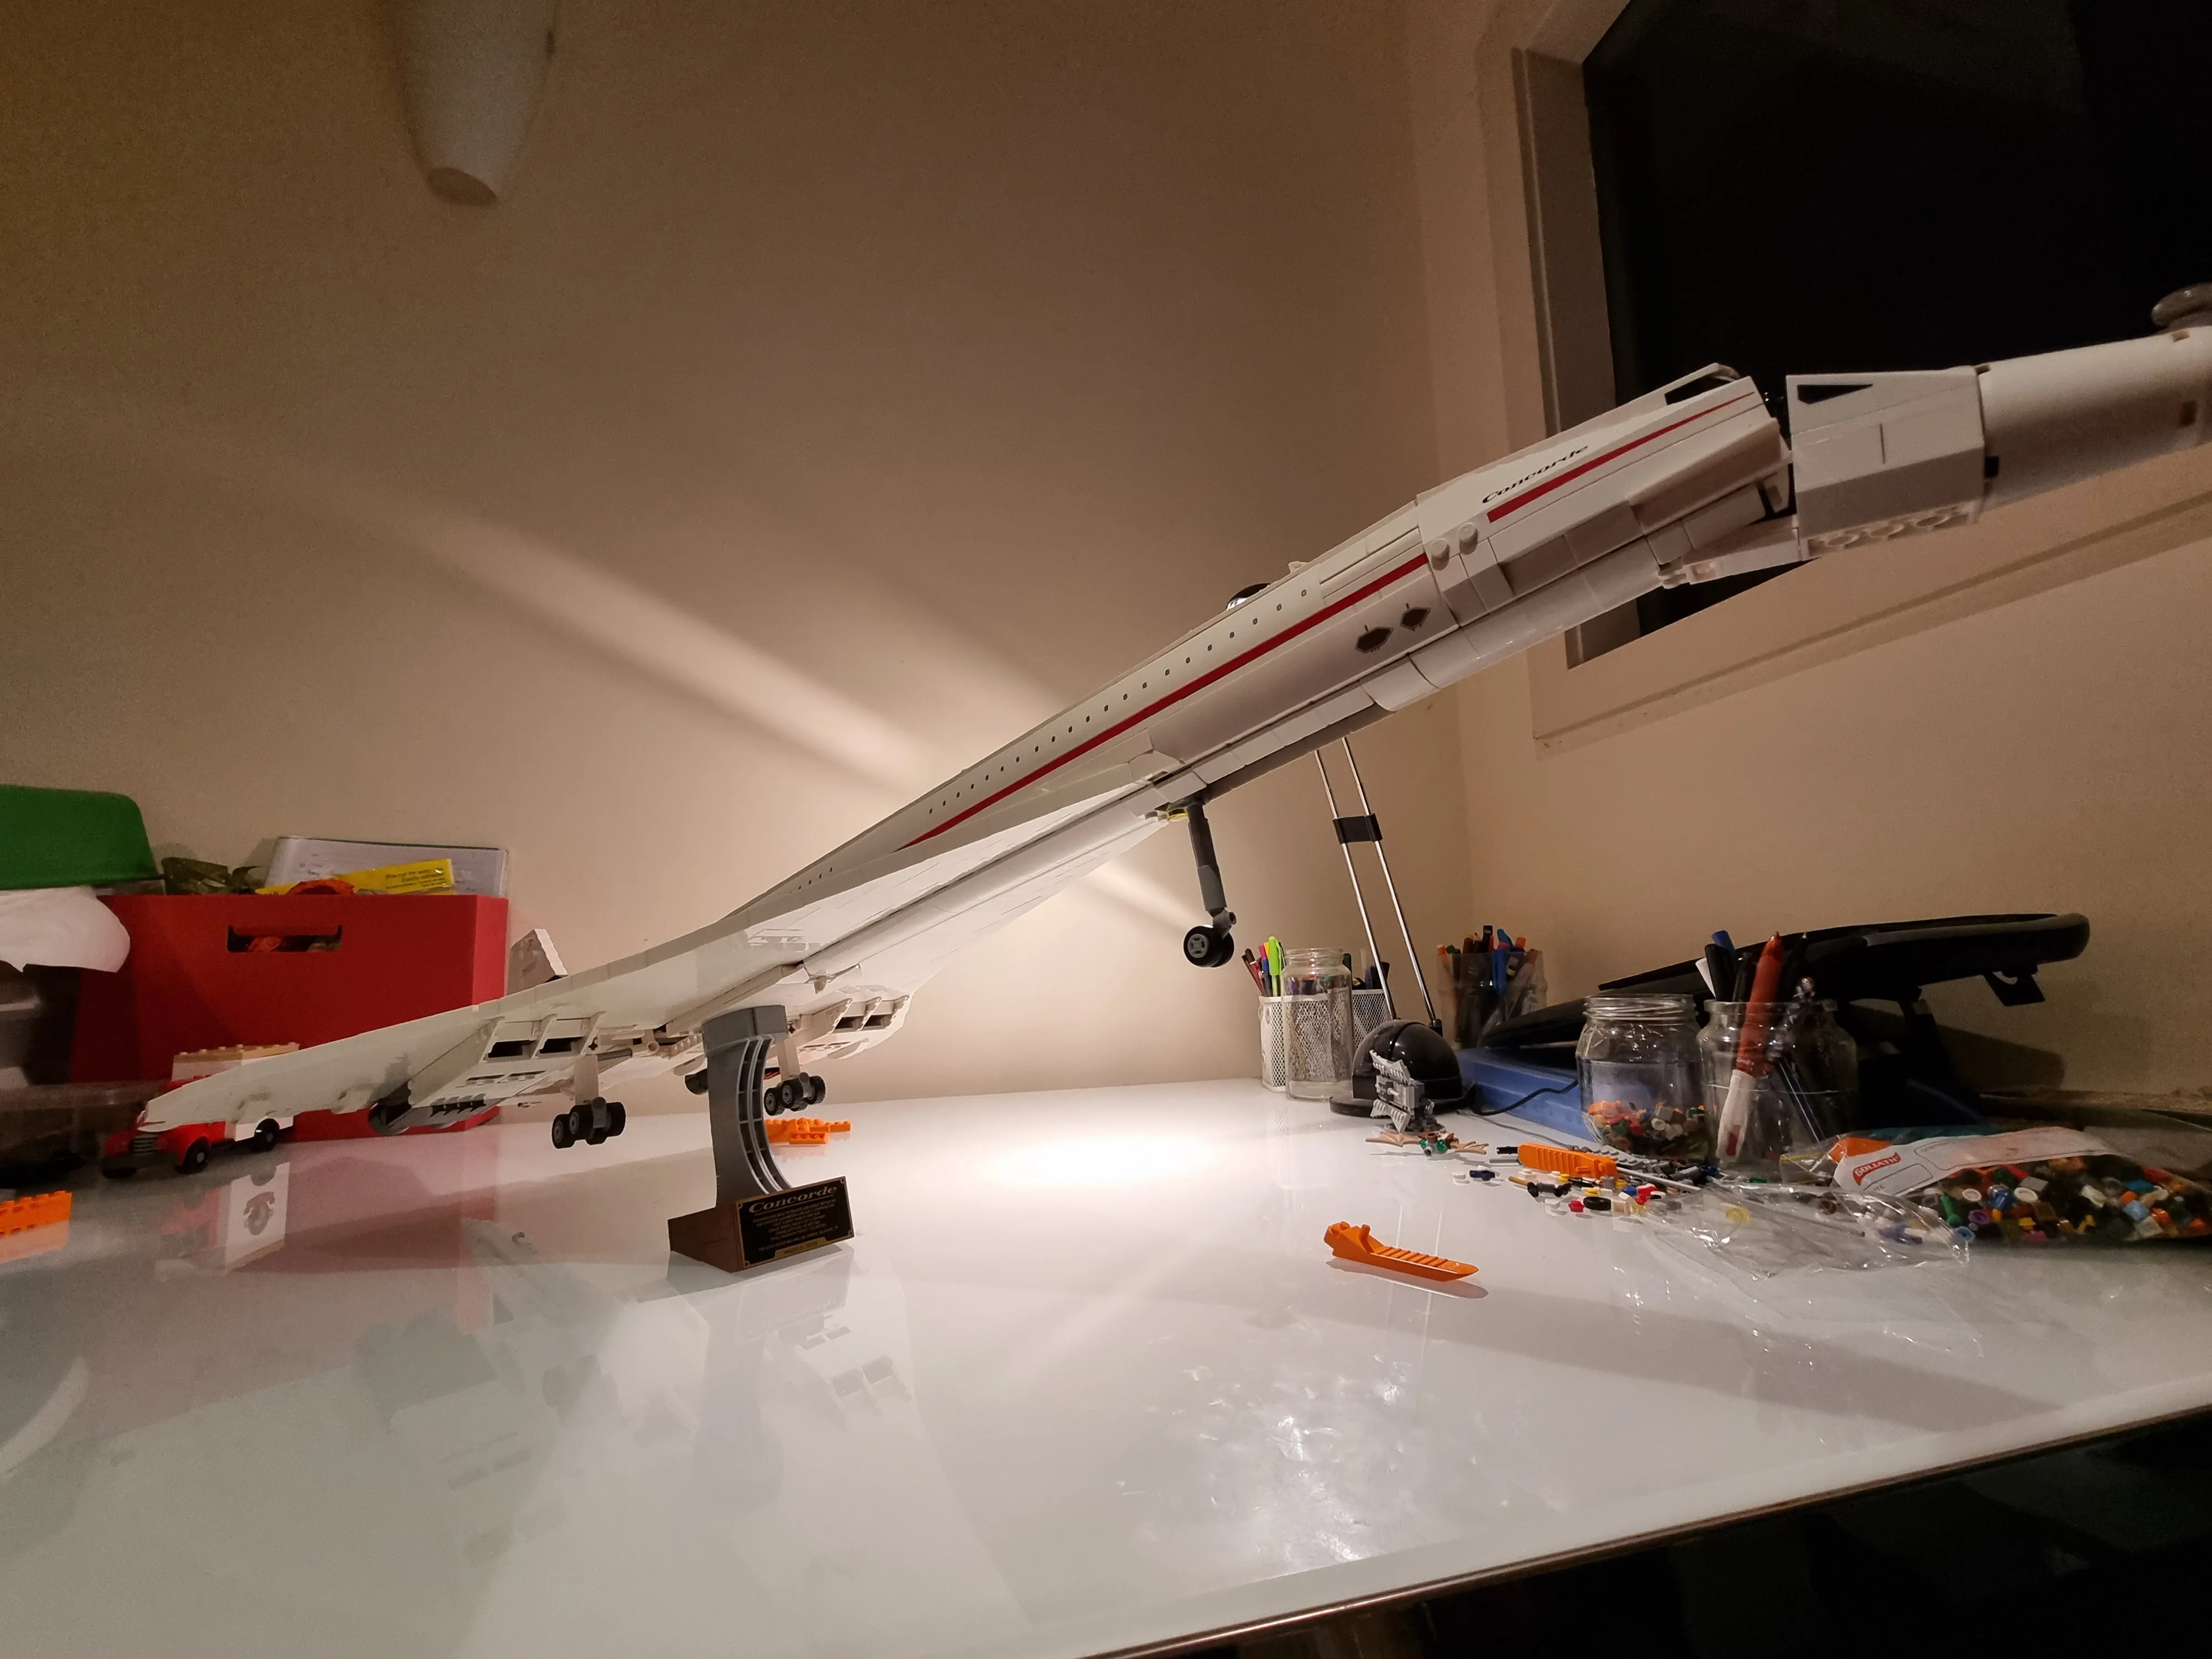
It was quite an enjoyable build. I was seeing headlines and video thumbnails talking about how this was a really nice building experience and I have to agree with them. The inclusion of the amount of different stands and orange braces (in the same colour as the brick separator which was awesome) was really cool! It is surprisingly long and the place I had planned for it to be might not be suitable for it. I’ll figure it out but its been a few days since I built it and we have it on our coffee table next to the Millennium Falcon. I look at it and am amazed by how beautiful and sleek it is. I’ve unsurprisingly been on a concorde video binge and everything I see about it people just love it so much. Though I imagine the people who lived under Heathrow weren’t too pleased. I hope Boom Aerospace is successful because it would be pretty cool to travel supersonic.
More Lego Blogs?
I dunno, definitely not bag by bag and day by day. I liked discussing what I liked or thoughts that came to my head. I had my laptop next to me so I could detail what happened immediately. I need to upload the photos immediately into the page though. I left it til the end and man am I tired of copy pasting image links. I’ve still got a bunch of sets to try but it might be more like a set of images and then a comment here or there. During the time though I find stuff like this just boring and I don’t know why I make it, but as with many of my creative endeavours I look back on it a month, or a few years later and am so happy that I made it. I really do want to just write and document more, just to get thoughts out, write about stuff I’m passionate about. I’ve got more stuff in the works but finding time is hard because I procrastinate too much :(
Anyway, cya!